Beware Page 26-5!

In searching the internet for another topic, I came across the following blog post from Justin Twilbeck in 2012:

https://buildingrv10.blogspot.com/2012/10/fuselage-frustration.html

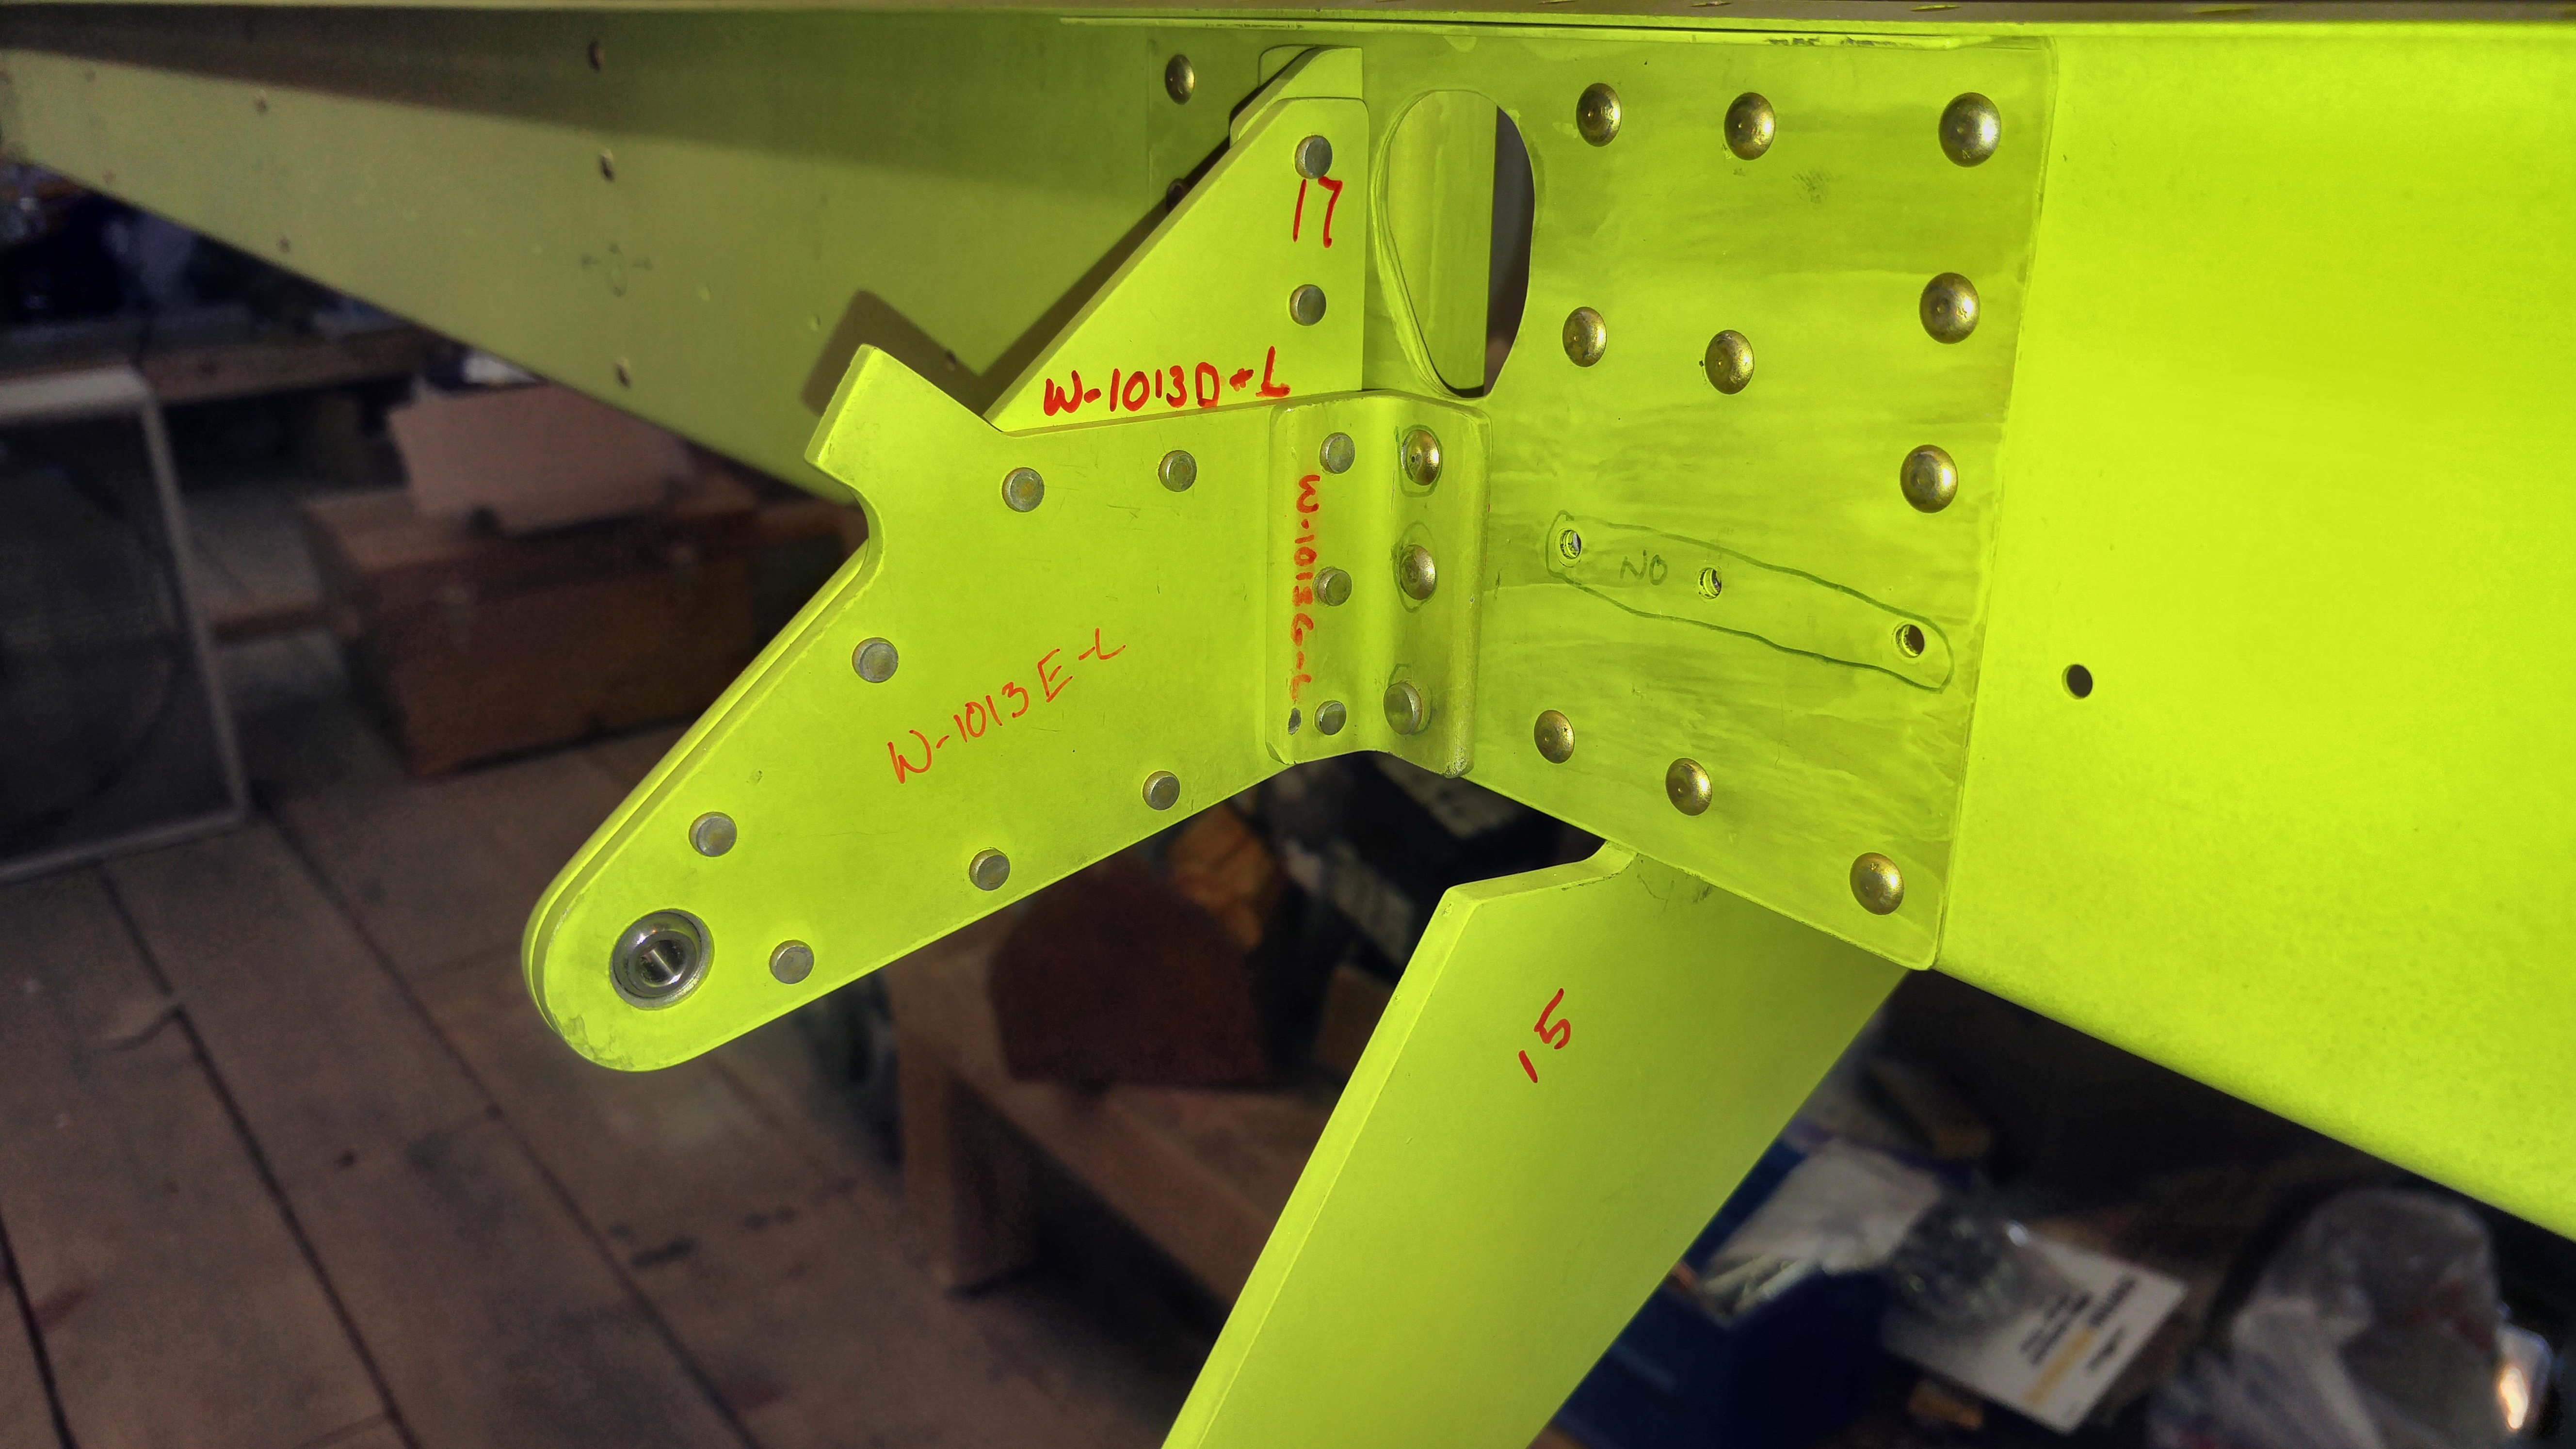
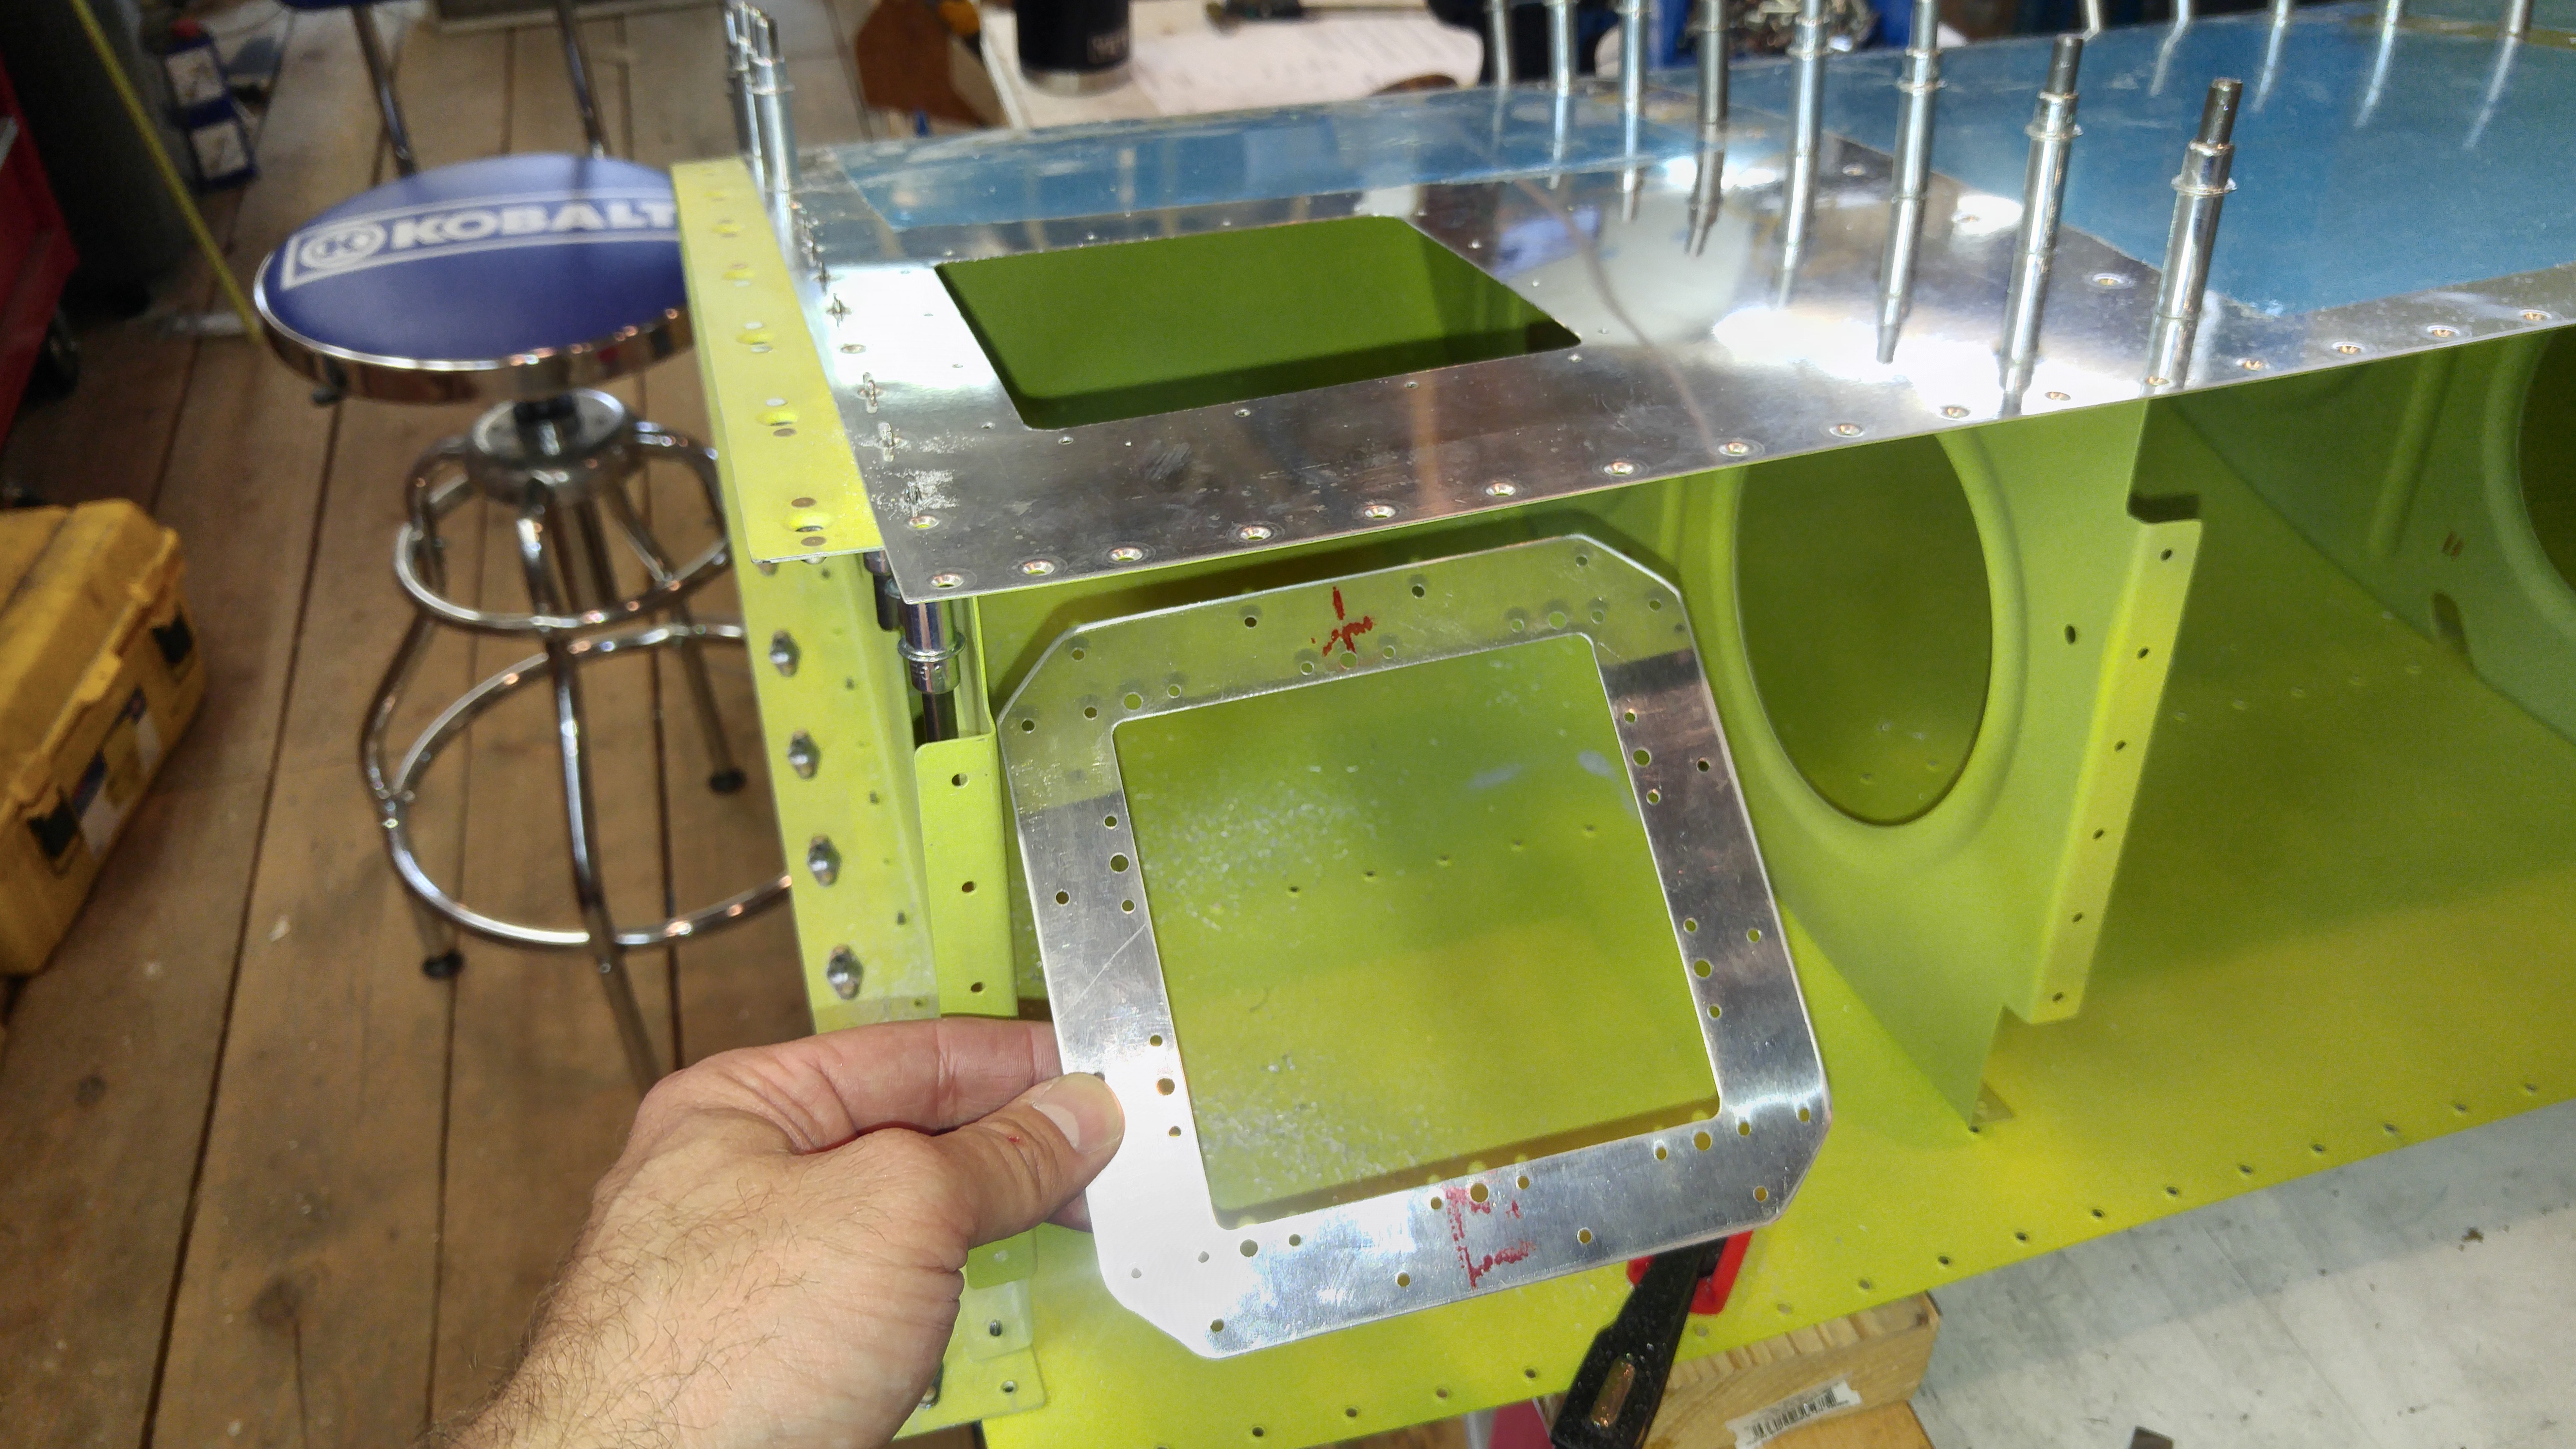
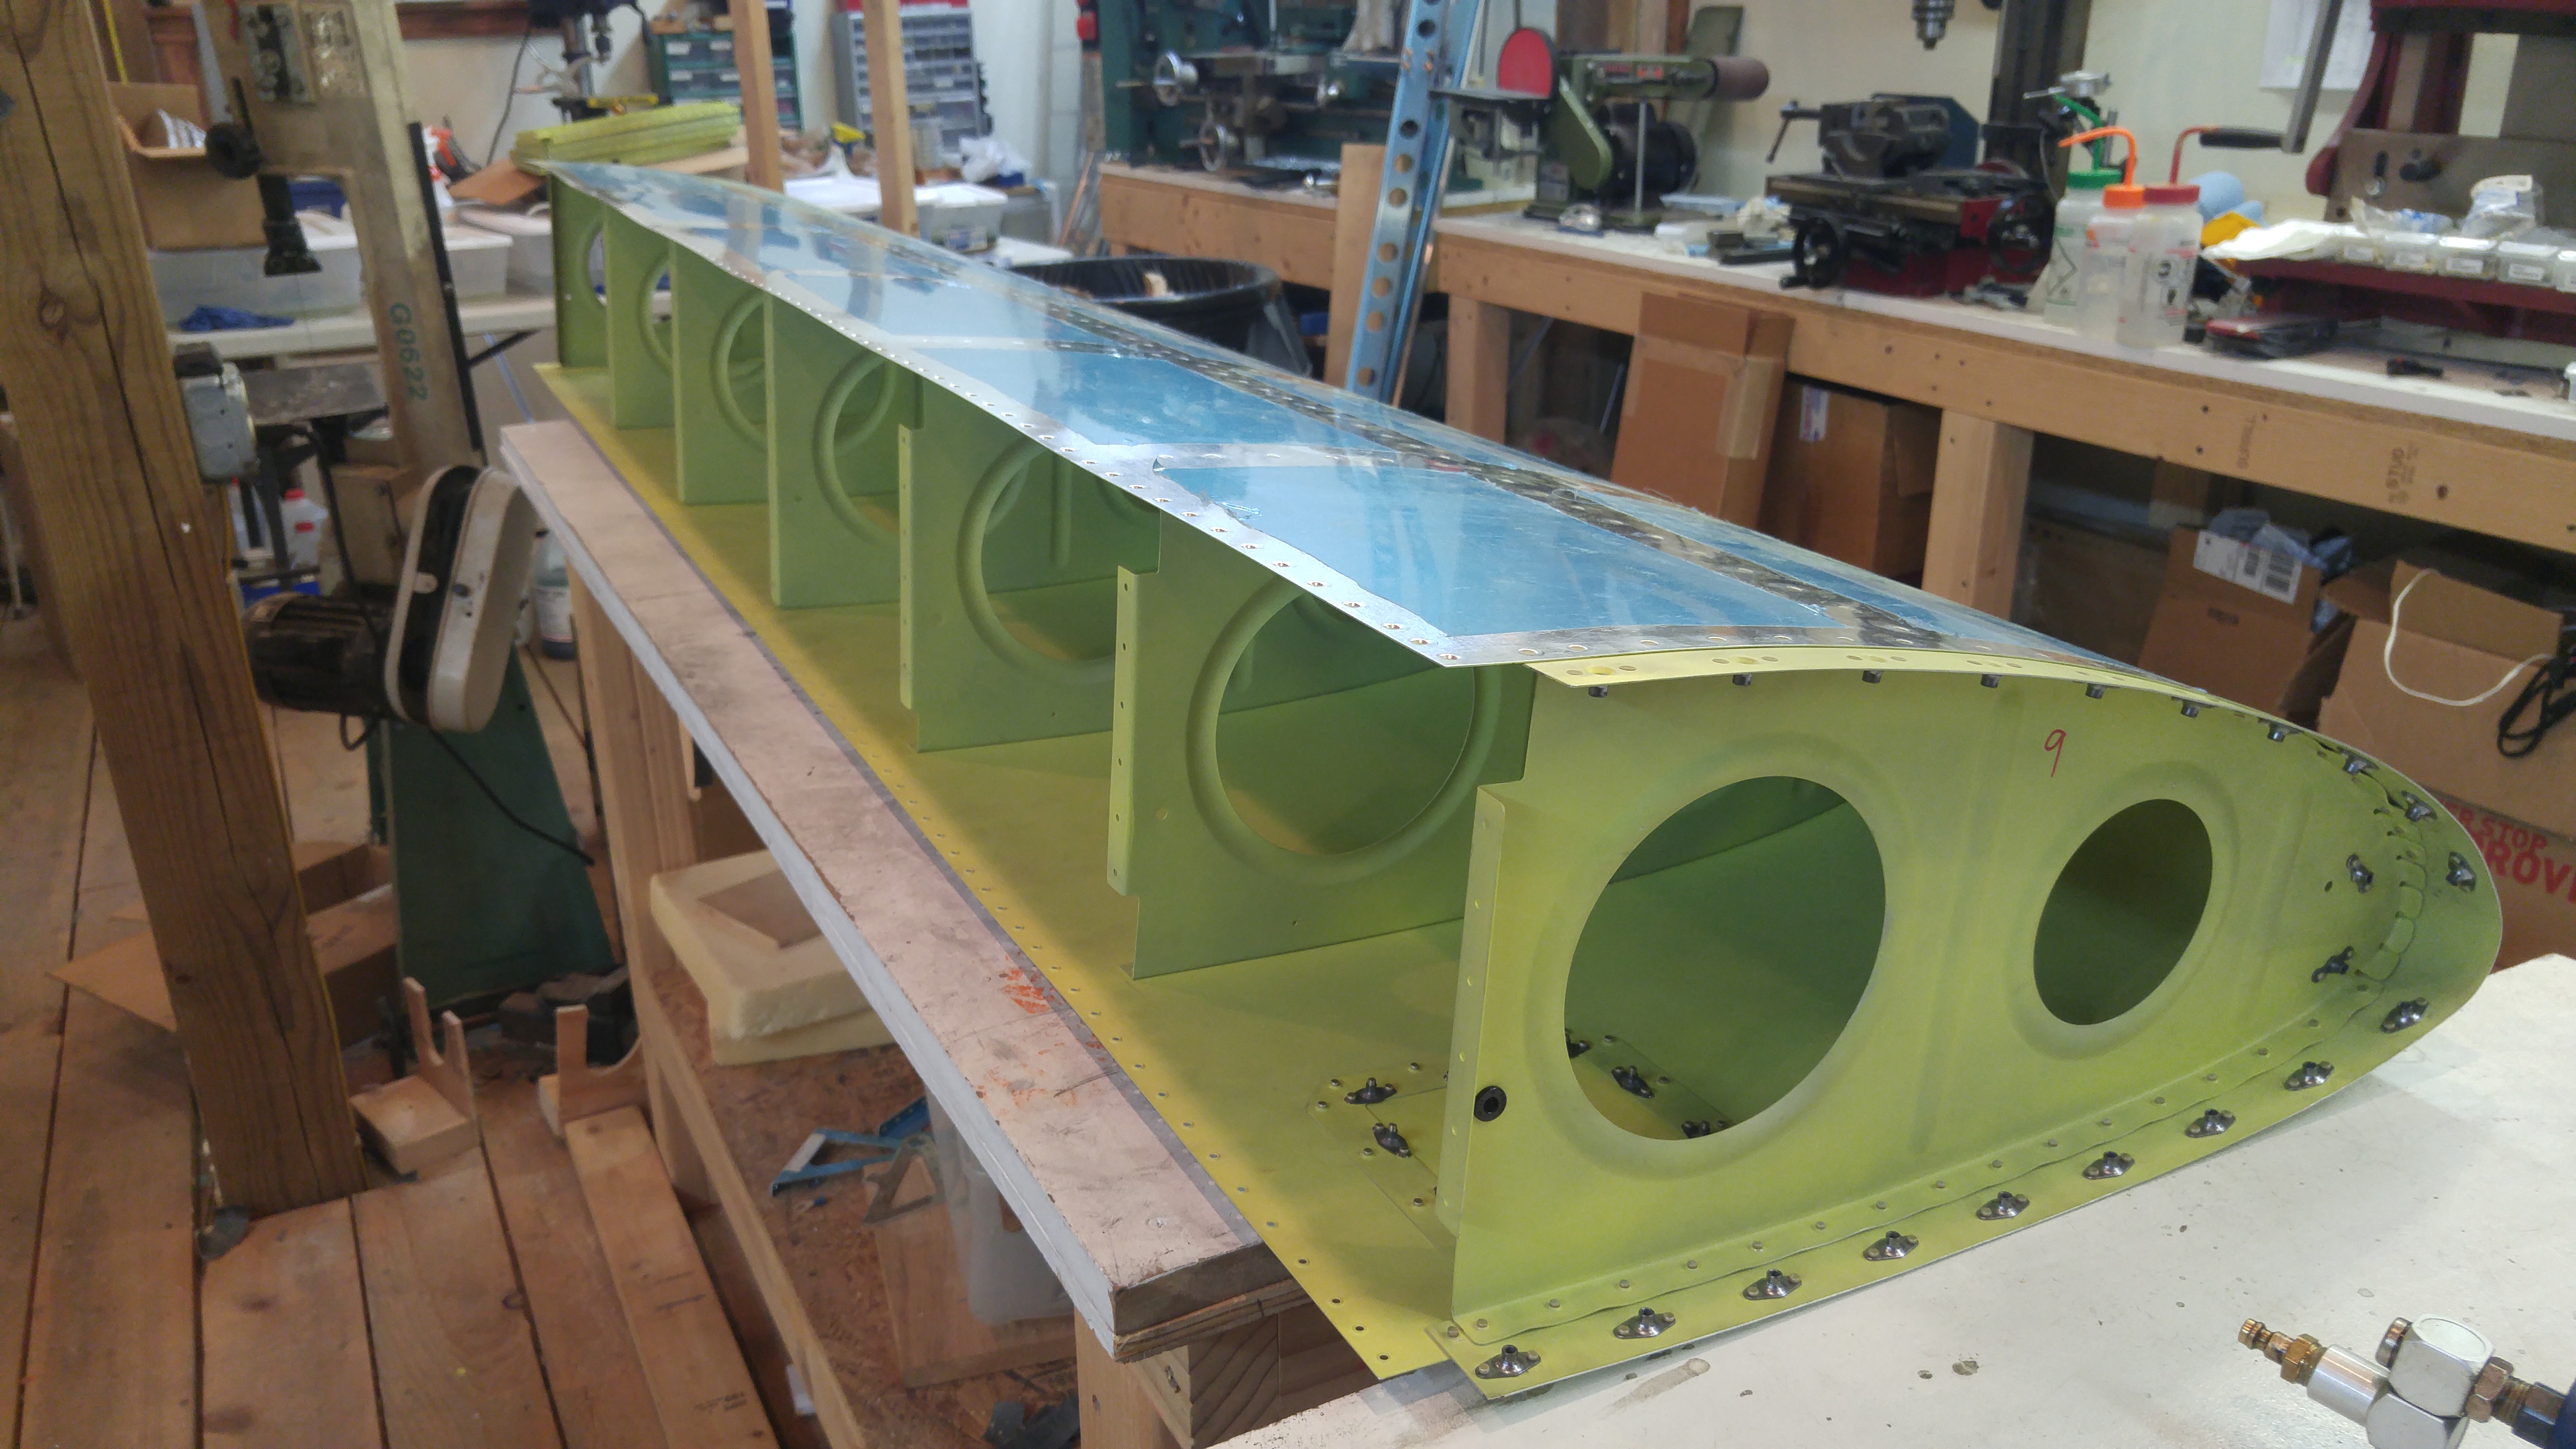
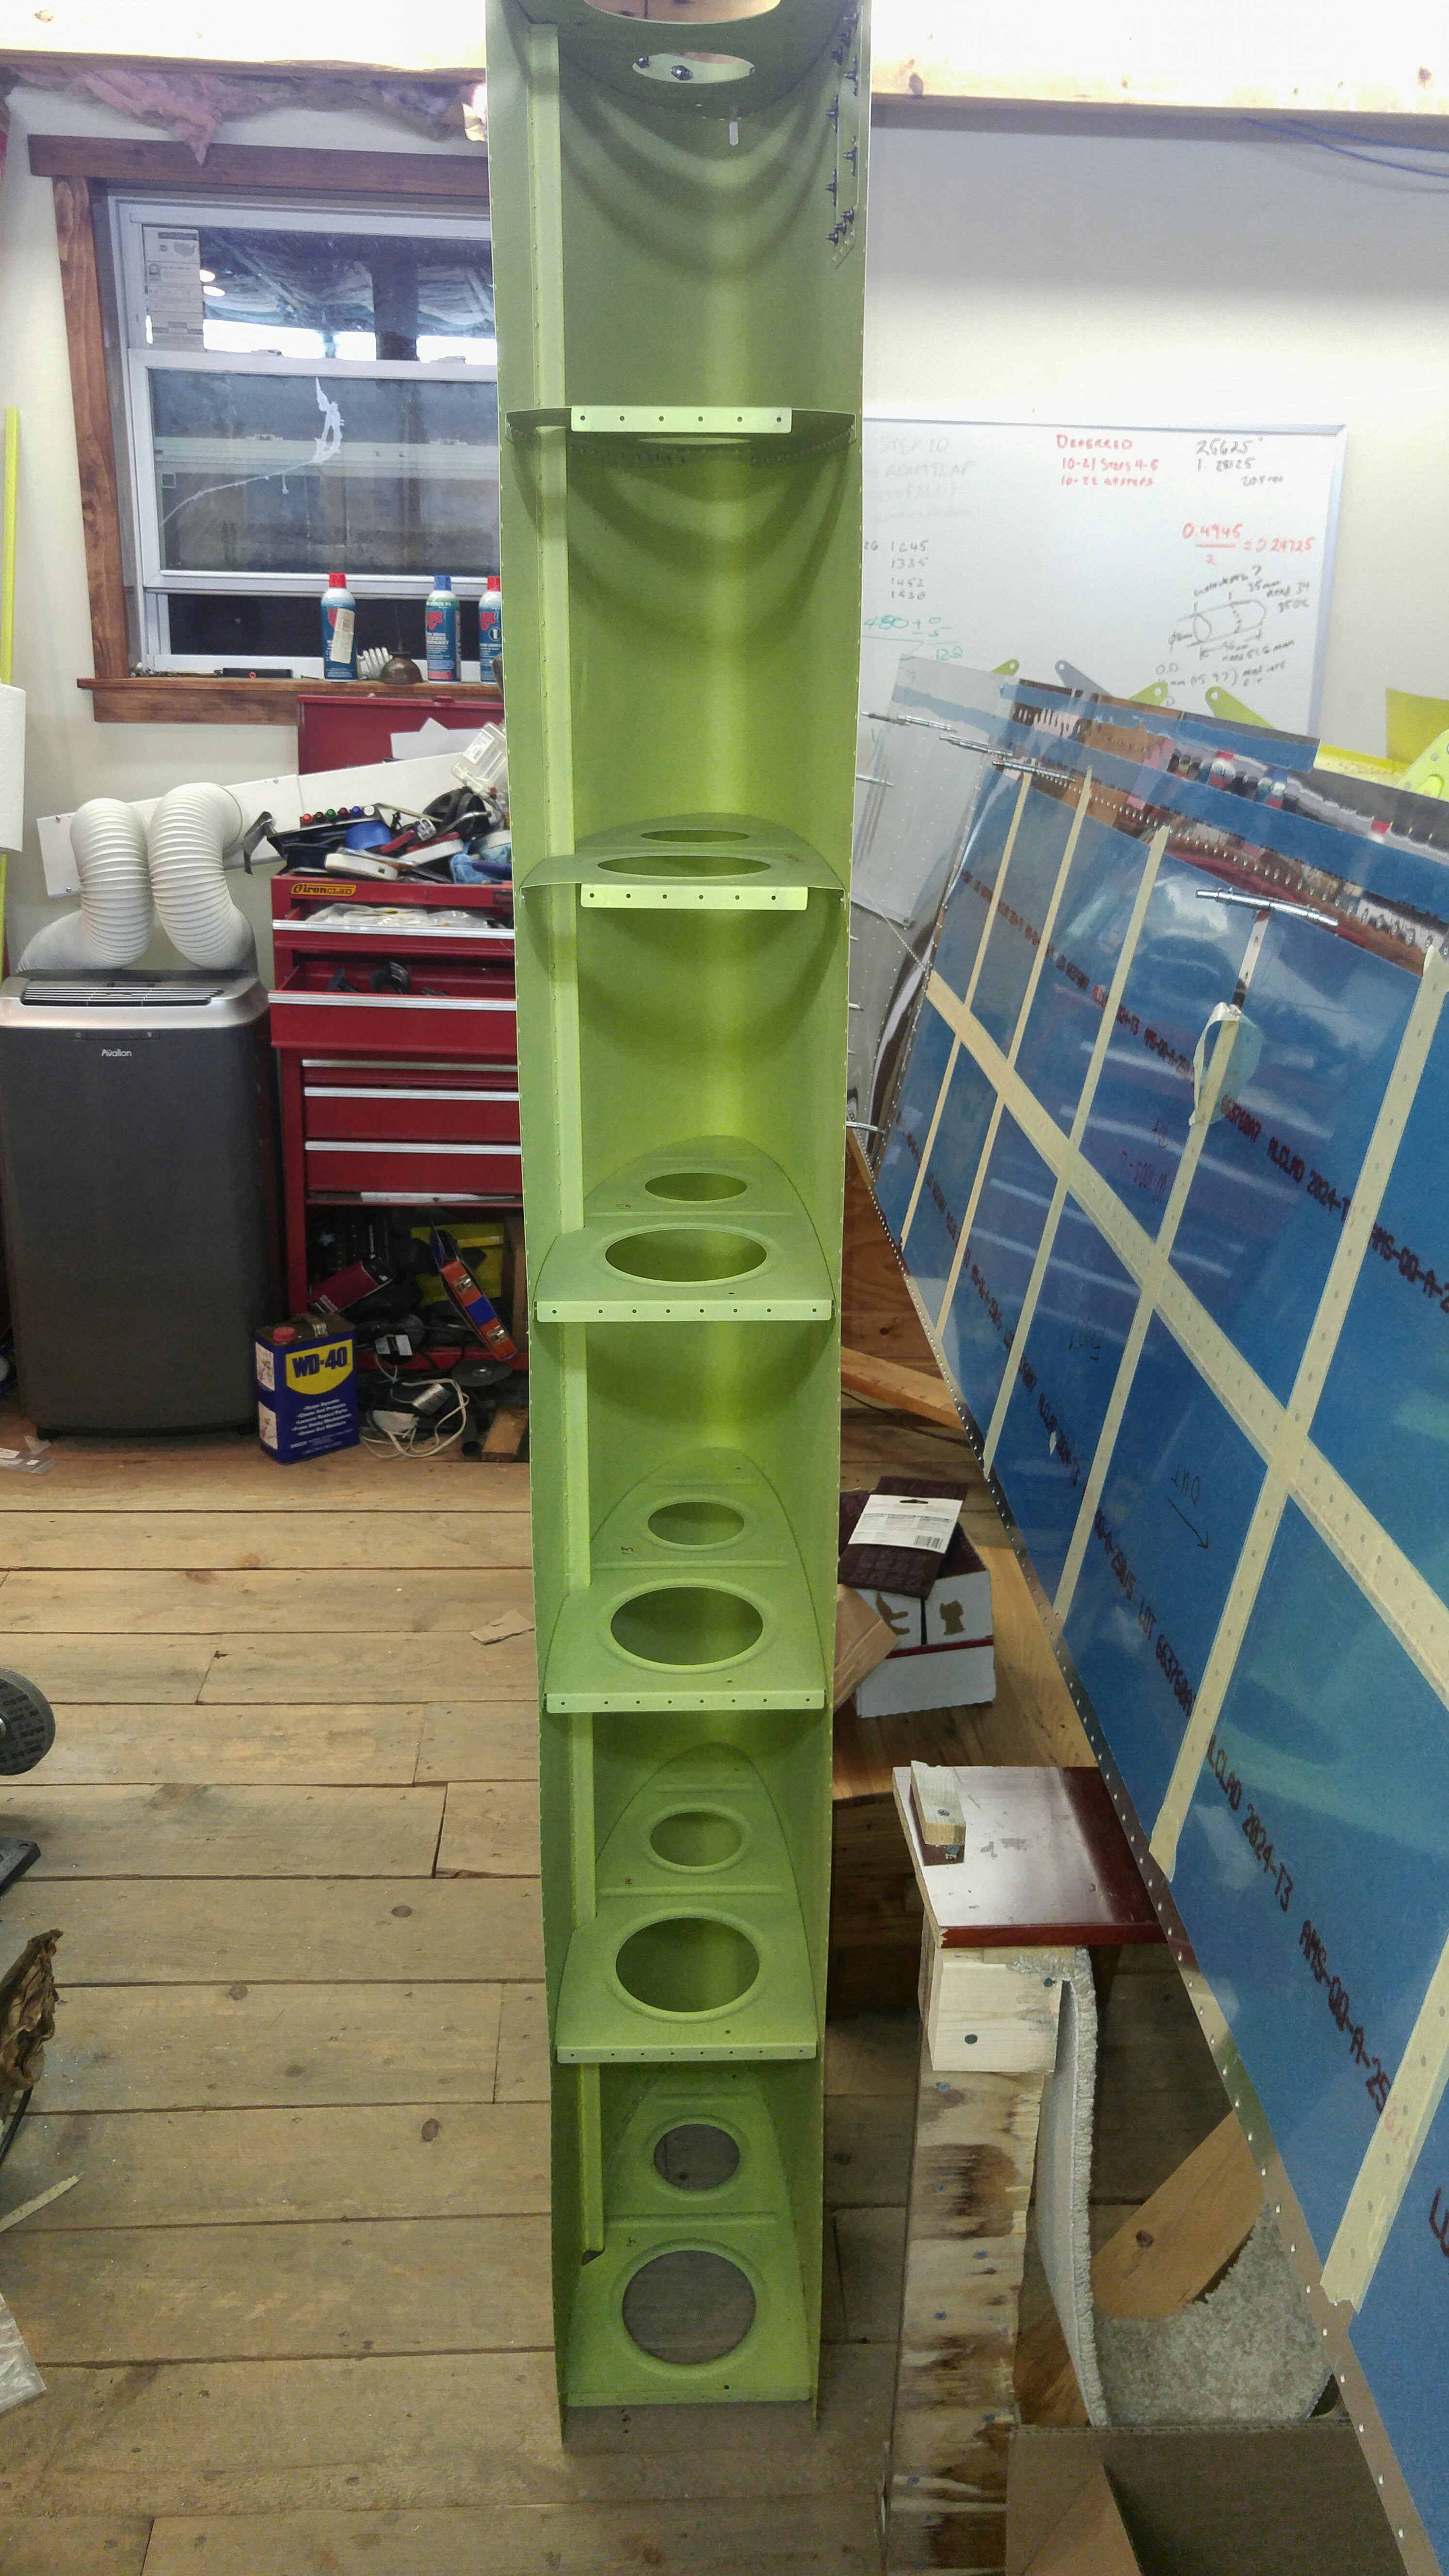
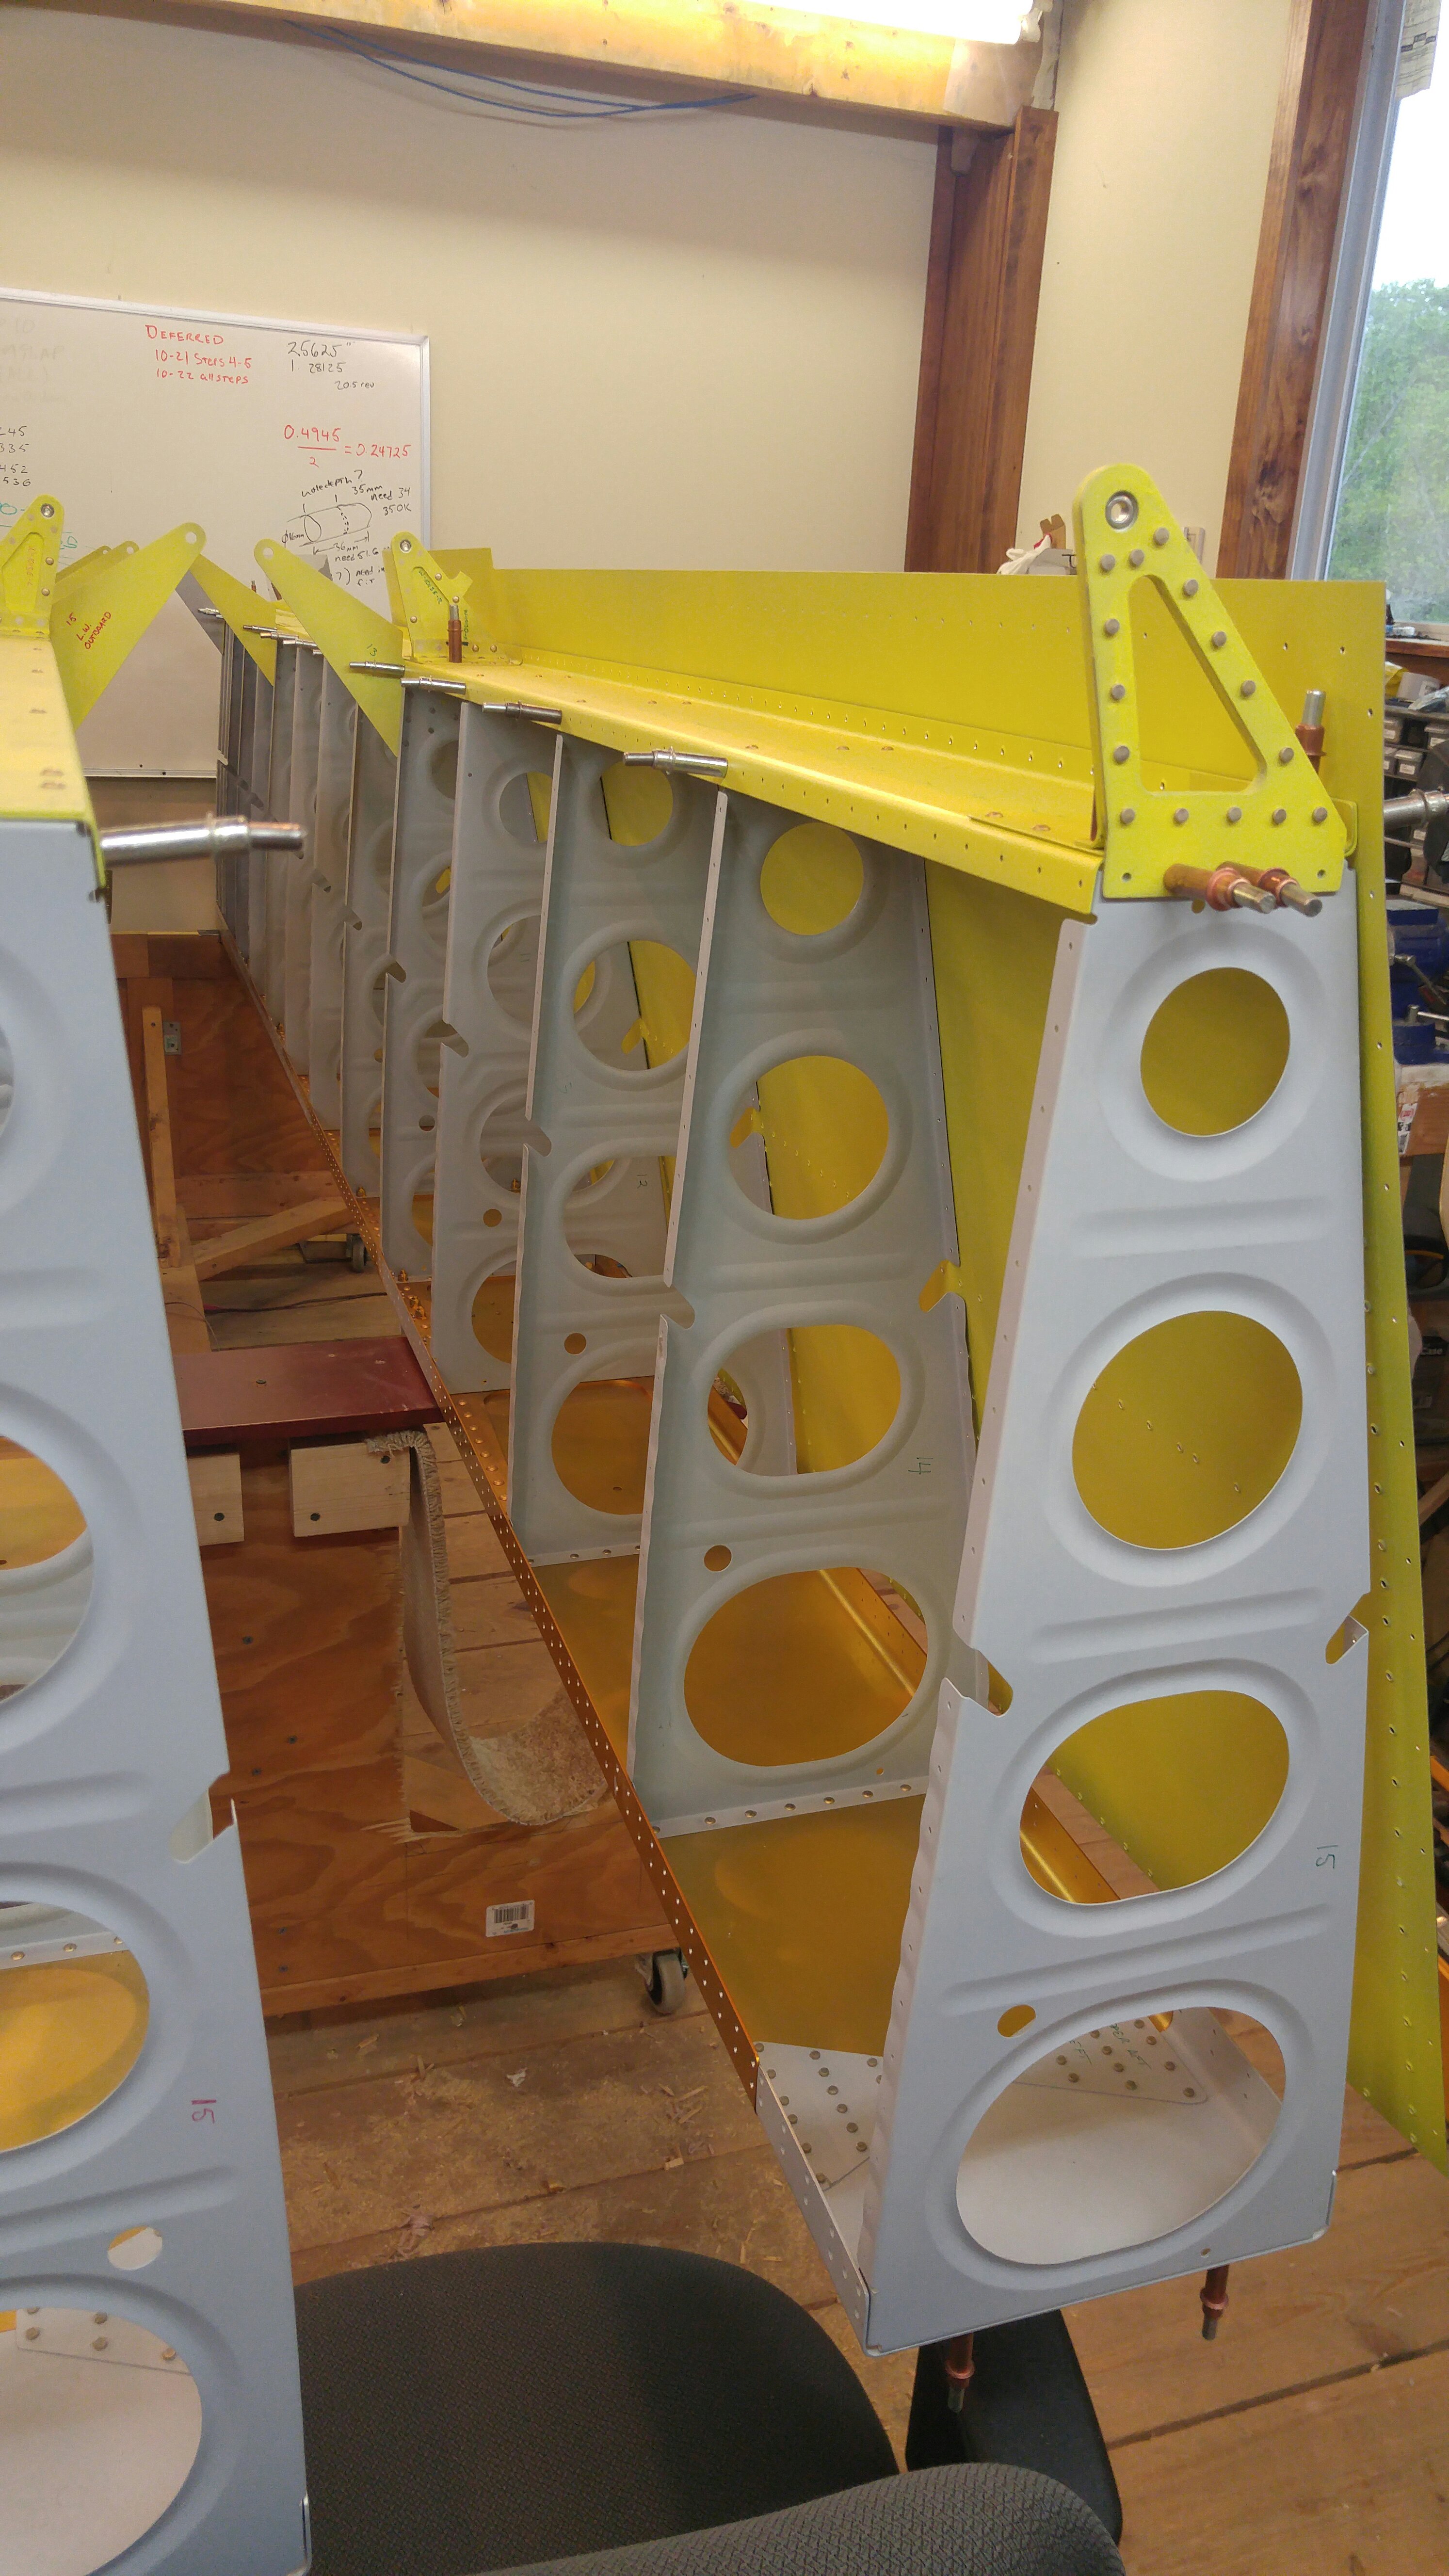
This set my senses tingling, and I slowly turned around from my computer to see F-1015A-L happily waving its joggled flange at me–from OUTSIDE the F-1004D-L channel.

Subsequently, I searched on VAF for F-1015A-L and found this gem of a post from 2010:

https://vansairforce.net/community/showthread.php?t=56456

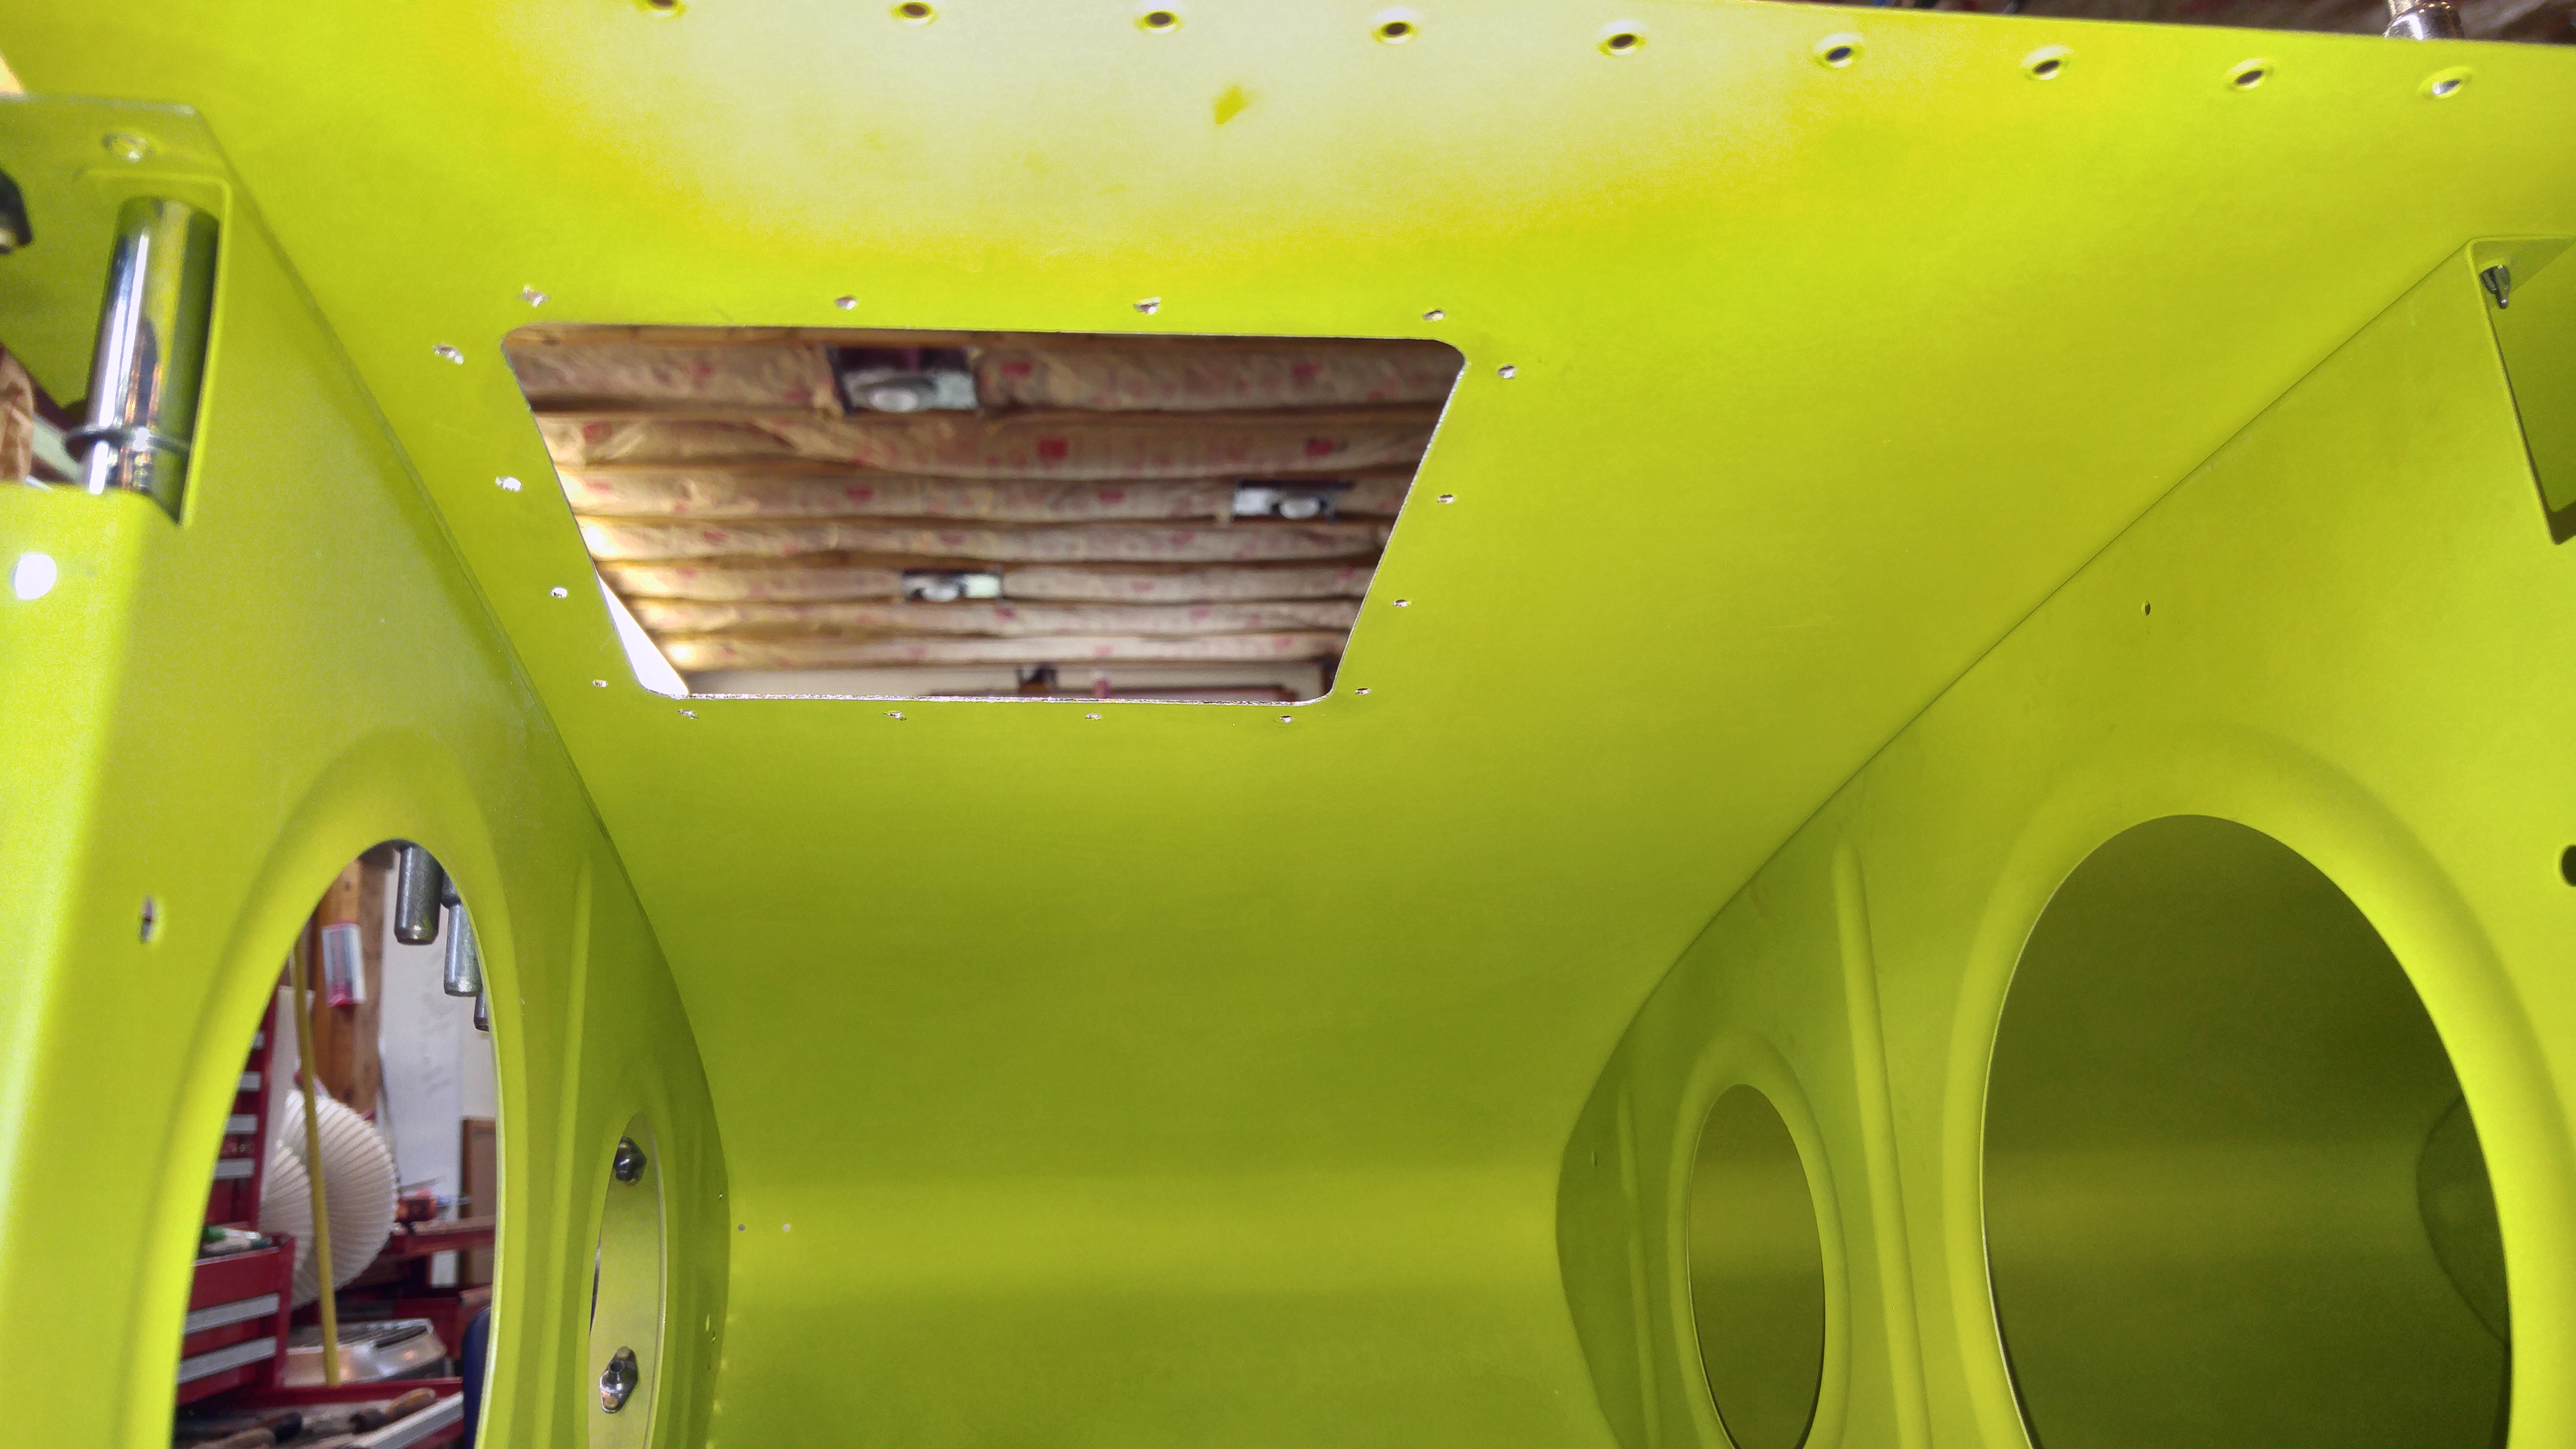
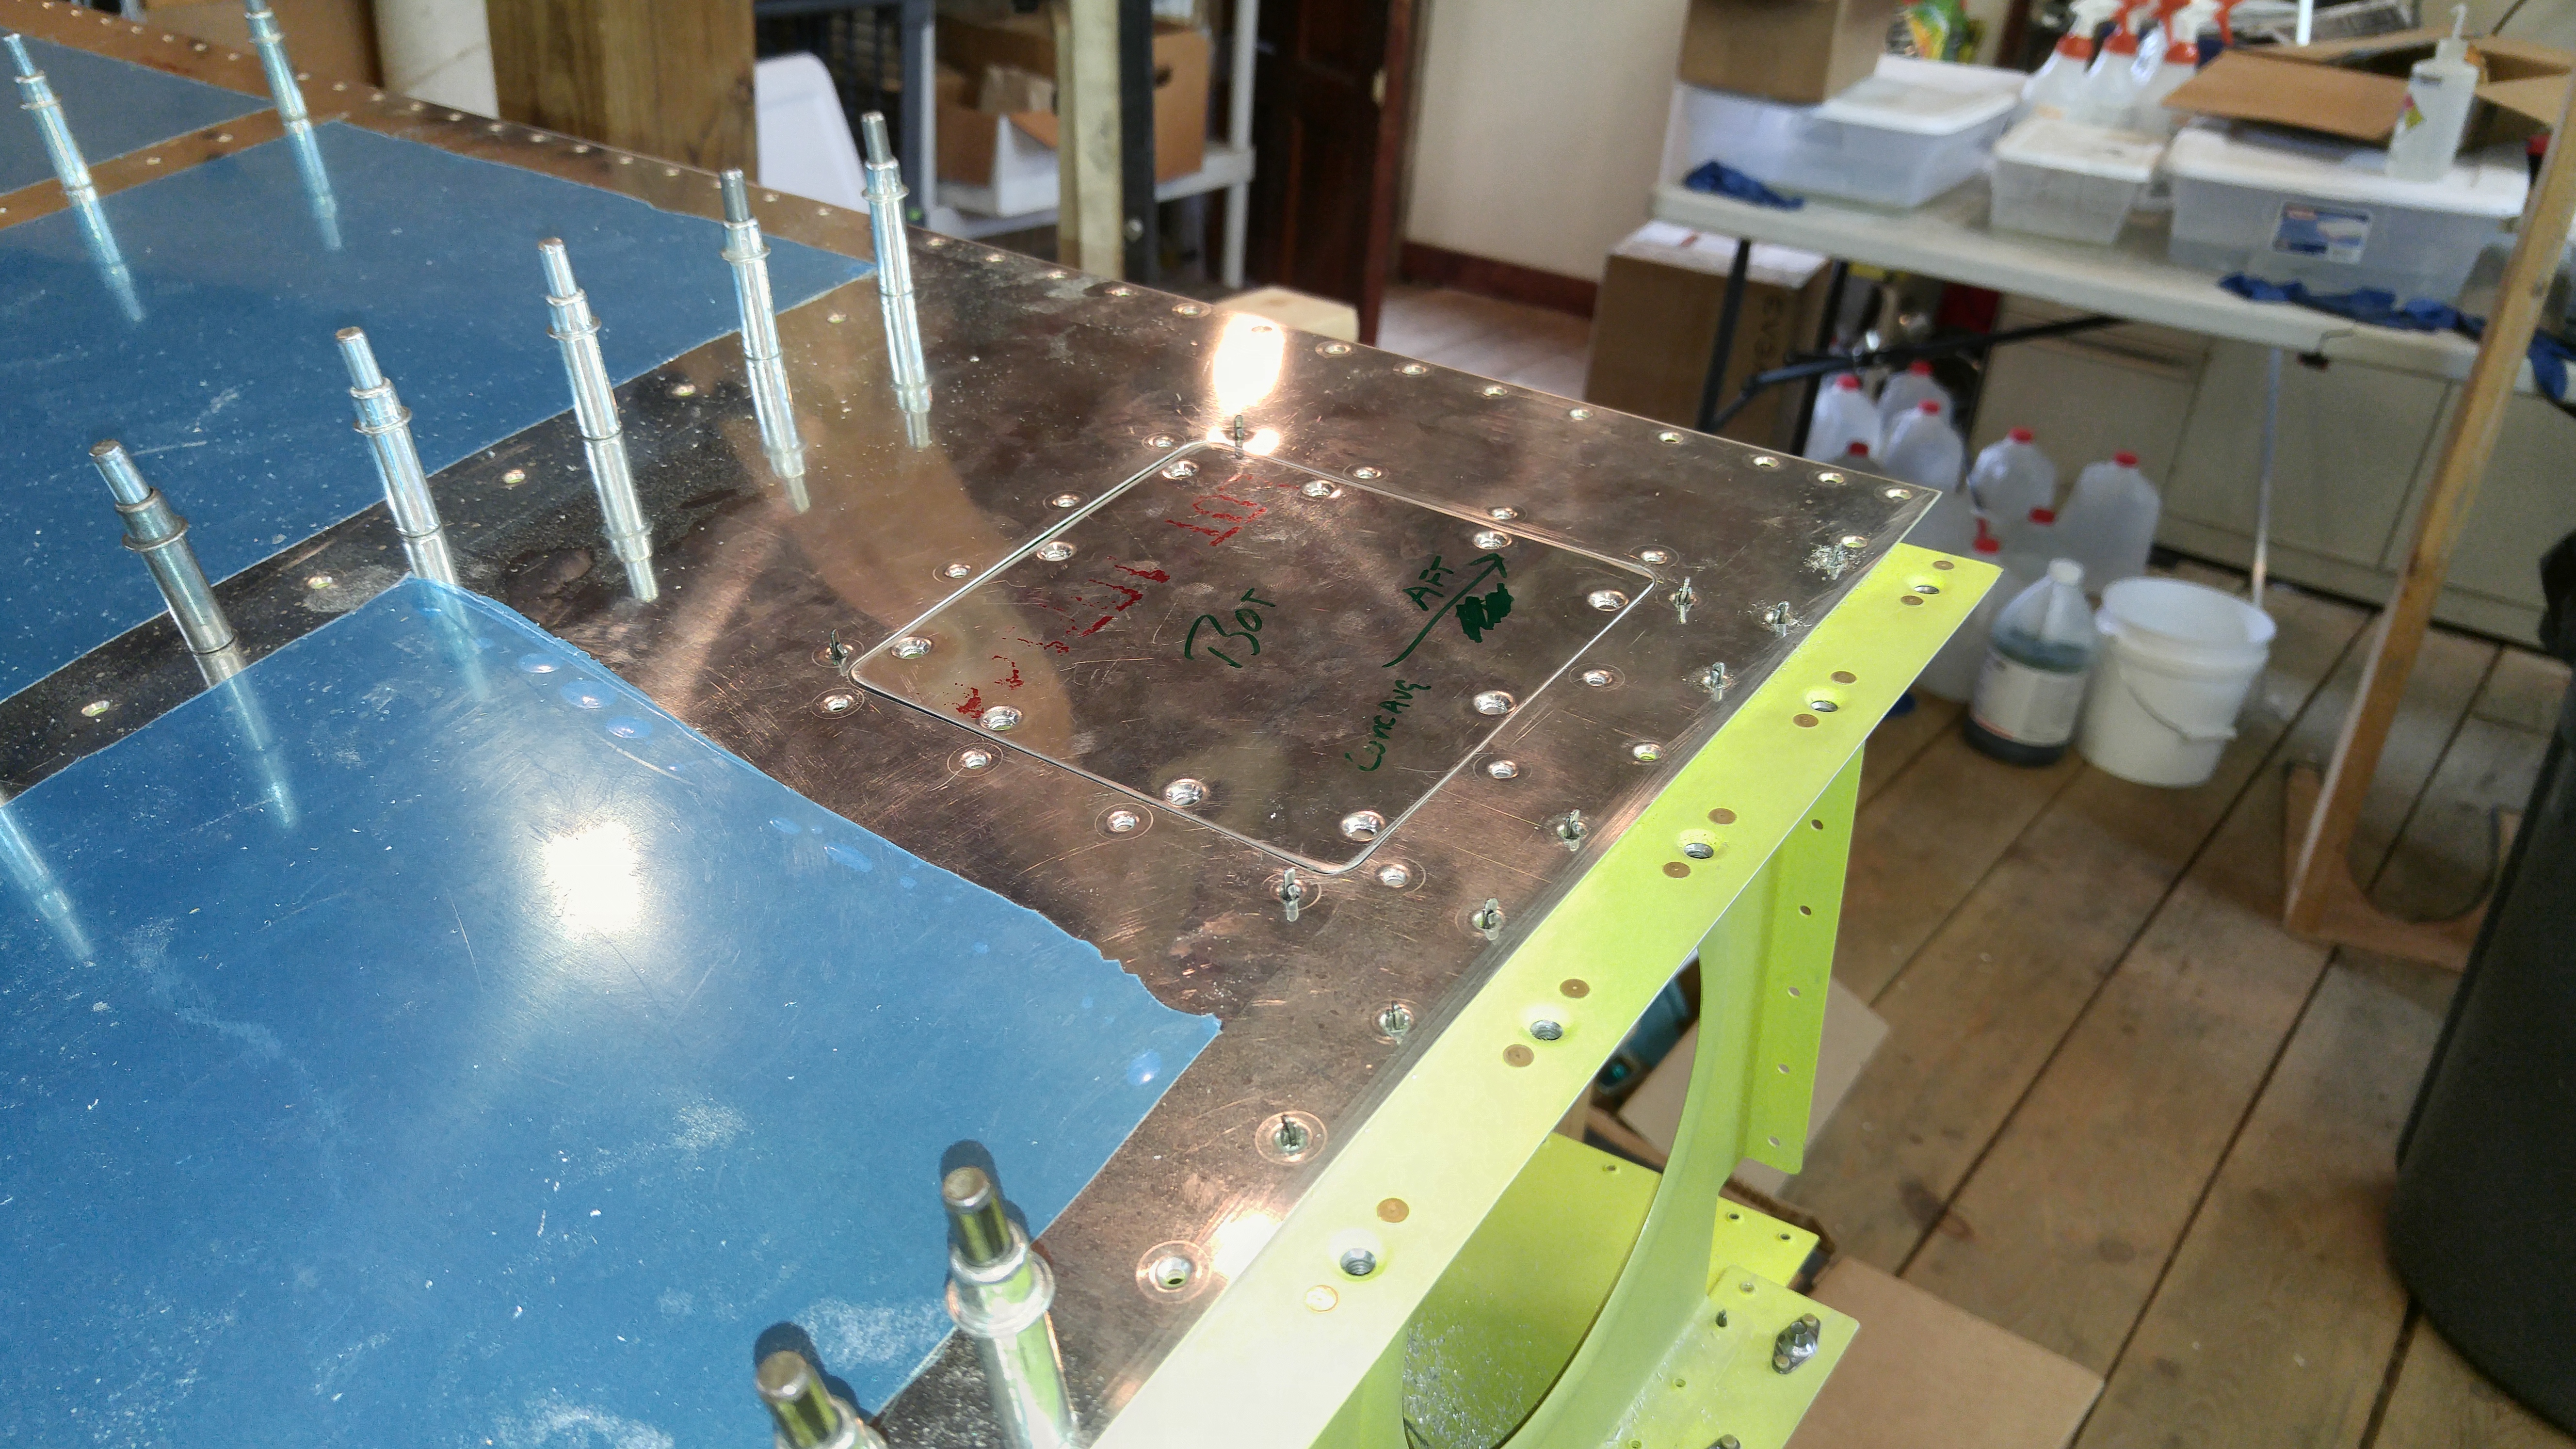
This is going to require some re-work, and while it shouldn’t be too bad, it brings to light a serious deficiency in the RV-10 plans. While I was working on Page 26-5, I kept thinking that something was wrong with the 1015A ribs, but I couldn’t put my finger on it. There is very little mention of them at all in the plans.

I’m hoping that by posting this and adding to the VAF thread, I can help other builders who might be running into this problem.

RV-10 Fuel Tank Baffle Sealant Usage

I finished the RH fuel tank and measured the amount of sealant I used during the baffle installation. I applied a thin coat of sealant to both sides of all mating surfaces, with the exception of the baffle flanges, which I did mostly per Van’s instructions. For that part I used a 3/16″ bead forward of the rivet line, and a smaller bead just aft of the rivet line to allow some smearing between the mating surfaces.

For this baffle, I mixed batches of sealant ahead of time and froze them (for about an hour before actual use). I mixed four small batches, of 77g, 77g, 110g, and 121g, for a total of 385g. At the end, I had 89g remaining (a lot of waste), including 10g that was held up in the nozzles (2 used, 5g each) of the Semco pneumatic applicator gun. This results in a total of 296g applied to the tank and lost to clecoes, cleaning, etc. This matches fairly closely what I think I used for the LH tank baffle sealing.

Sealing the Fuel Tanks – Part I

Today I started to seal the left wing fuel tank.  I decided to follow the method laid out by Rick Galati at Van’s Air Force.

The method involves fay sealing surfaces and allowing the sealant to partially cure before riveting.  It is supposed to be less messy, and after handling the sealant for a while, I can imagine that trying to shoot rivets with this wet material everywhere would be quite frustrating and sloppy.  I masked off the area around the stiffeners to allow for easier clean-up after a partial cure.  We’ll see how that works out tomorrow.

As it was, the method is (so far) not terribly messy, as long as you’re willing to sacrifice a ton of nitrile gloves to prevent spreading the sealant around too much.

Today I prepped and sealed the left wing tank inboard rib hardware (fuel flange and anti-rotation plates) and five of the fourteen tank skin stiffeners.  I could have done more, but had only mixed 55g of the sealant (50g Part A : 5g Part B).  That was just exactly enough for the pieces I worked on today.  Perhaps I could have been a little less generous at first and got another stiffener or maybe two, but it looks like you need about 10-11g of sealant for each stiffener, including losses to the pot and gloves, etc.

When I opened the can, my first thought was:  “Wow, that’s a polysulfide!”  And sure enough, it is, according to the manufacturer.  It has a rather rich aroma.

Here’s what I accomplished today.  More tomorrow.

The inboard rib hardware:

The stiffeners:

Easy Peasy Rivet Squeezy

I finished replacing the rivets in the inboard aileron bracket on the left wing that I mentioned in my last post.  They look much better now, and I will not be worrying about them anymore.  It is amazing how thinking about these has actually slowed me down for a while, until I finally just got up the nerve to drill them out and replace them.  I have replaced other rivets before, but I was nervous that in drilling these out, I would damage the aileron bracket and have to build it all over again.  I just jumped in and did it this evening with no issues.  Glad that is behind me!

After that, I clecoed the top skins to the left wing and prepped it all to begin riveting as soon as I can get a helper.

Right wing leading edge complete and shop cleanup

Yesterday I completed the right wing leading edge, cleaned up some shop area, moved the tail cone to a better storage location, and then made a test fit of the left wing leading edge to the main spar. The fit looked good.

I have one rivet I need to drill out and re-set on the left wing rear spar, and then I will begin the top skin riveting process.

Left Wing Outboard Leading Edge Complete

Long time, no update.  Rest assured, work has been progressing!

Today, after a long preparation period that involved tons of part finishing and priming (and receiving and inventorying the fuselage kit), I began final construction of the major sub-assemblies of the wings.  8 hours of work later, I completed assembly of the left wing leading edge assembly.  Tomorrow I plan to complete the right wing leading edge assembly, and possibly begin main wing top skin riveting.  Or maybe fuel tanks.

Hole cut for the stall warning system access cover.

Access cover plate doubler pre-priming

Test fit of access plate cover and doubler.

Left wing leading edge stall warning system access/inspection doubler and cover installed 6/9/2018

Left wing leading edge stall warning system access/inspection doubler and cover installed 6/9/2018

Left wing leading edge assembly and riveting in progress 6/9/2018

Left wing leading edge assembly and riveting in progress 6/9/2018

Left wing leading edge assembly and riveting in progress 6/9/2018

Completed Left Wing Outboard Leading Edge 6/9/2018

Completed Left Wing Outboard Leading Edge 6/9/2018

Completed Left Wing Outboard Leading Edge 6/9/2018

Completed Left Wing Outboard Leading Edge 6/9/2018

Fuselage Kit!

I completed the fuselage kit inventory today. Just a few discrepancies to correct. E-mail sent to Van’s, and I’ll be on my way!


I decided to use the Cee Bailey’s windscreen and windows, so I deleted those from the kit. Also, I deleted the Van’s aluminum heater boxes because I intend to use the stainless heater boxes.

I am very excited to begin the fuselage construction phase, but I still have some work on the wings to complete before I can really dive in! I have been making slow but steady progress on the wings, but I hope (and think) I can really accelerate things soon.


Right Wing Tank Work

Today I spent a lot of time deburring and dimpling the right wing tank skin, stiffeners, and associated parts. I also found that the DRDT-2 works better for screw hole dimpling than the pneumatic squeezer did, so I ran the left wing tank skin back through the screw hole dimpling process, and the holes now look much crisper.

I also got a very nice surprise when Mom and Tim showed up unannounced for a visit and gave me a great little chest that Tim made for me in his wood shop. I’m going to come up with a good use for it that will not damage it. Tim said I should keep it in the workshop but I want to make sure I don’t get it dirty or scratched or damaged in other ways. It really is a nice piece of craftsmanship!

It is made of wormy chestnut, which is really pretty. I think it is finished only with linseed oil. The aroma is very nice, and I like the natural finish.

He even signed and dedicated it!