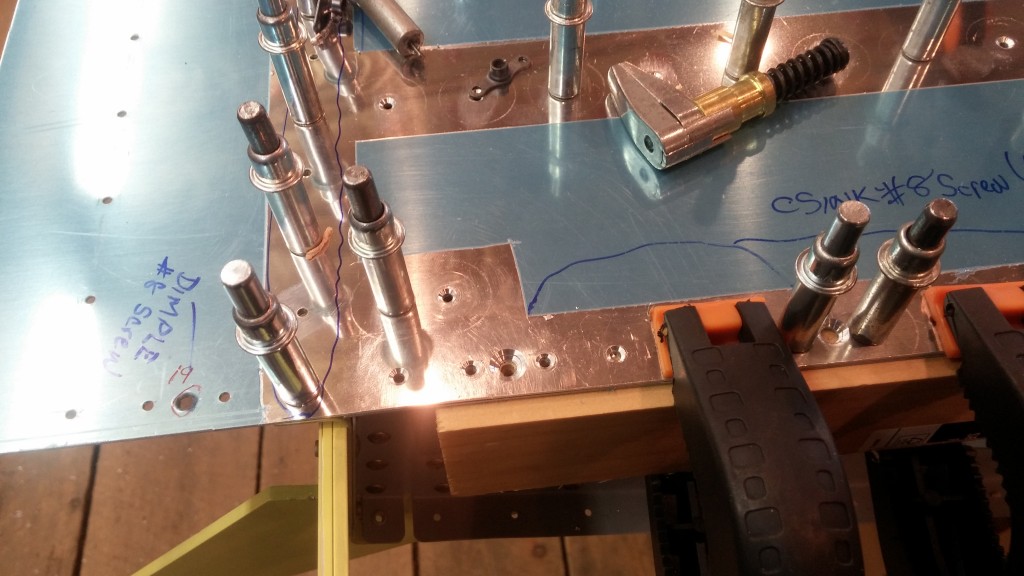
Countersinking large screw holes for nutplates in thin sections of sheet is no fun. The countersink bit tends to wander and make a hash of the hole. I thought about how to minimize chatter and keep the bit centered for a few minutes and came up with this:
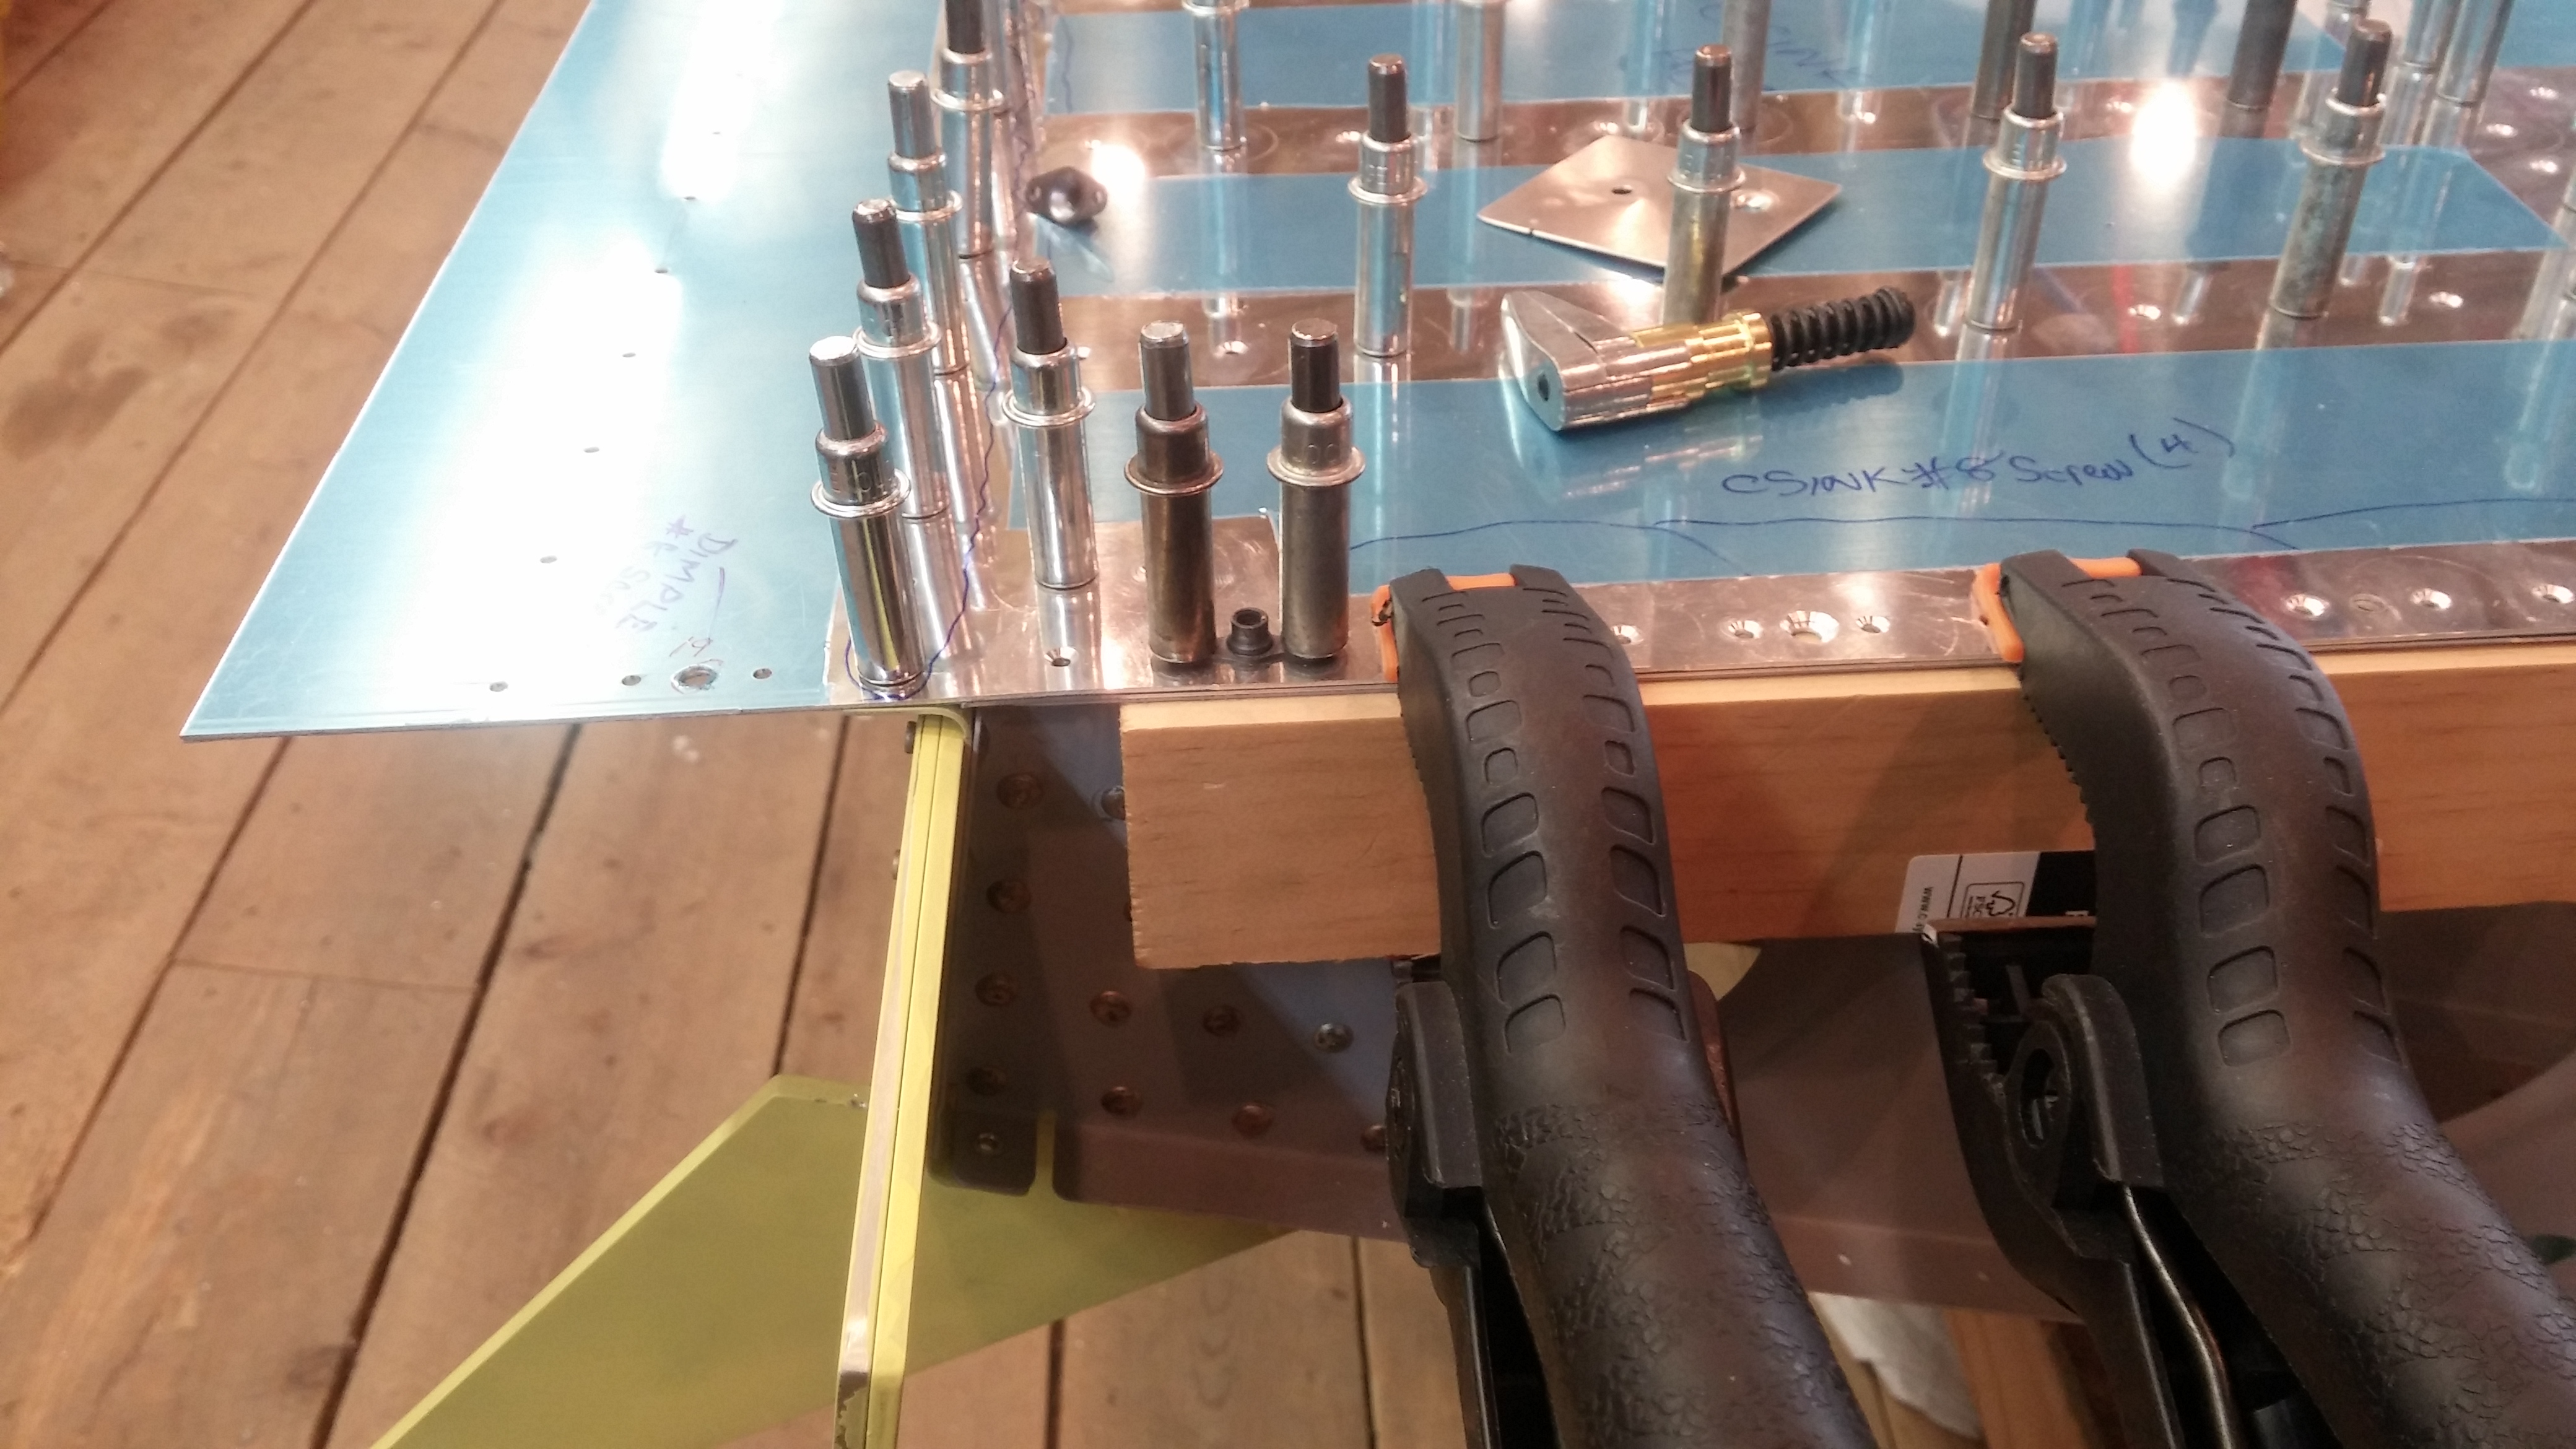
First, I cut a piece of wood to fit a small area along the line where the nutplates are. In this case, the nutplates will eventually hold the wing root fairing on the left wing. I clamped the piece of wood in place and drilled #40 holes in the wood to correspond with the nutplate rivet holes. Then I clecoed a nutplate through the top of the skin into the wood.

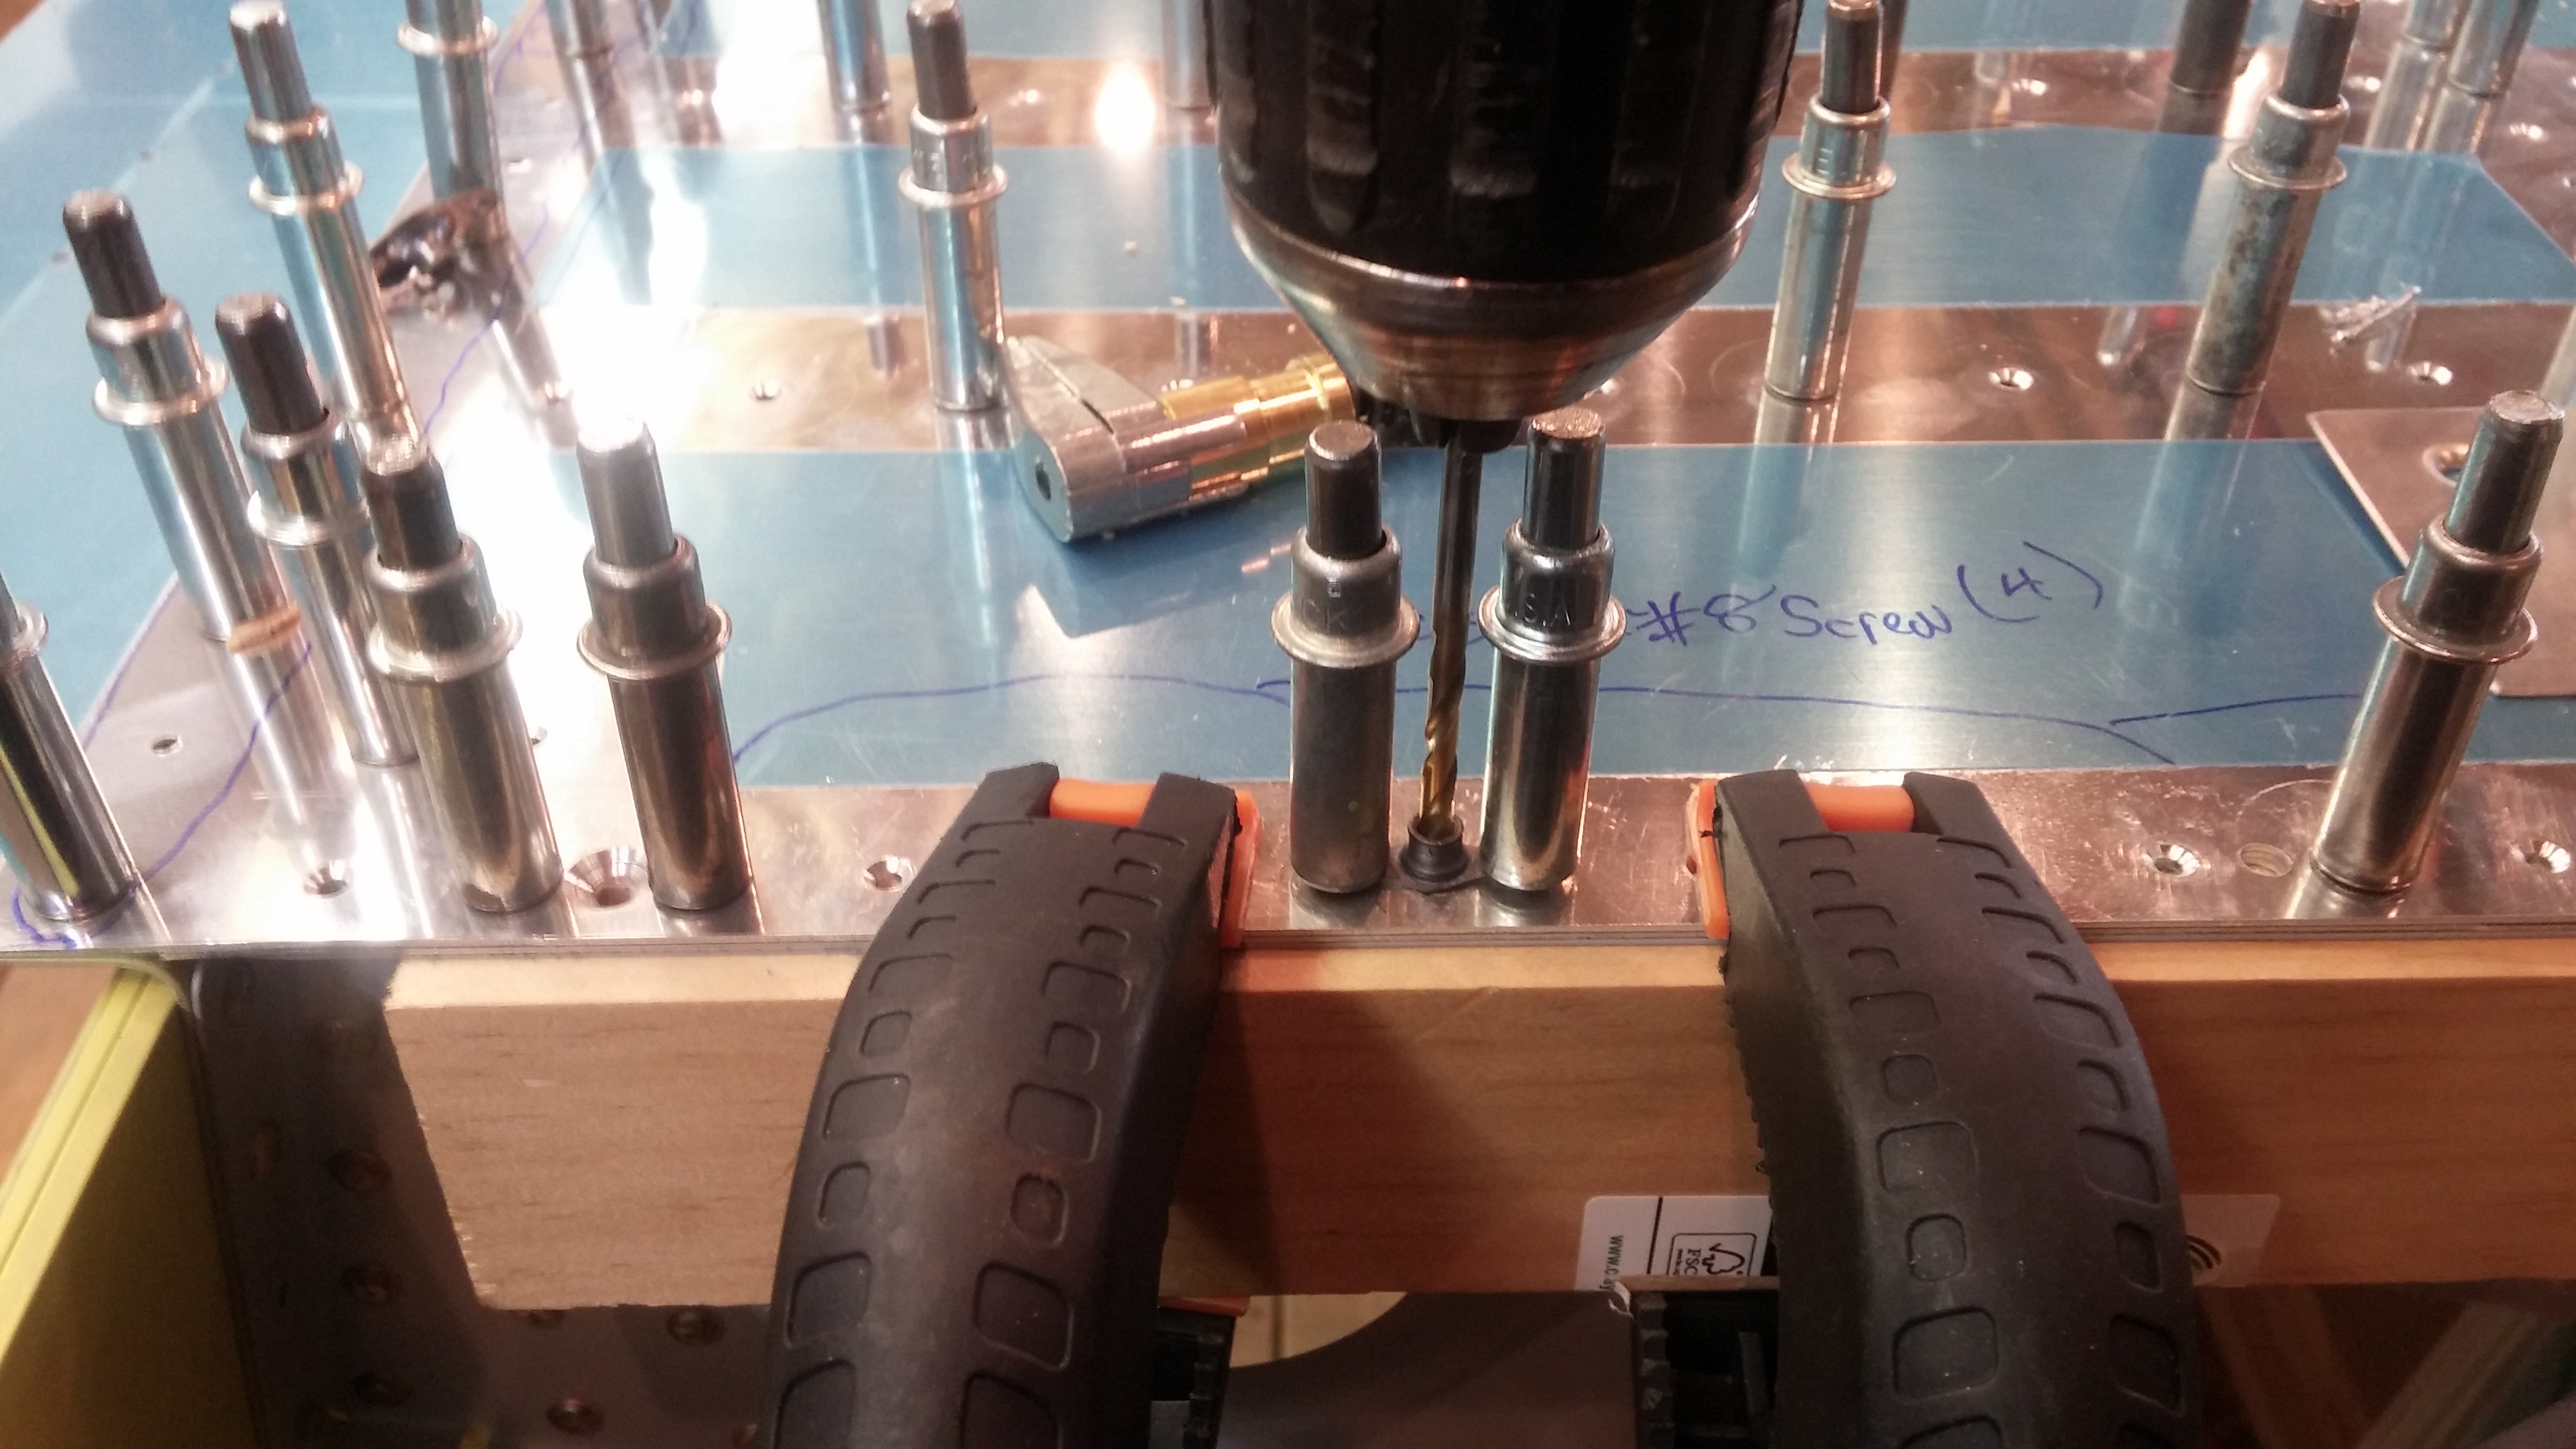
Then I used the nutplate as a drill guide to drill a #30 hole in the wood below, centered on the screw hole in the nutplate.

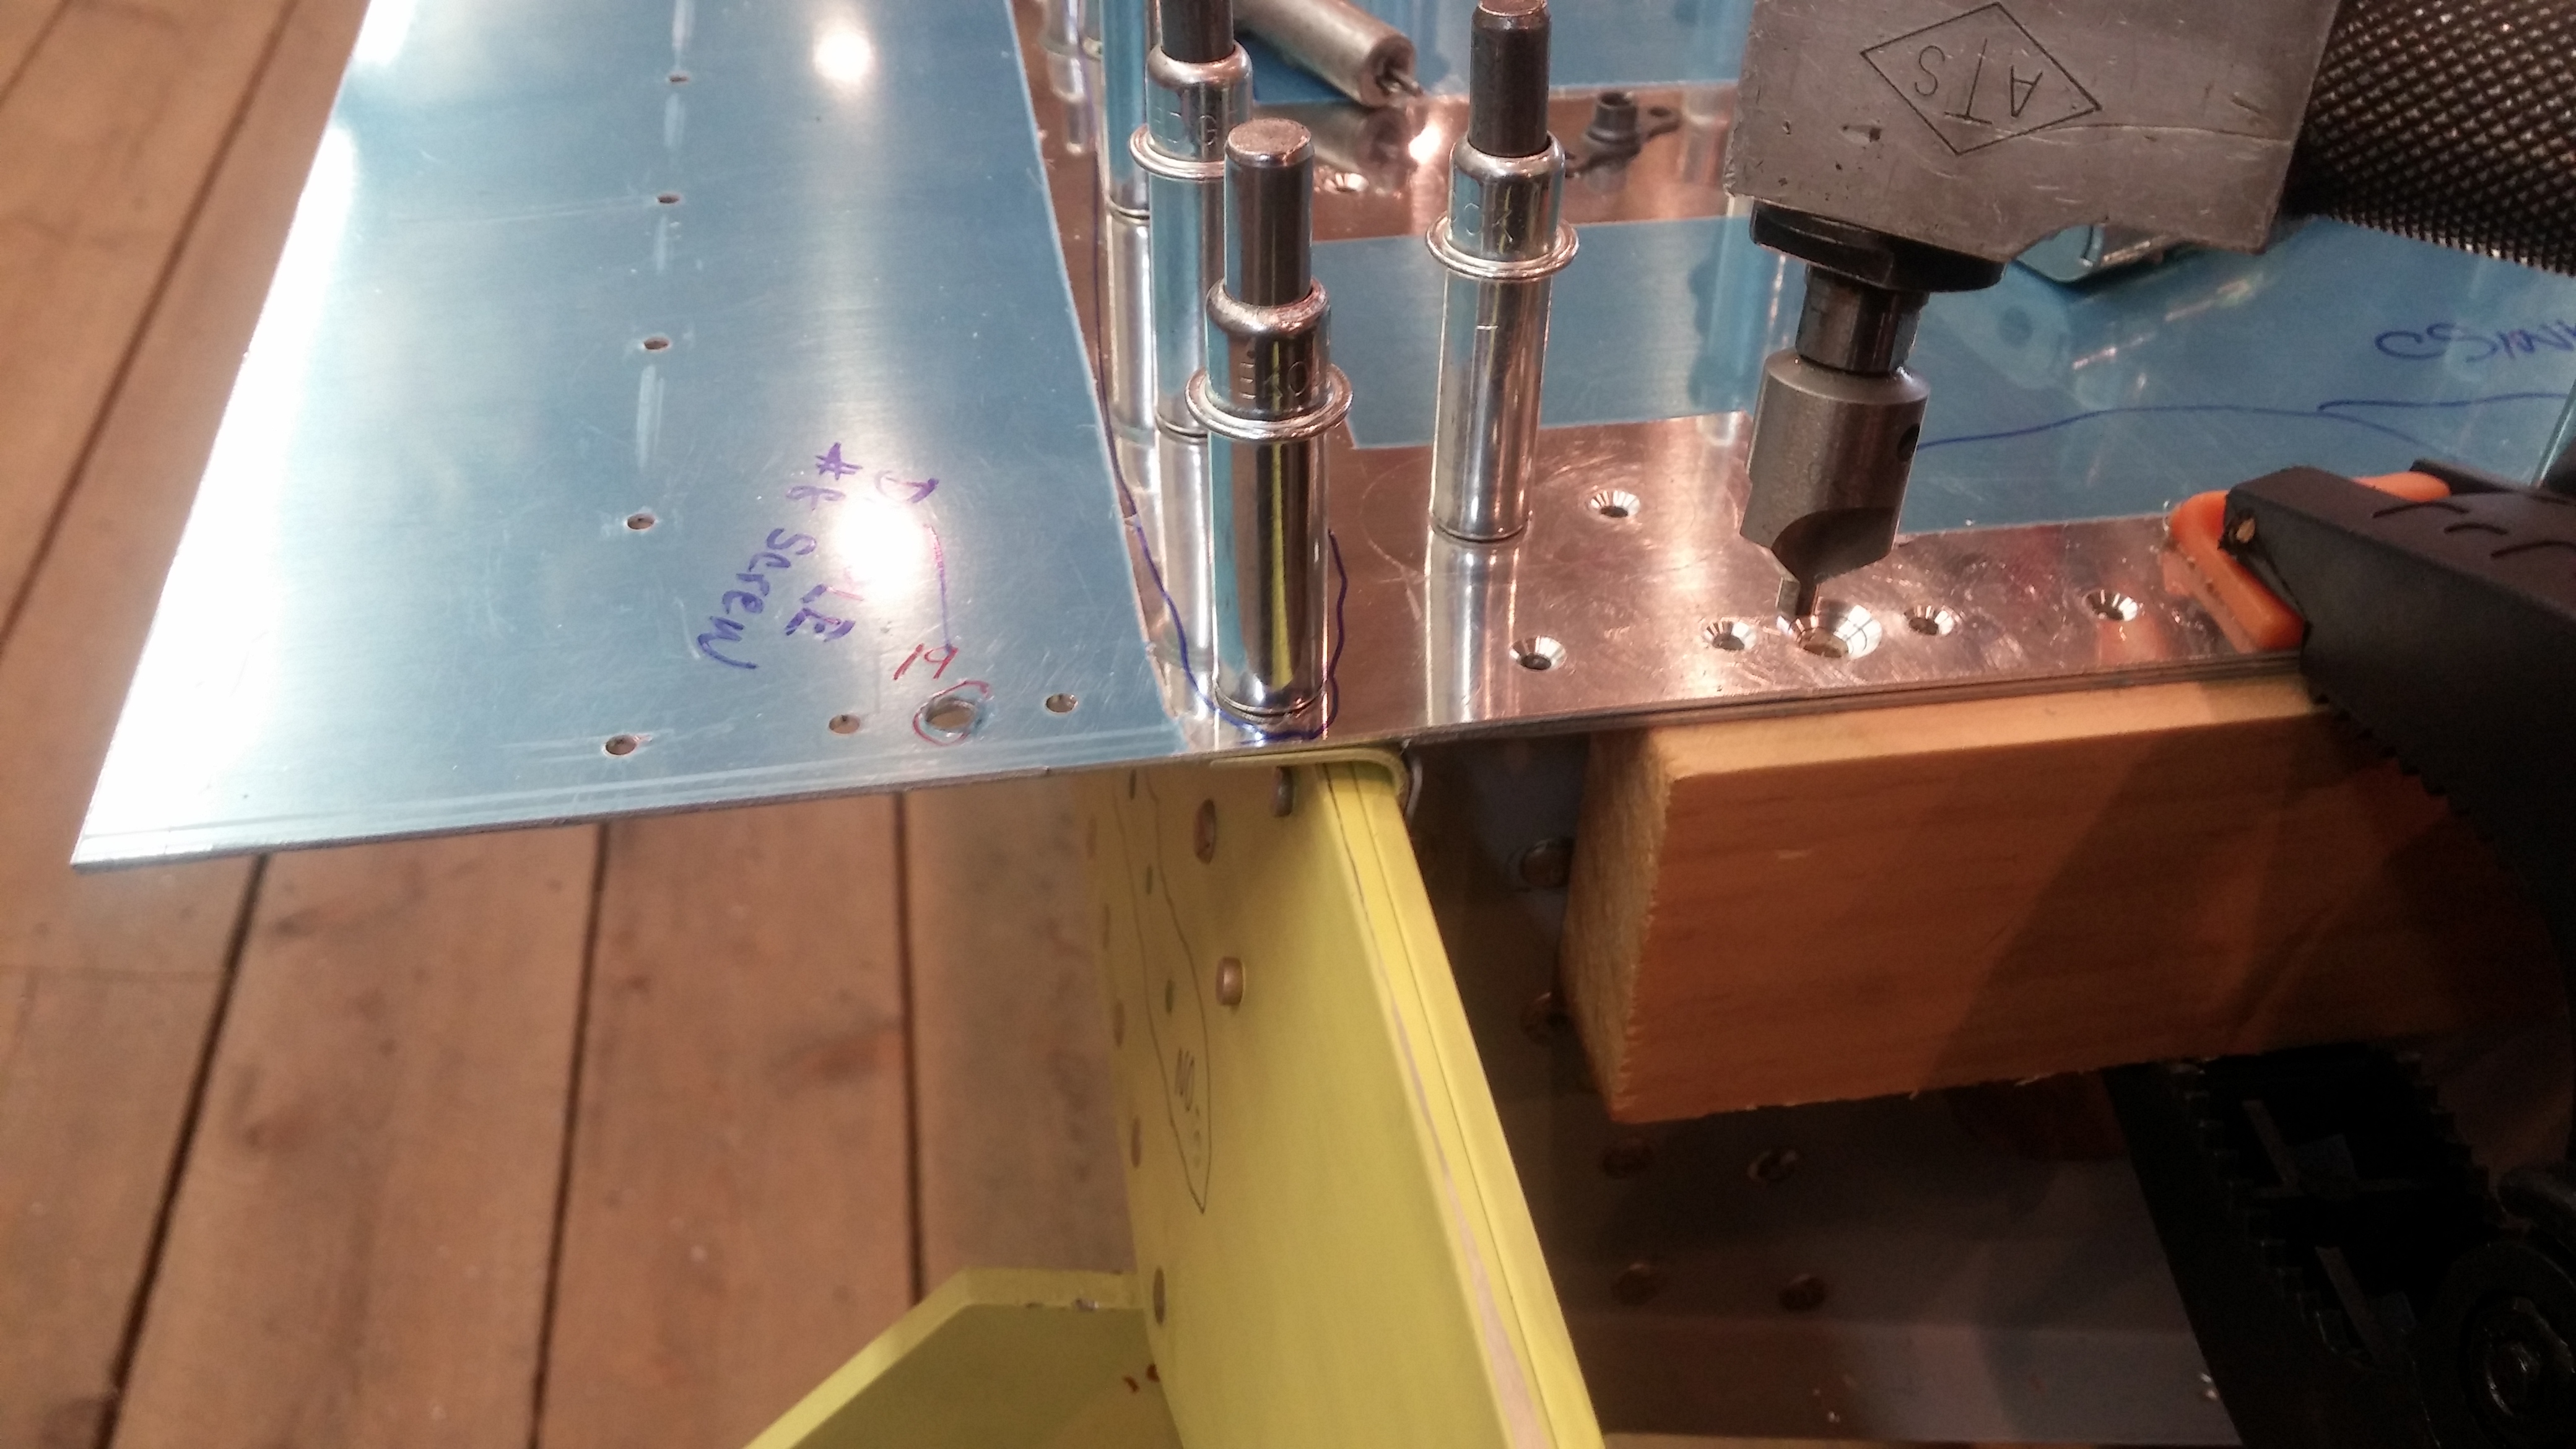
Next, I used my 90 degree drill and a #30 piloted countersink bit to carefully make the appropriate countersink (in this case, to accept a sheet above dimpled for a #8 screw.

Finished product is a well centered countersink with minimal chatter. I used pine wood here but in the future I will use oak or another hardwood because the pine is so soft, and allows a bit of movement to the countersink pilot.