Primer Decision

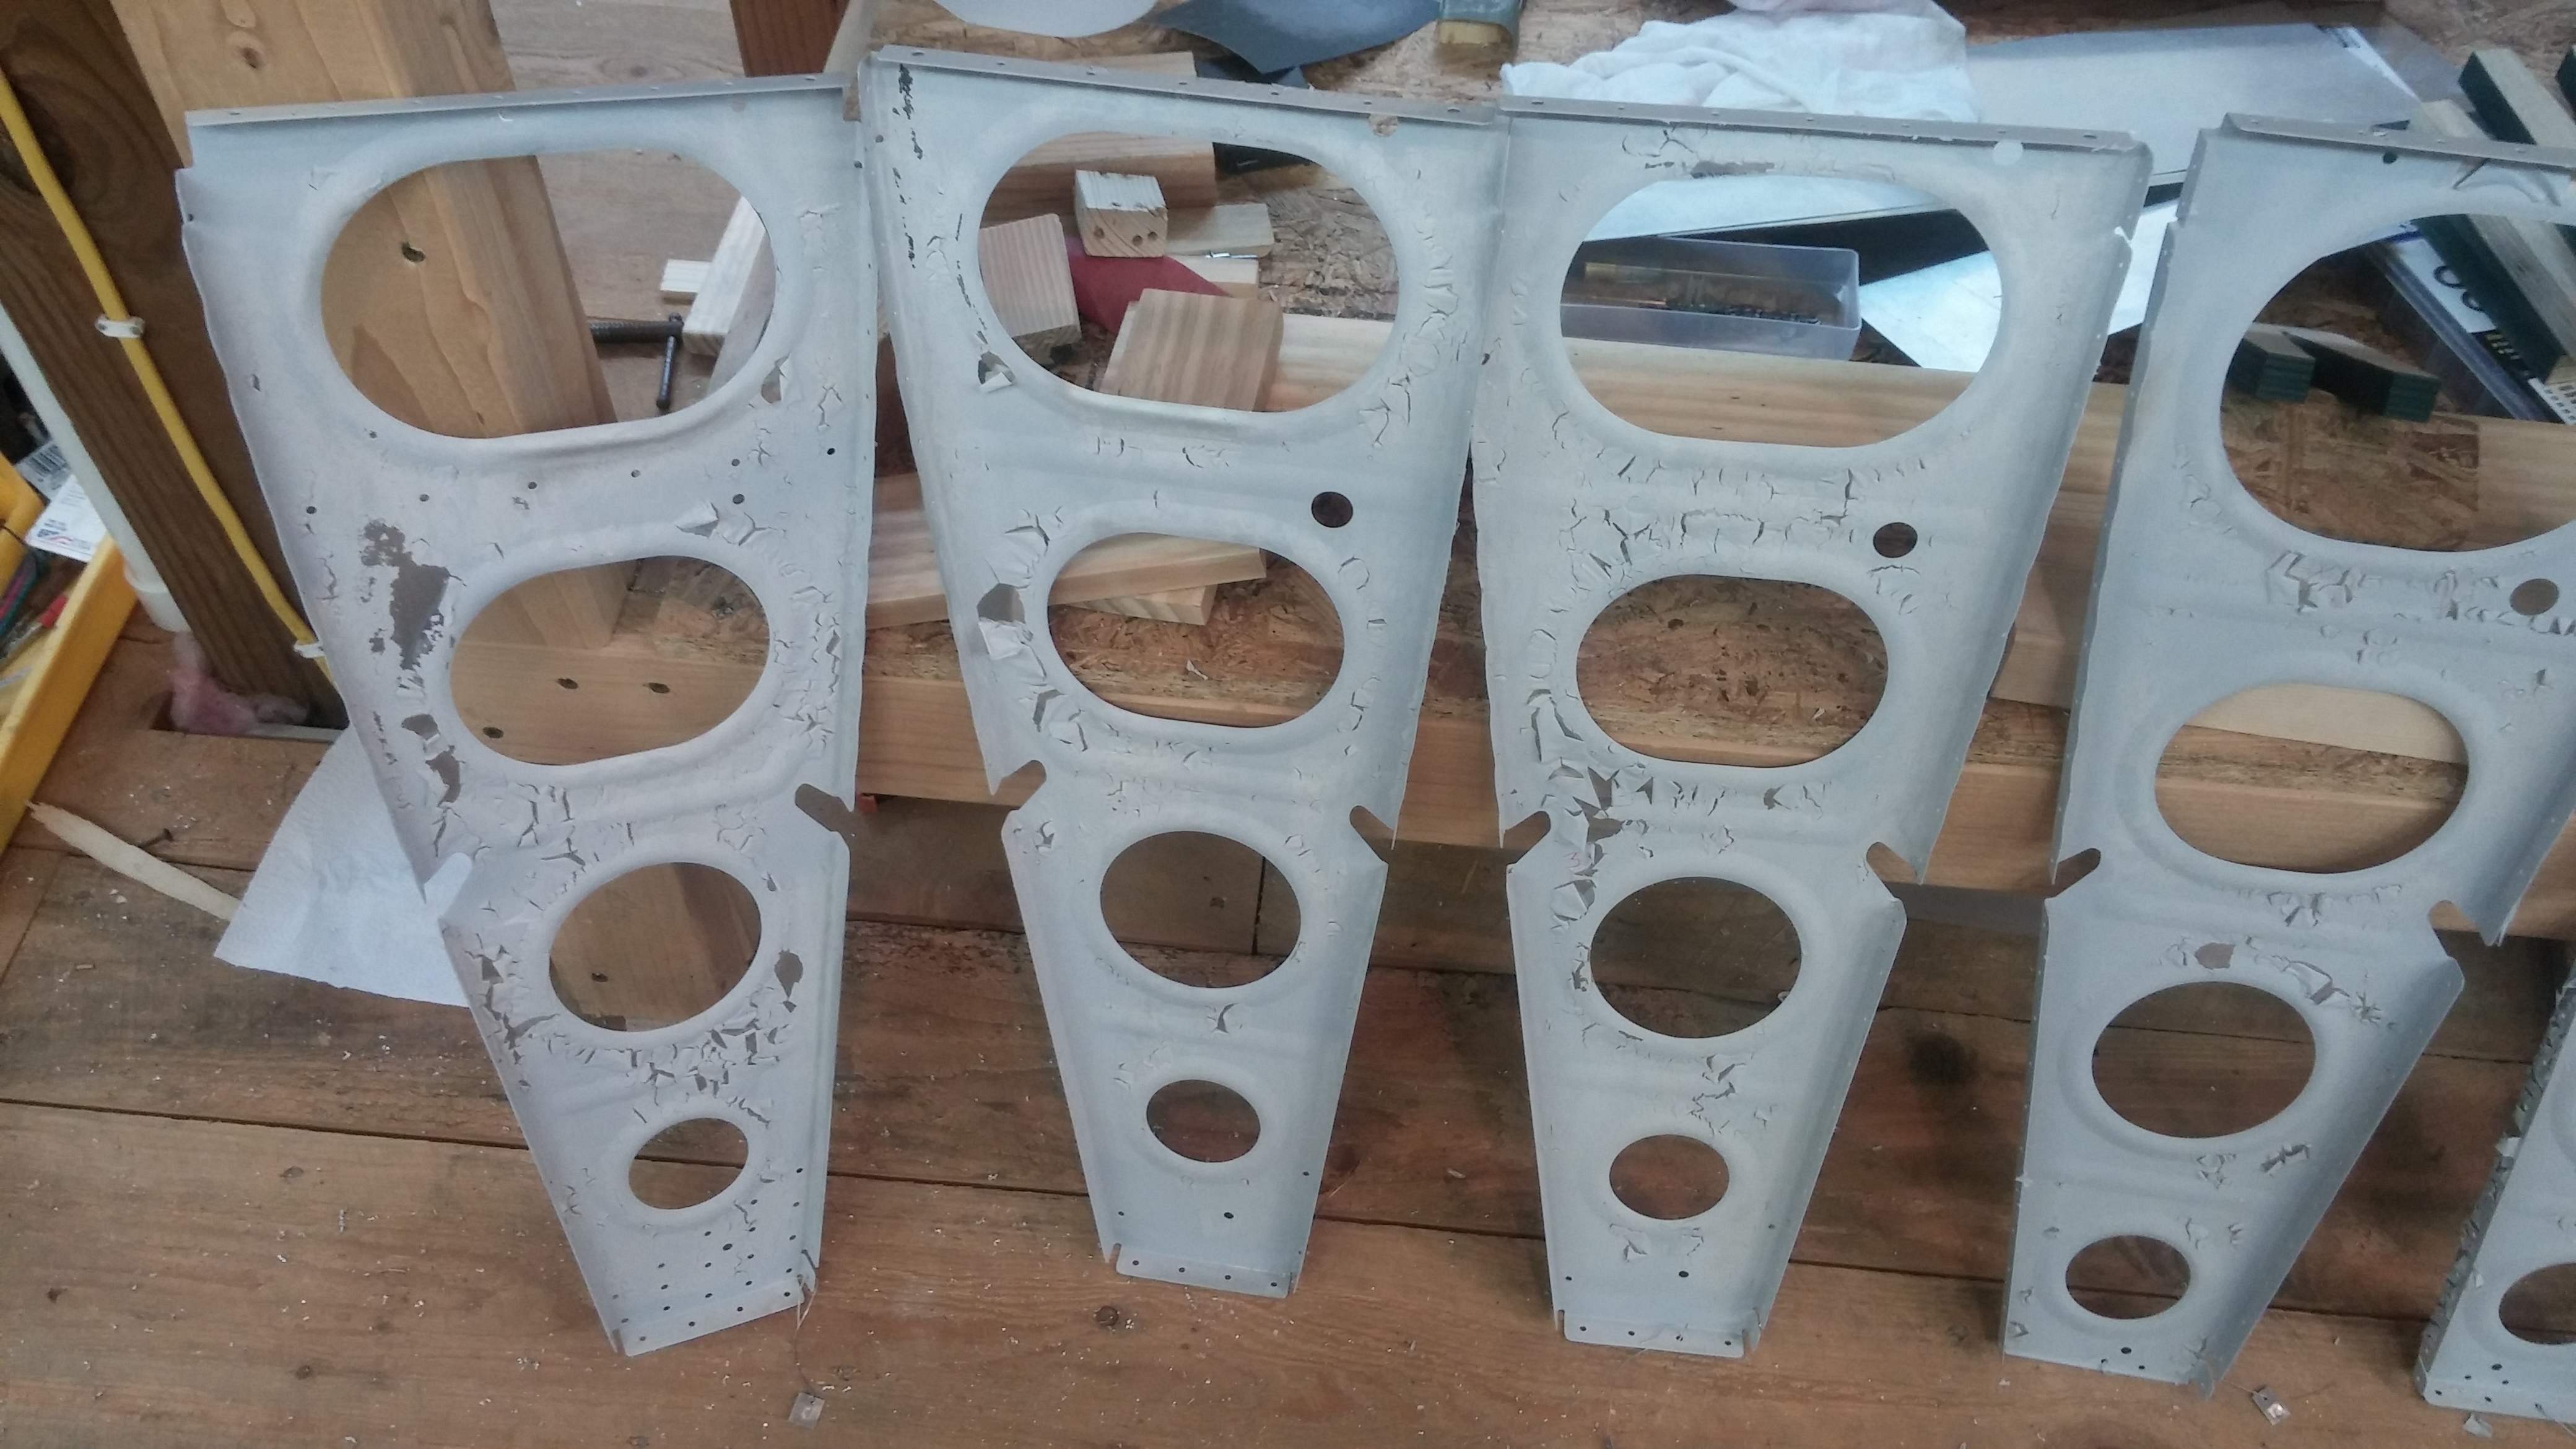
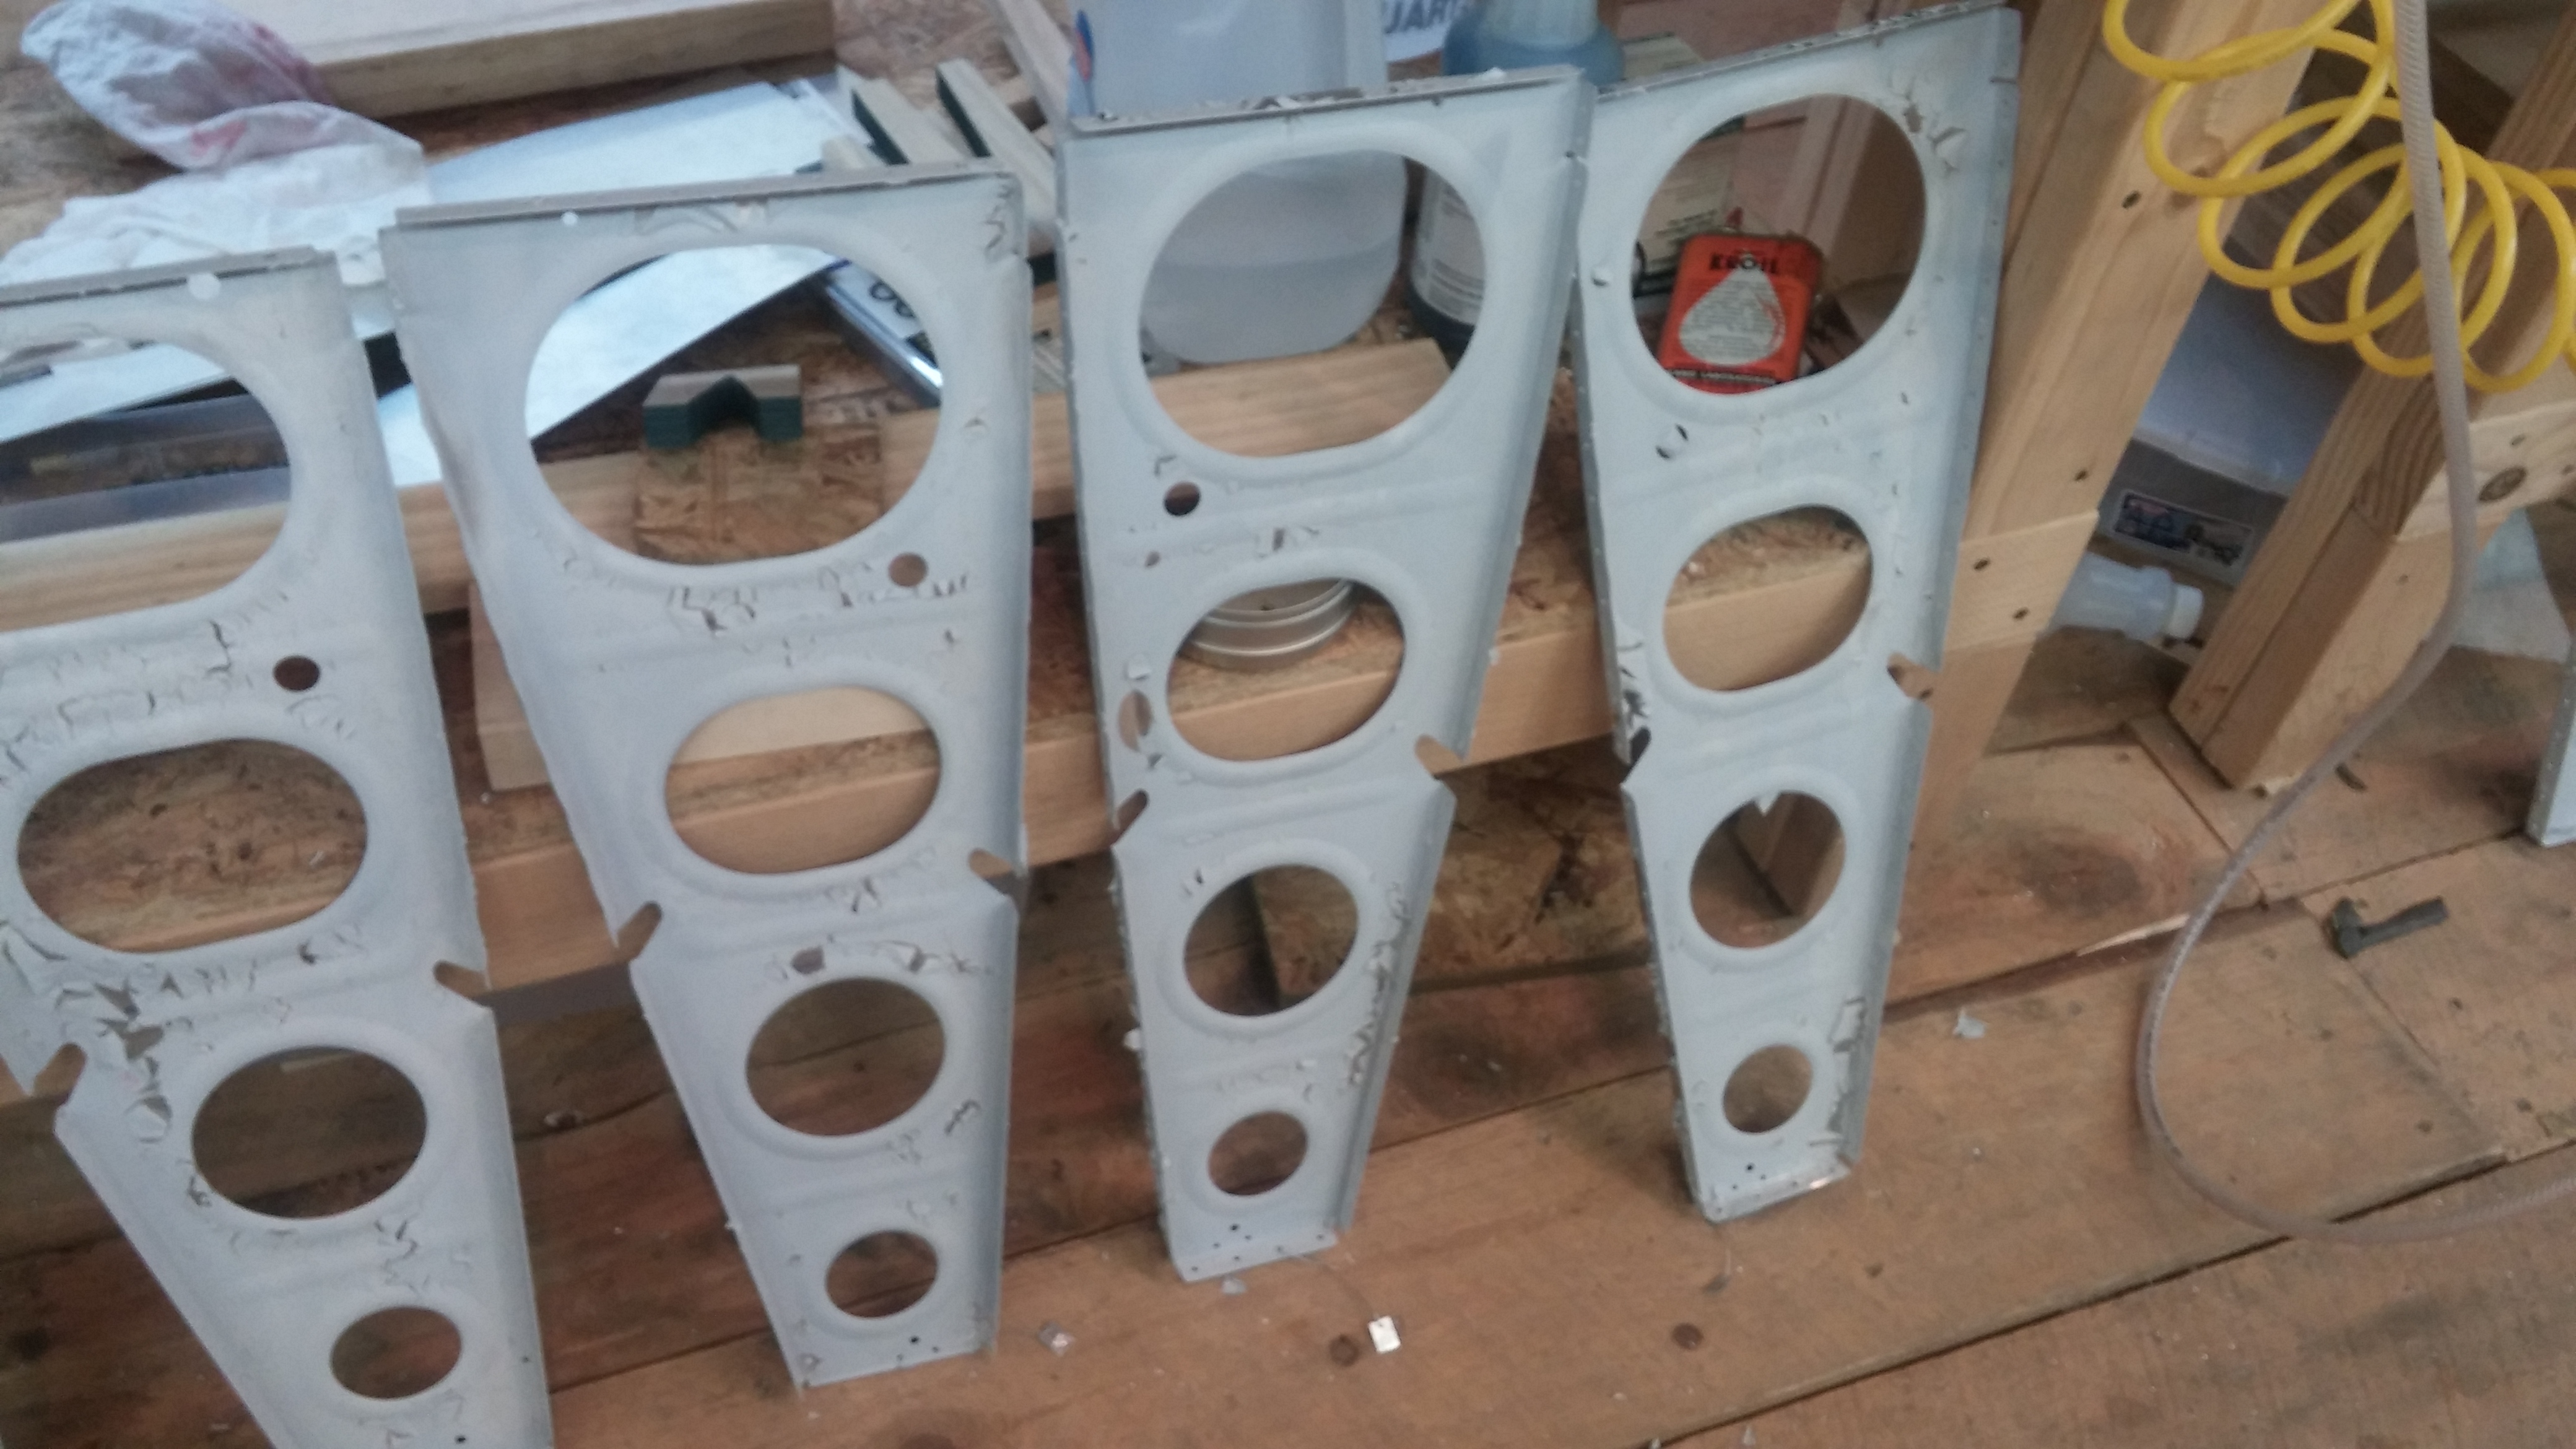
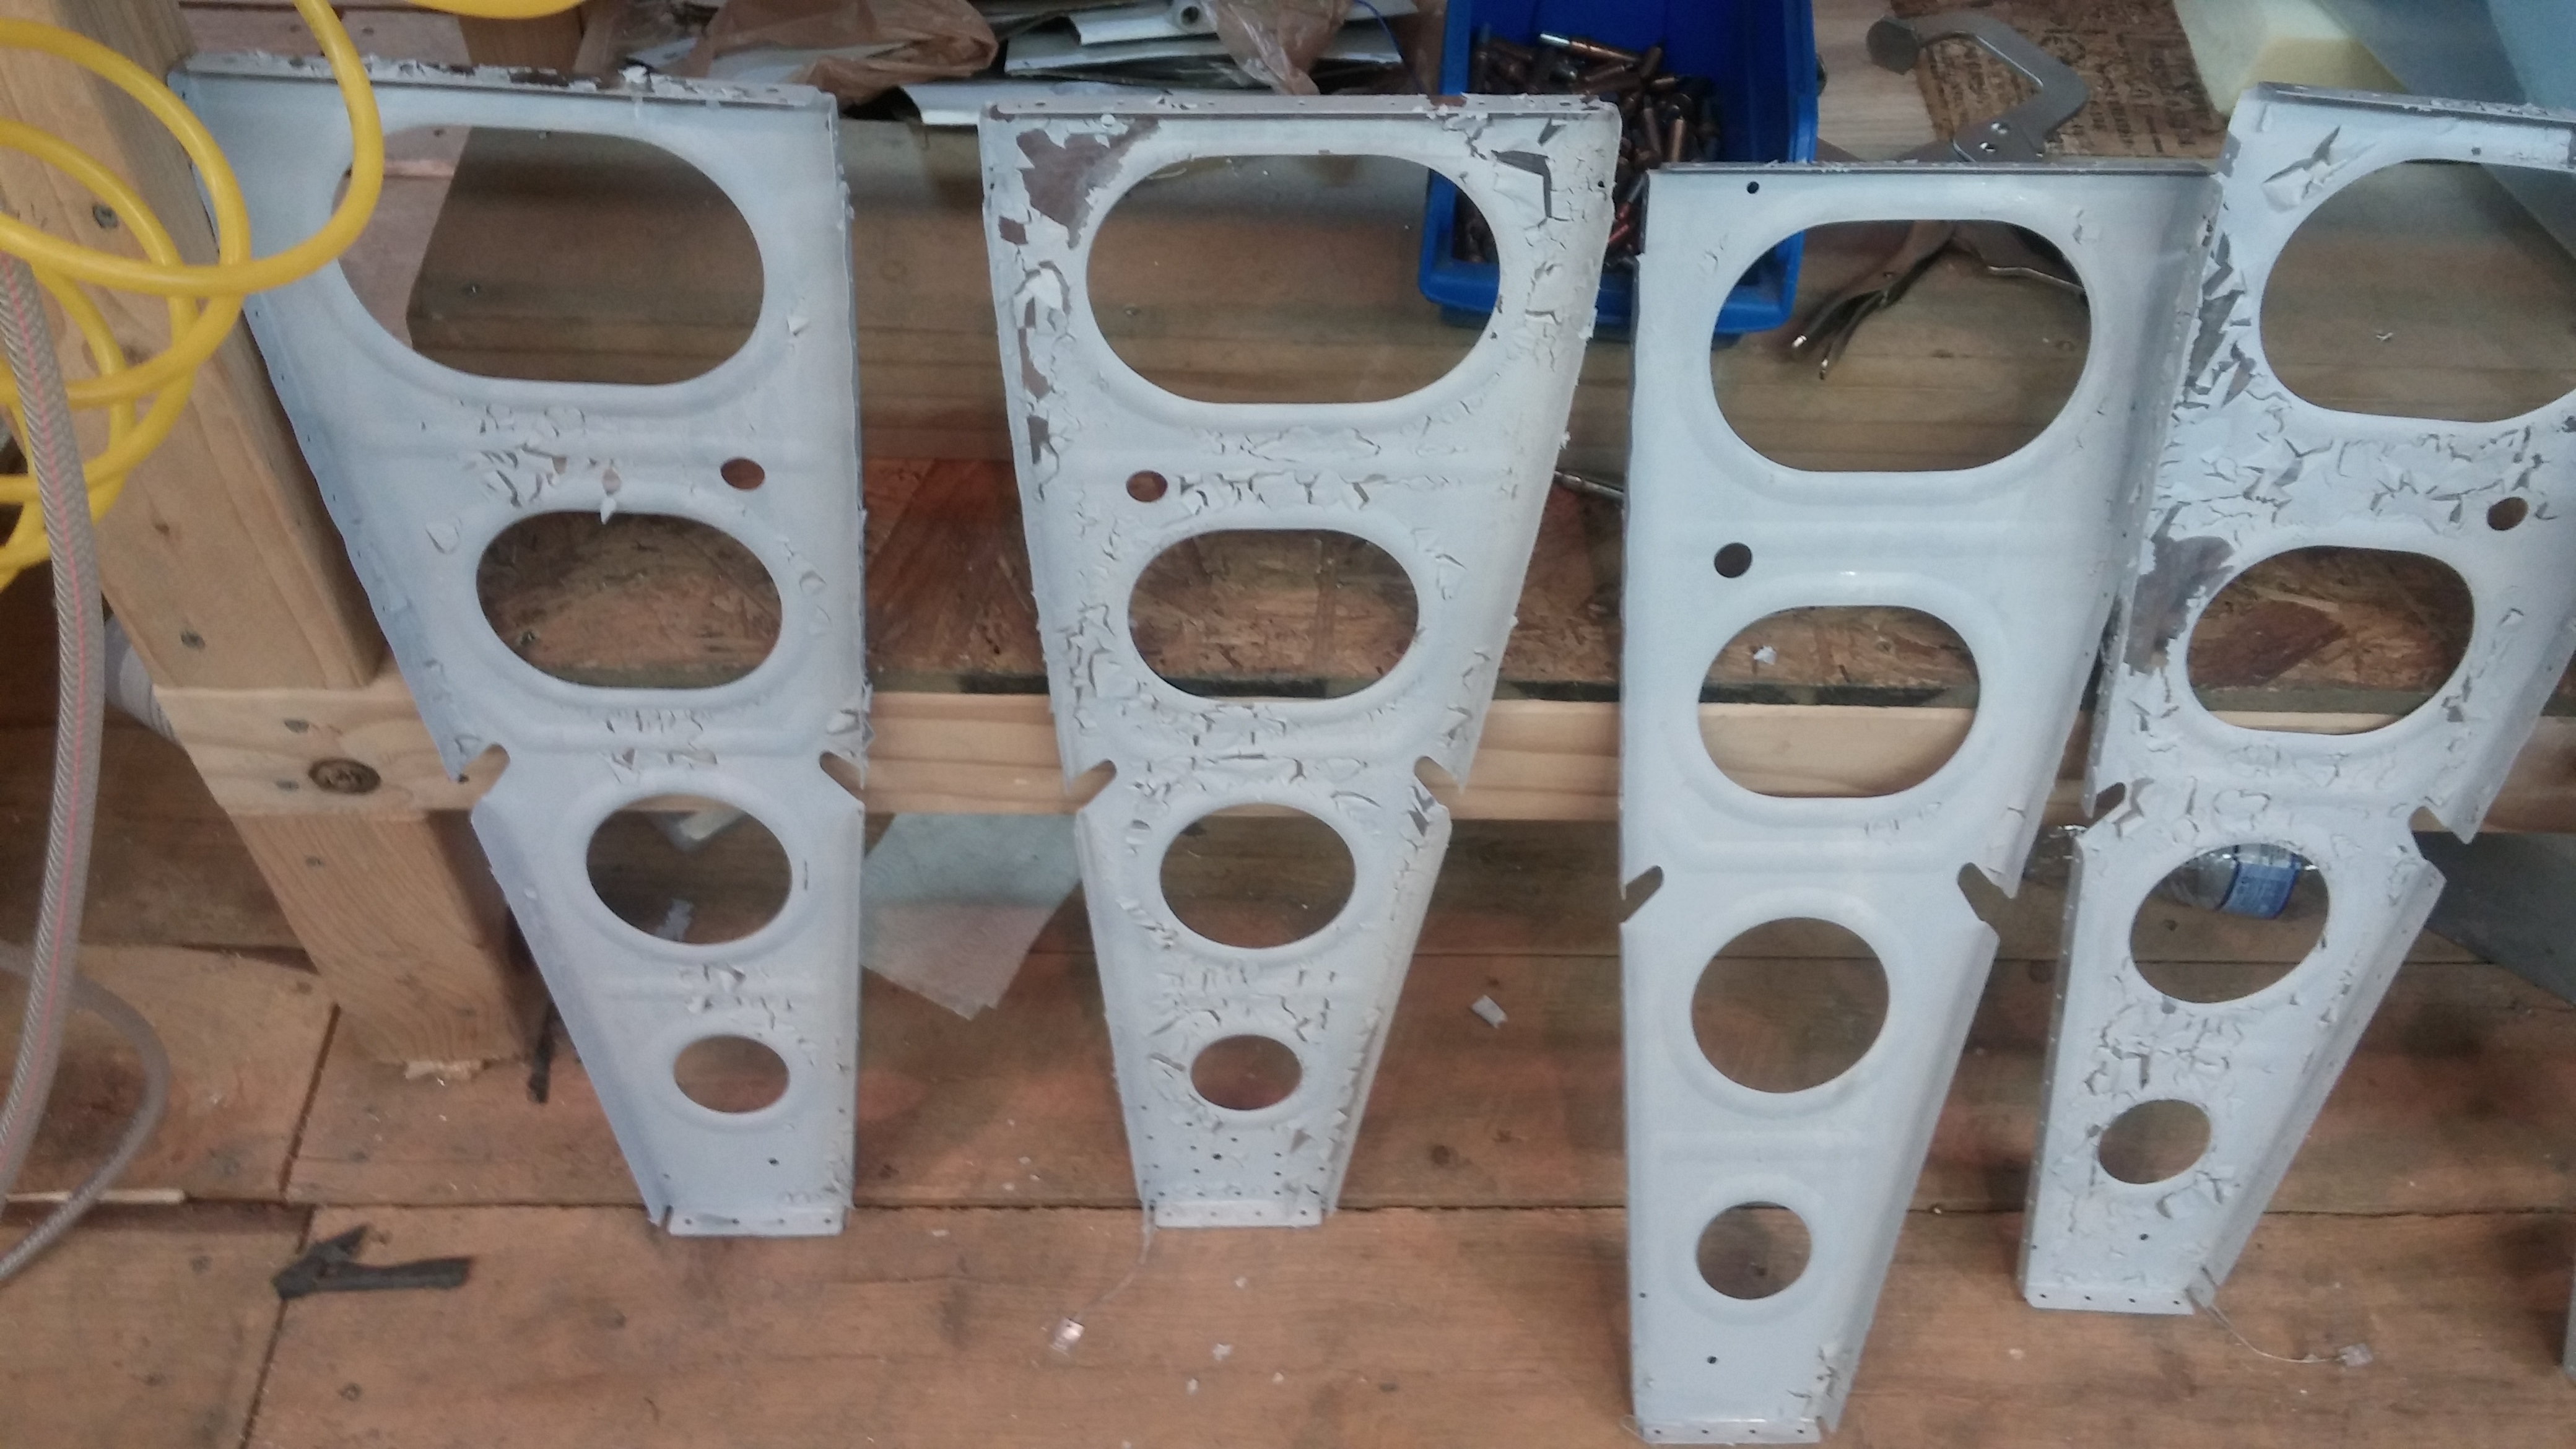
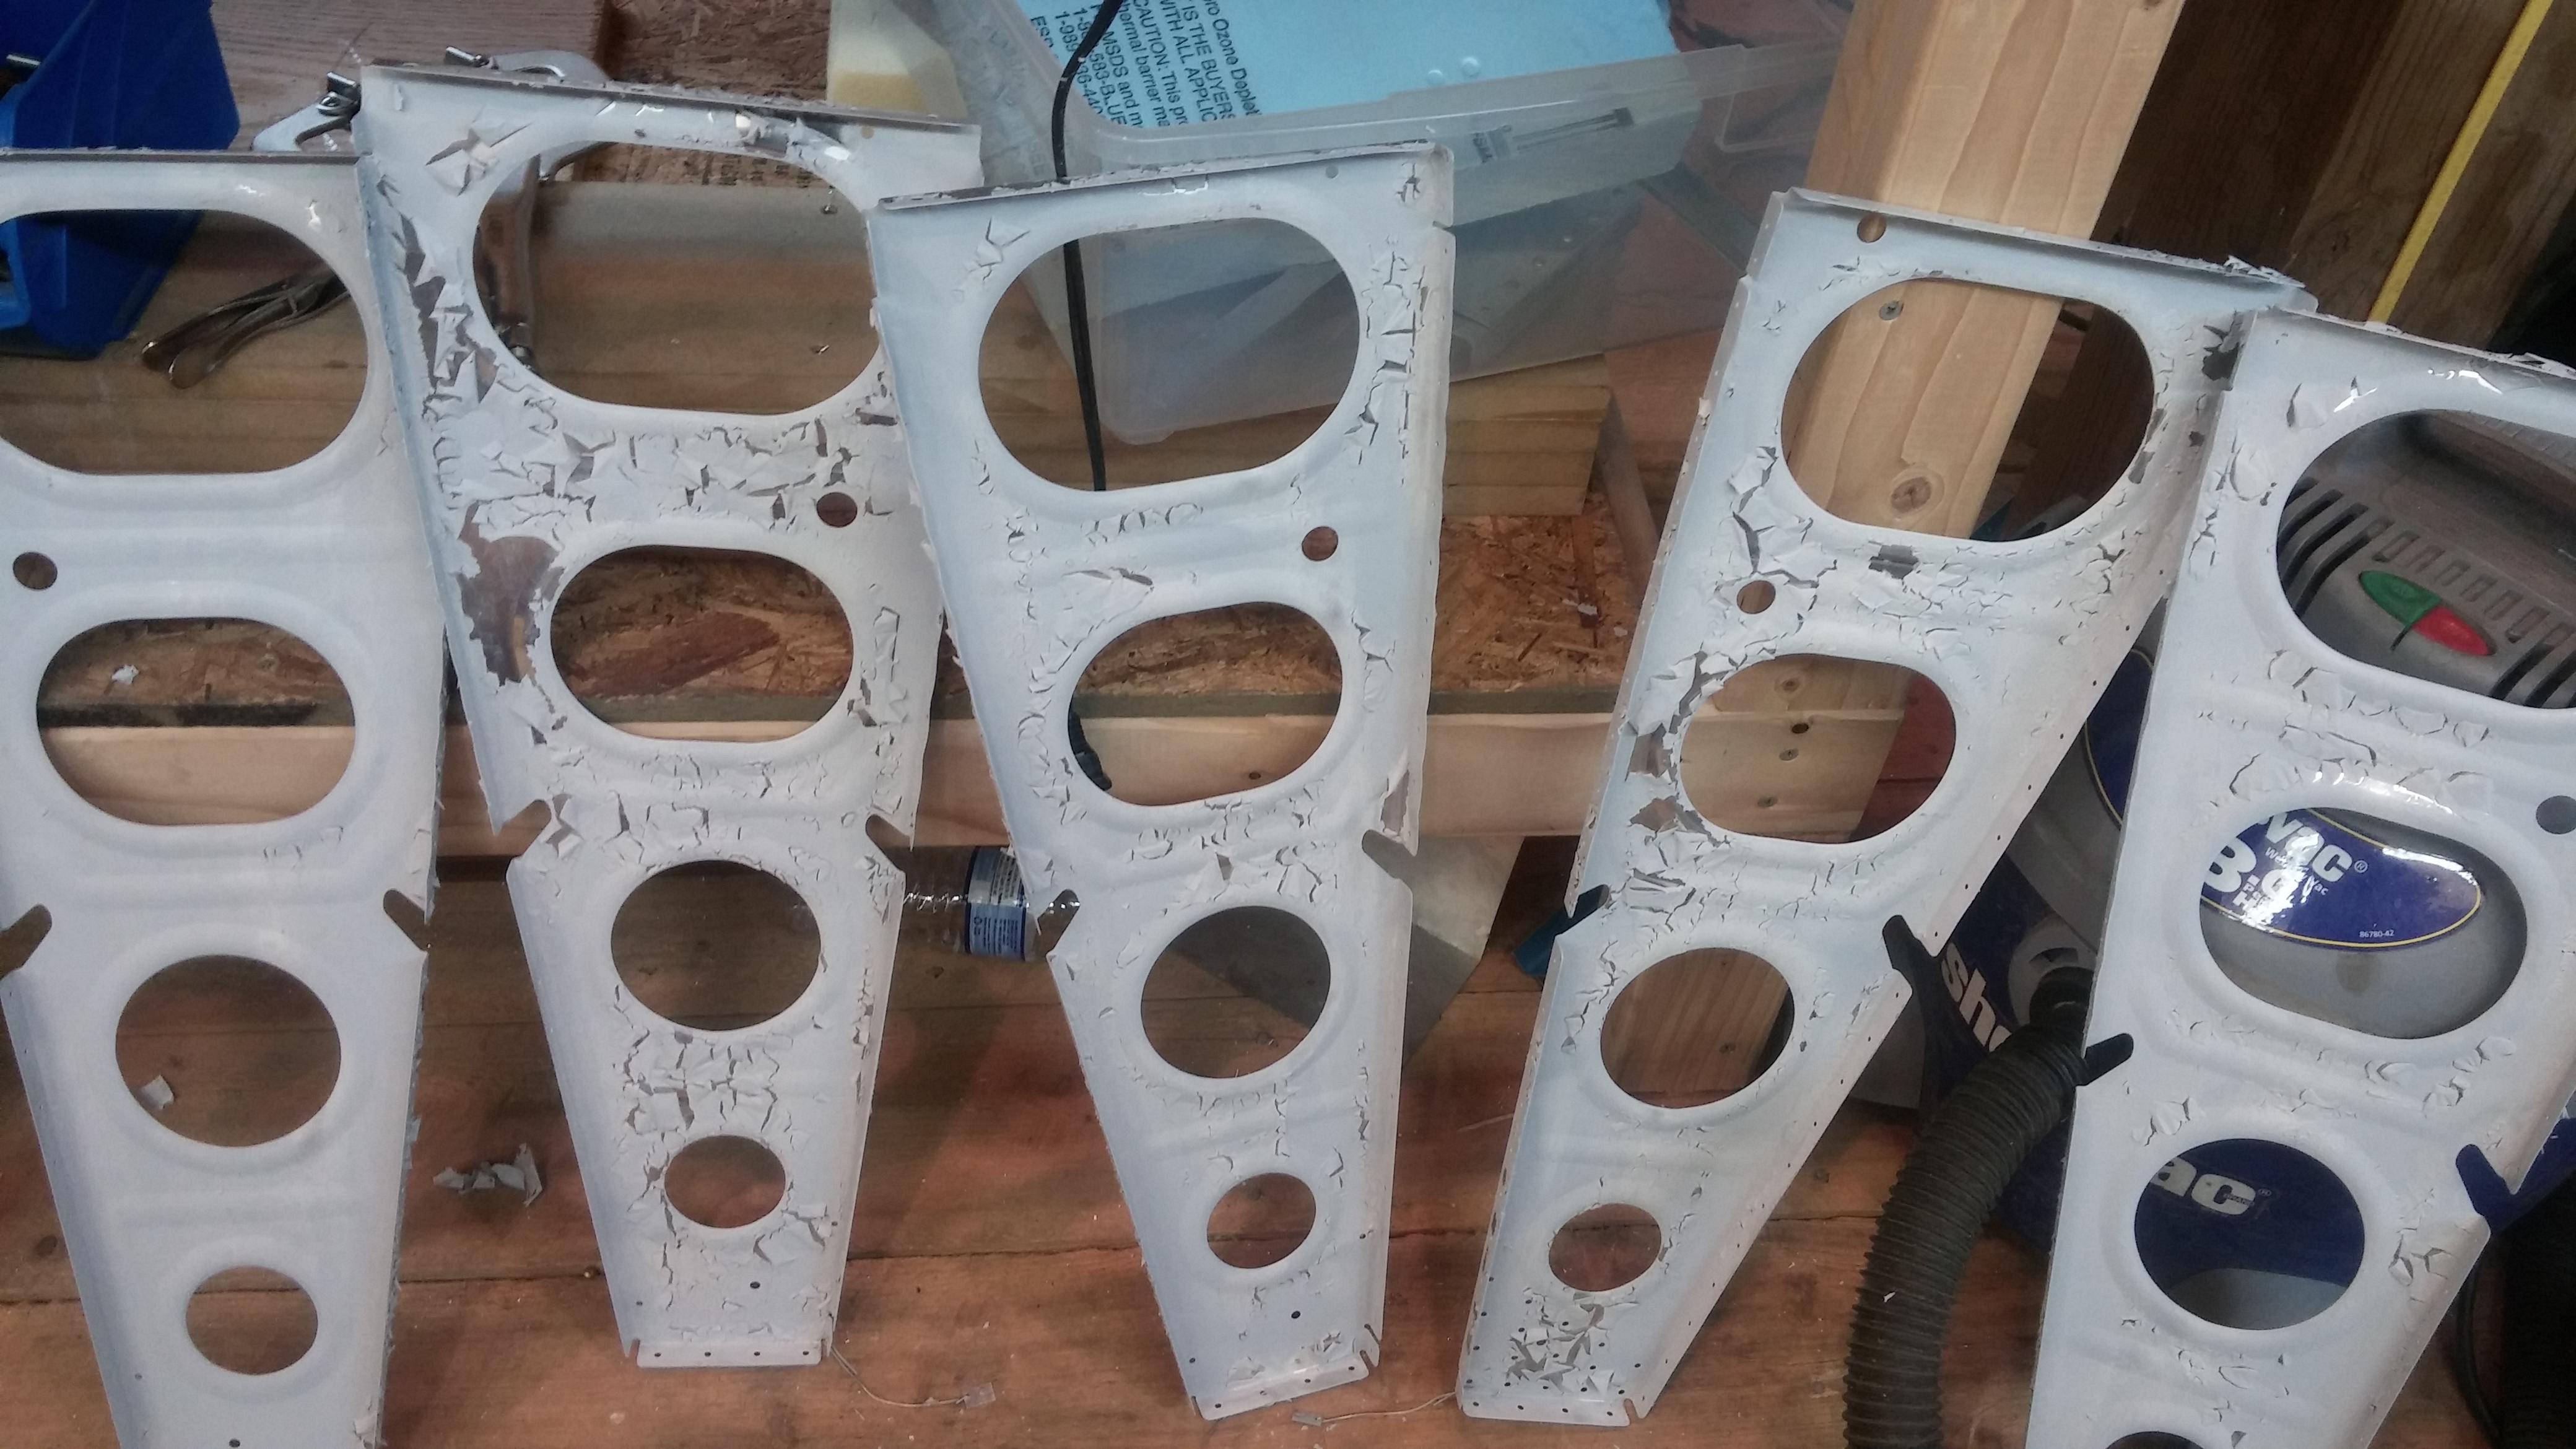
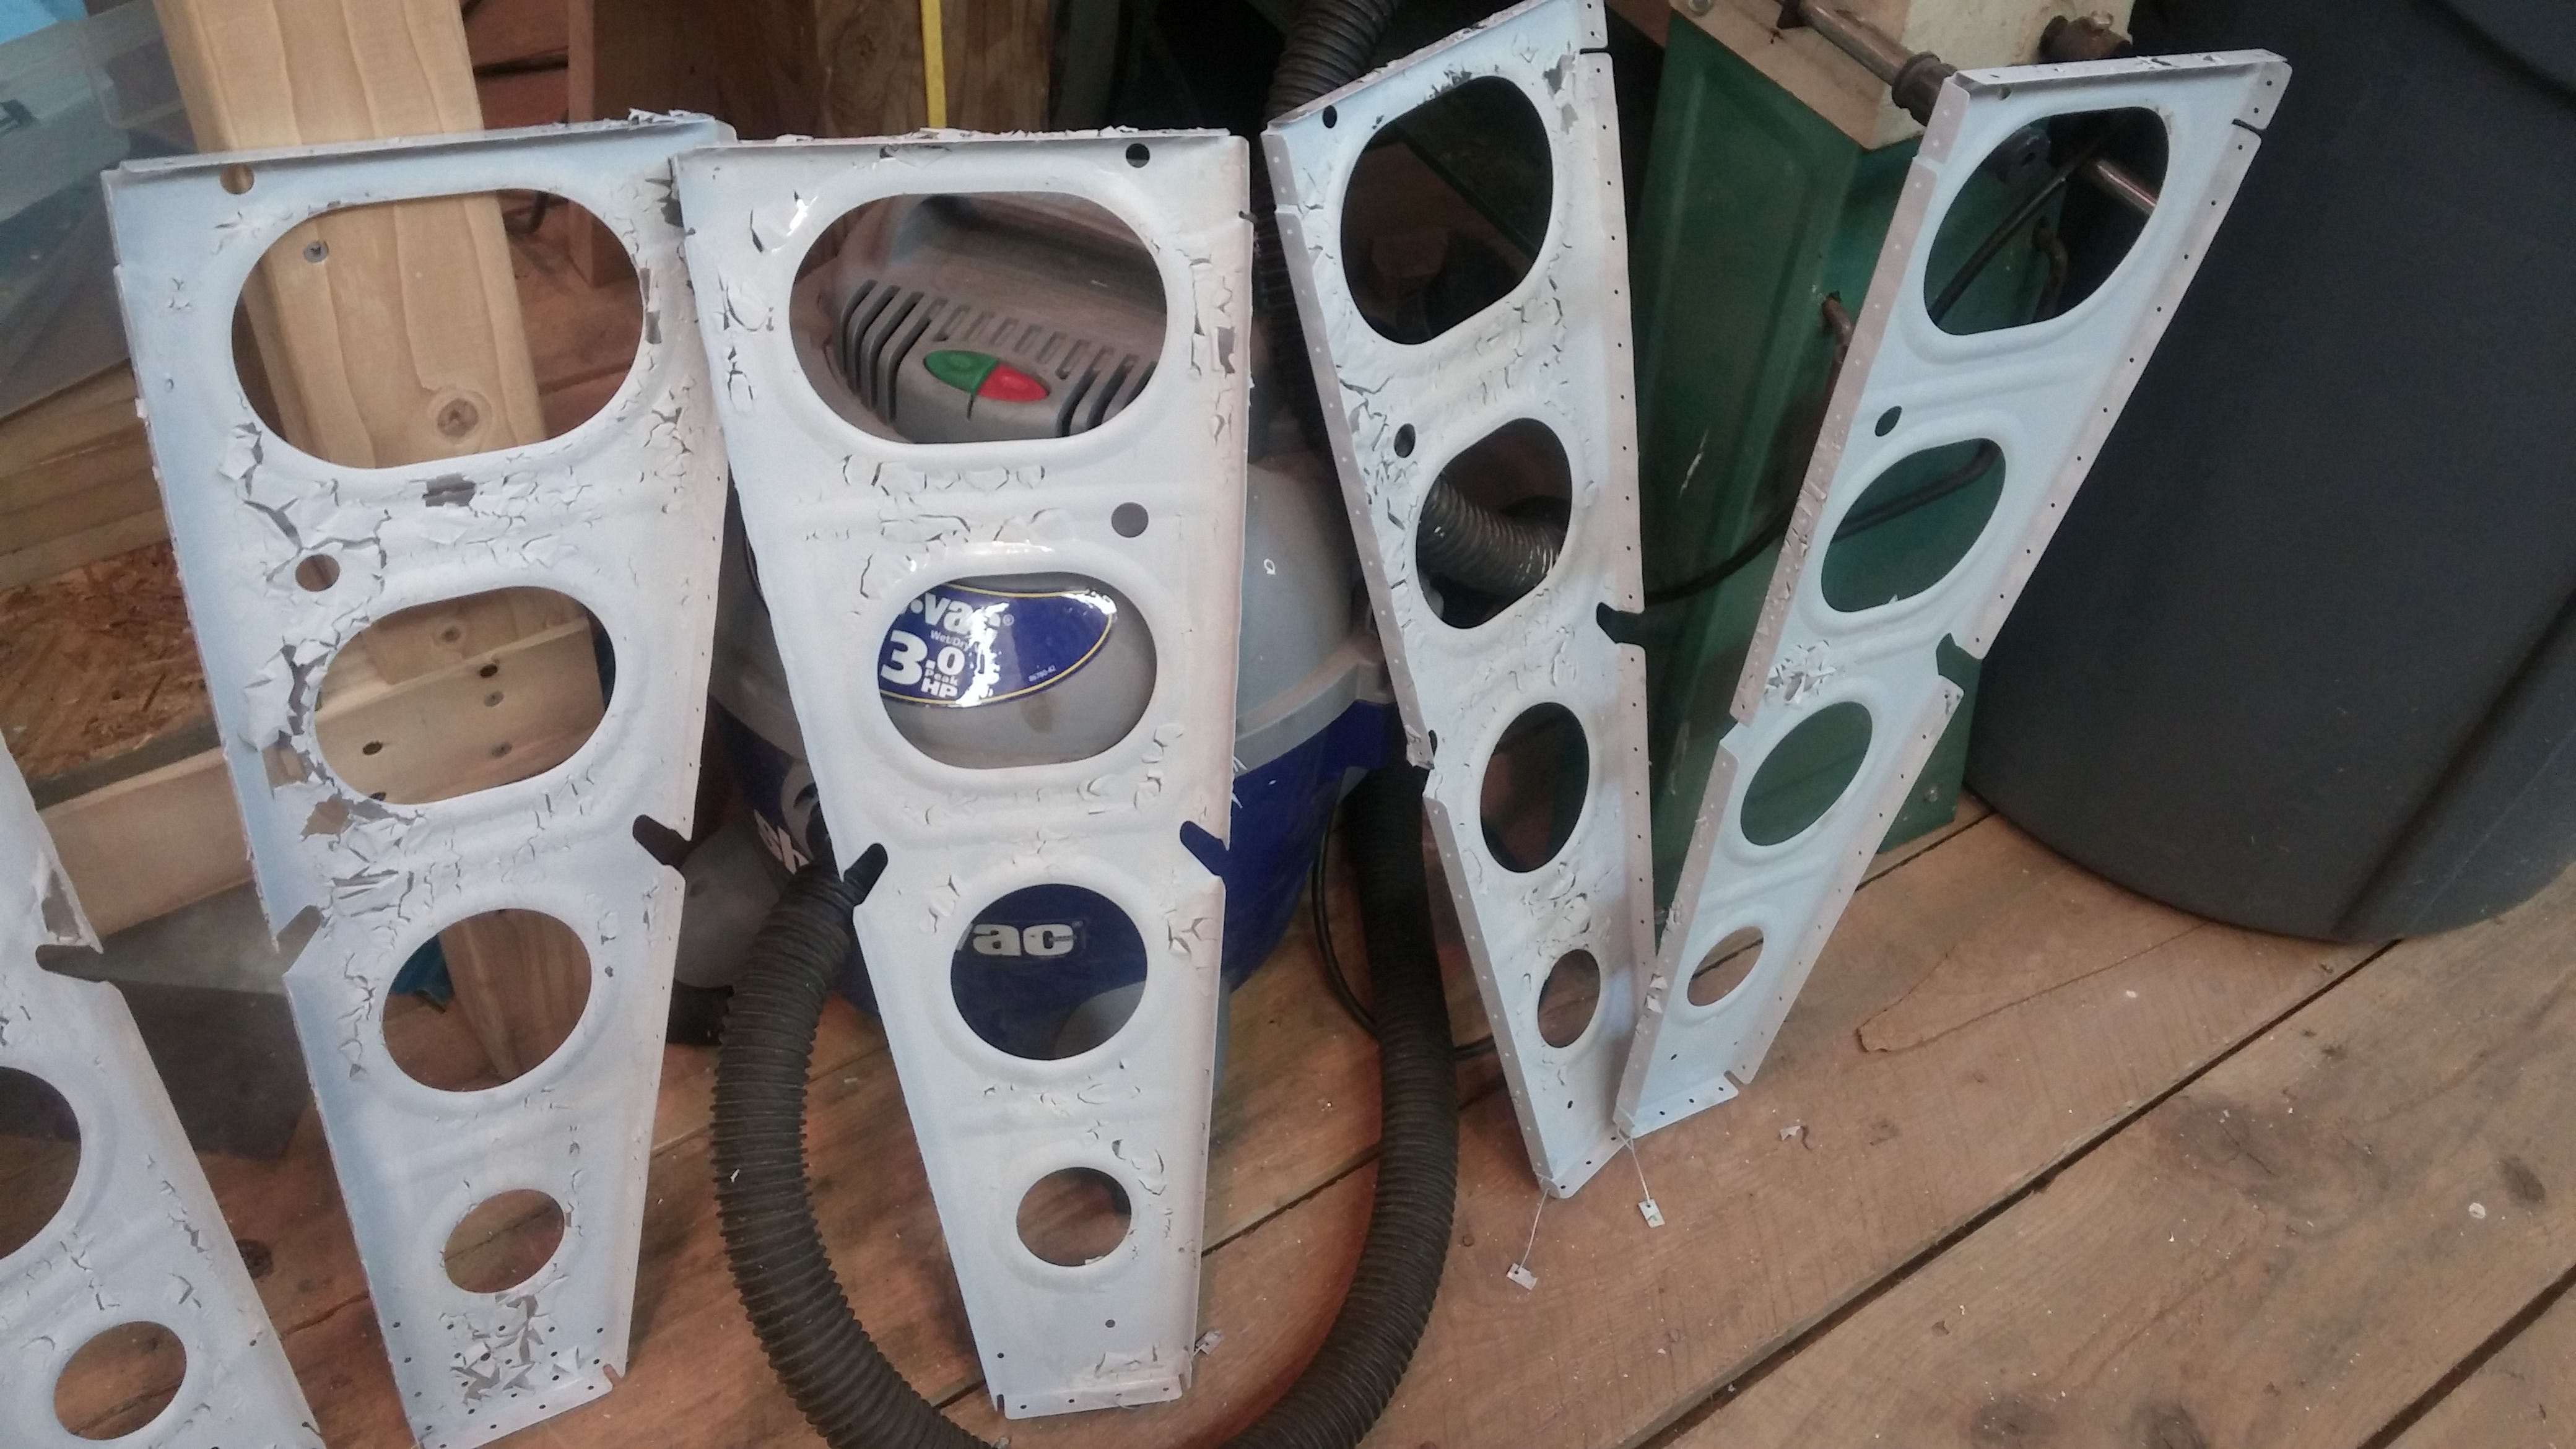
I was running out of the SEM self etching primer and after thinking long and hard about it I decided to switch to a two-part epoxy primer.  This was due to a number of reasons, but primarily because I was having issues with the SEM primer not adhering consistently.  No matter how well I prepared some parts, it seemed I frequently had small spots that didn’t stick.  I’m not sure whether this was due to the age of the primer (it is at least several years old, as it was included with the empennage kit that I bought, and the previous owner had it for some time before that).  I am certain the metal was prepared well.

When the SEM primer stuck well it appeared to be quite robust.  It is difficult to scratch when properly adhered.  I just couldn’t get it to be consistent, whether that was due to age or some other unknown factor.

So I decided I was going to go with a spray-gun applied primer and after some searching around and talking to people, I decided on the Sherwin-Williams CM-0724400 chromate primer.  I wanted a few things in a primer:

  • Superior corrosion protection
  • Adhesion
  • Flexibility (physical)
  • Epoxy base
  • Light color

The first three are rather self explanatory.  I wanted the light color because I think inspecting the aircraft will be easier if the internal parts are lighter in color.  I think it will be more likely to show (or at least easier to see) cracks, imperfections, dirt, and leaks against the background of a light color primer.  In addition, the lighter color will make it easier to light up the inside of a wing during inspections than a more absorptive shade.

I talked to a Sherwin-Williams technical support guy and even though I’m just a homebuilder, they treated me well and were willing to spend time talking about their products’ features and compatibility.   The only disappointment I had was finding out that S-W will not ship aircraft paints to their local retail paint stores.  I was hoping to reduce the hazmat fee associated with my order by having them ship it to a local store along with other stuff, but the paint store, while very helpful, finally had to tell me they couldn’t do it.  I ended up buying the primer from Aircraft Paint Supply in Ohio.  The rep from APS was very helpful, and I received the paint two days after my order.  The Sherwin-Williams primer meets all of those criteria and it is a rather bright shade of yellow.  I haven’t shot a coat of it yet, but I will be doing so soon once I finish a number of small parts for a painting batch.

I Knew Better, but I Wasn’t Thinking

I spent a hell of a lot of time preparing the left wing ribs.  Finally all the deburring was complete, and I prepared to prime them.  By the time I got all the roadblocks out of the way, it was dusk when I began spraying.  Outside.  I think what happened is that the relative humidity skyrocketed right as I was priming and caused this failure:

20160626_220112.jpg 20160626_220115.jpg 20160626_220120.jpg 20160626_220124.jpg 20160626_220127.jpg

Small Part Paint “Hood”

I had an idea for a painting “hood” to capture vapors and paint overspray for use when priming and coating small parts. I’ve seen similar things before, and thought I could make my own rather cost-effectively. At first, I was going to build a frame from scratch, but I realized I had an old metal shelf unit sitting around that I wasn’t using, because the shelves were rather weak particle board.

I figured this could be the basis of my painting hood. I did some brief research on fume hoods and found that best practice for paint booths is a minimum face velocity of 150 ft/min (chemical lab hoods are typically designed for 100 ft/min, go figure…) For this shelf, the open top of which measures 18″ x 36″, the minimum flow required to achieve this face velocity would be 675 ACFM.

I hopped off to Harbor Freight and bought one of their 8″ ventilators (rated at 1590 CFM, pressure unspecified) and a flexible air duct. The 1590 ACFM should translate into a face velocity of 353 ft/min. Then, I headed over to Home Depot and bought some additional duct pieces and a cheap furnace filter.

I cut the bottom shelf (which was warped from water damage) to have an opening for the air filter to fit over. Then I duct taped the edges of the hole to provide a better sealing surface. The furnace filter was easily secured to this with duct tape. The furnace filter will operate at an air speed of 572 ft/min.

wpid-20151123_174403.jpg

I had some duct tape and heavy (25 mil) plastic sheeting around. These, combined with the parts I had bought, and a small piece of scrap plywood, yielded this:

wpid-20151123_182405.jpgwpid-wp-1448321523309.jpg

wpid-wp-1448323074538.jpg

I then added a pressure tap and put my manometer to work. The differential pressure across a clean filter is almost negligible. I then covered the filter mostly with a piece of scrap plastic and the differential pressure across the occluded filter measures 0.52 inches of water column at the high speed setting on the ventilator. It will be interesting to see how much the filter changes from clean to dirty and how well it will work. I may have to use a more expensive filter rated for a smaller particle size for paint and primer.

wpid-20151123_222201.jpgwpid-20151123_222217.jpg

With the dP confirmed, I then finished assembling the unit with more plastic and metallic duct tape. The screen on top should allow for even painting of even small parts.

wpid-20151123_224753.jpg

The ventilator will soon be hooked up to an exhaust duct to pipe fumes out of the workshop. Next step would be to borrow a pitot tube from work that we use to balance dust collector duct work and measure the actual air velocities in the hood and the duct.