RV-10 Fuel Tank Baffle Sealant Usage

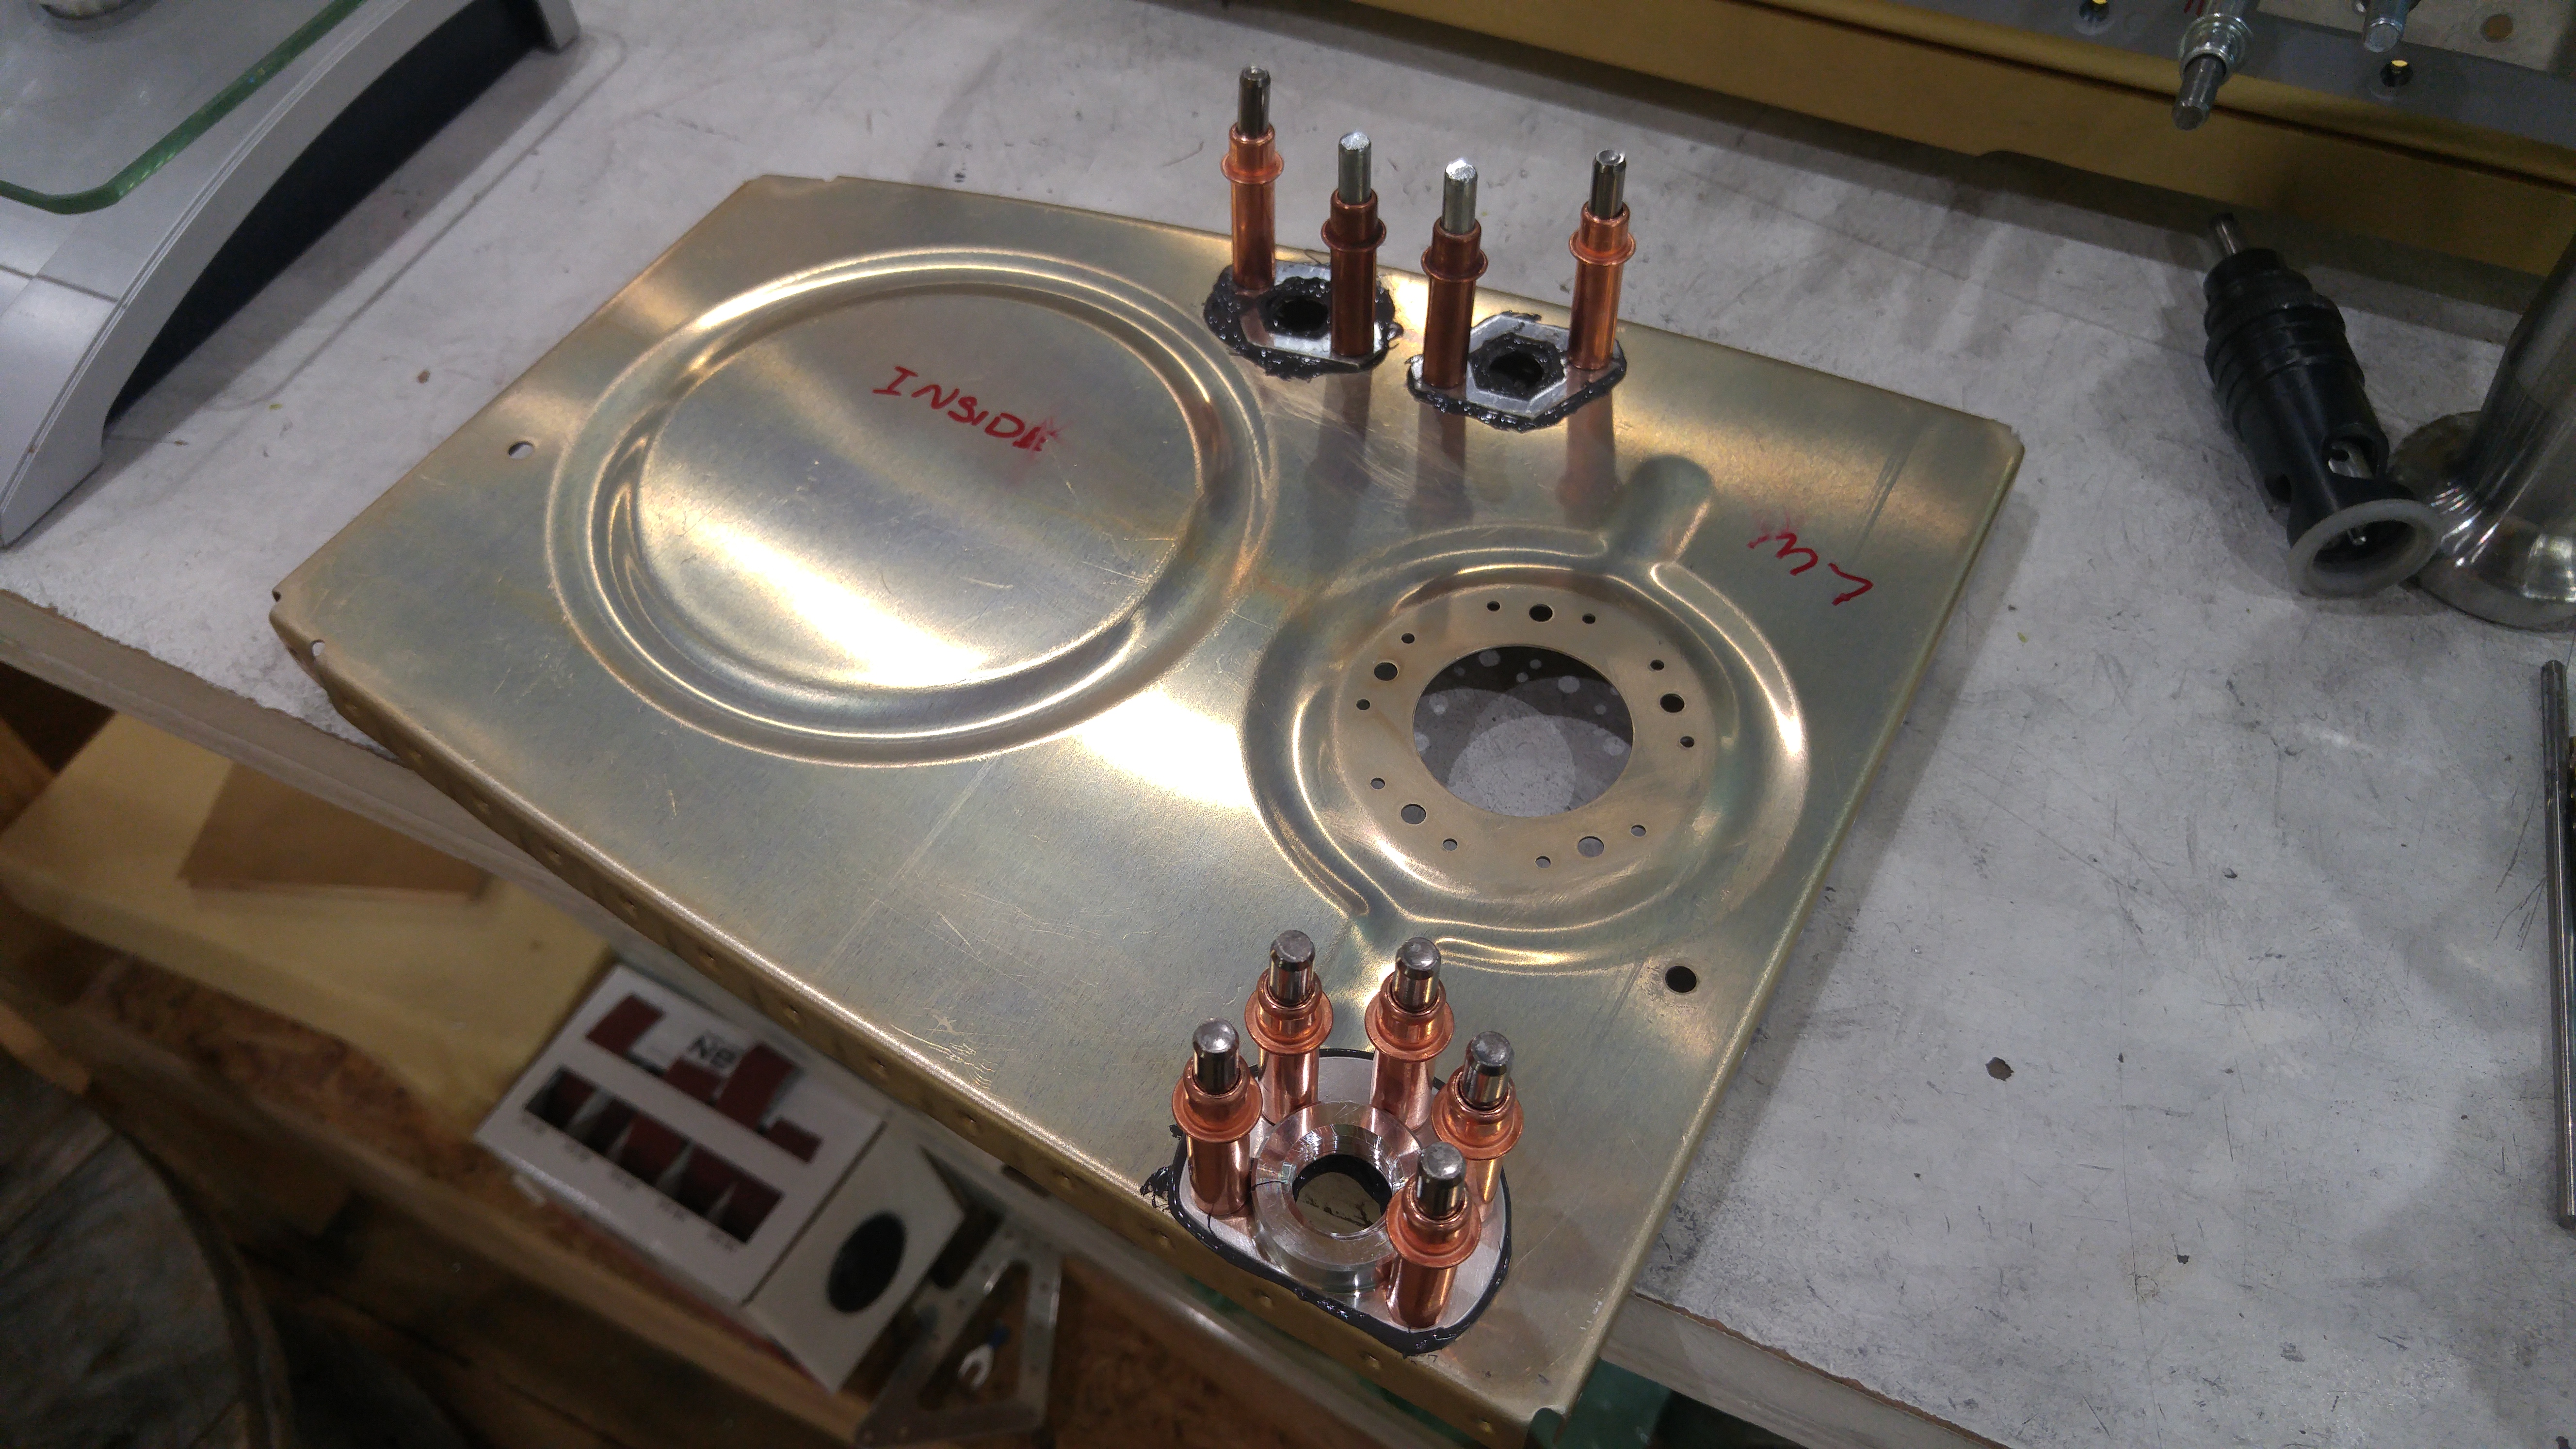
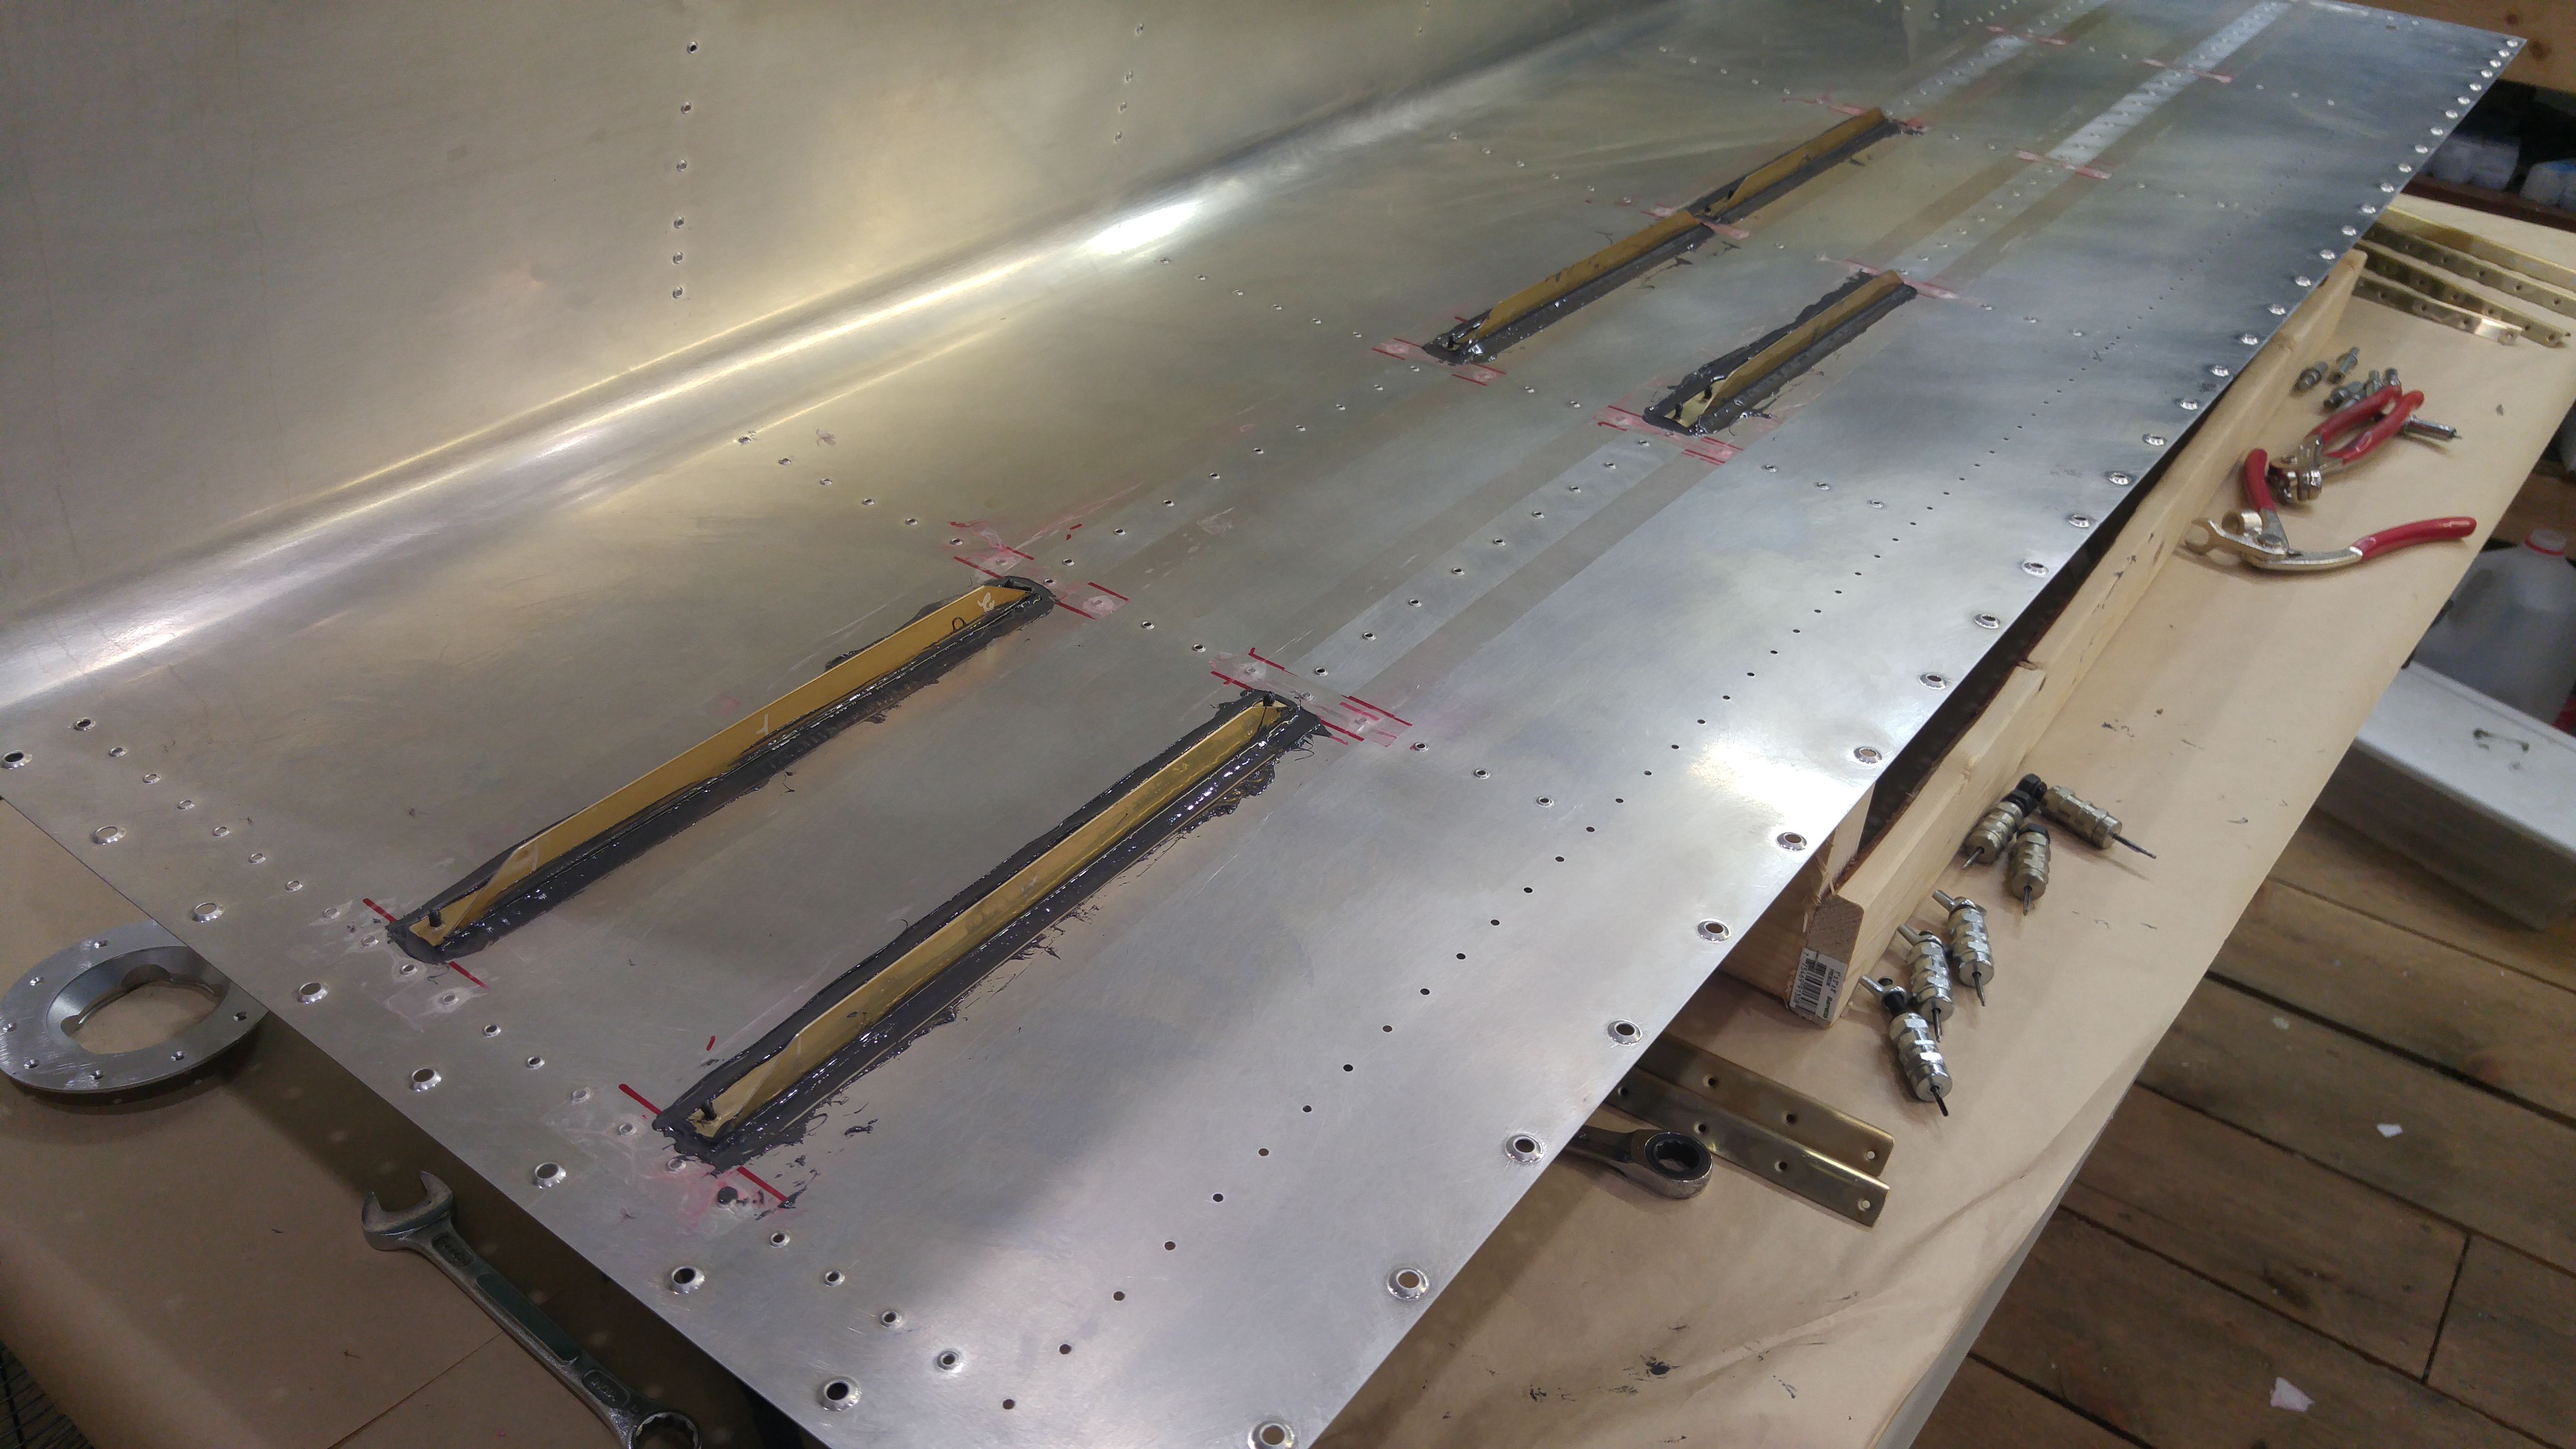
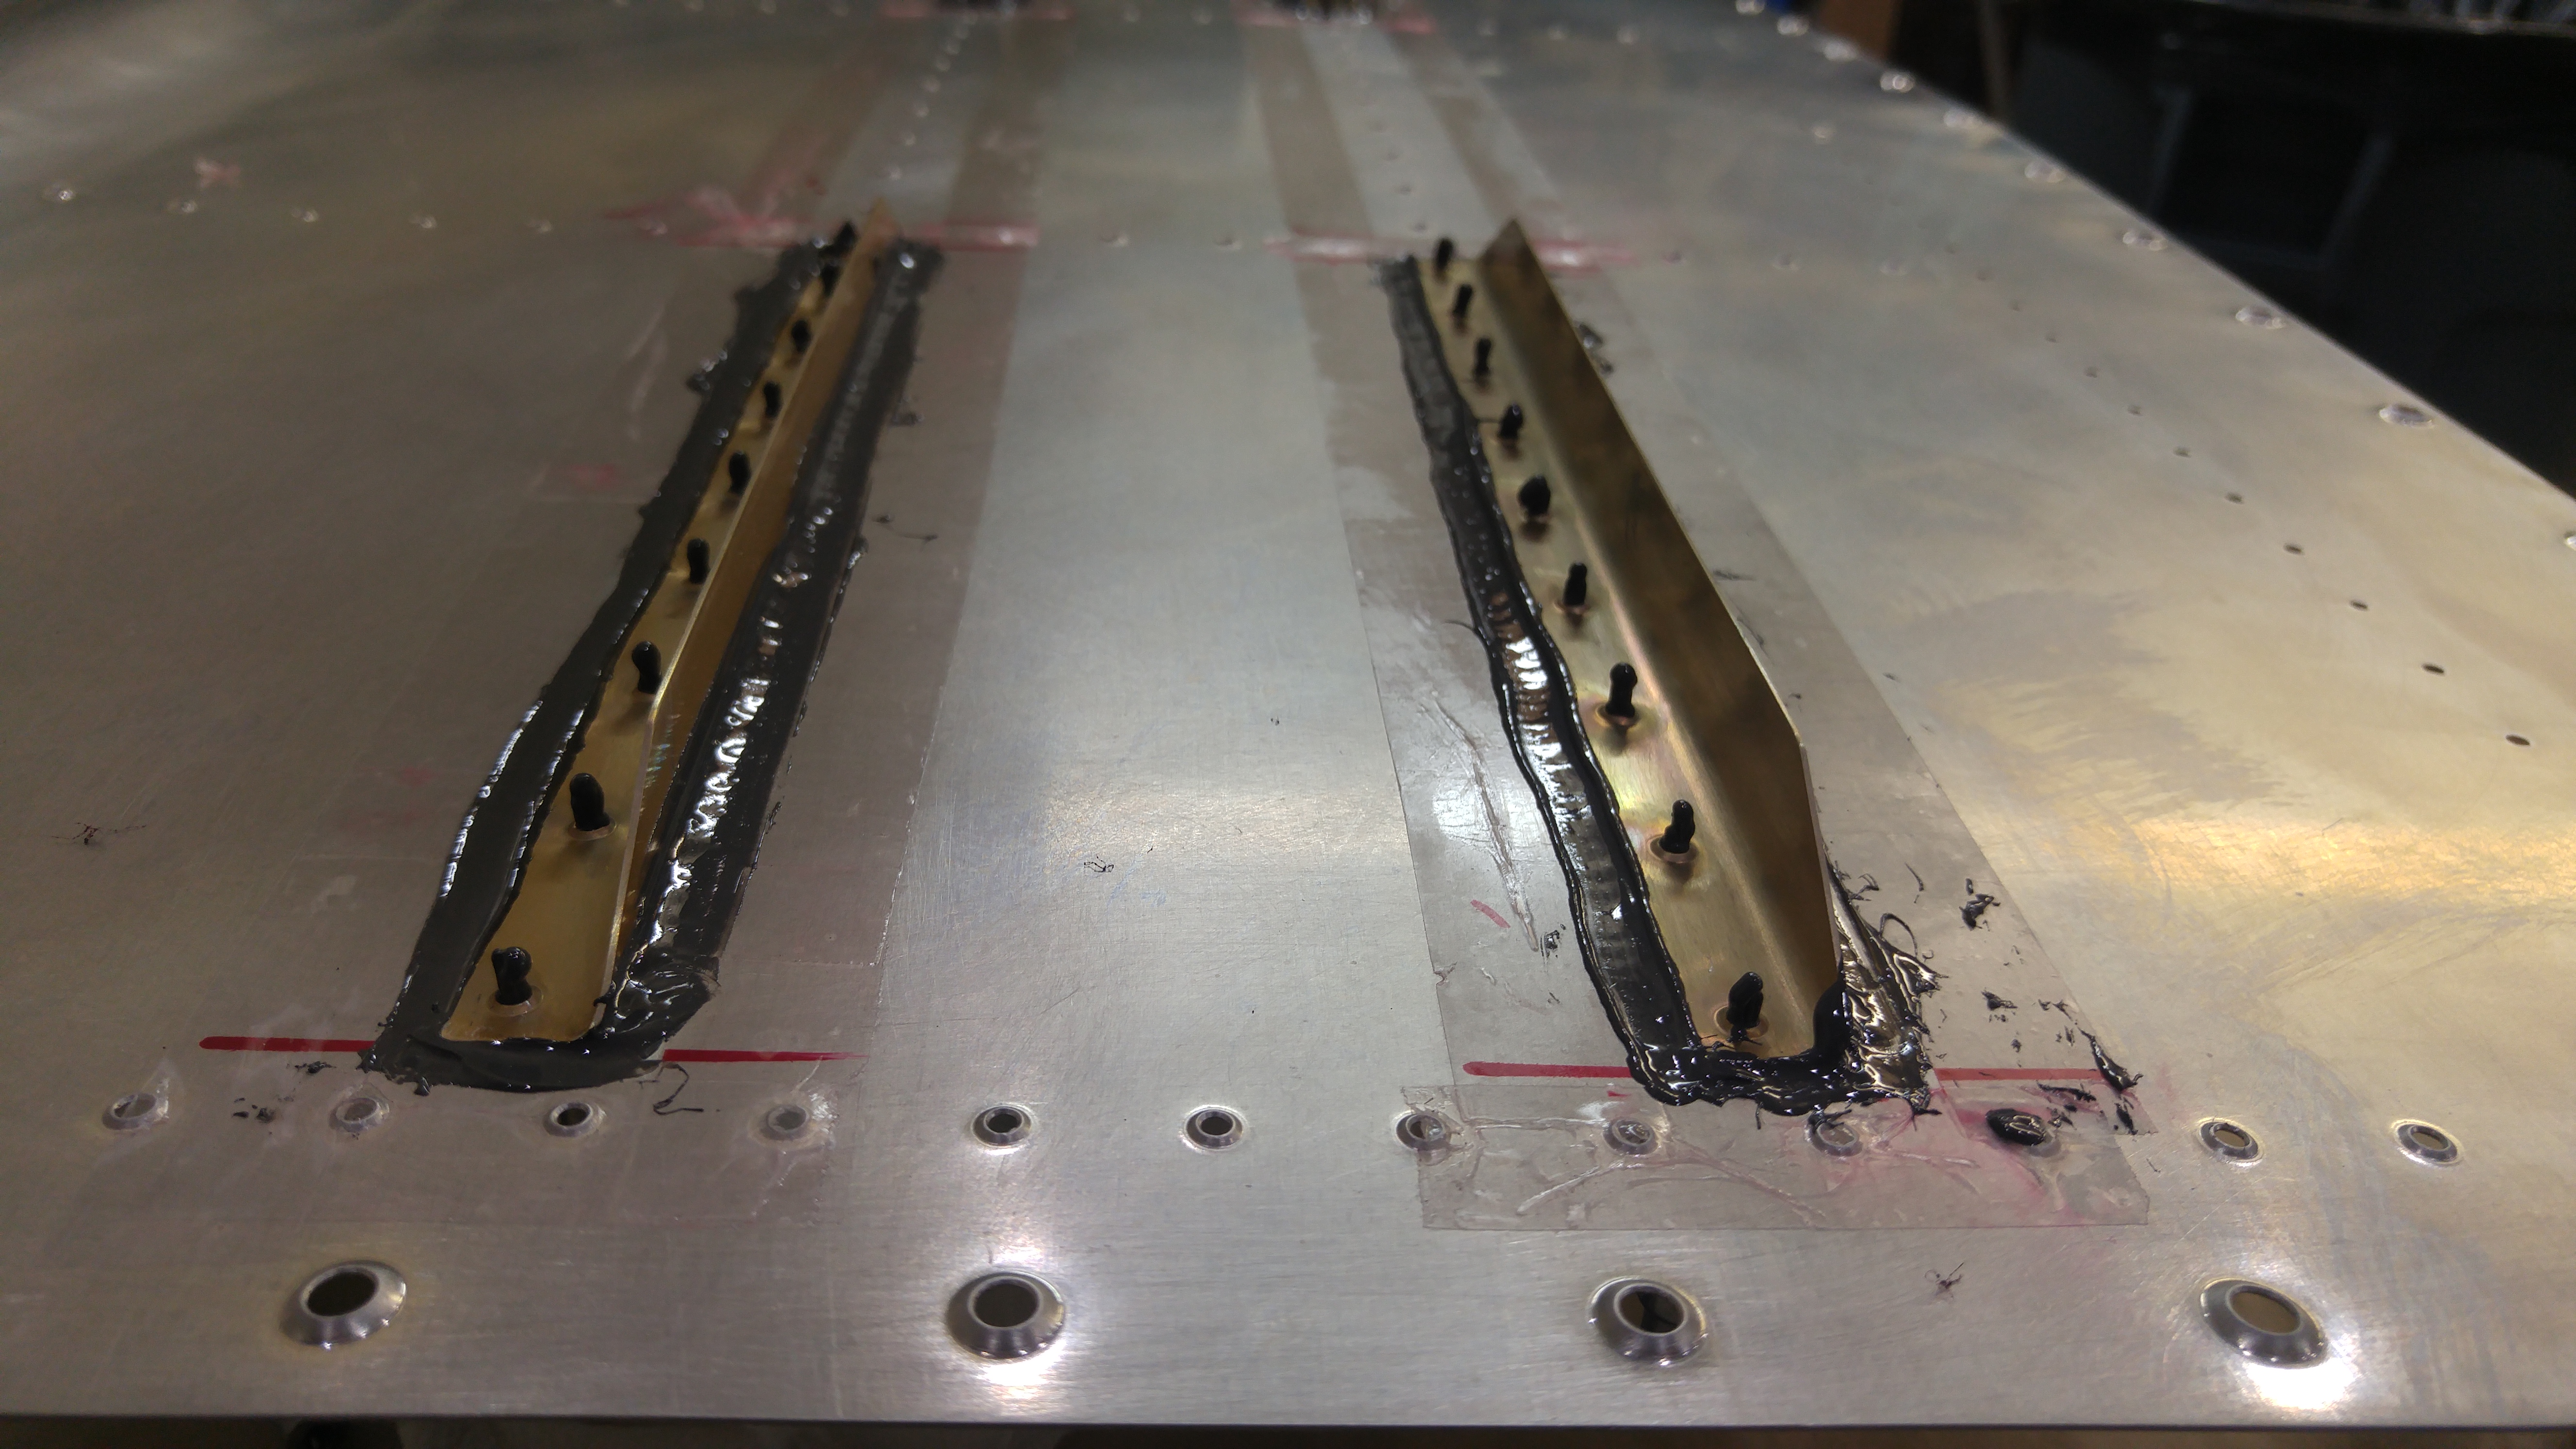
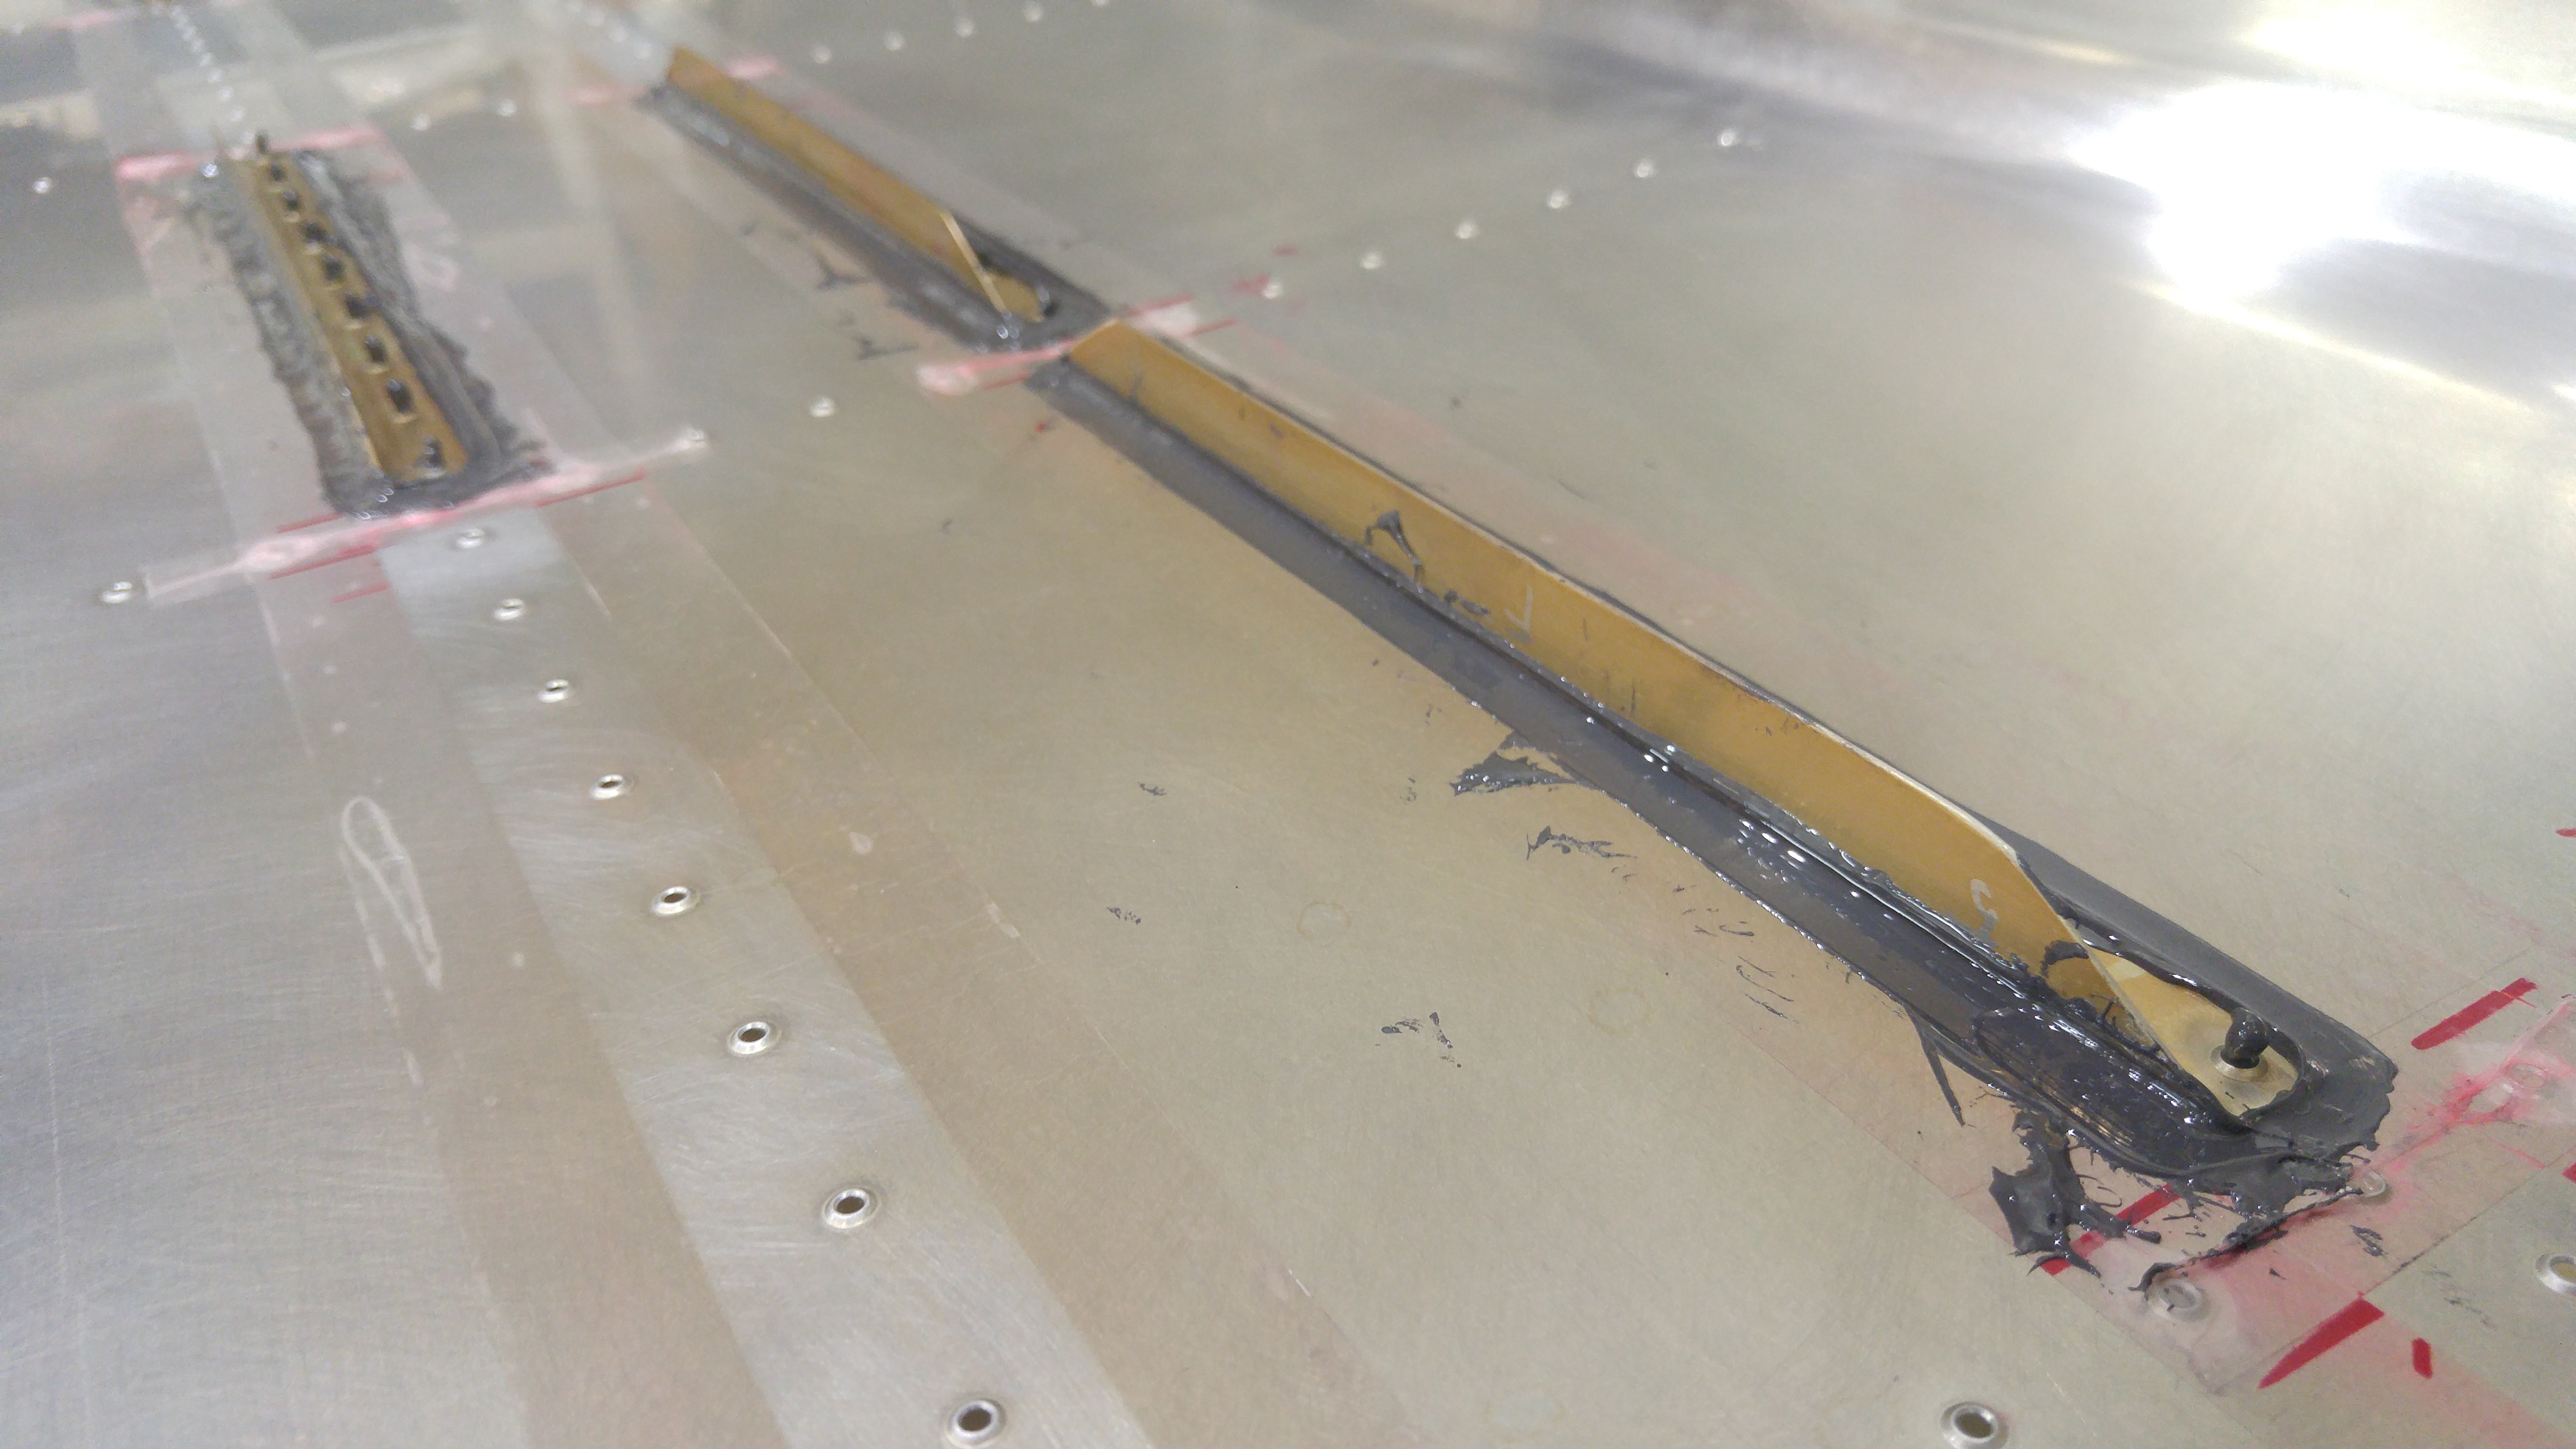
I finished the RH fuel tank and measured the amount of sealant I used during the baffle installation. I applied a thin coat of sealant to both sides of all mating surfaces, with the exception of the baffle flanges, which I did mostly per Van’s instructions. For that part I used a 3/16″ bead forward of the rivet line, and a smaller bead just aft of the rivet line to allow some smearing between the mating surfaces.

For this baffle, I mixed batches of sealant ahead of time and froze them (for about an hour before actual use). I mixed four small batches, of 77g, 77g, 110g, and 121g, for a total of 385g. At the end, I had 89g remaining (a lot of waste), including 10g that was held up in the nozzles (2 used, 5g each) of the Semco pneumatic applicator gun. This results in a total of 296g applied to the tank and lost to clecoes, cleaning, etc. This matches fairly closely what I think I used for the LH tank baffle sealing.

Sealing the Fuel Tanks – Part I

Today I started to seal the left wing fuel tank.  I decided to follow the method laid out by Rick Galati at Van’s Air Force.

The method involves fay sealing surfaces and allowing the sealant to partially cure before riveting.  It is supposed to be less messy, and after handling the sealant for a while, I can imagine that trying to shoot rivets with this wet material everywhere would be quite frustrating and sloppy.  I masked off the area around the stiffeners to allow for easier clean-up after a partial cure.  We’ll see how that works out tomorrow.

As it was, the method is (so far) not terribly messy, as long as you’re willing to sacrifice a ton of nitrile gloves to prevent spreading the sealant around too much.

Today I prepped and sealed the left wing tank inboard rib hardware (fuel flange and anti-rotation plates) and five of the fourteen tank skin stiffeners.  I could have done more, but had only mixed 55g of the sealant (50g Part A : 5g Part B).  That was just exactly enough for the pieces I worked on today.  Perhaps I could have been a little less generous at first and got another stiffener or maybe two, but it looks like you need about 10-11g of sealant for each stiffener, including losses to the pot and gloves, etc.

When I opened the can, my first thought was:  “Wow, that’s a polysulfide!”  And sure enough, it is, according to the manufacturer.  It has a rather rich aroma.

Here’s what I accomplished today.  More tomorrow.

The inboard rib hardware:

The stiffeners:

Right Wing Tank Work

Today I spent a lot of time deburring and dimpling the right wing tank skin, stiffeners, and associated parts. I also found that the DRDT-2 works better for screw hole dimpling than the pneumatic squeezer did, so I ran the left wing tank skin back through the screw hole dimpling process, and the holes now look much crisper.

I also got a very nice surprise when Mom and Tim showed up unannounced for a visit and gave me a great little chest that Tim made for me in his wood shop. I’m going to come up with a good use for it that will not damage it. Tim said I should keep it in the workshop but I want to make sure I don’t get it dirty or scratched or damaged in other ways. It really is a nice piece of craftsmanship!

It is made of wormy chestnut, which is really pretty. I think it is finished only with linseed oil. The aroma is very nice, and I like the natural finish.

He even signed and dedicated it!

Update

Well, I haven’t updated this blog for a very long while, but I have been working, albeit slowly, on completing the wings. My work rate has picked up significantly in the last couple of weeks. We took a couple of trips in the Warrior (to the beach and to Vermont) and it got me back into the spirit of building.

The left fuel tank is nearly complete–needs only priming of some external parts and then final assembly with sealant. Right hand tank is nearly there too. Once I get the the point I need to prime, I will be priming many wing parts prior to final assmebly.

Below is a picture of the inboard left hand fuel tank rear rib. I have added a fitting for a fuel return line. The engine I bought has an Airflow Performance fuel injection system which benefits from a fuel return to the tank for starting. Also, I will do this for both tanks so that if in the future I decide to switch to a fuel injection system that requires a fuel return, I will have it available. I’ll cap off the return that is unused with a cap fitting.

A picture of the right wing tank during a test assembly. Left wing tank is almost ready to assemble and seal up.