Oil Change Trick

I was changing the oil in 2884L the other day, and I was looking for a way to minimize oil spilling while I remove the oil filter.  The O-320 in the Warrior has a horizontally mounted oil filter on the top rear of the engine.  Removing the filter usually results in a cascade of hot, dirty oil down the back of the engine, all over the fuel pump, and the inside of  the cowling.  The clean-up is no fun.

I had tried a few methods in the past, but all resulted in spills and pain-in-the-ass cleanups.  I tried something new this time.  I cut the top off an old oil bottle and then made a relief cut in one long side of the bottle.  This allowed me to position the bottle below the filter at an angle.

20161223_180018.jpg

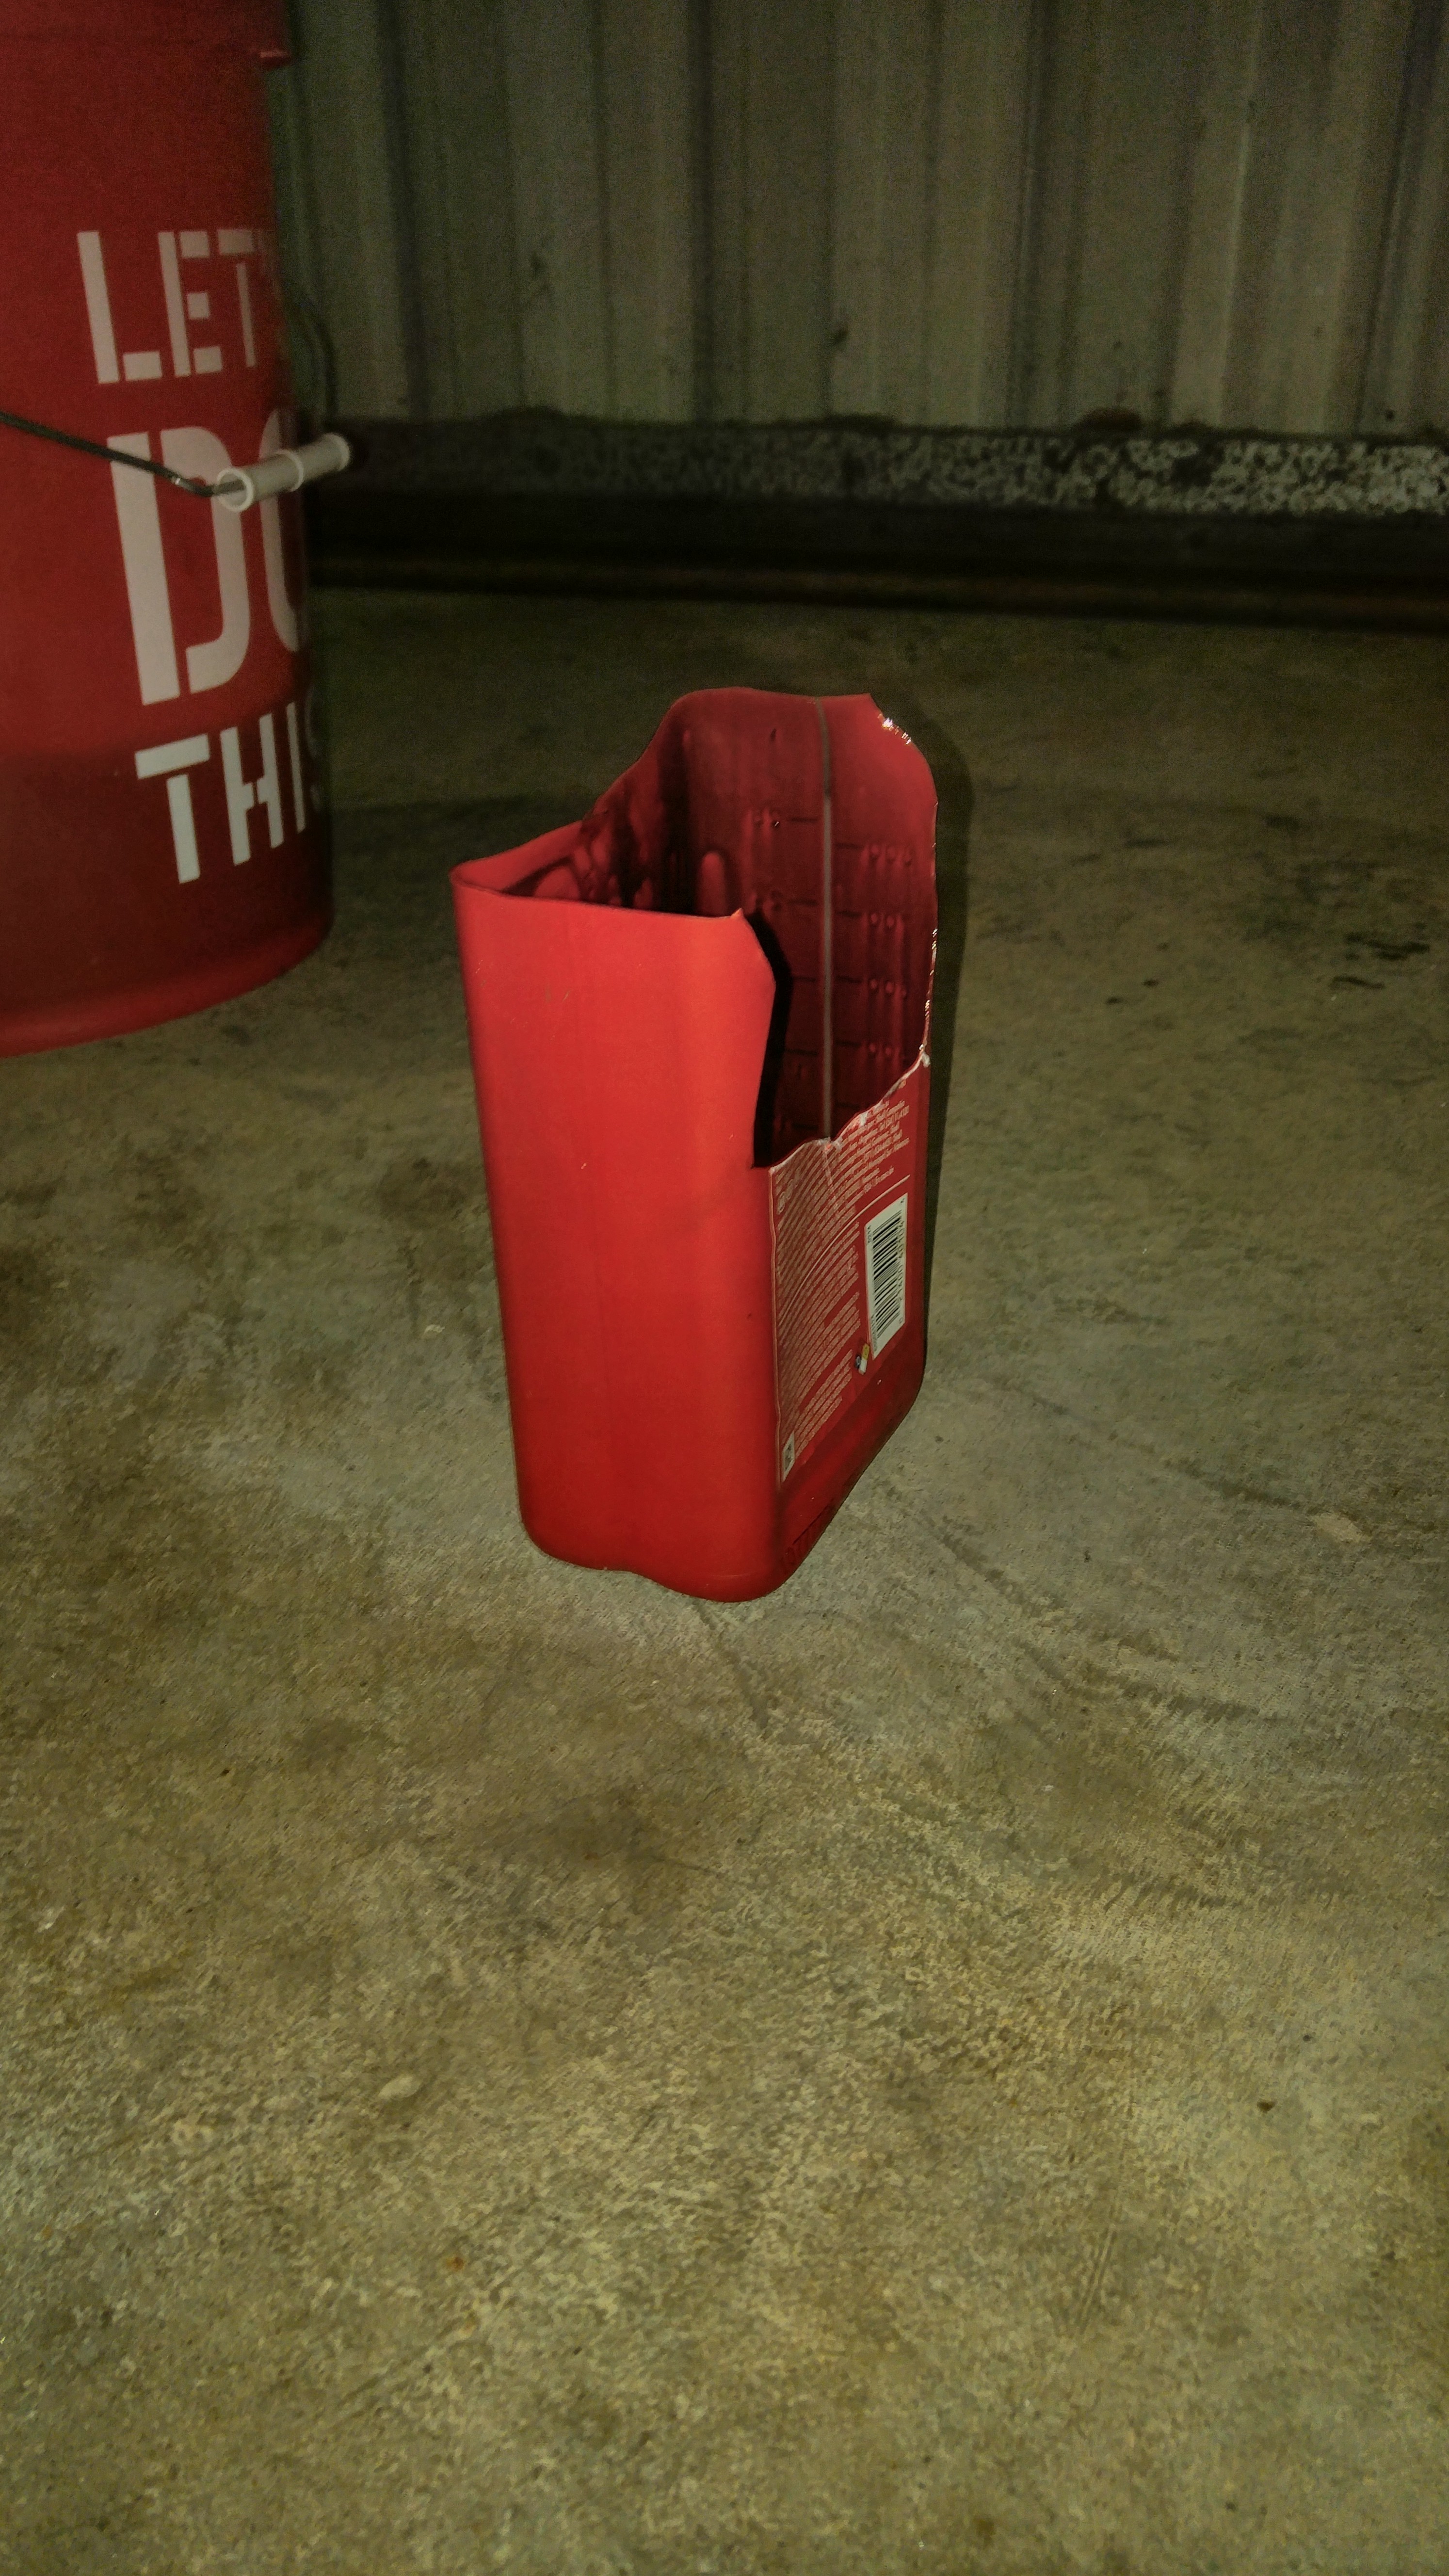
I don’t have a picture of the oil catcher in use, but I didn’t spill a drop.

Future mods may include a strap to hold the bottle in place but it works just fine by hand.

Something is Gained in Translation

I stopped at a convenience store this morning to get some snacks. I wondered what the marketing folks were trying to tell me about their product. Since I don’t read Japanese, I turned to Google Translate’s handy photo translation capability.

First Product, Chocolate covered puffed wheat:

Google Translate:

Wheat chocolate It is fragrant and nostalgic taste. It is a snack that stops when you eat.

Uh huh.
Second product, Squid Jerky:

Google Translate:

I baked about Kanamekara firmly. The taste spreads in the garbage mouth 16 g

You don’t say!

LW Top Skin Dimpling

Today I deburred the top wing skin parts and dimpled the appropriate parts per plans page 16-2 Step 6.  Test reassembled and everything fits pretty nicely.  I had set up the DRDT-2 dimpler a while back for prior work and it was still set up well.  It didn’t need any adjustment, and the dimples came out looking crisp and flat.

20161130_214108.jpg

20161130_214057.jpg

20161130_214039.jpg

wp-1480565637154.jpg

wp-1480565652681.jpg

wp-1480565671945.jpg

Left Wing Top Skin Work

Today I finished Page 16-2 Steps 1-4 for the left wing.  Countersinking the wing walk area went more smoothly than I expected.  Afterward, I prepared for dimpling the top skin holes by removing the blue vinyl from the top surfaces of the W-1003 and W-1002 skins.

Time Lapse Videos:


Countersinking Large Screw Holes

Countersinking large screw holes for nutplates in thin sections of sheet is no fun.  The countersink bit tends to wander and make a hash of the hole.  I thought about how to minimize chatter and keep the bit centered for a few minutes and came up with this:

First, I cut a piece of wood to fit a small area along the line where the nutplates are.   In this case, the nutplates will eventually hold the wing root fairing on the left wing.  I clamped the piece of wood in place and drilled #40 holes in the wood to correspond with the nutplate rivet holes.  Then I clecoed a nutplate through the top of the skin into the wood.

wp-1480301243828.jpg


Then I used the nutplate as a drill guide to drill a #30 hole in the wood below, centered on the screw hole in the nutplate.

wp-1480301648898.jpg

Next, I used my 90 degree drill and a #30 piloted countersink bit to carefully make the appropriate countersink (in this case, to accept a sheet above dimpled for a #8 screw.

wp-1480301487453.jpg


Finished product is a well centered countersink with minimal chatter.  I used pine wood here but in the future I will use oak or another hardwood because the pine is so soft, and allows a bit of movement to the countersink pilot.

wp-1480301469896.jpg

Fitting Top Wing Skins – Part 1

Today, I got the top wing skin parts out of the crate and began fitting them to the left wing.  Way back in the beginning of the wing construction process, I had made a mistake in drilling the J channel wing stiffeners in the wrong position.  I had contacted Van’s Aircraft about this and they confirmed it was not a big deal to simply extend the length using a short piece of J channel at the wing tip, so I fit and drilled this piece today as well.

I used up every silver cleco I could find and still didn’t have quite enough for the whole wing.  I guess I’ll have to order some more eventually.

20161126_214017.jpg

20161126_214005.jpg

20161126_214050.jpg

20161126_214033.jpg

20161126_214512.jpg

20161126_214407.jpg

Time Lapse Video:


Also, today I worked on drilling out and re-setting some rivets on the rear spar on the left wing that I didn’t like.

20161126_143952.jpg

Aquarium

20161114_084659.jpg

I got this beautiful 75 gallon aquarium from Larry, who did not have room for it anymore.  I got it set up and hope to add more fish to it soon.  Right now there is a single Labidochromis caeruleus in there, but I don’t think it’s visible.  Reading up on optimum cichlid population density, it looks like I’ll be able to fit about 25-28 average size fish in there.  Because of the African Cichlids’ behavior patterns, it is better to have a high population density to minimize aggressiveness.  I intend to go with Lake Malawi cichlids.  In the past I had mostly Mbuna type fish from that lake but I may go with a different sort this time.  The Mbuna tend to be a bit more aggressive and root up plants and such.