Update

Well, I haven’t updated this blog for a very long while, but I have been working, albeit slowly, on completing the wings. My work rate has picked up significantly in the last couple of weeks. We took a couple of trips in the Warrior (to the beach and to Vermont) and it got me back into the spirit of building.

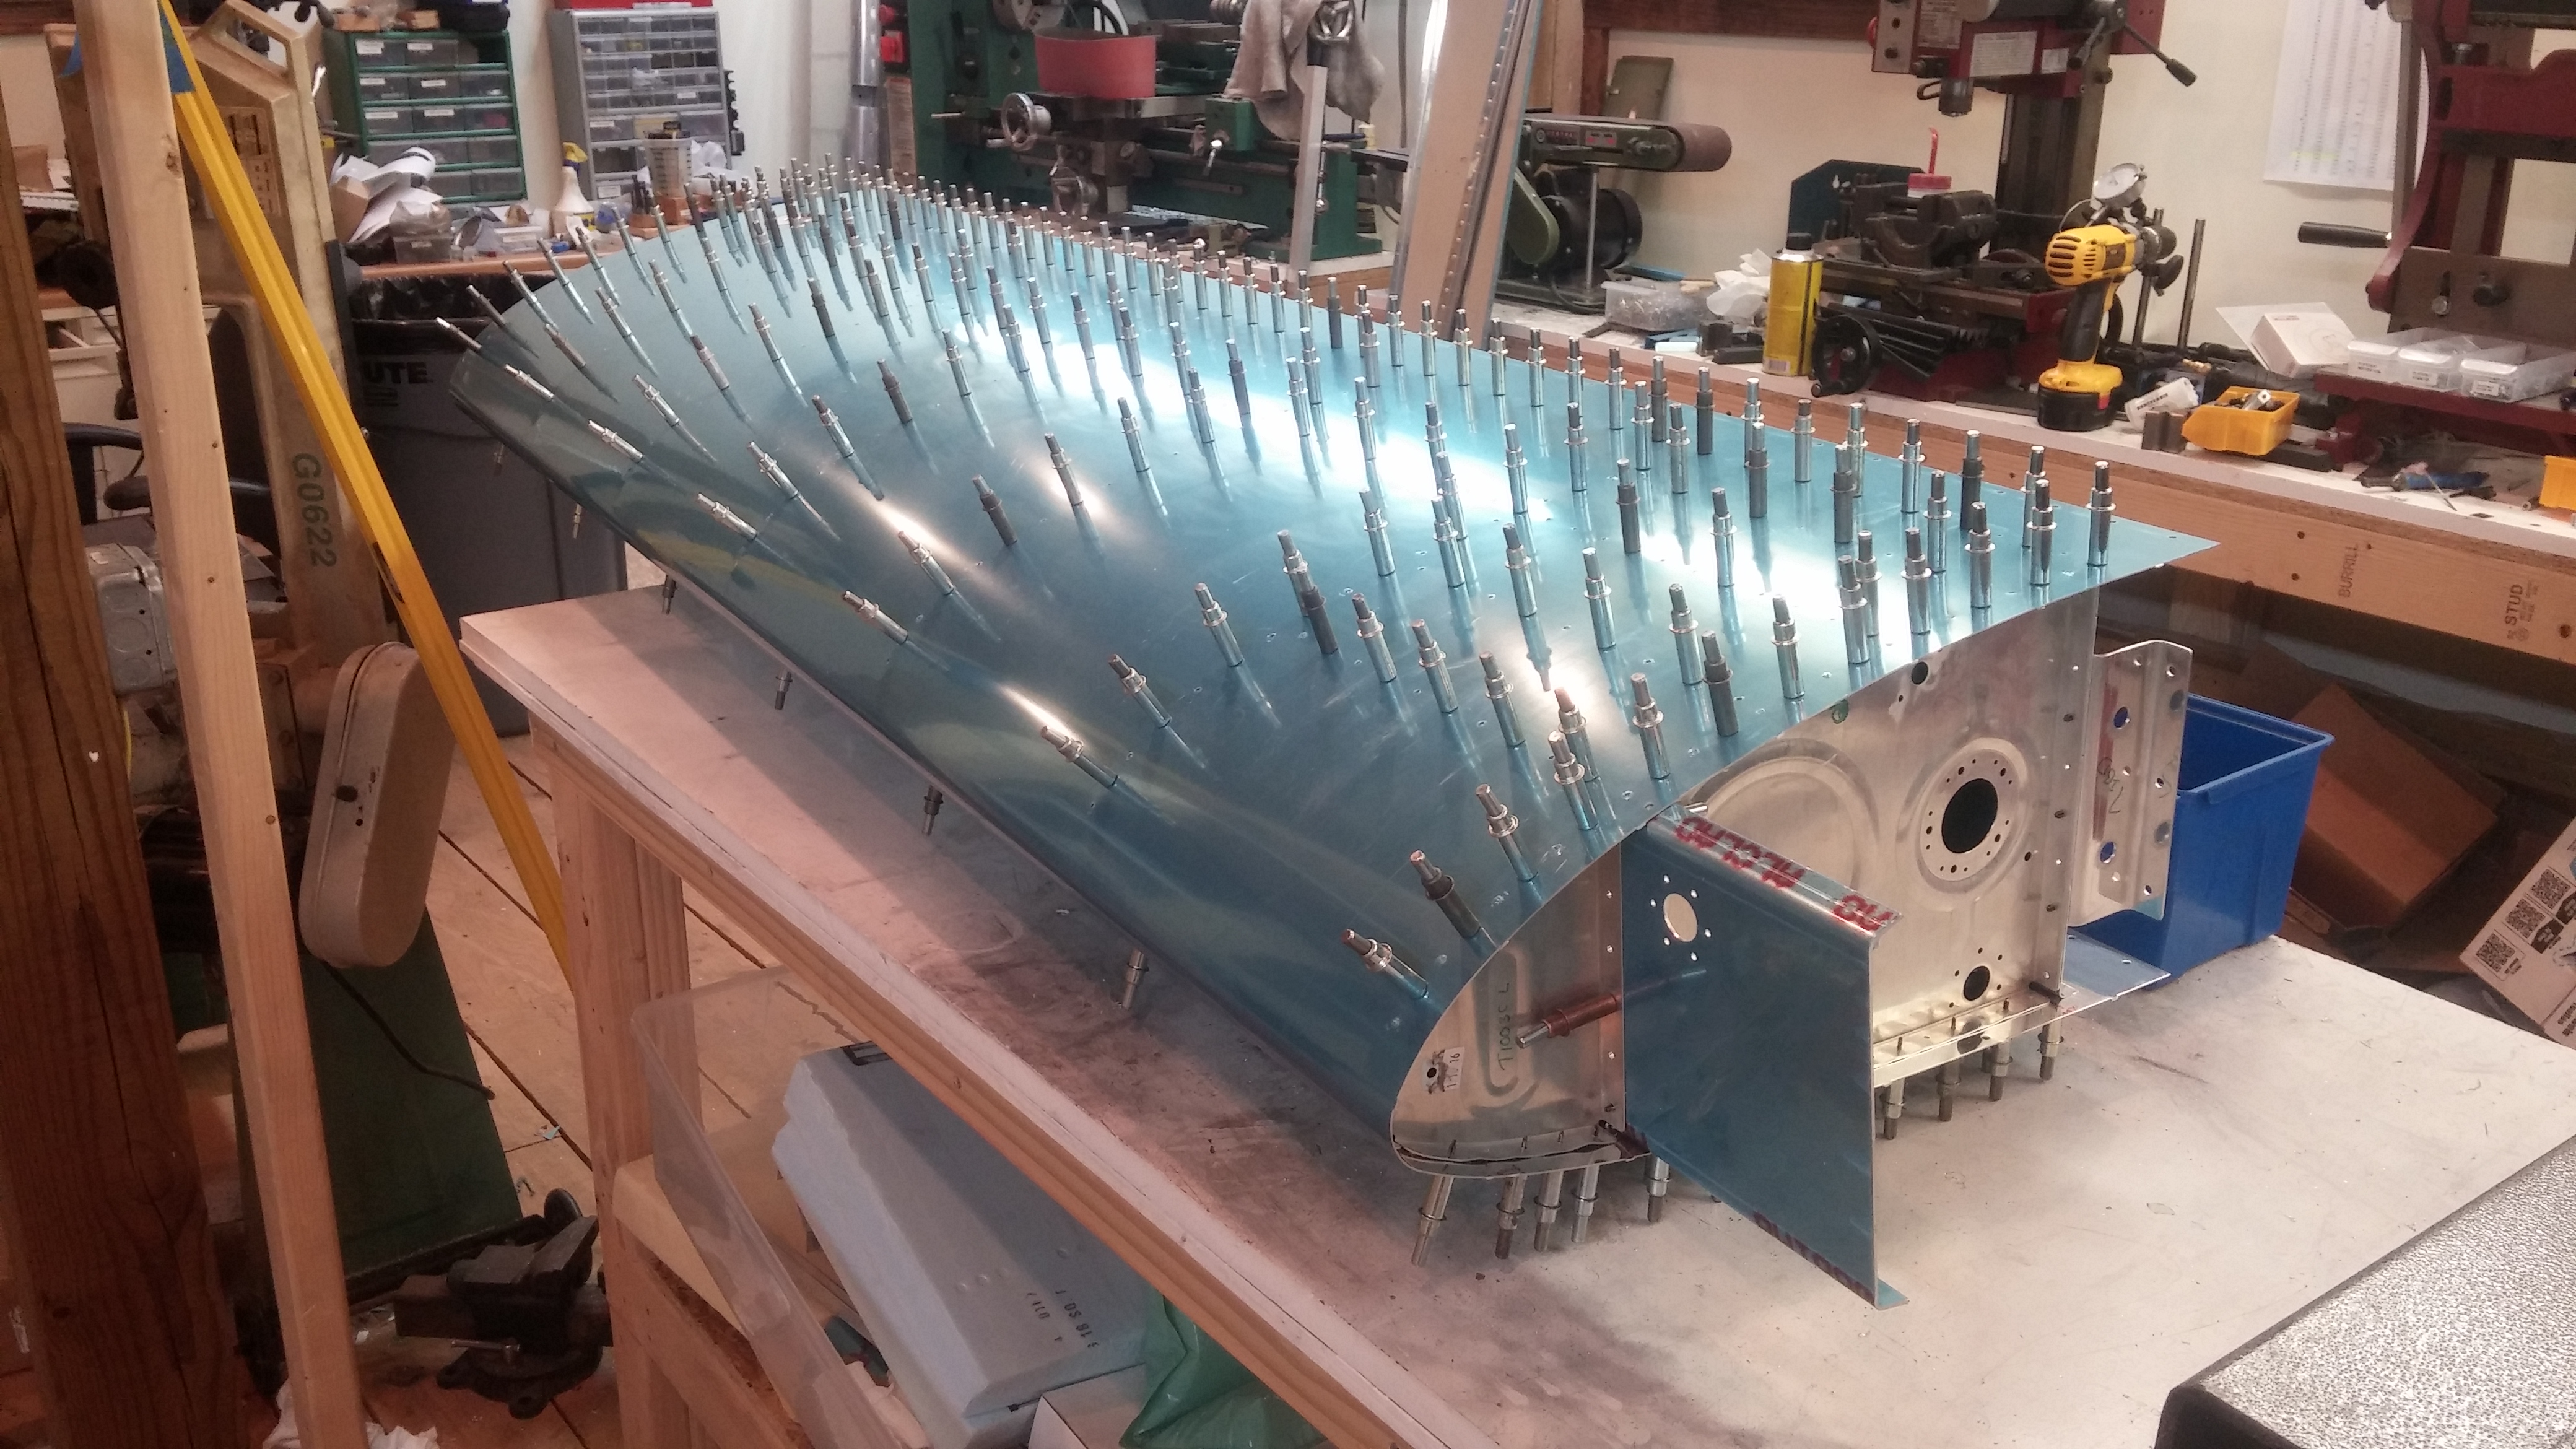
The left fuel tank is nearly complete–needs only priming of some external parts and then final assembly with sealant. Right hand tank is nearly there too. Once I get the the point I need to prime, I will be priming many wing parts prior to final assmebly.

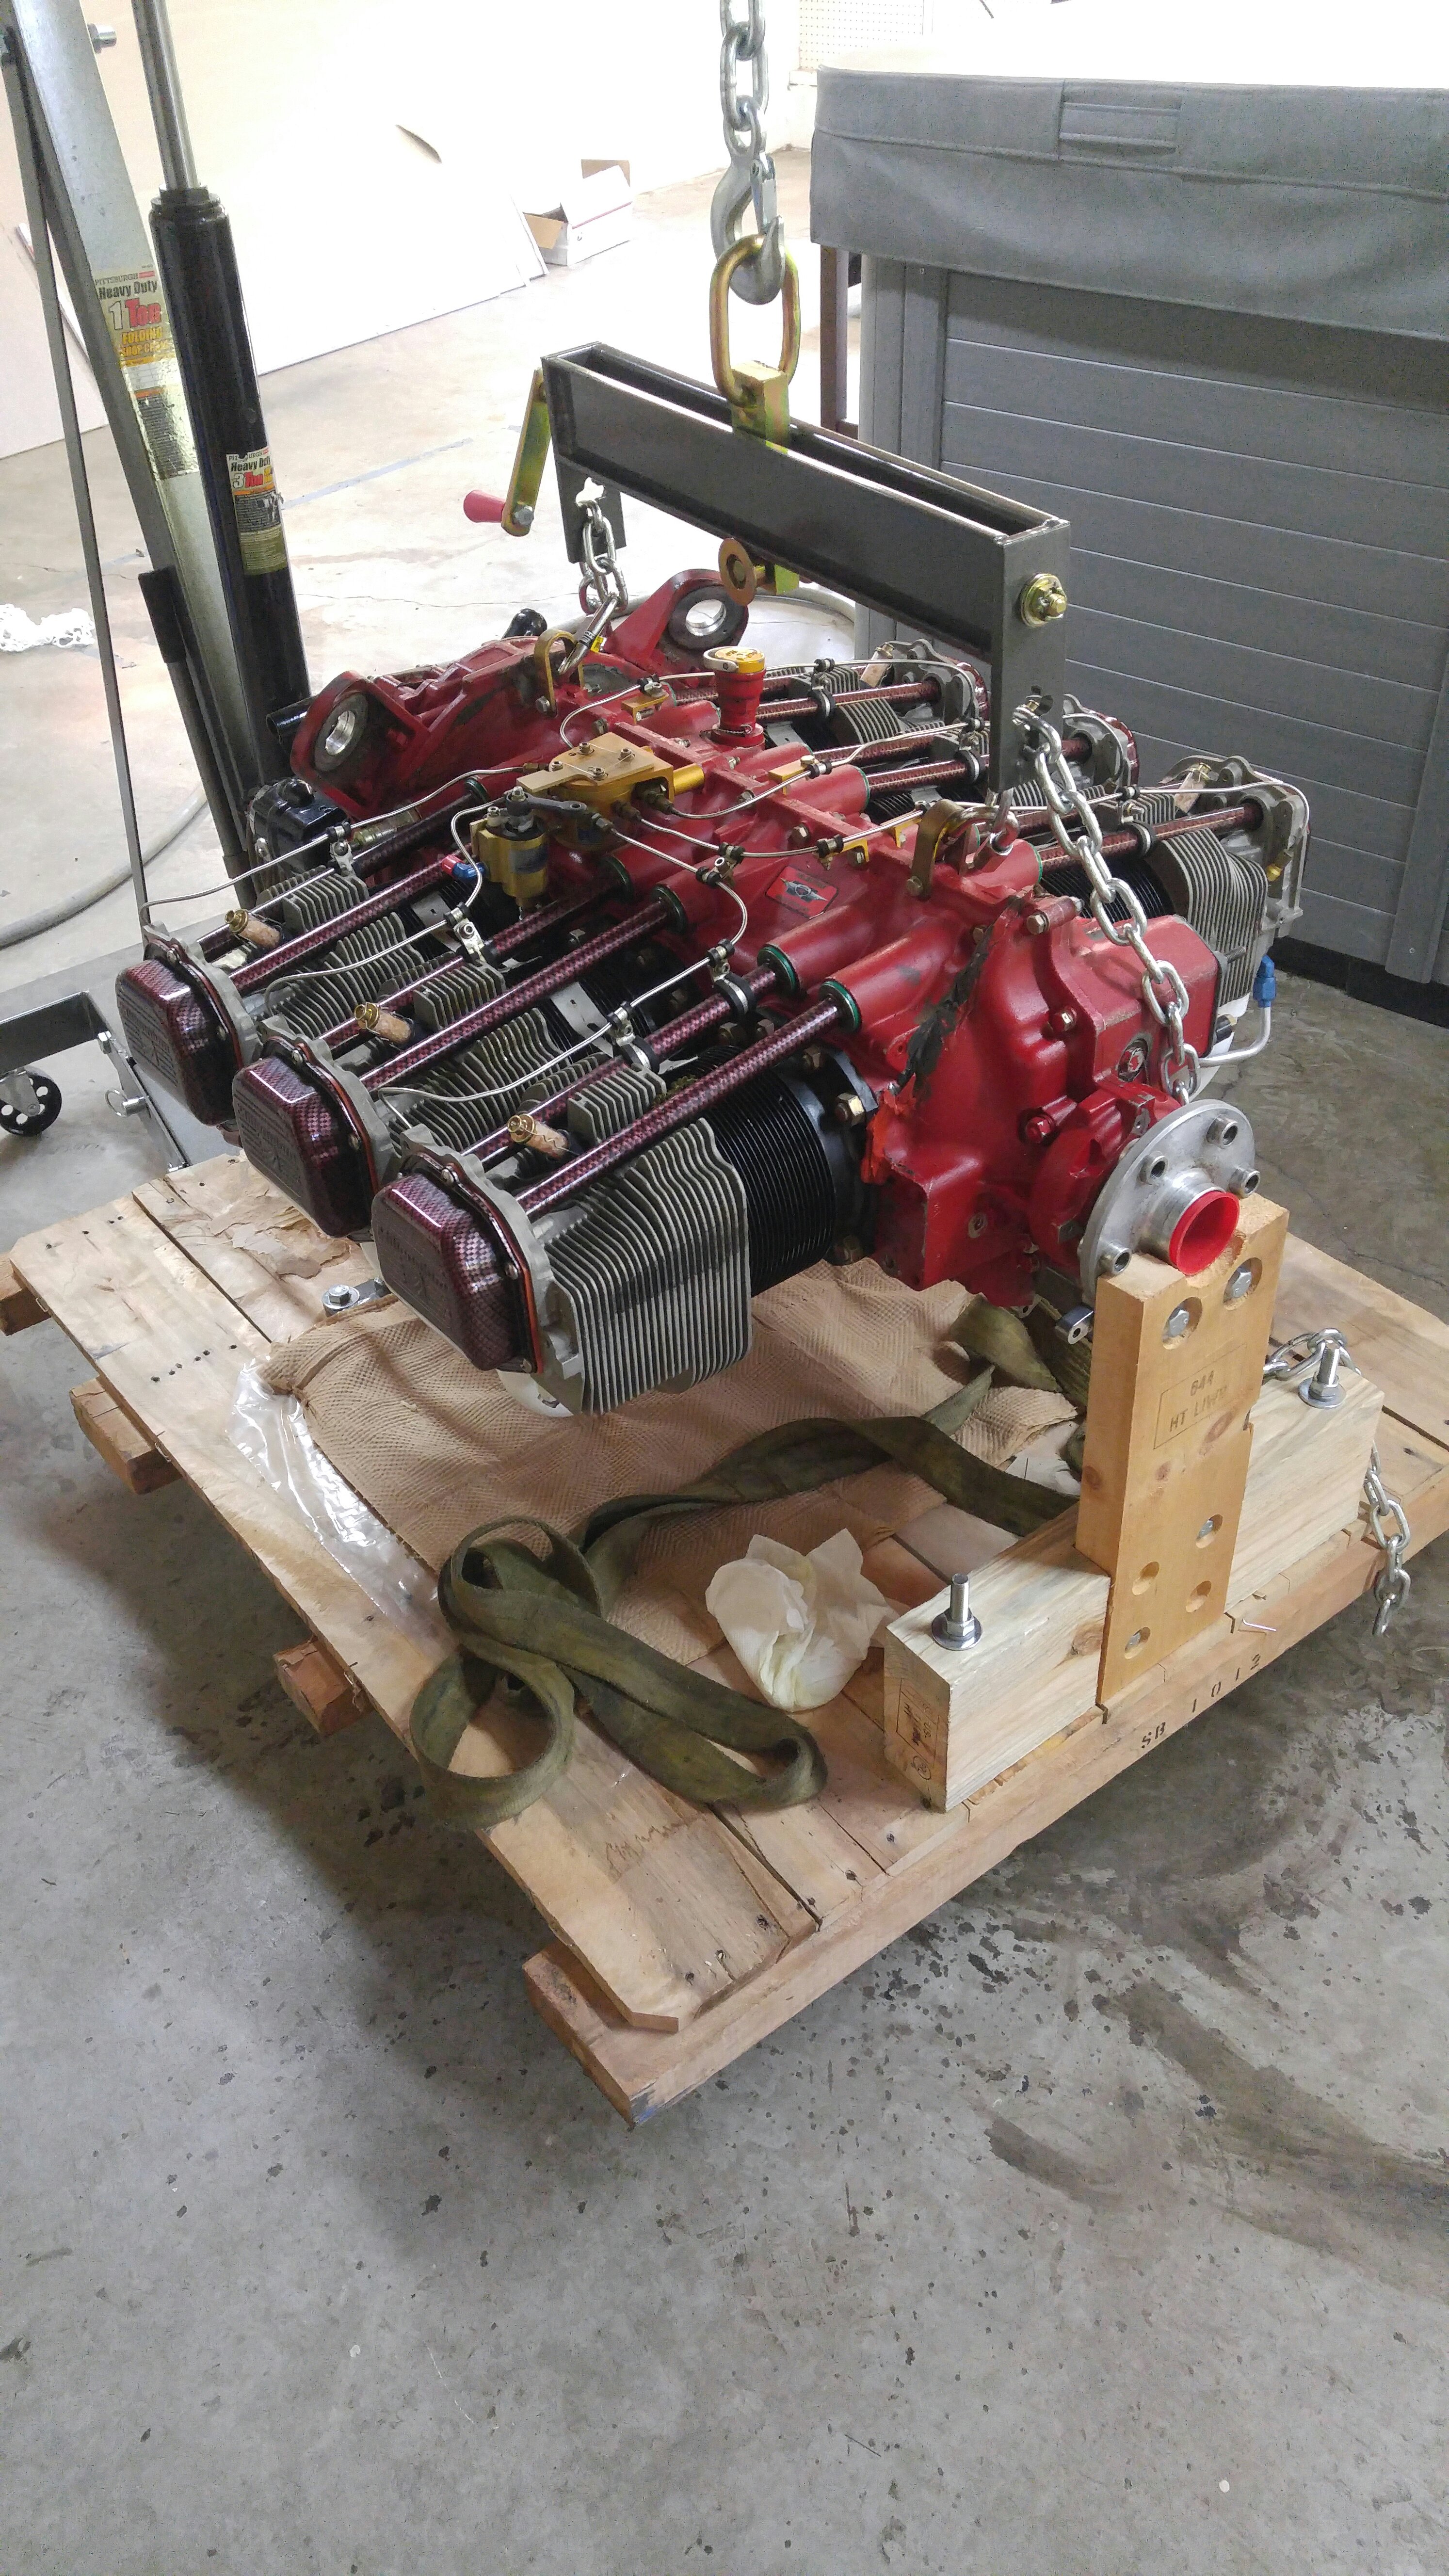
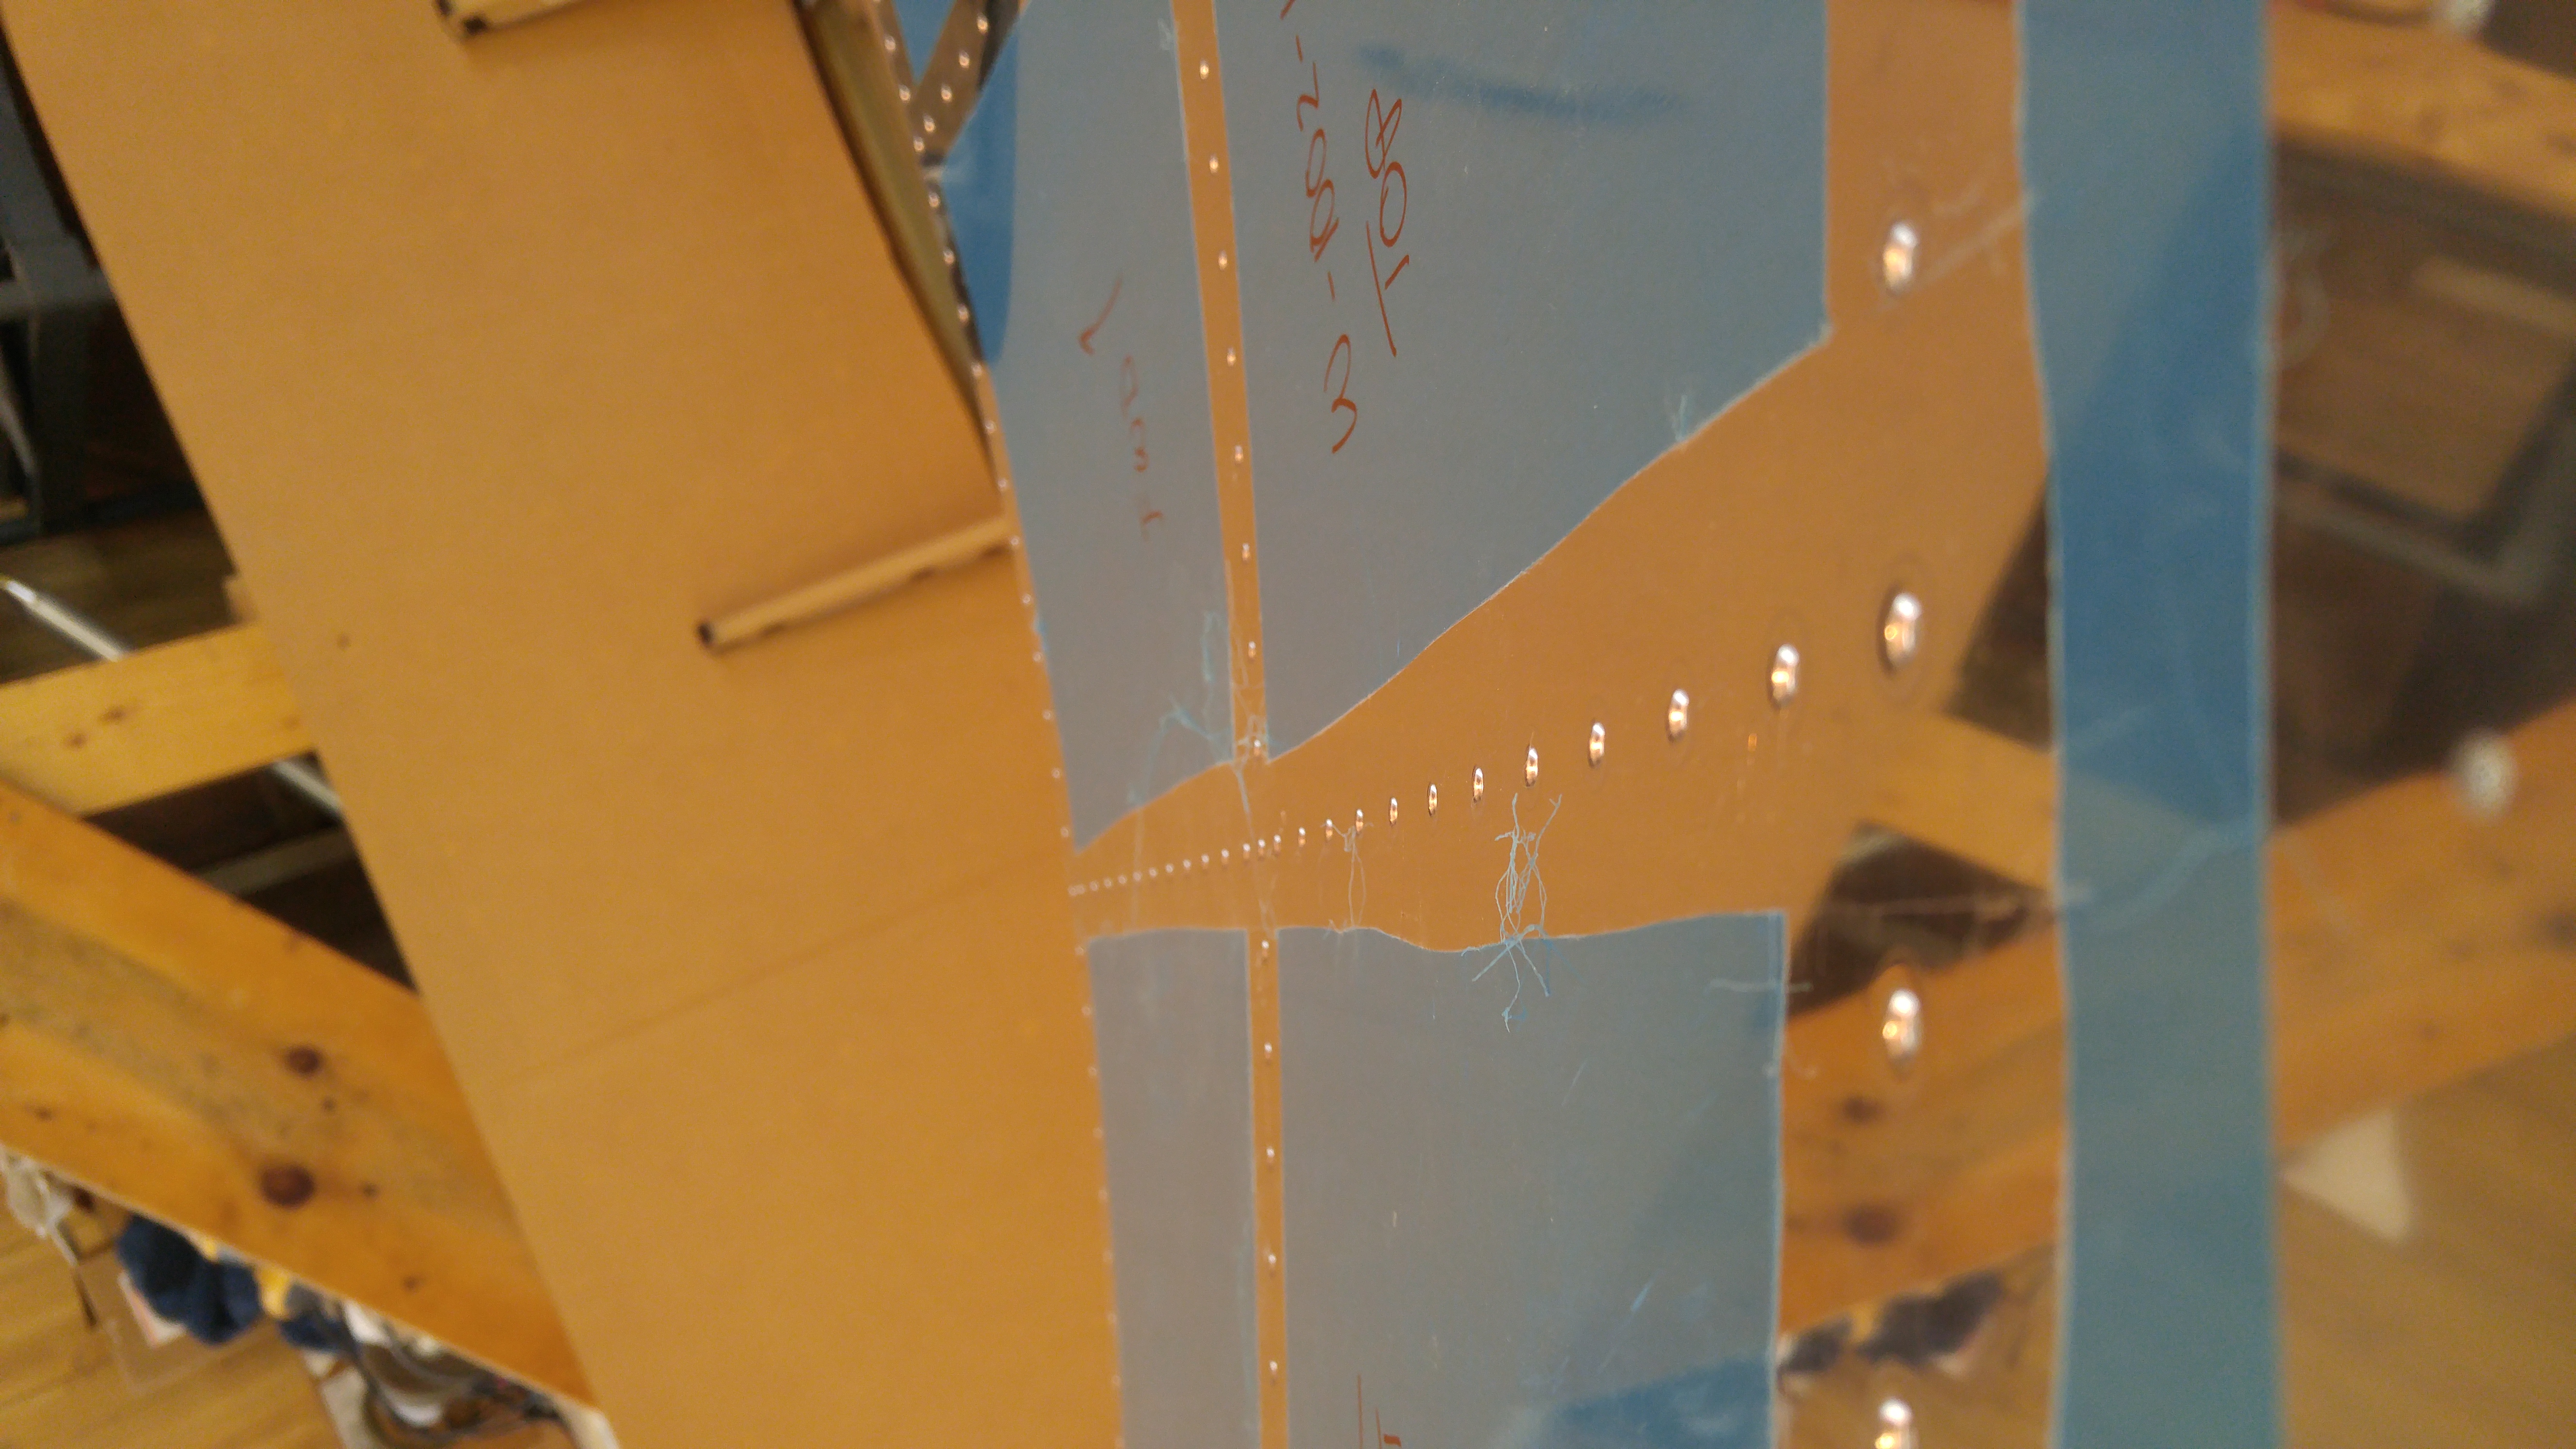
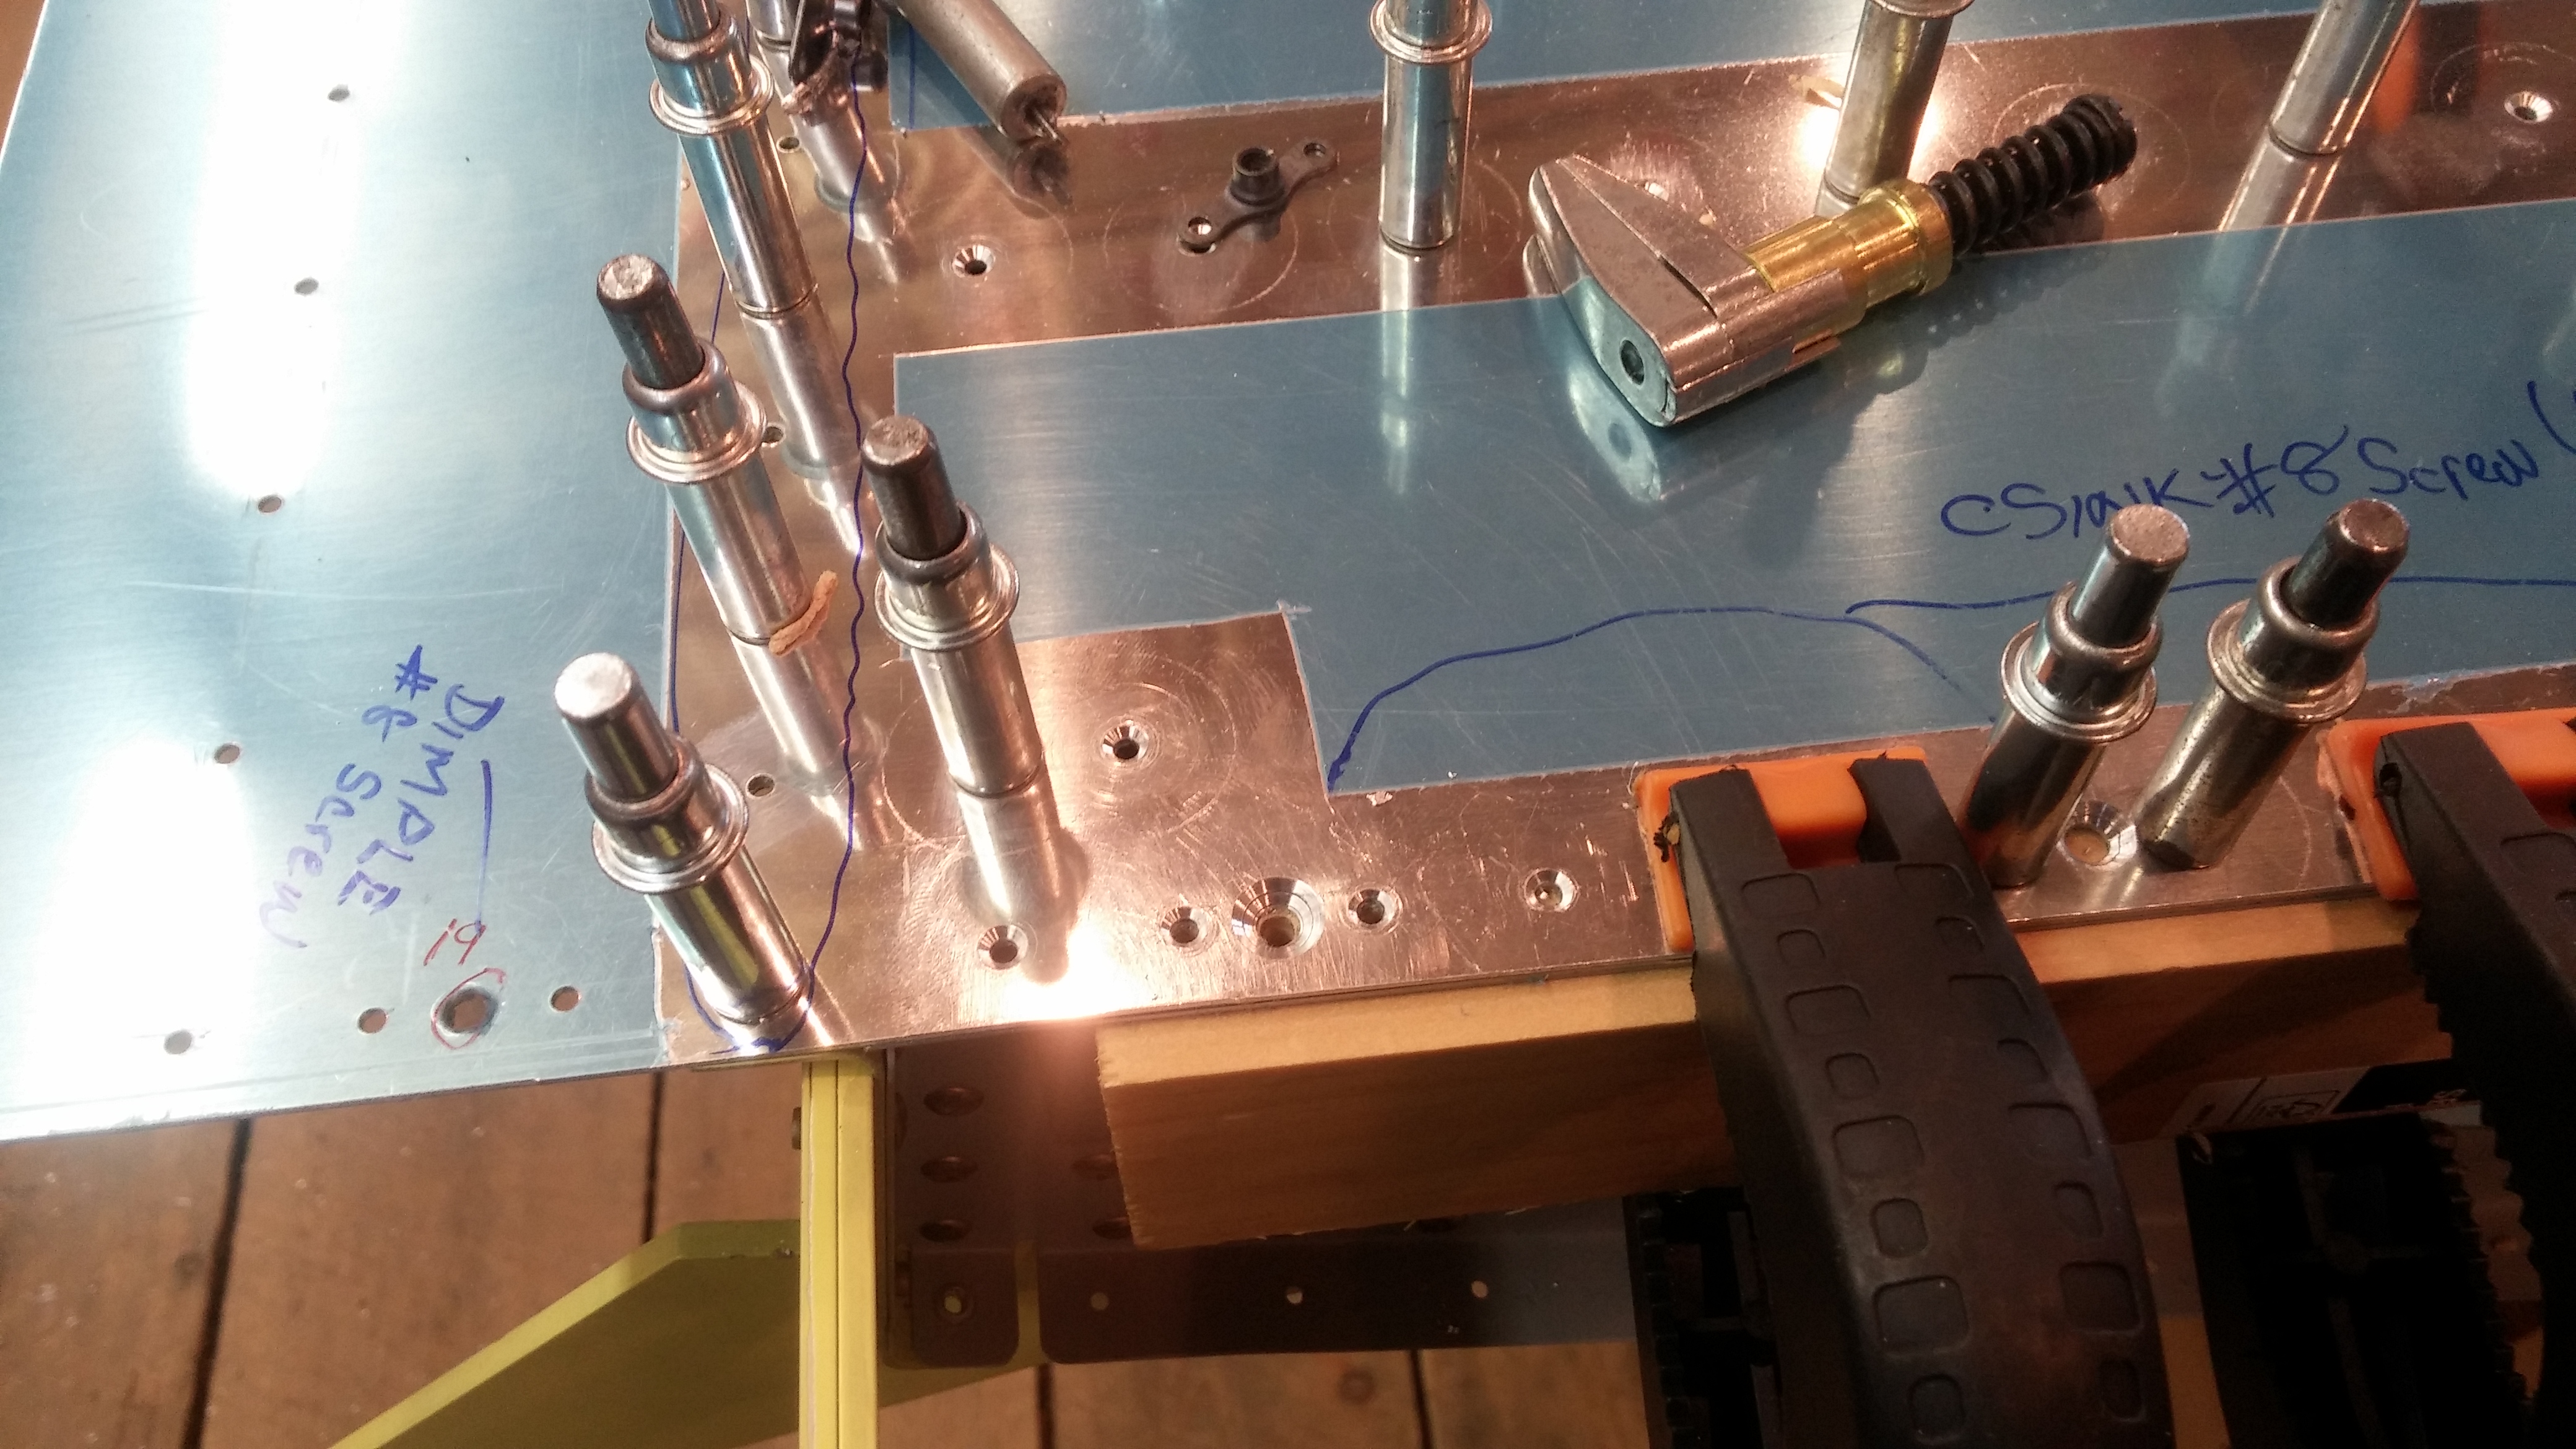
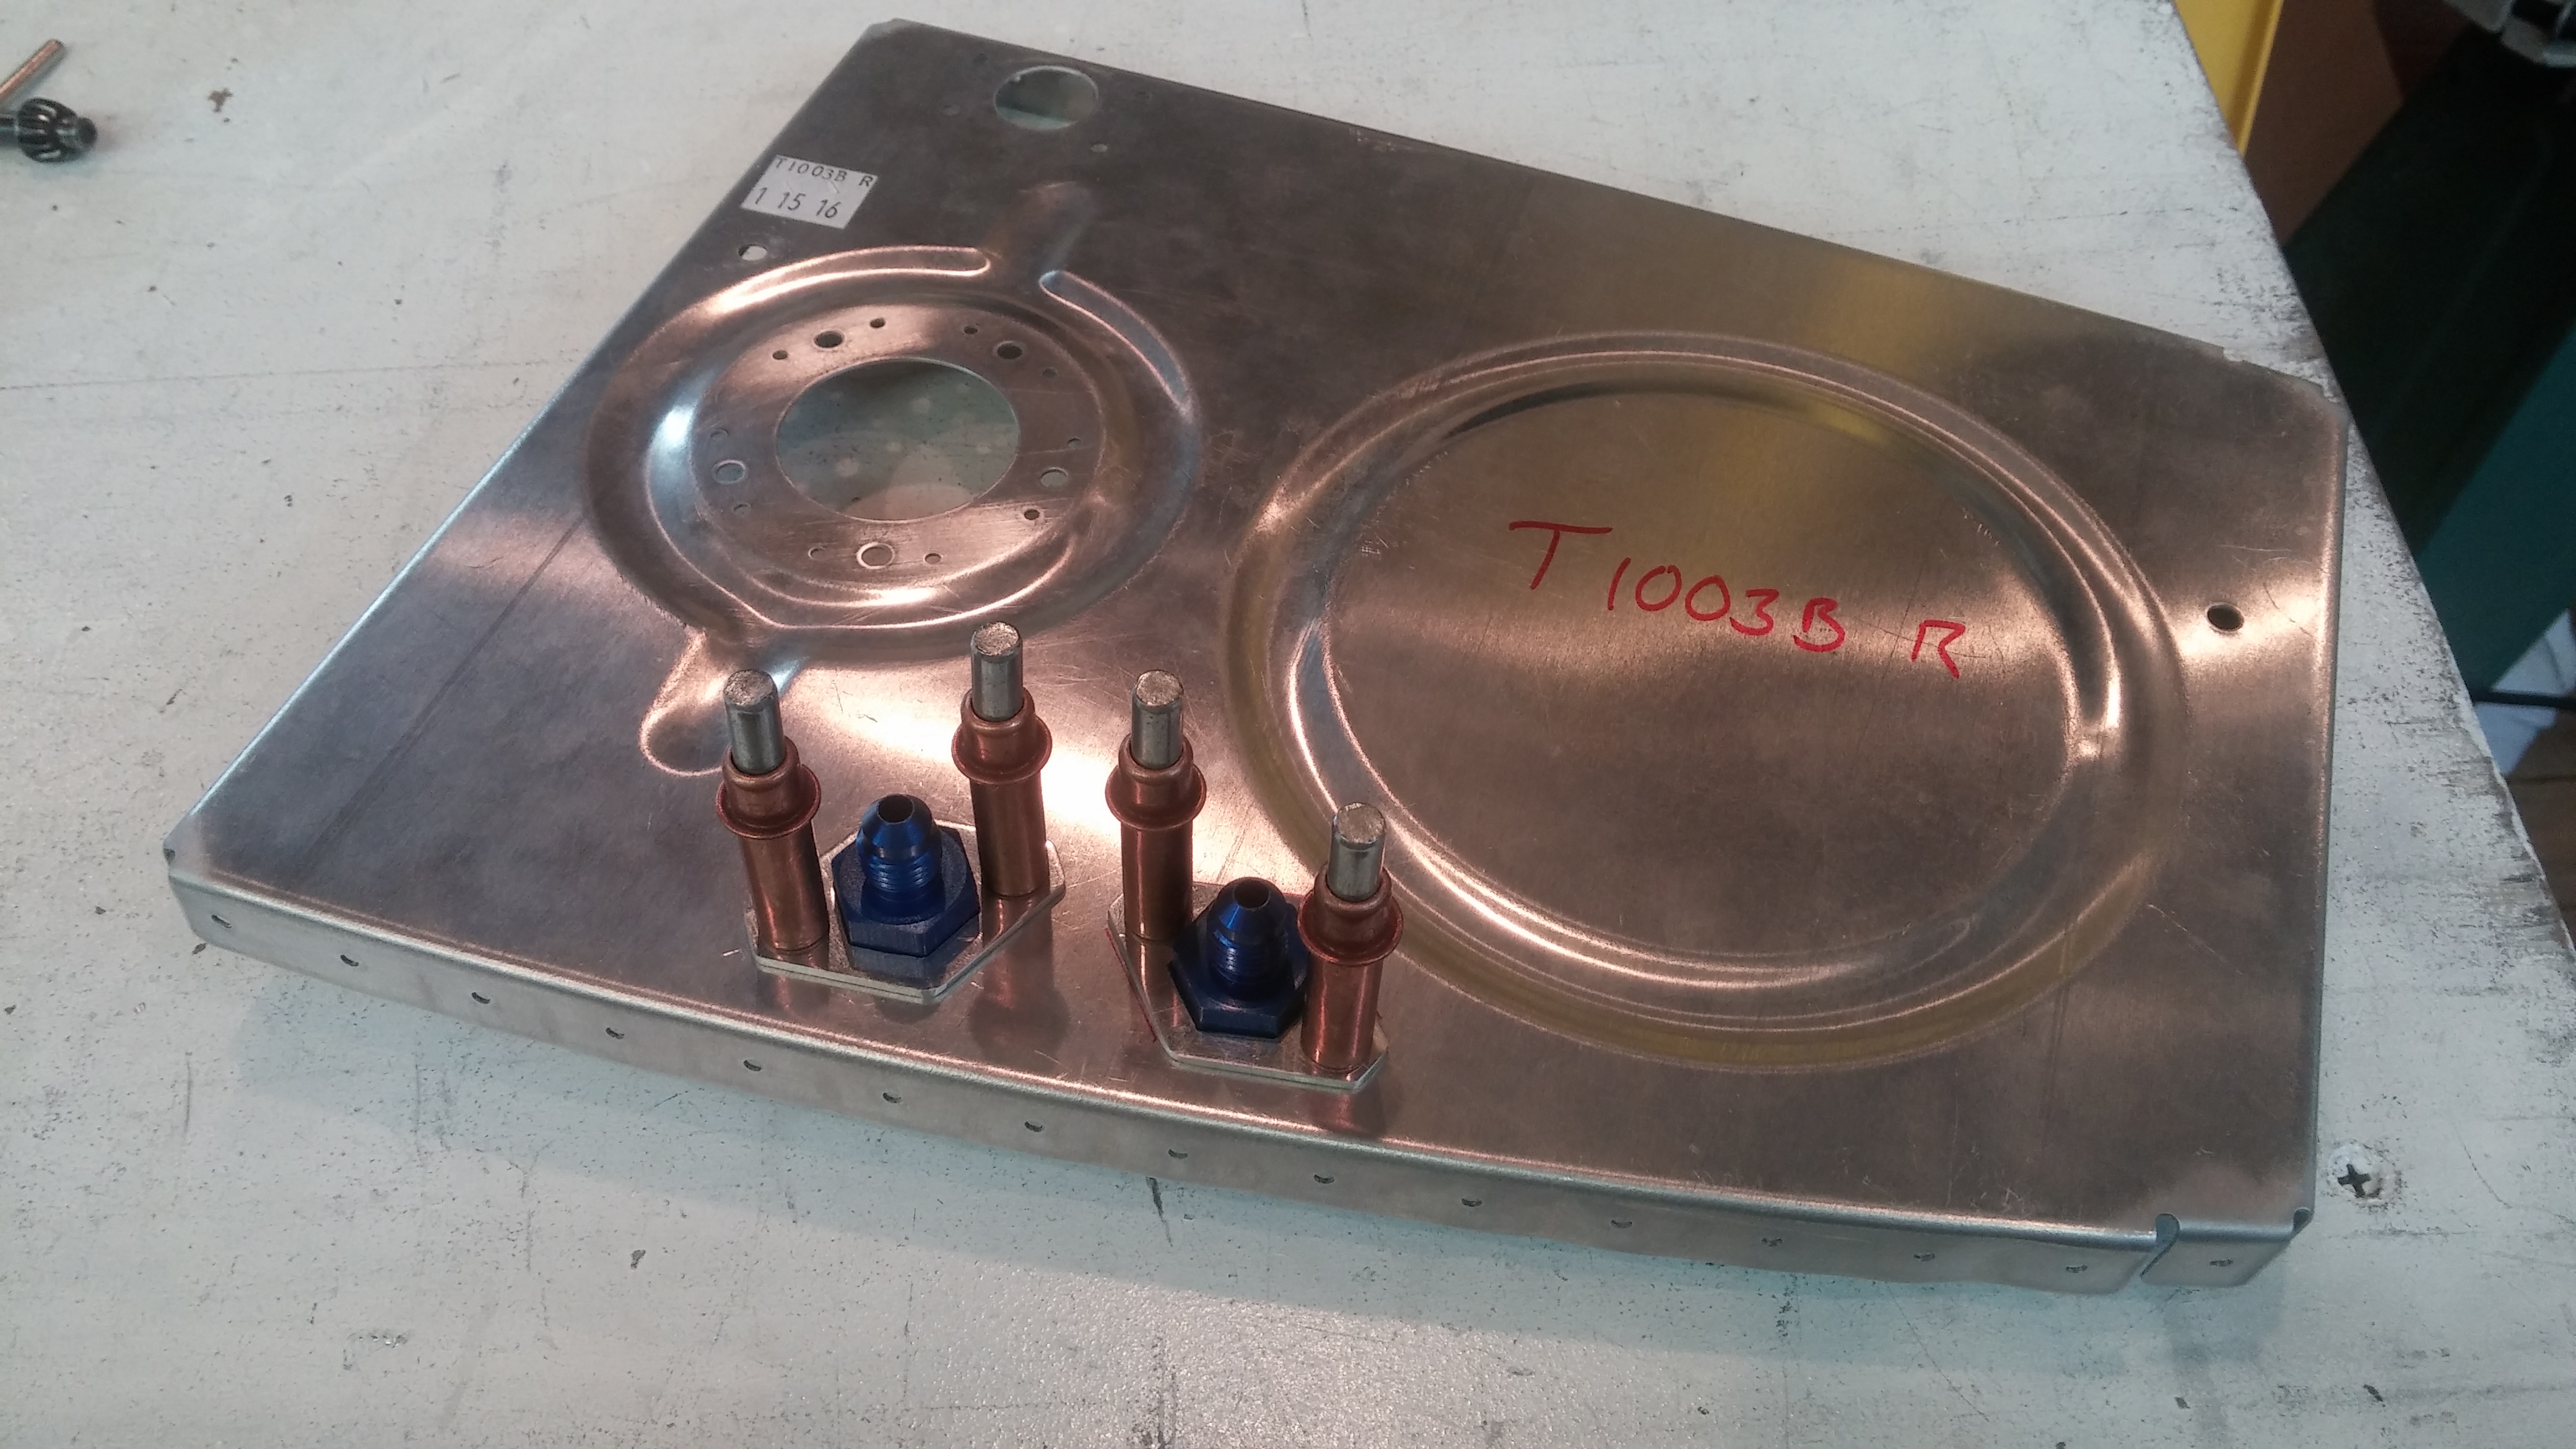
Below is a picture of the inboard left hand fuel tank rear rib. I have added a fitting for a fuel return line. The engine I bought has an Airflow Performance fuel injection system which benefits from a fuel return to the tank for starting. Also, I will do this for both tanks so that if in the future I decide to switch to a fuel injection system that requires a fuel return, I will have it available. I’ll cap off the return that is unused with a cap fitting.

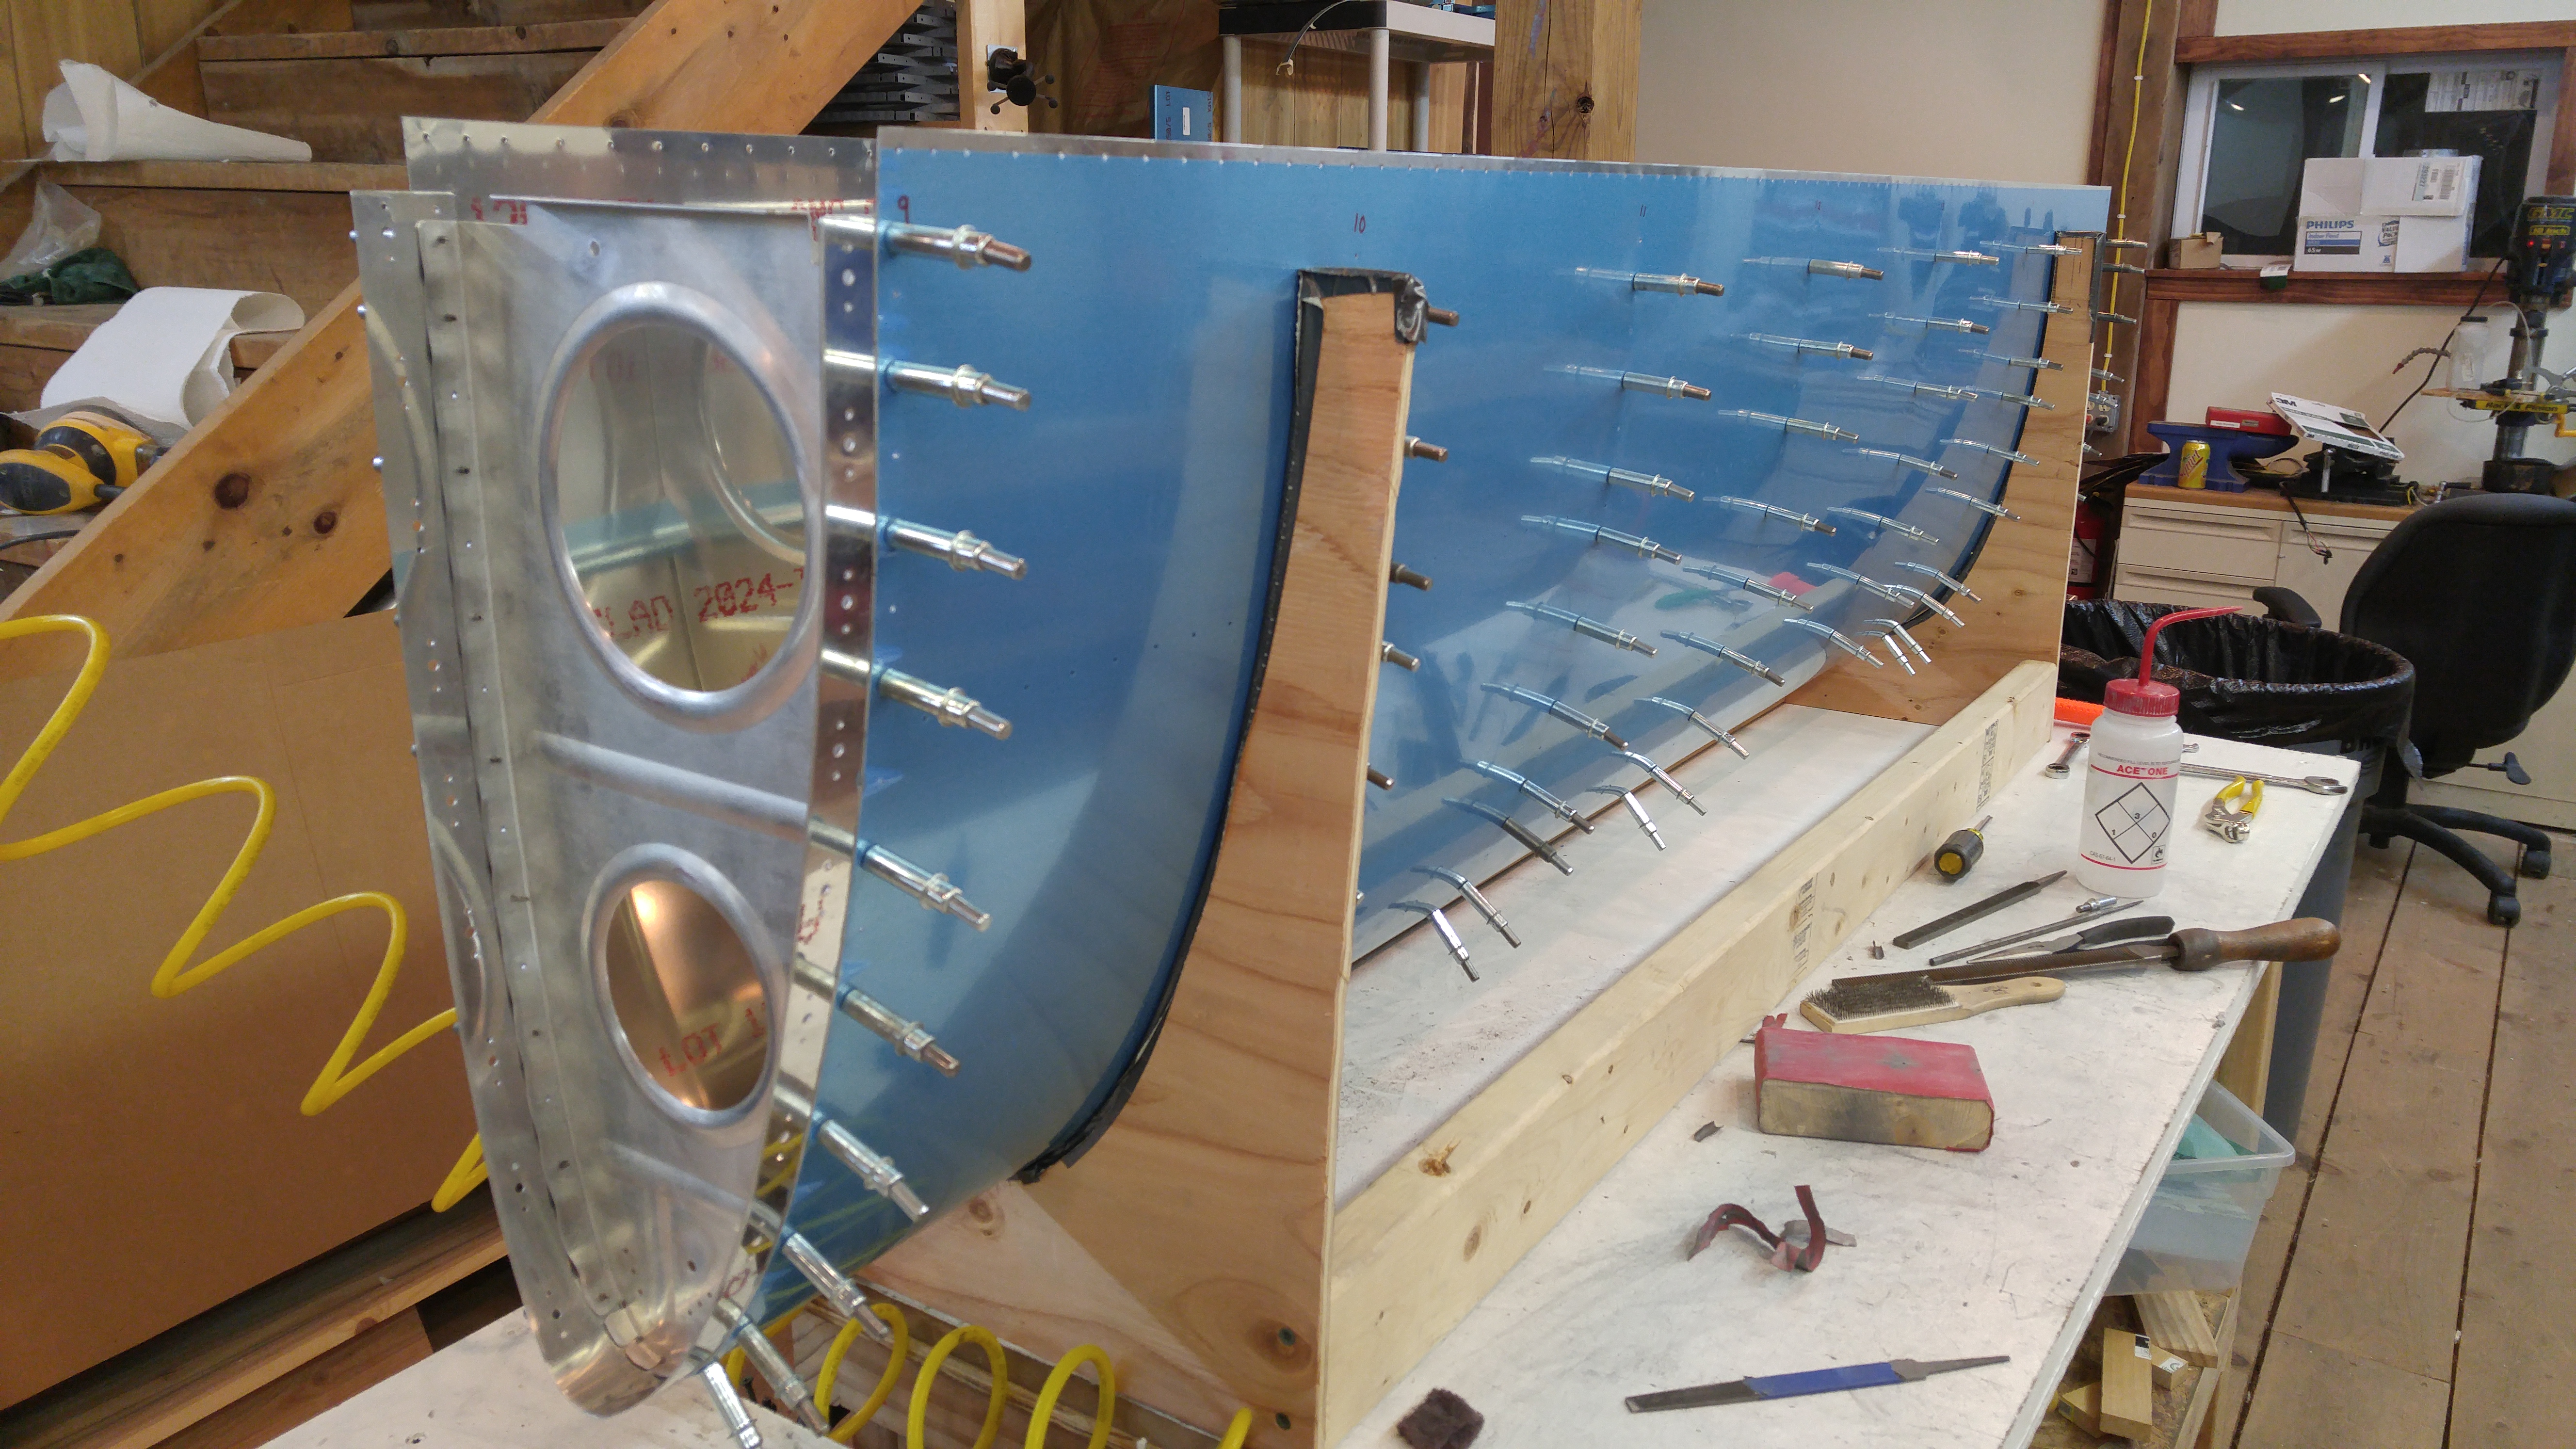
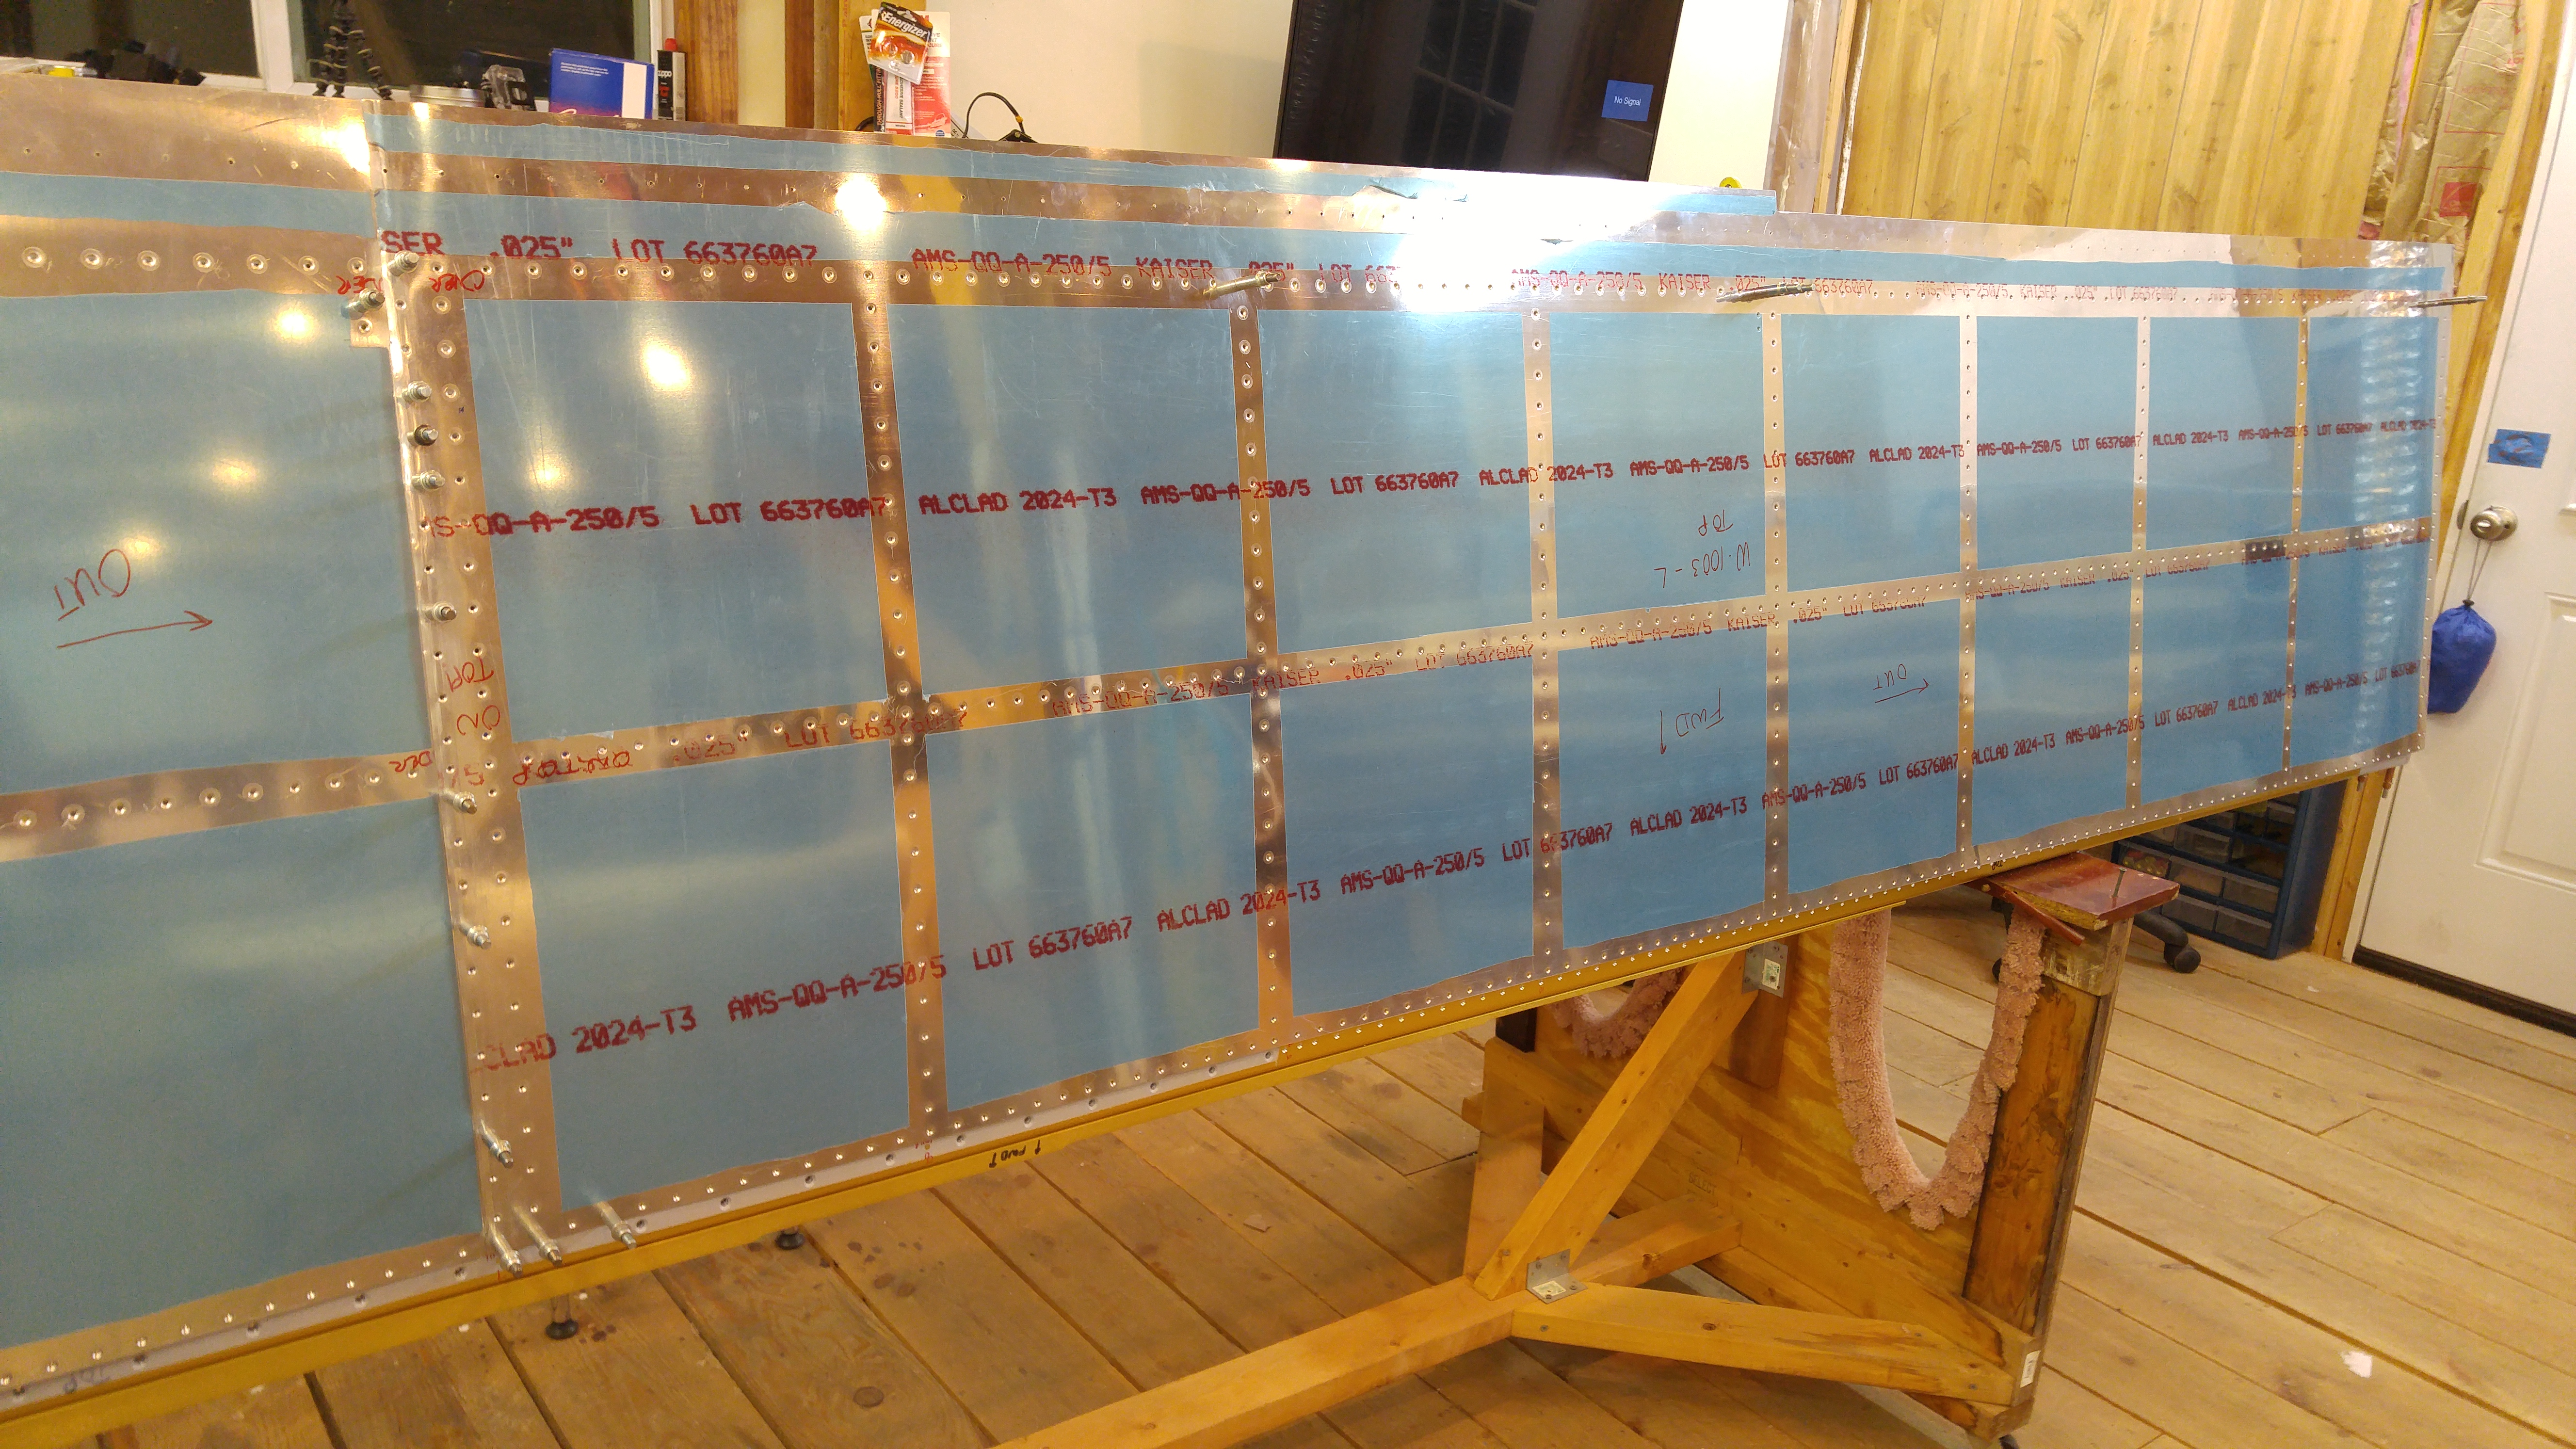
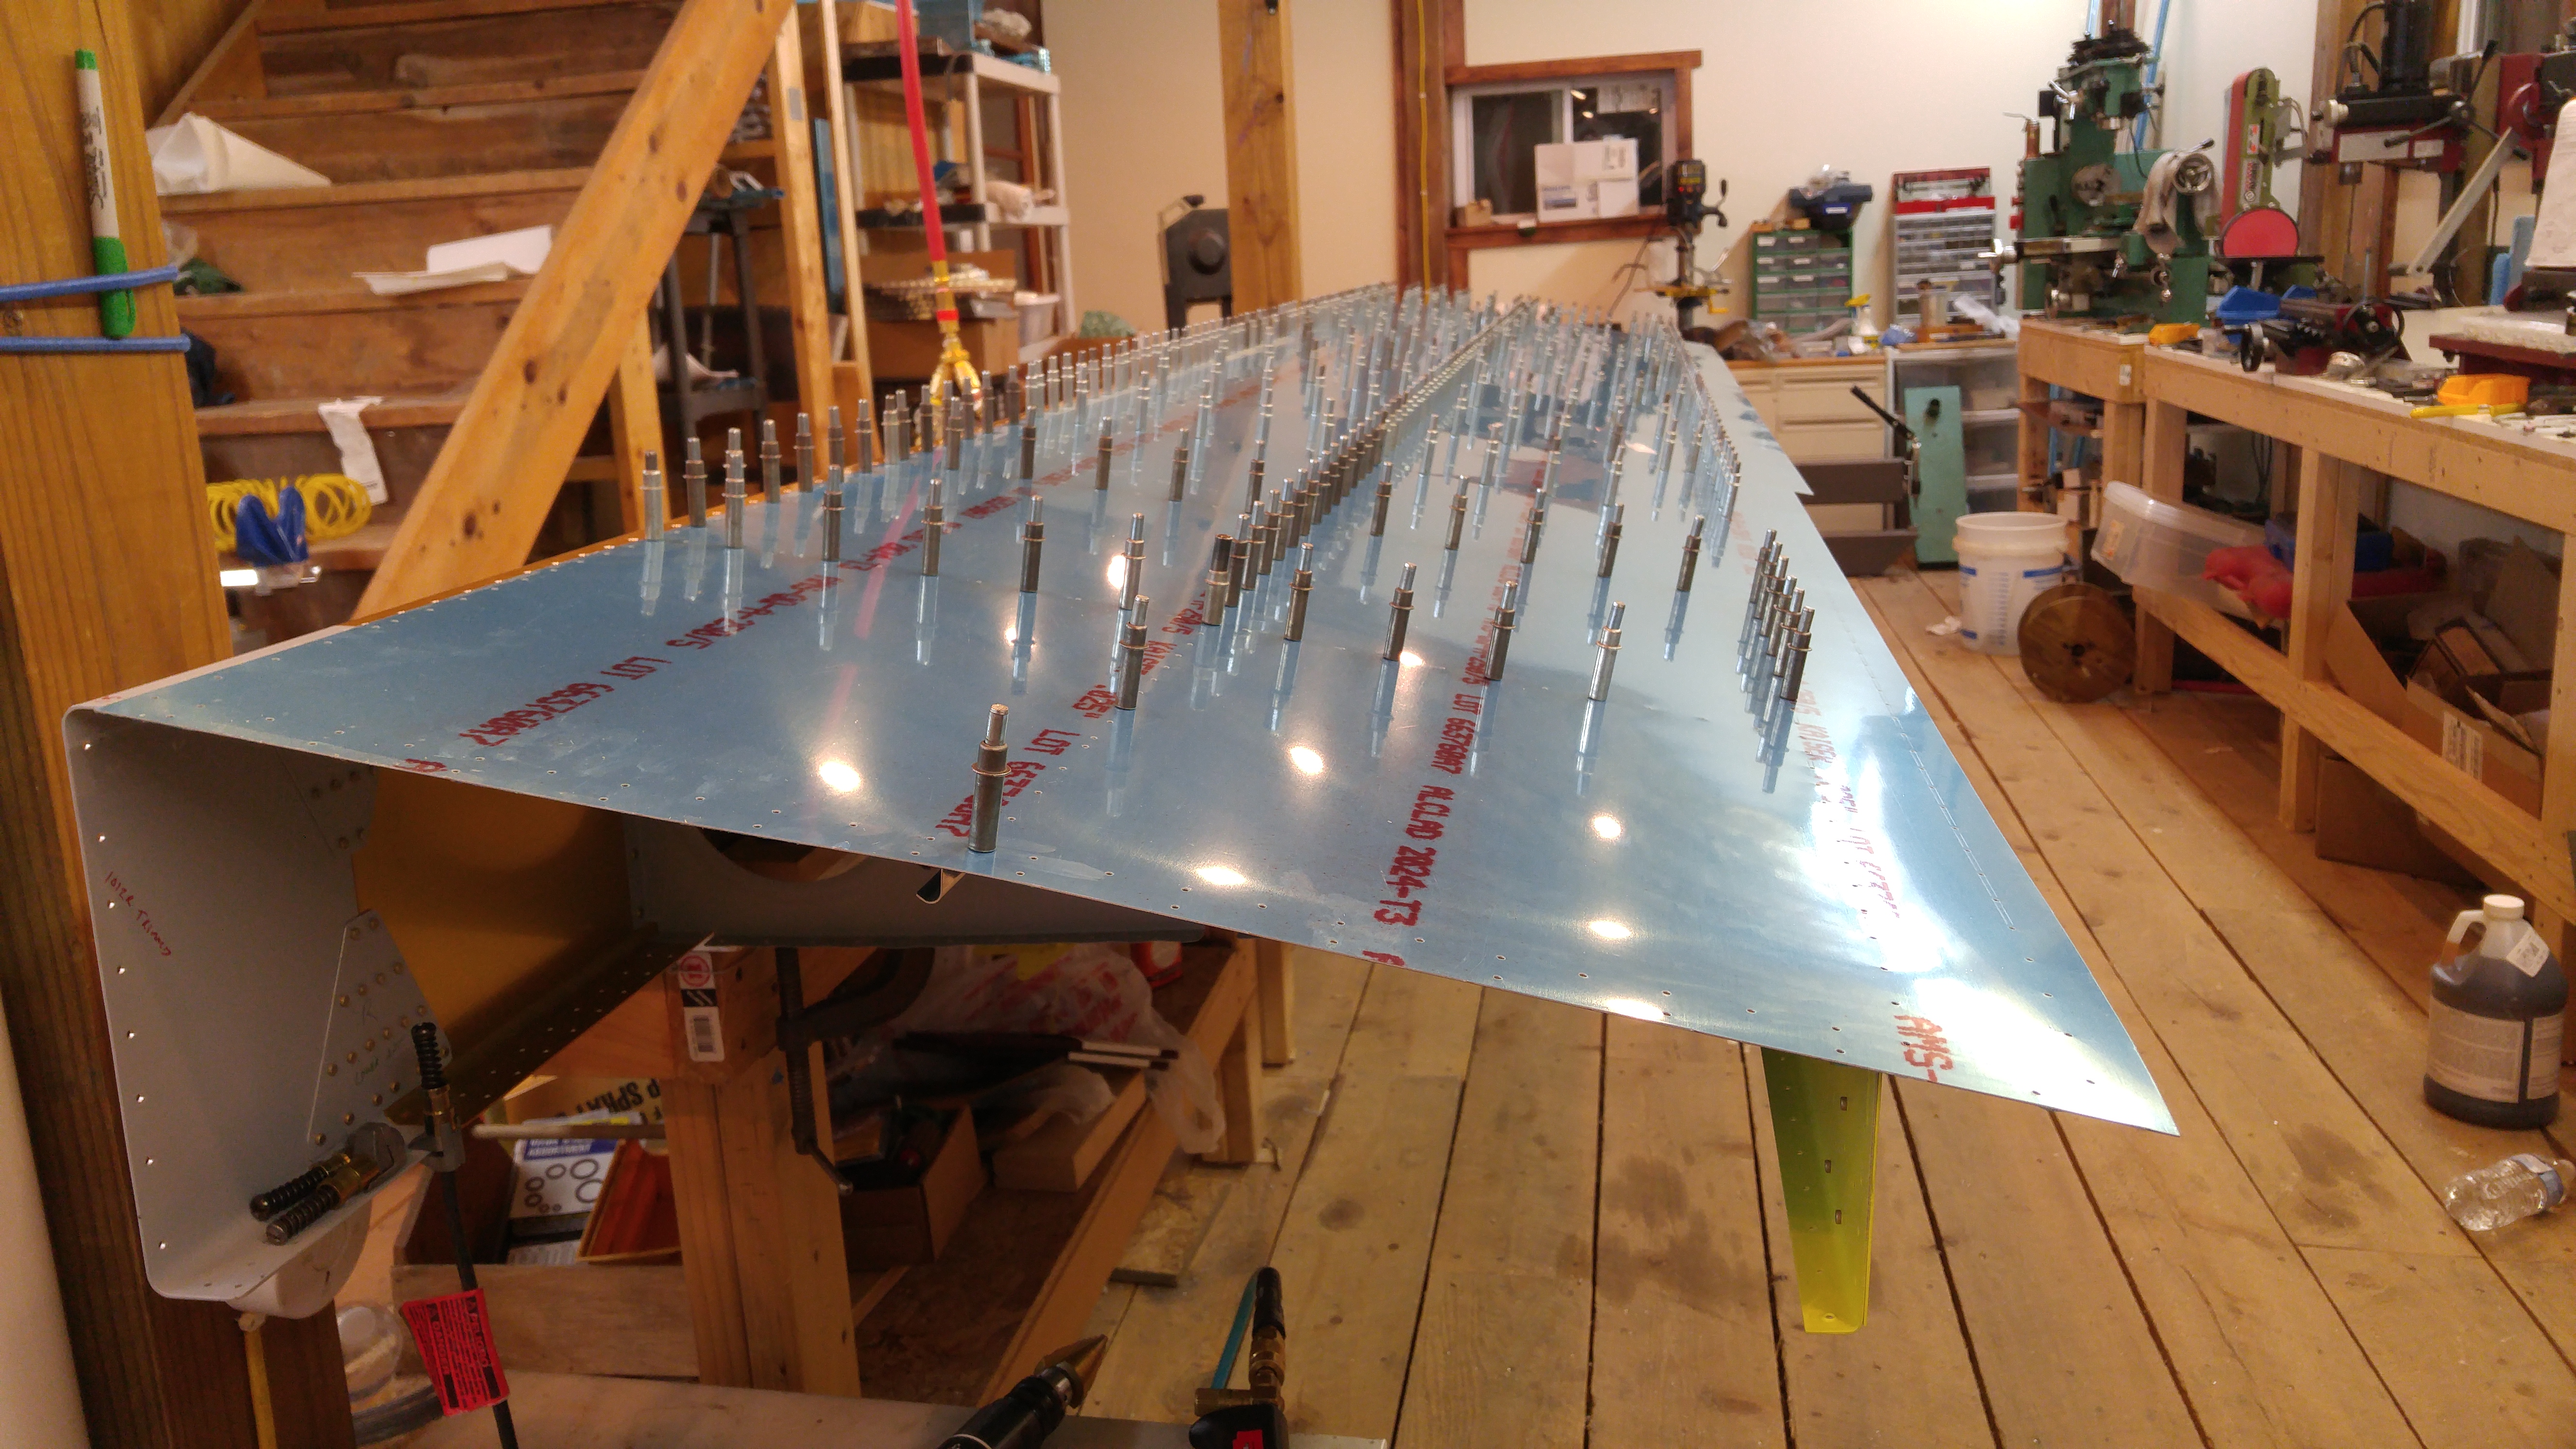
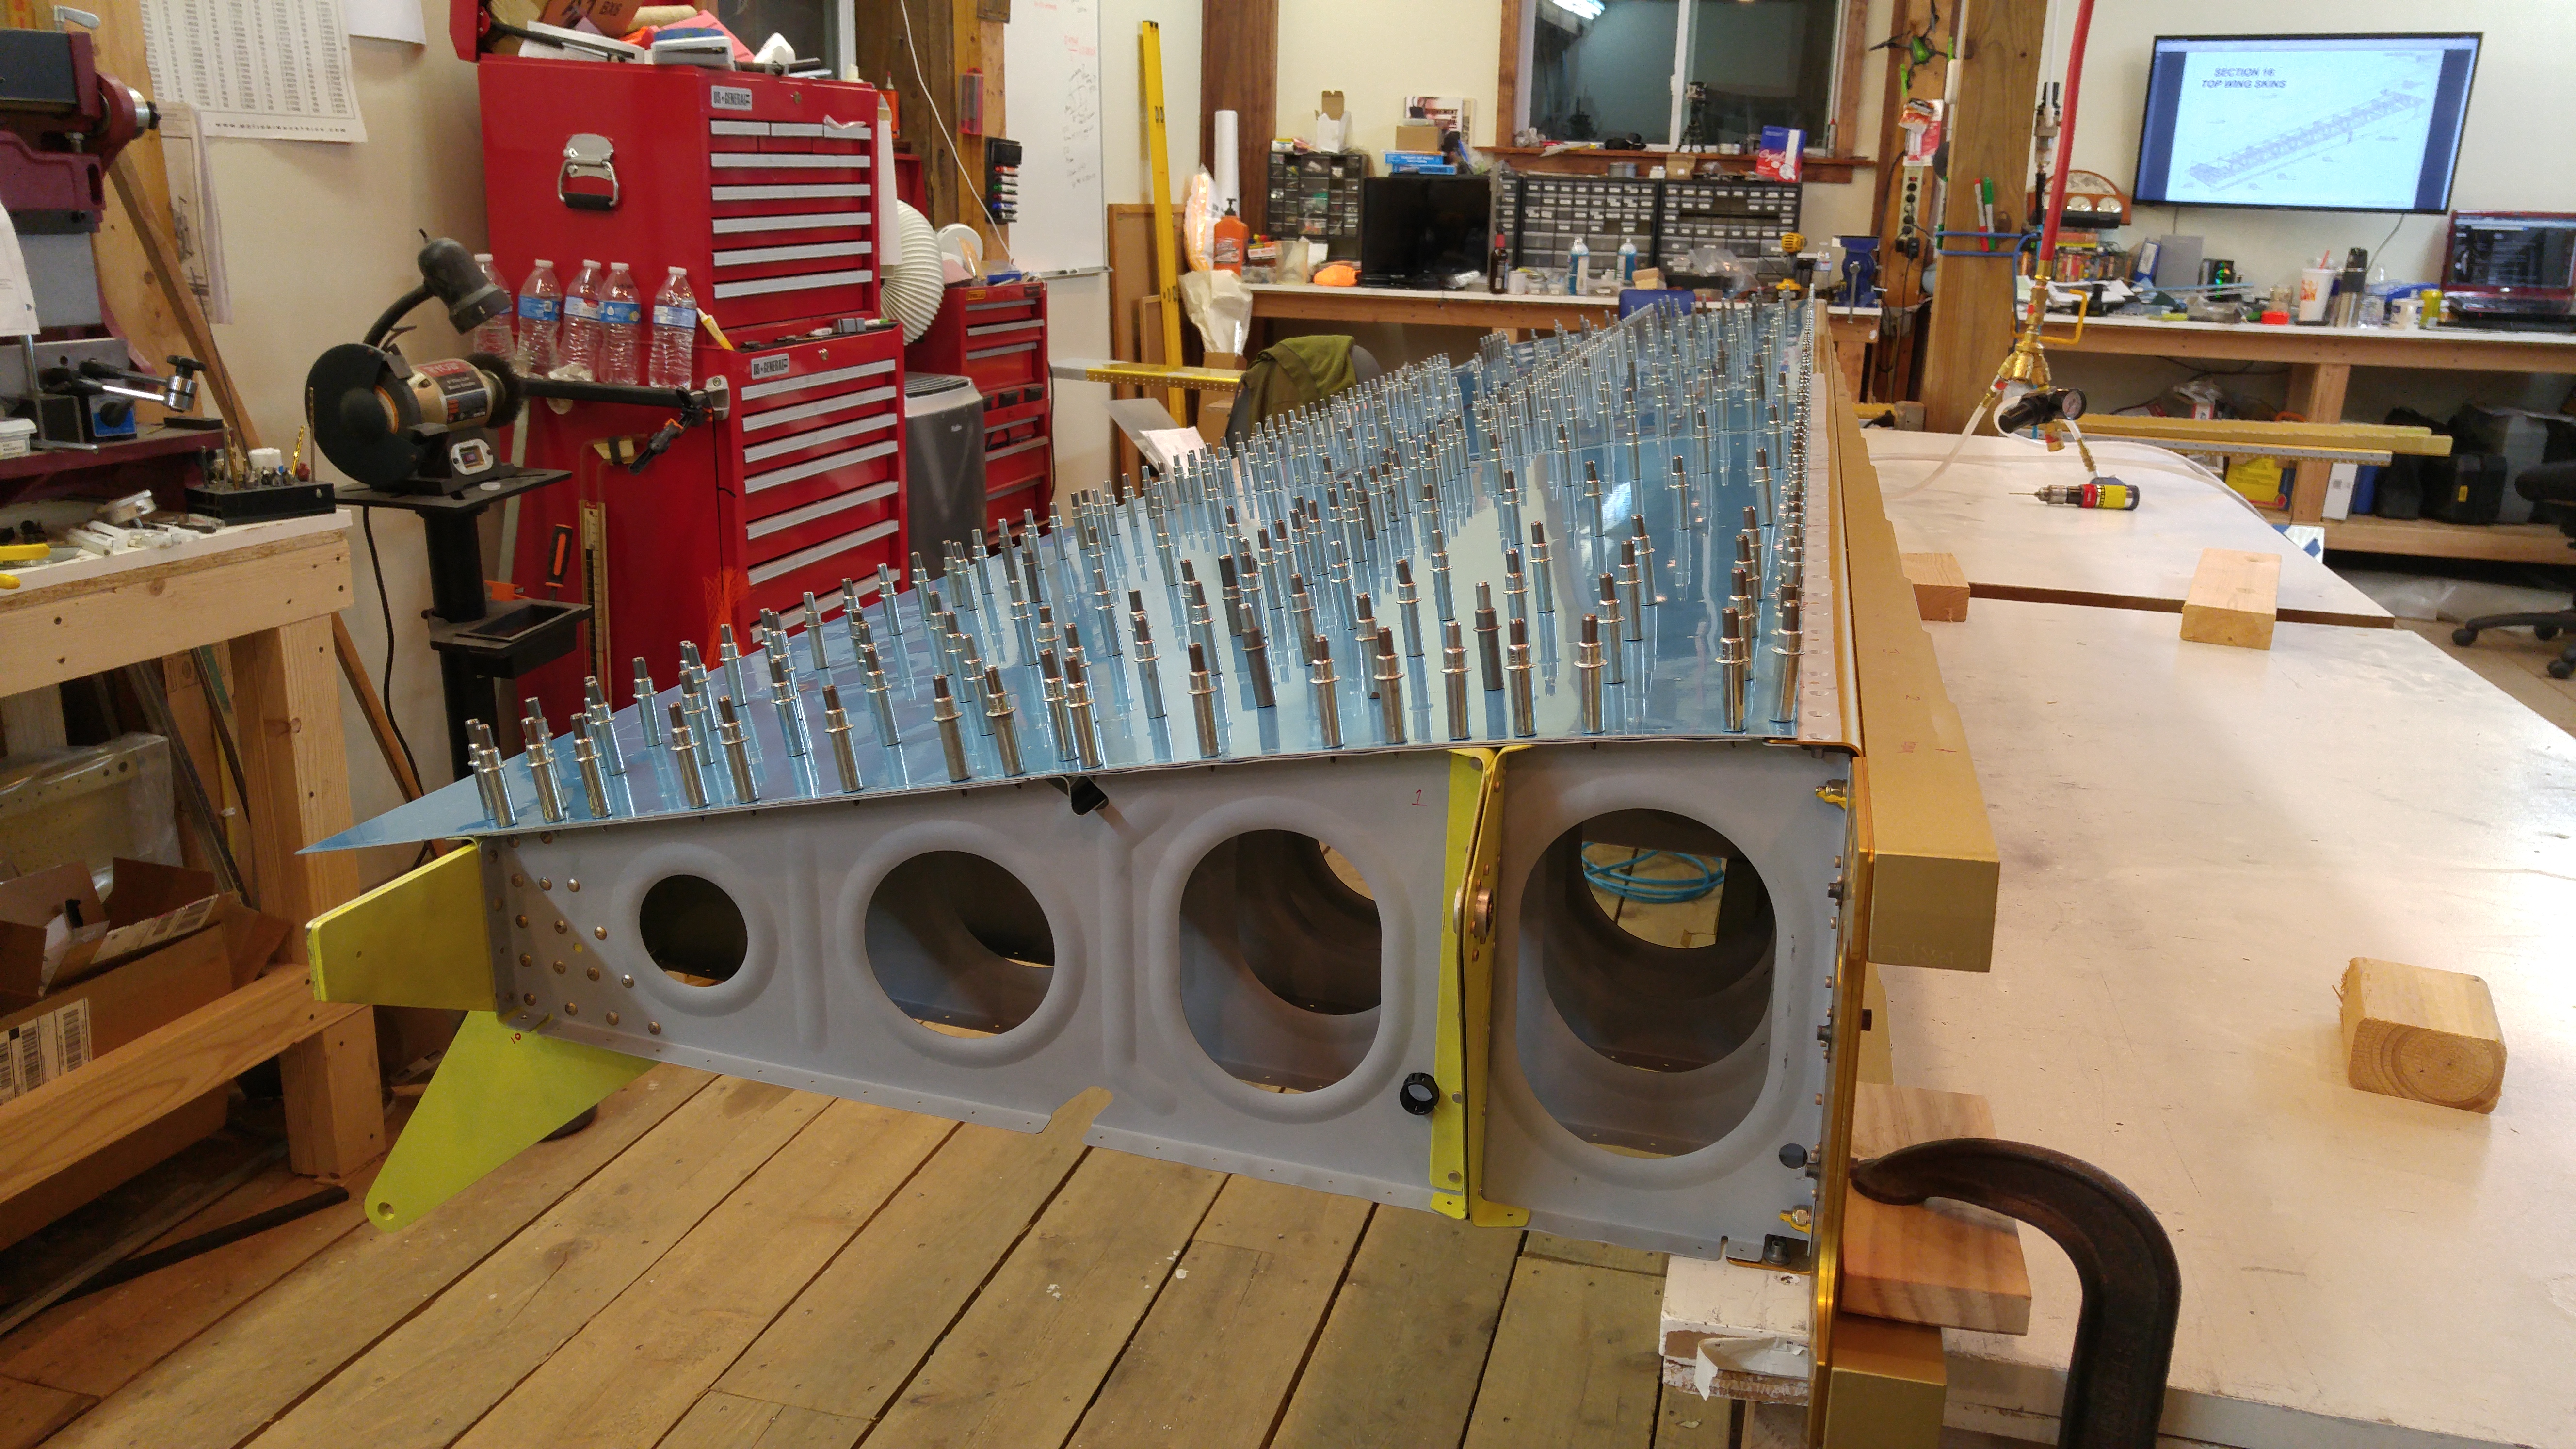
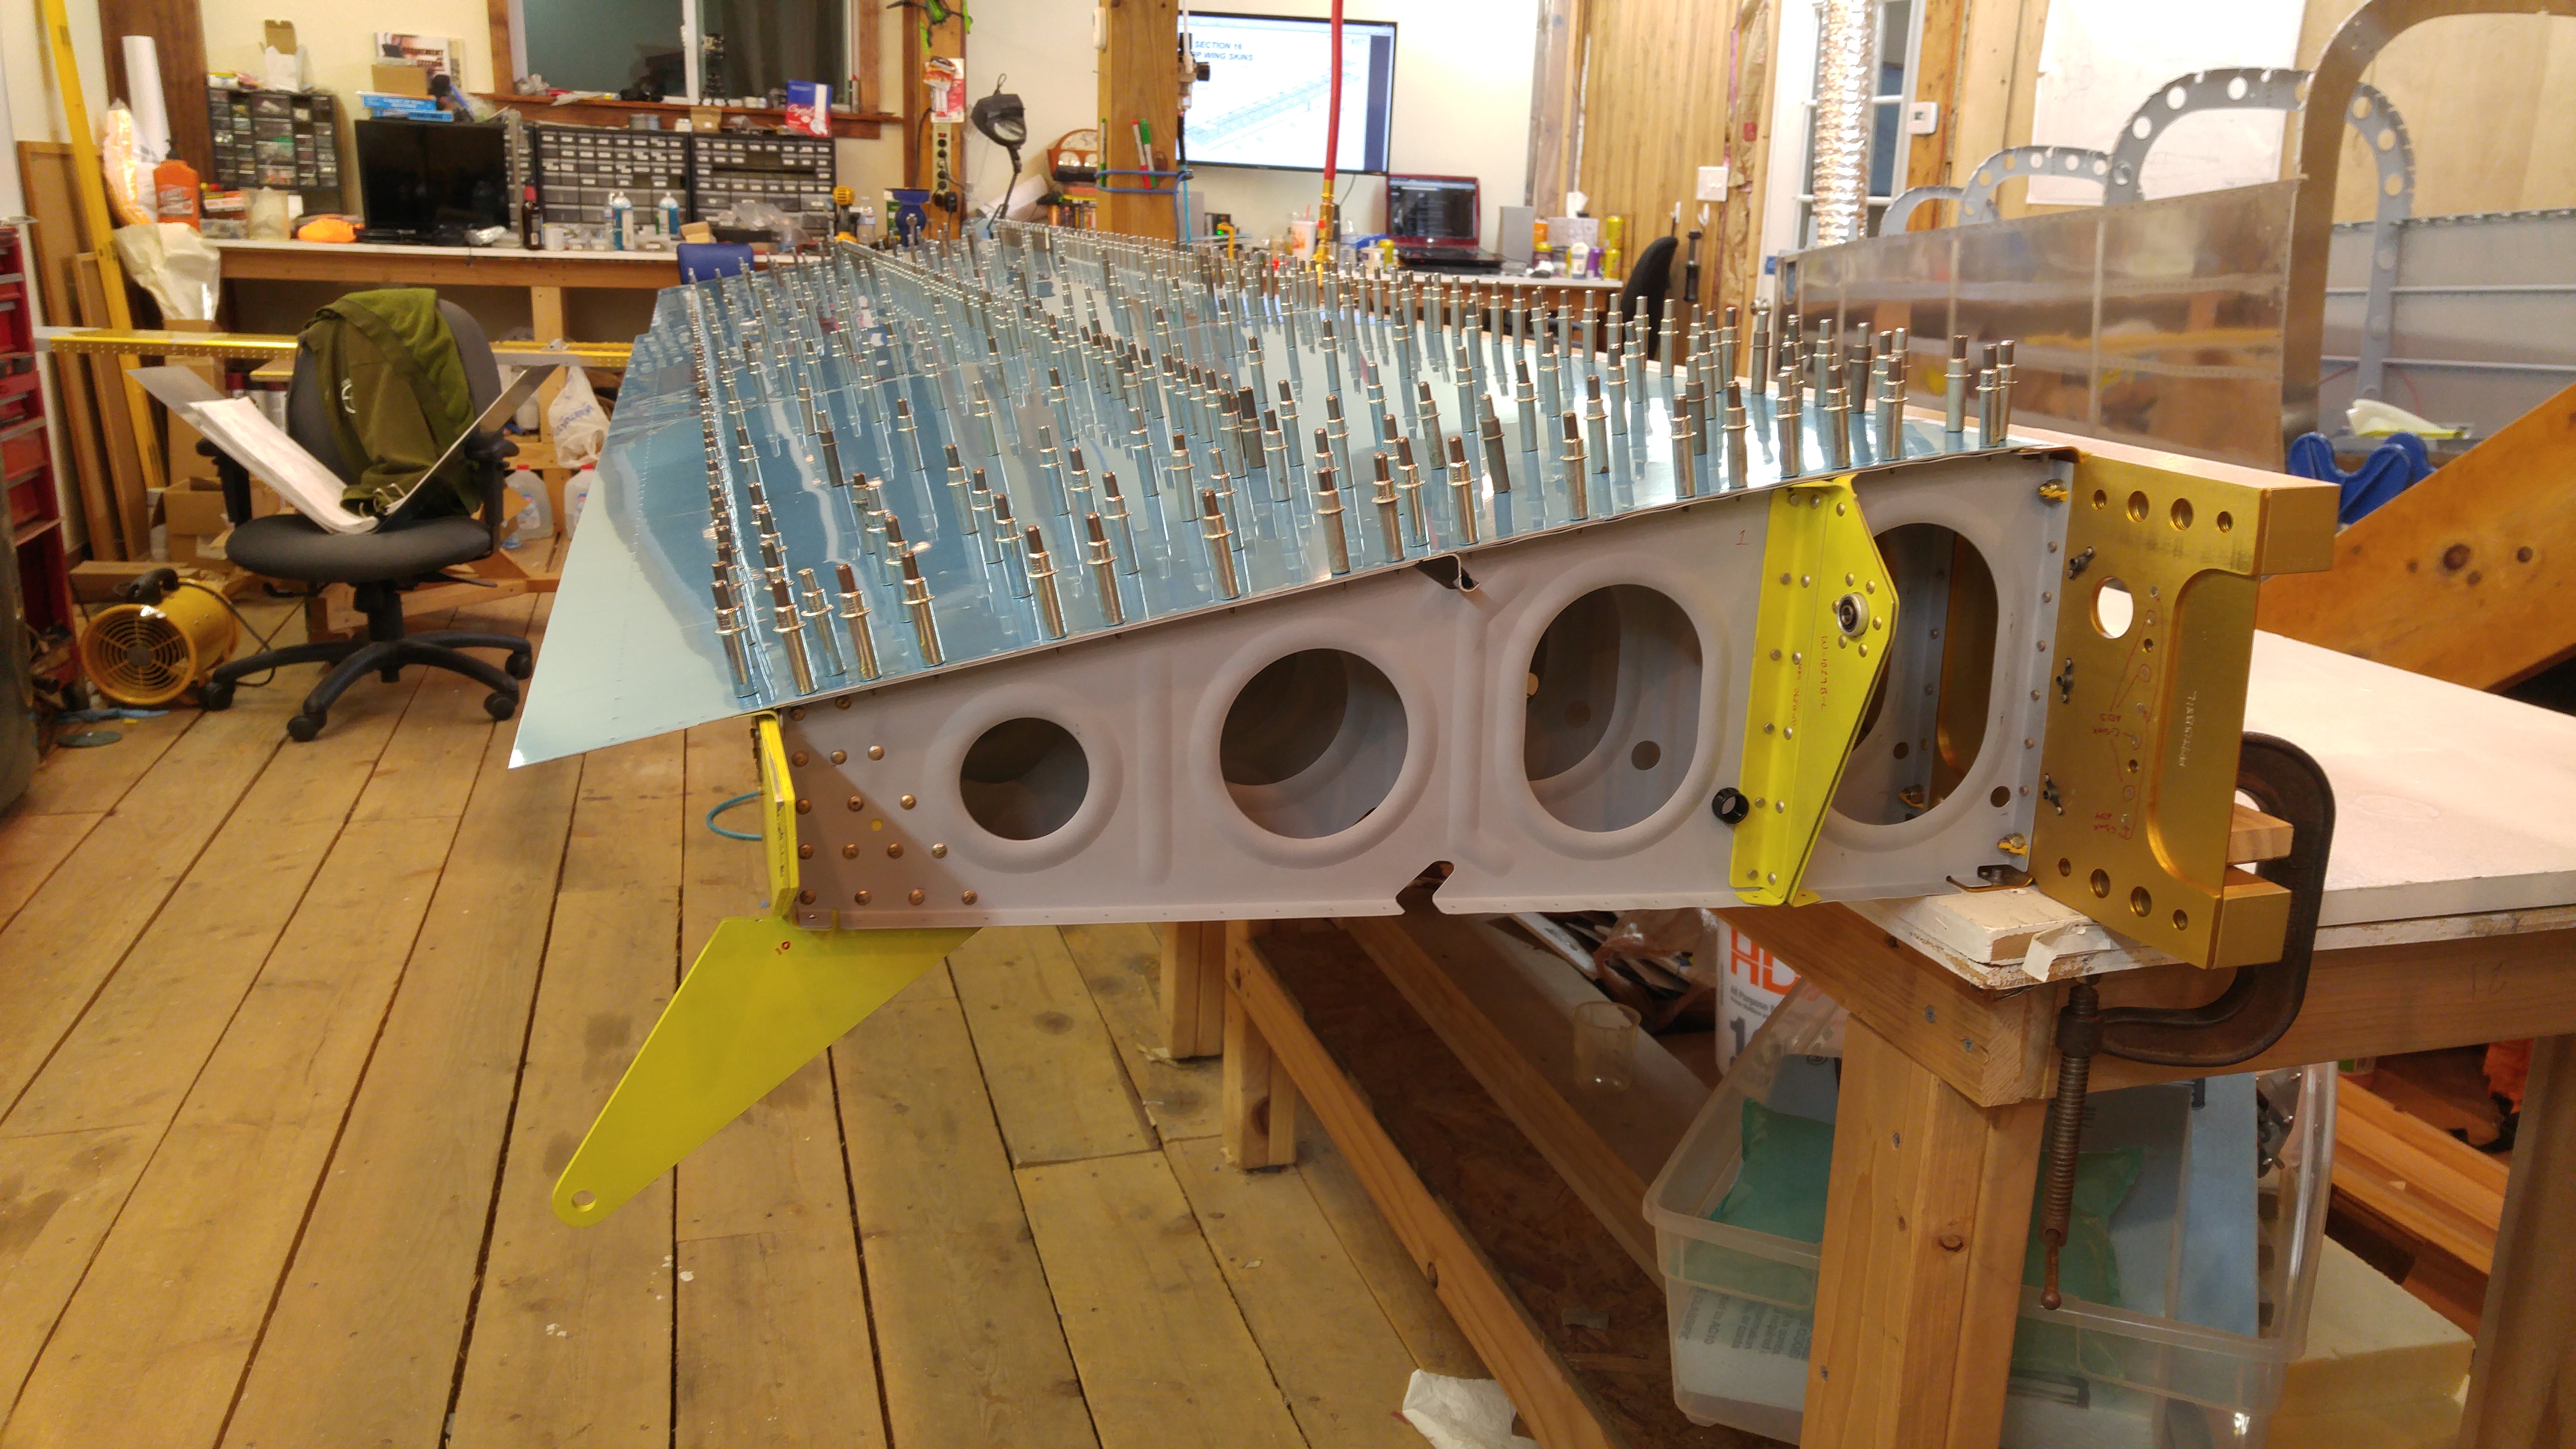
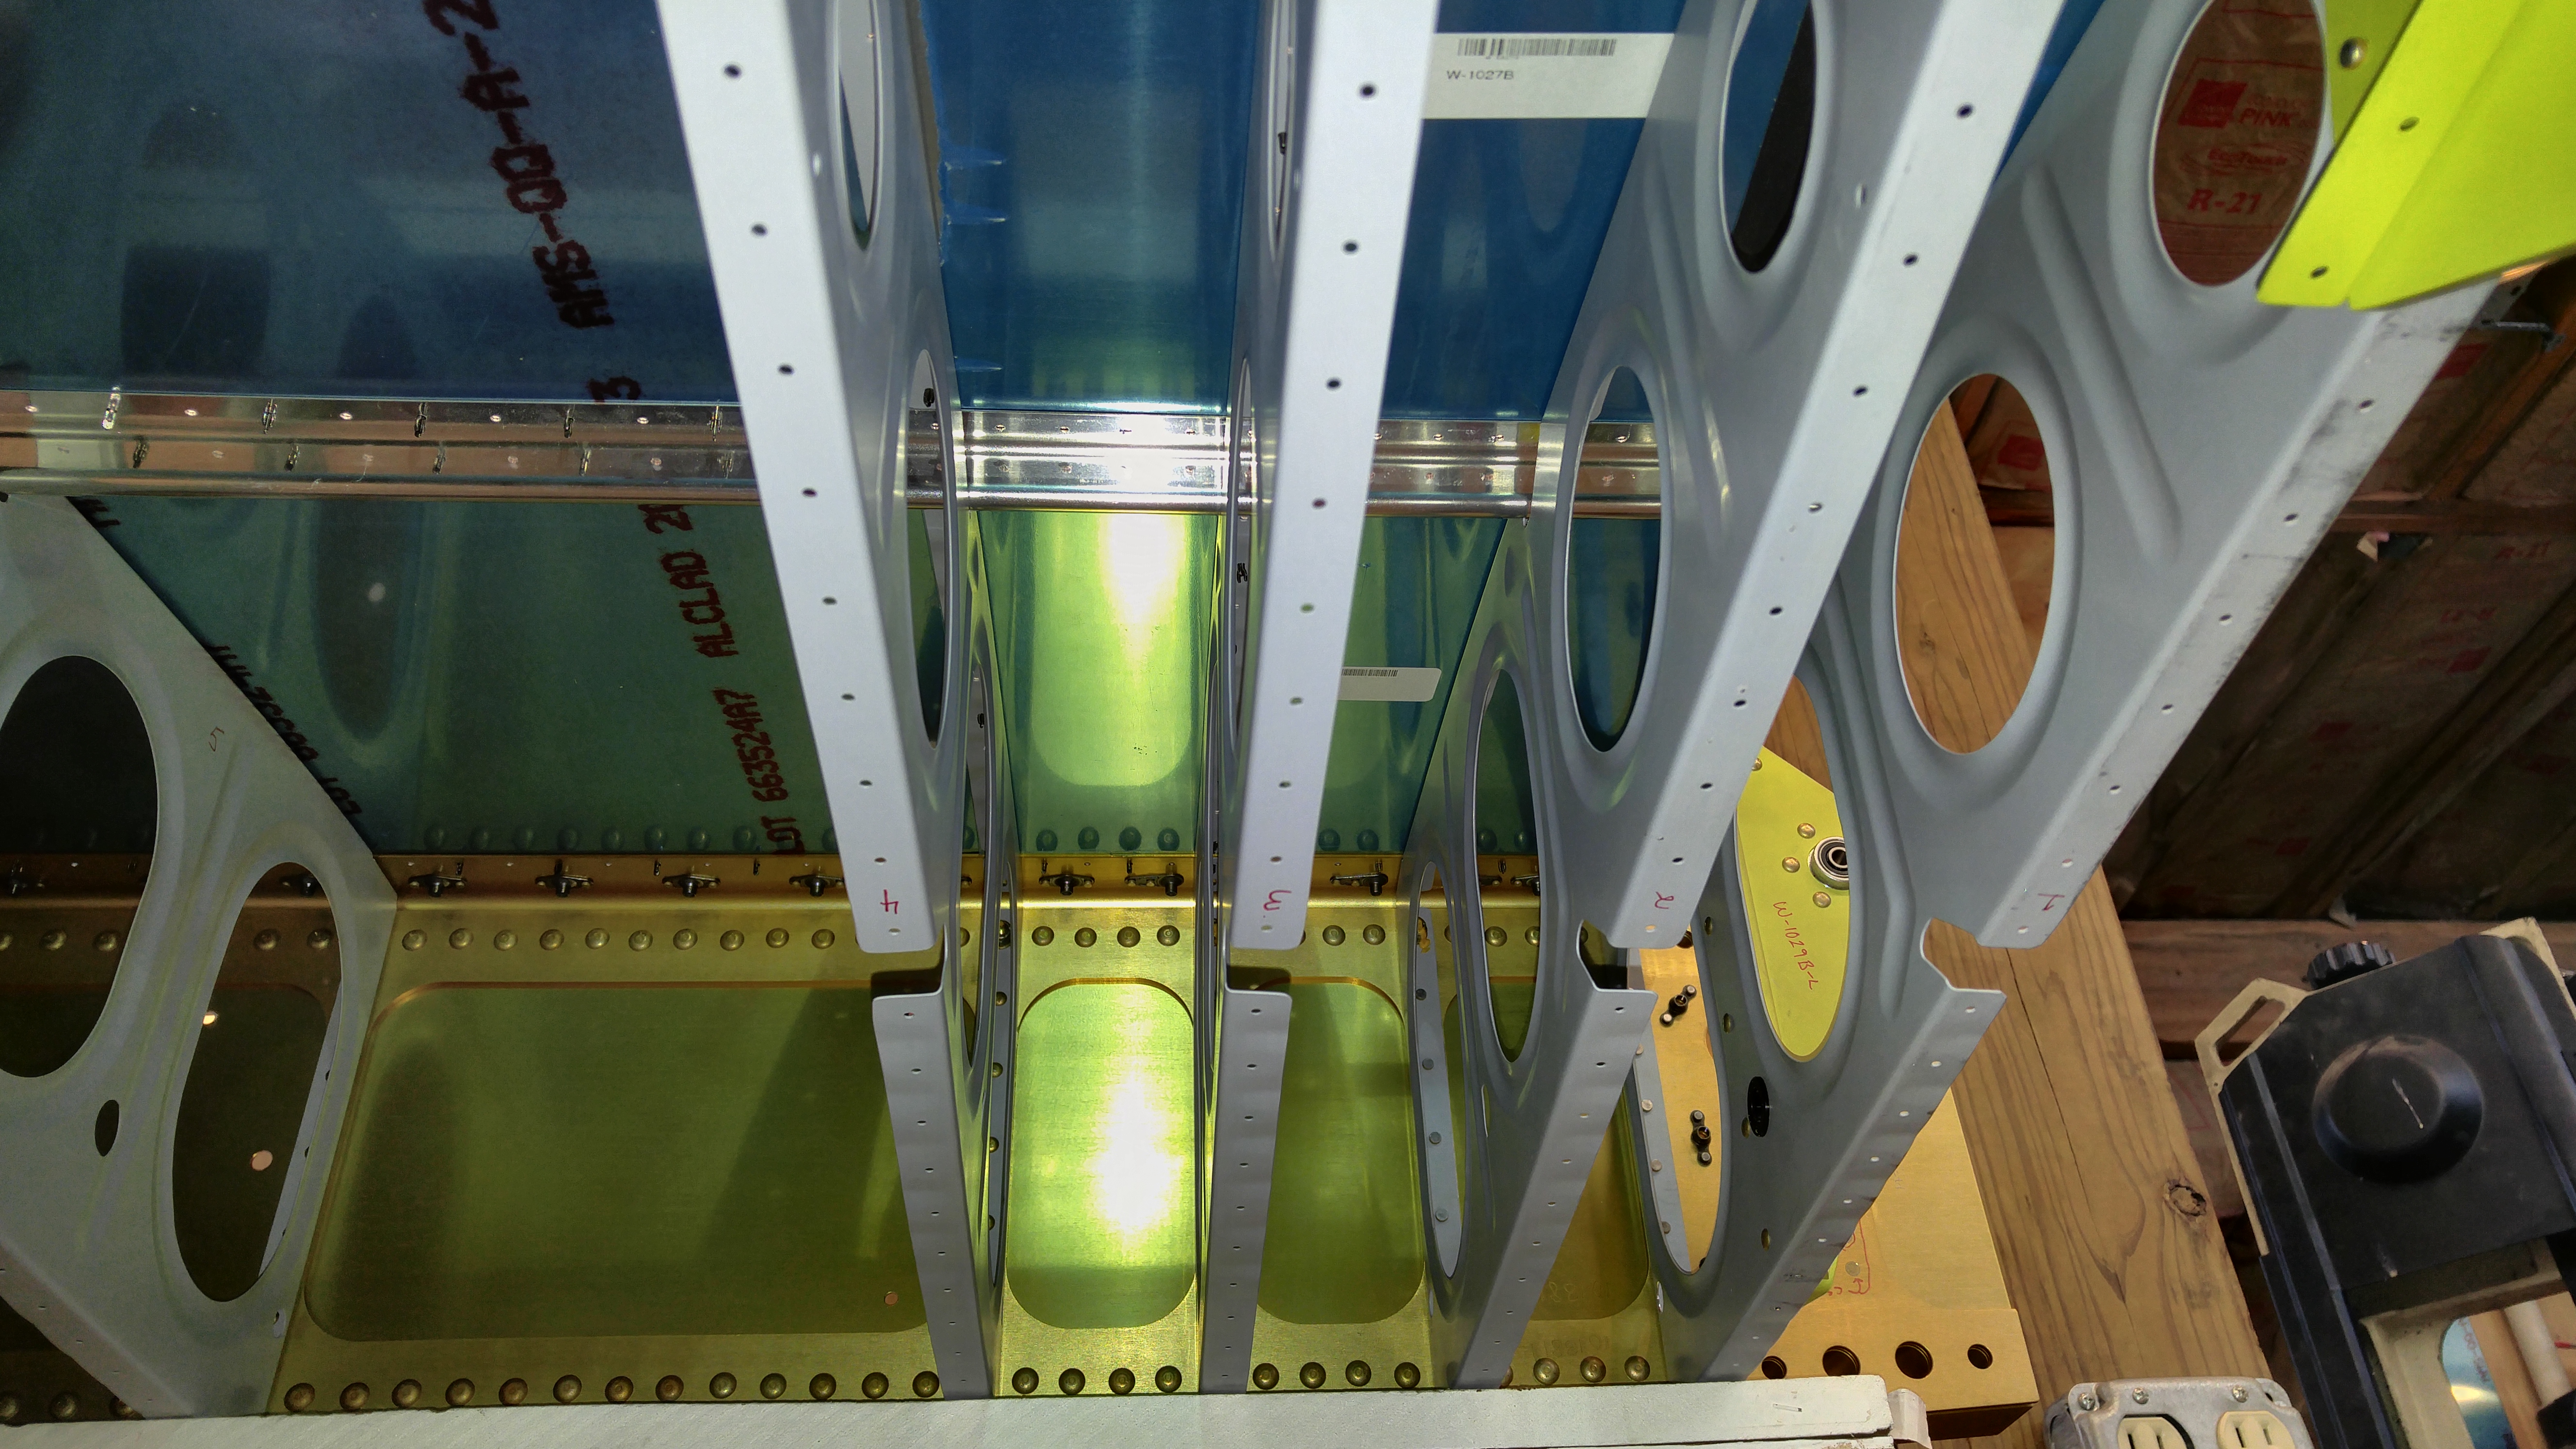
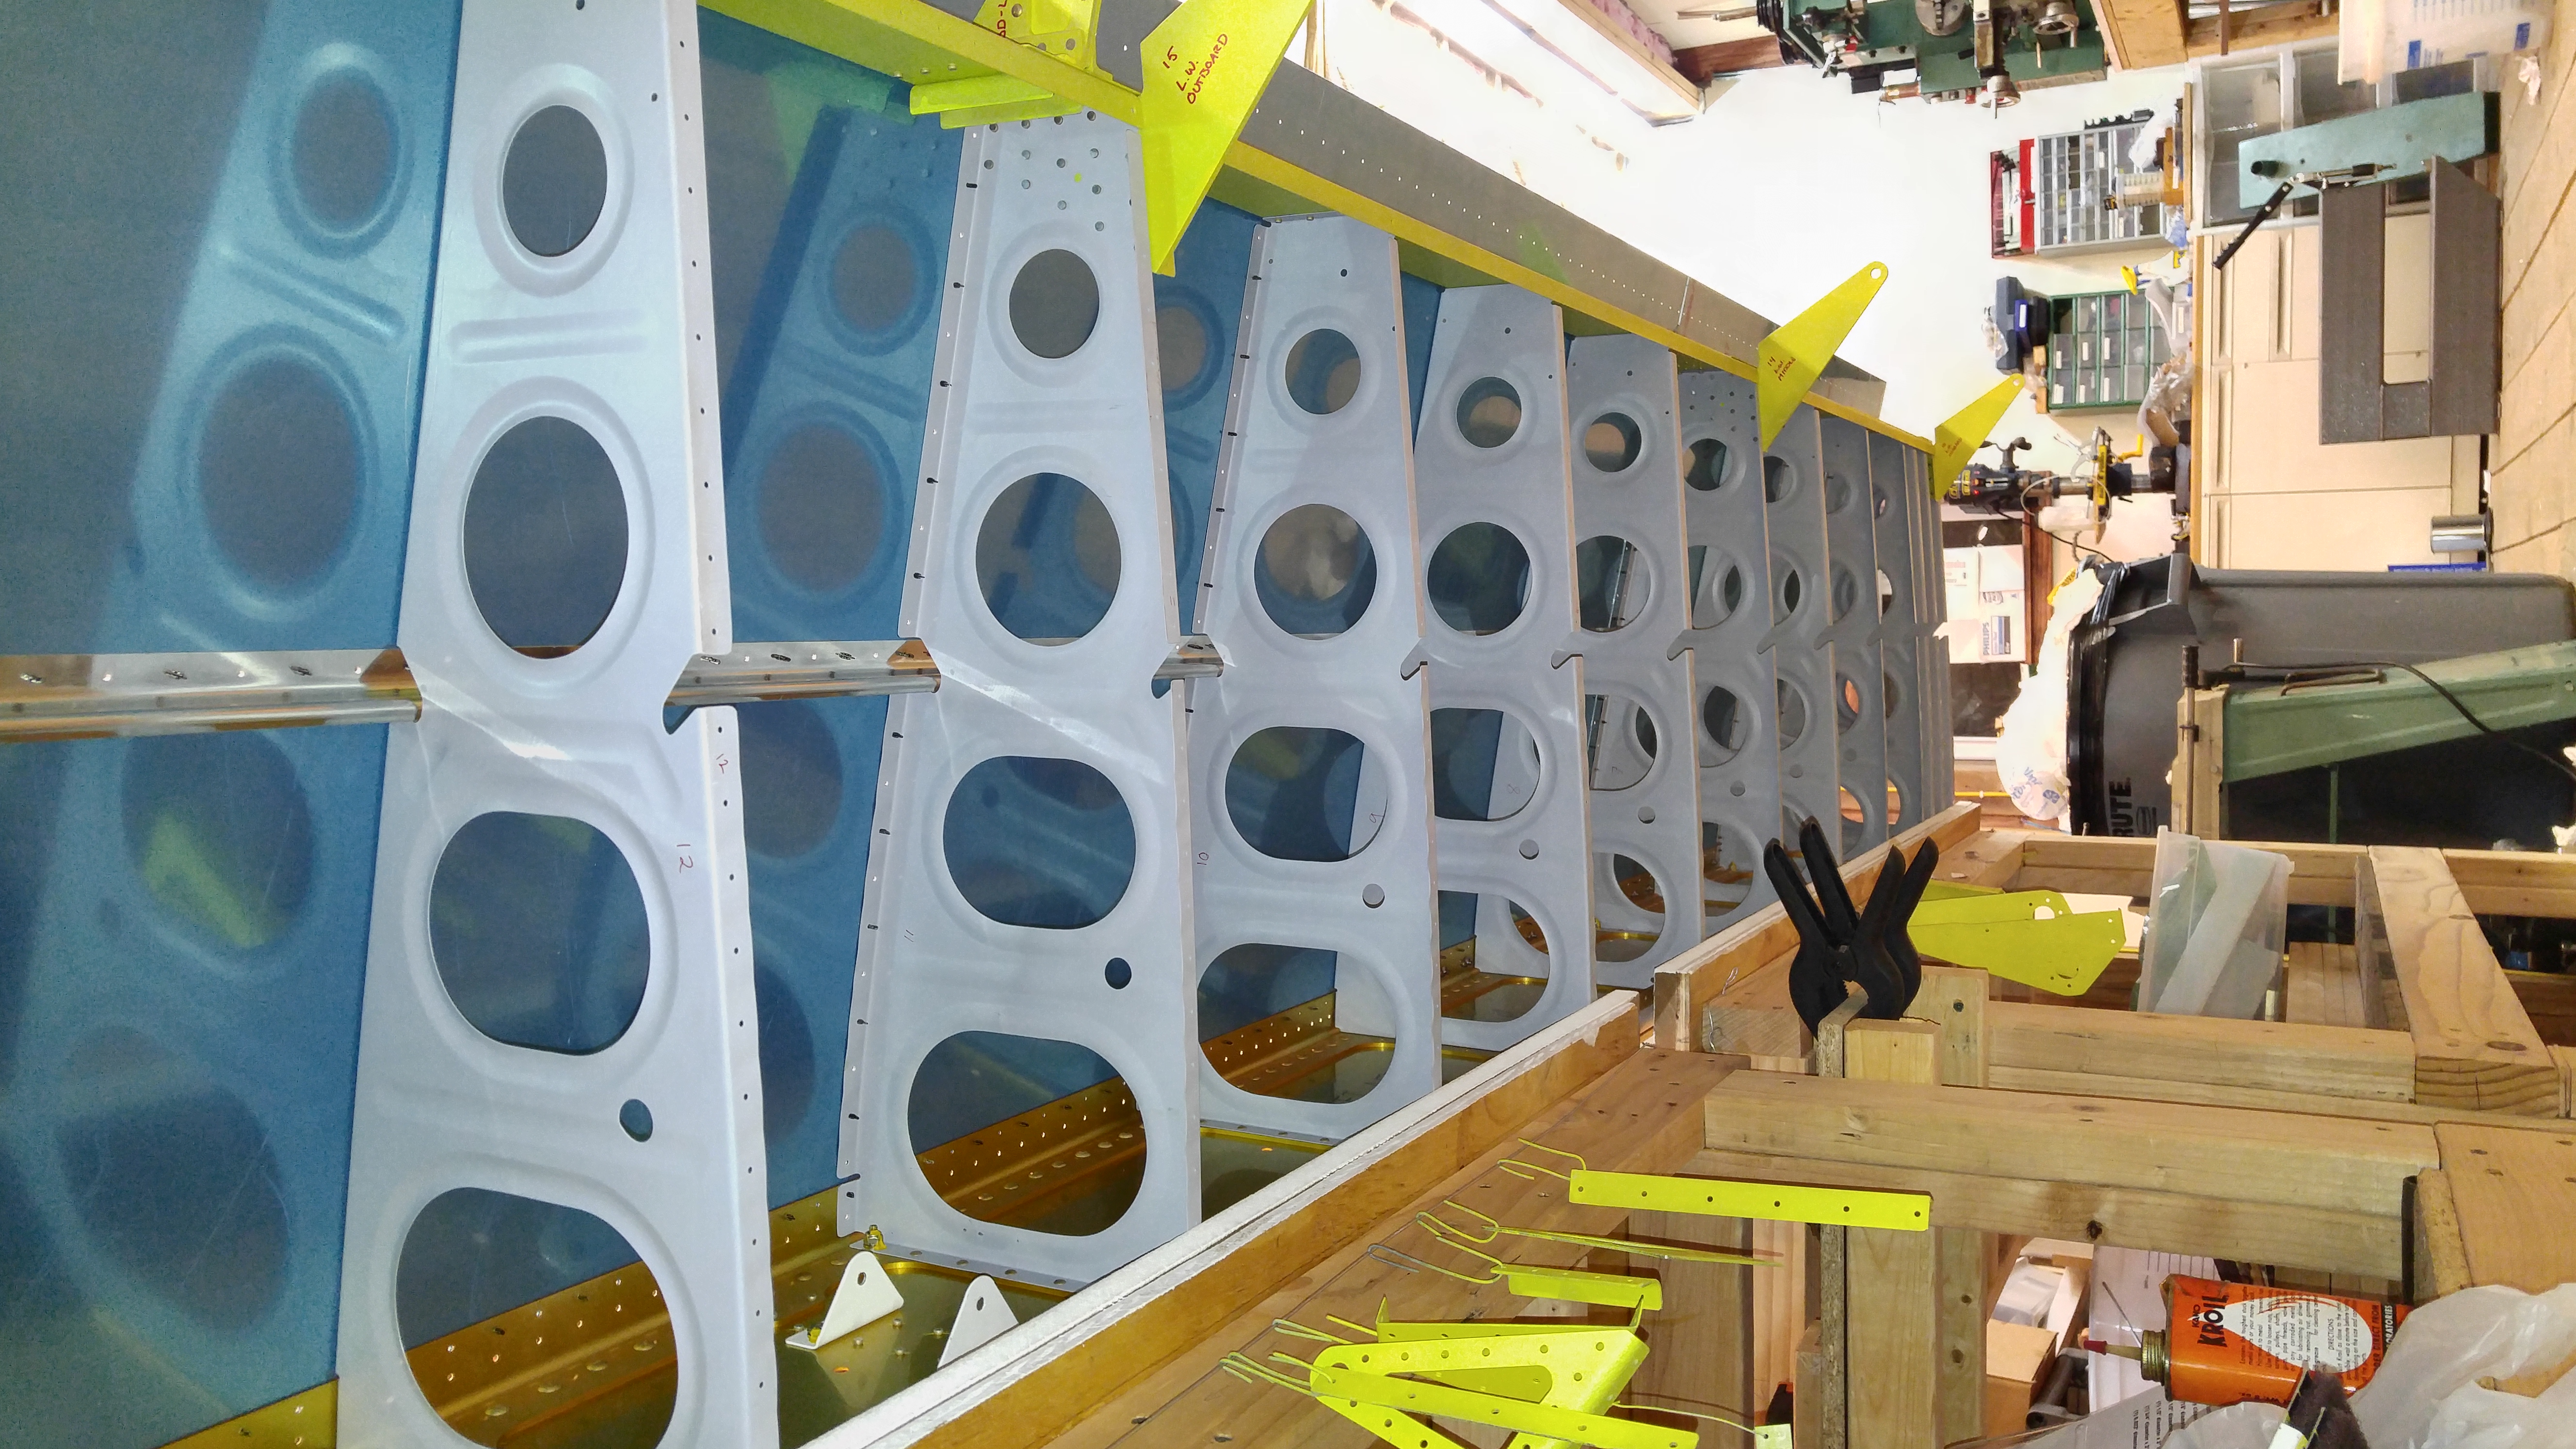
A picture of the right wing tank during a test assembly. Left wing tank is almost ready to assemble and seal up.

Finished Deburring the Wing Ribs!

I finally finished deburring all of the remaining leading edge and fuel tank ribs for both wings.  This incredibly tedious job was made much quicker by the use of some small abrasive wheels that had been recommended on VAF.  I had seen these months ago but never got around to buying any until last week.  They enabled me to cut down the time to finish deburring a rib from close to an hour to more like 10 minutes.  Unbelievable!

I primarily used the 3M wheels for finishing and polishing and the Brite Rite wheels for roughing work.  I only used about 3 Brite Rite wheels (they are very durable, but remove a lot of material) and about 10 3M wheels.

It is such a relief to be done with this part of the build!  When I have to deburr ribs in the fuselage, I will definitely be using this technique.  It should work for all kinds of other parts as well.  I’m going to order lots more of these wheels.


LW Top Skin Dimpling

Today I deburred the top wing skin parts and dimpled the appropriate parts per plans page 16-2 Step 6.  Test reassembled and everything fits pretty nicely.  I had set up the DRDT-2 dimpler a while back for prior work and it was still set up well.  It didn’t need any adjustment, and the dimples came out looking crisp and flat.

20161130_214108.jpg

20161130_214057.jpg

20161130_214039.jpg

wp-1480565637154.jpg

wp-1480565652681.jpg

wp-1480565671945.jpg

Left Wing Top Skin Work

Today I finished Page 16-2 Steps 1-4 for the left wing.  Countersinking the wing walk area went more smoothly than I expected.  Afterward, I prepared for dimpling the top skin holes by removing the blue vinyl from the top surfaces of the W-1003 and W-1002 skins.

Time Lapse Videos:


Countersinking Large Screw Holes

Countersinking large screw holes for nutplates in thin sections of sheet is no fun.  The countersink bit tends to wander and make a hash of the hole.  I thought about how to minimize chatter and keep the bit centered for a few minutes and came up with this:

First, I cut a piece of wood to fit a small area along the line where the nutplates are.   In this case, the nutplates will eventually hold the wing root fairing on the left wing.  I clamped the piece of wood in place and drilled #40 holes in the wood to correspond with the nutplate rivet holes.  Then I clecoed a nutplate through the top of the skin into the wood.

wp-1480301243828.jpg


Then I used the nutplate as a drill guide to drill a #30 hole in the wood below, centered on the screw hole in the nutplate.

wp-1480301648898.jpg

Next, I used my 90 degree drill and a #30 piloted countersink bit to carefully make the appropriate countersink (in this case, to accept a sheet above dimpled for a #8 screw.

wp-1480301487453.jpg


Finished product is a well centered countersink with minimal chatter.  I used pine wood here but in the future I will use oak or another hardwood because the pine is so soft, and allows a bit of movement to the countersink pilot.

wp-1480301469896.jpg

Fitting Top Wing Skins – Part 1

Today, I got the top wing skin parts out of the crate and began fitting them to the left wing.  Way back in the beginning of the wing construction process, I had made a mistake in drilling the J channel wing stiffeners in the wrong position.  I had contacted Van’s Aircraft about this and they confirmed it was not a big deal to simply extend the length using a short piece of J channel at the wing tip, so I fit and drilled this piece today as well.

I used up every silver cleco I could find and still didn’t have quite enough for the whole wing.  I guess I’ll have to order some more eventually.

20161126_214017.jpg

20161126_214005.jpg

20161126_214050.jpg

20161126_214033.jpg

20161126_214512.jpg

20161126_214407.jpg

Time Lapse Video:


Also, today I worked on drilling out and re-setting some rivets on the rear spar on the left wing that I didn’t like.

20161126_143952.jpg