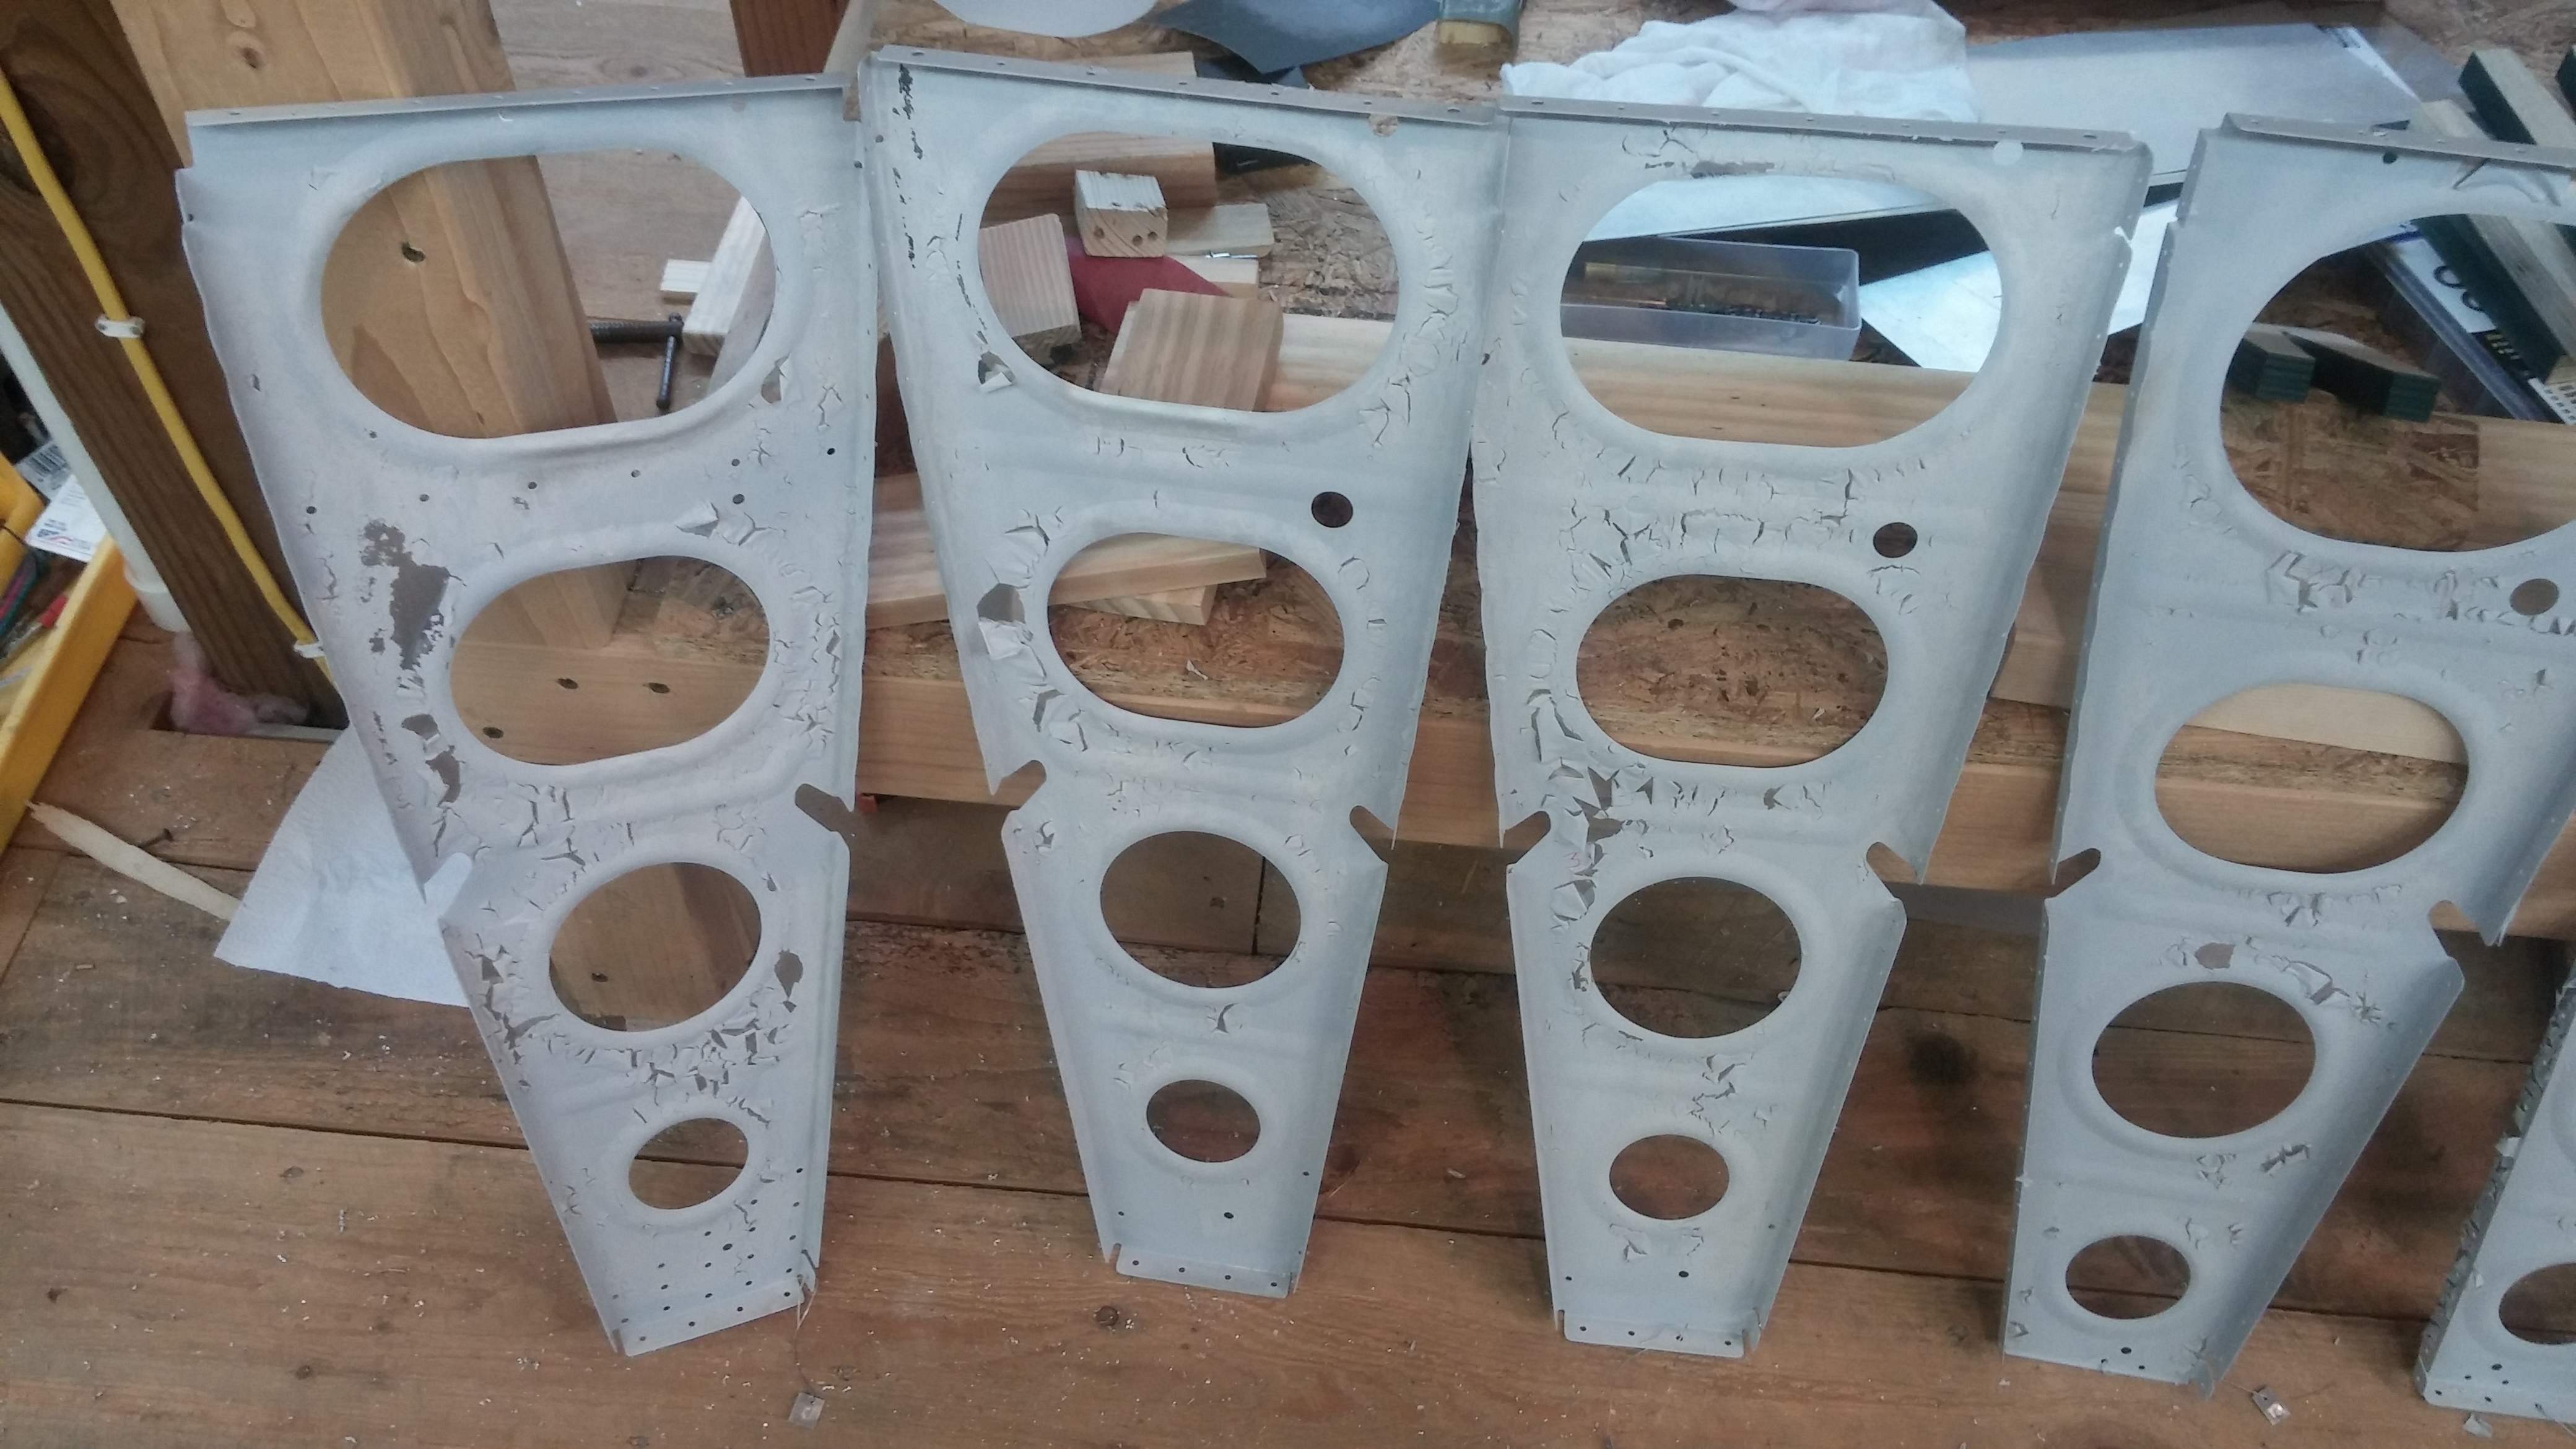
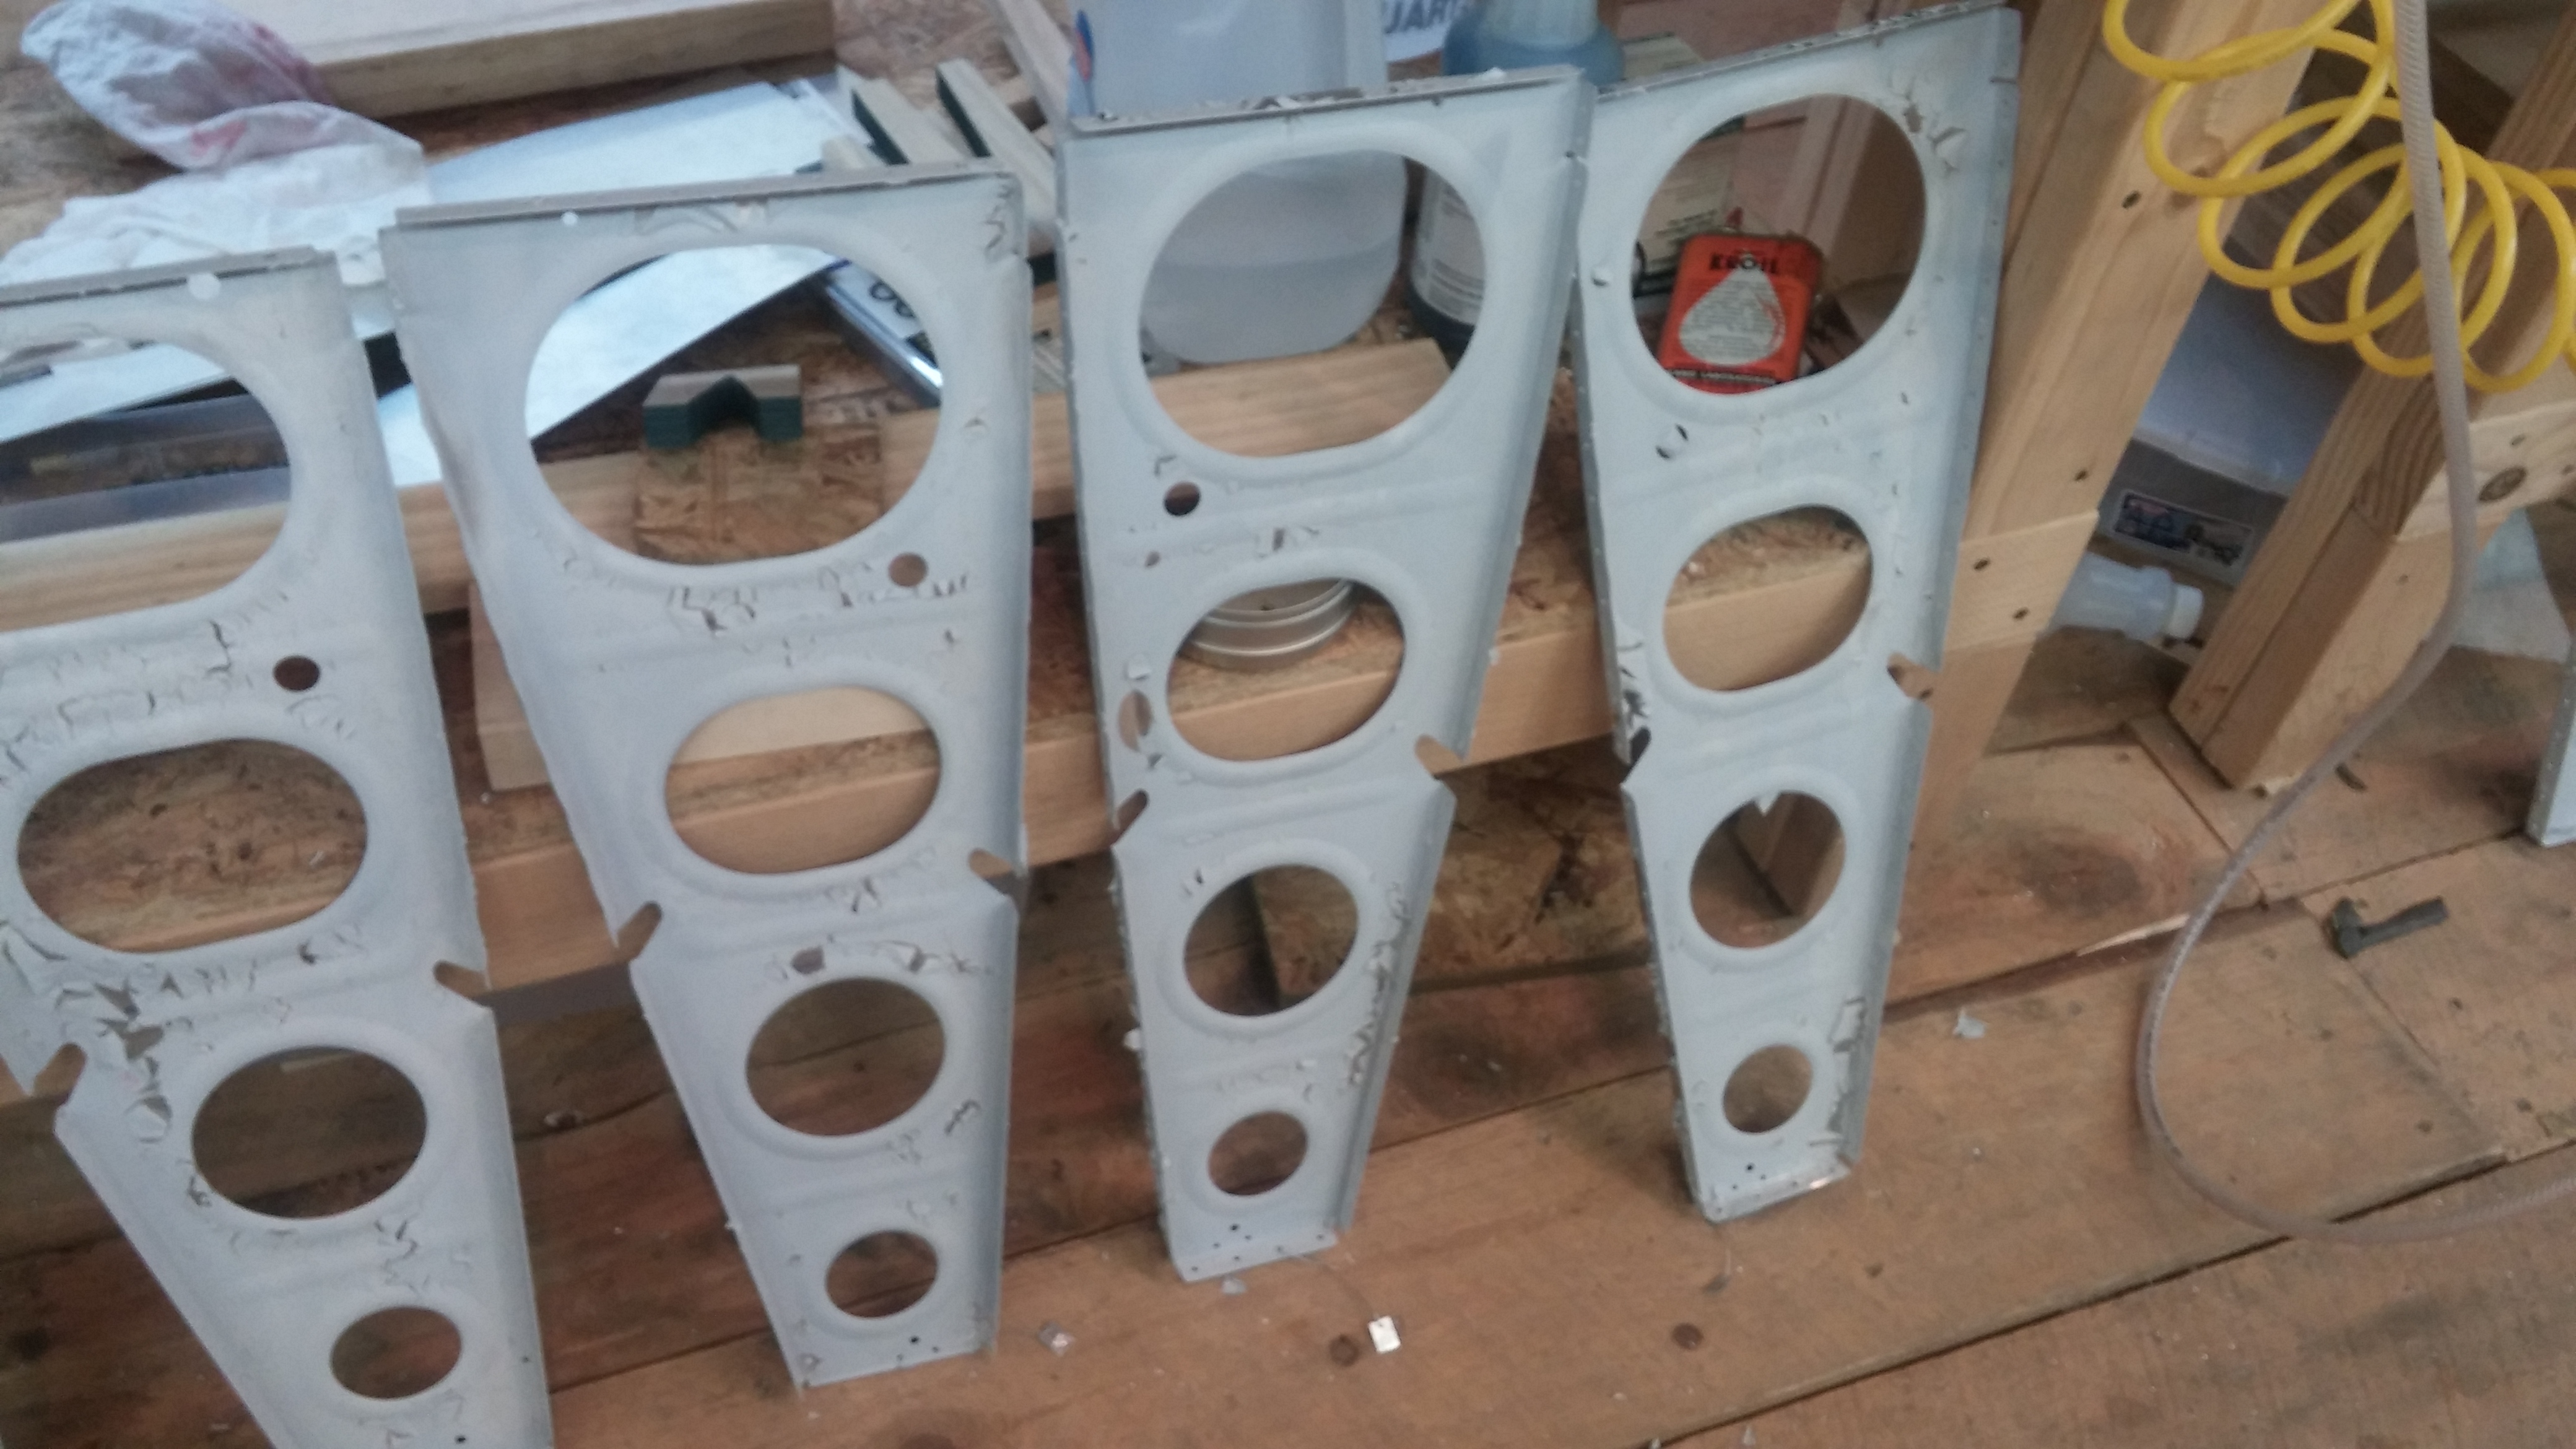
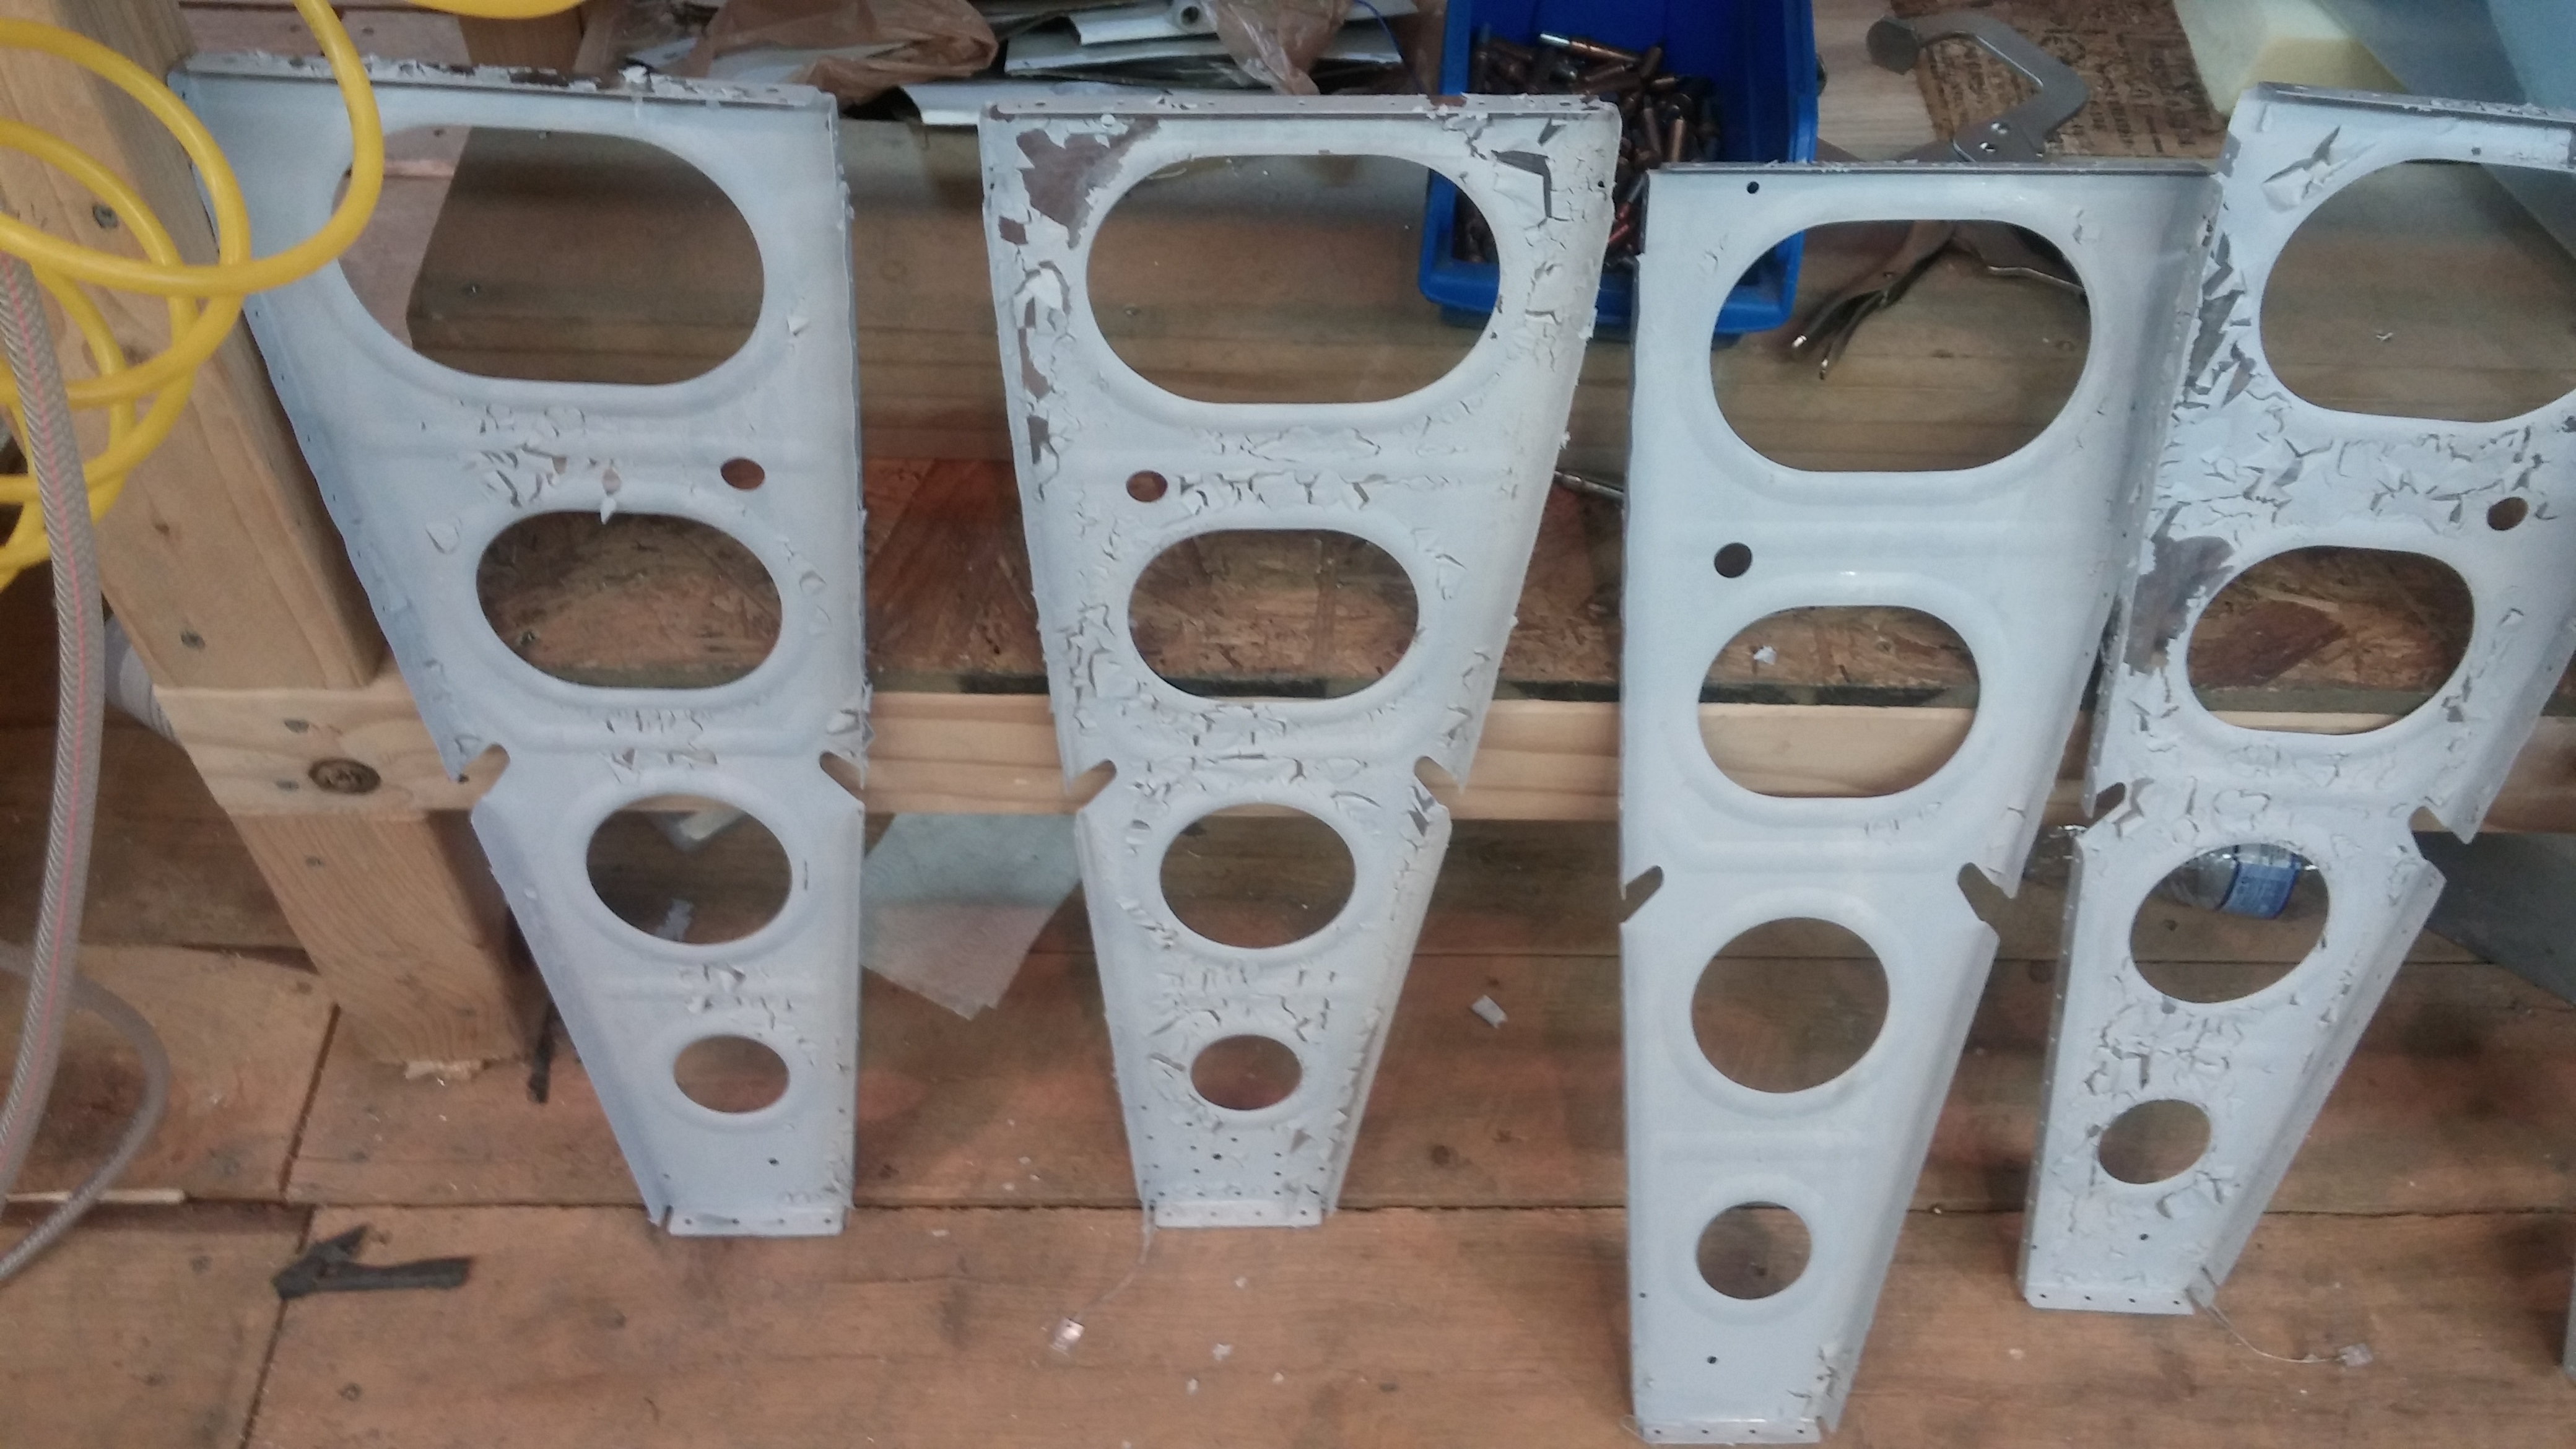
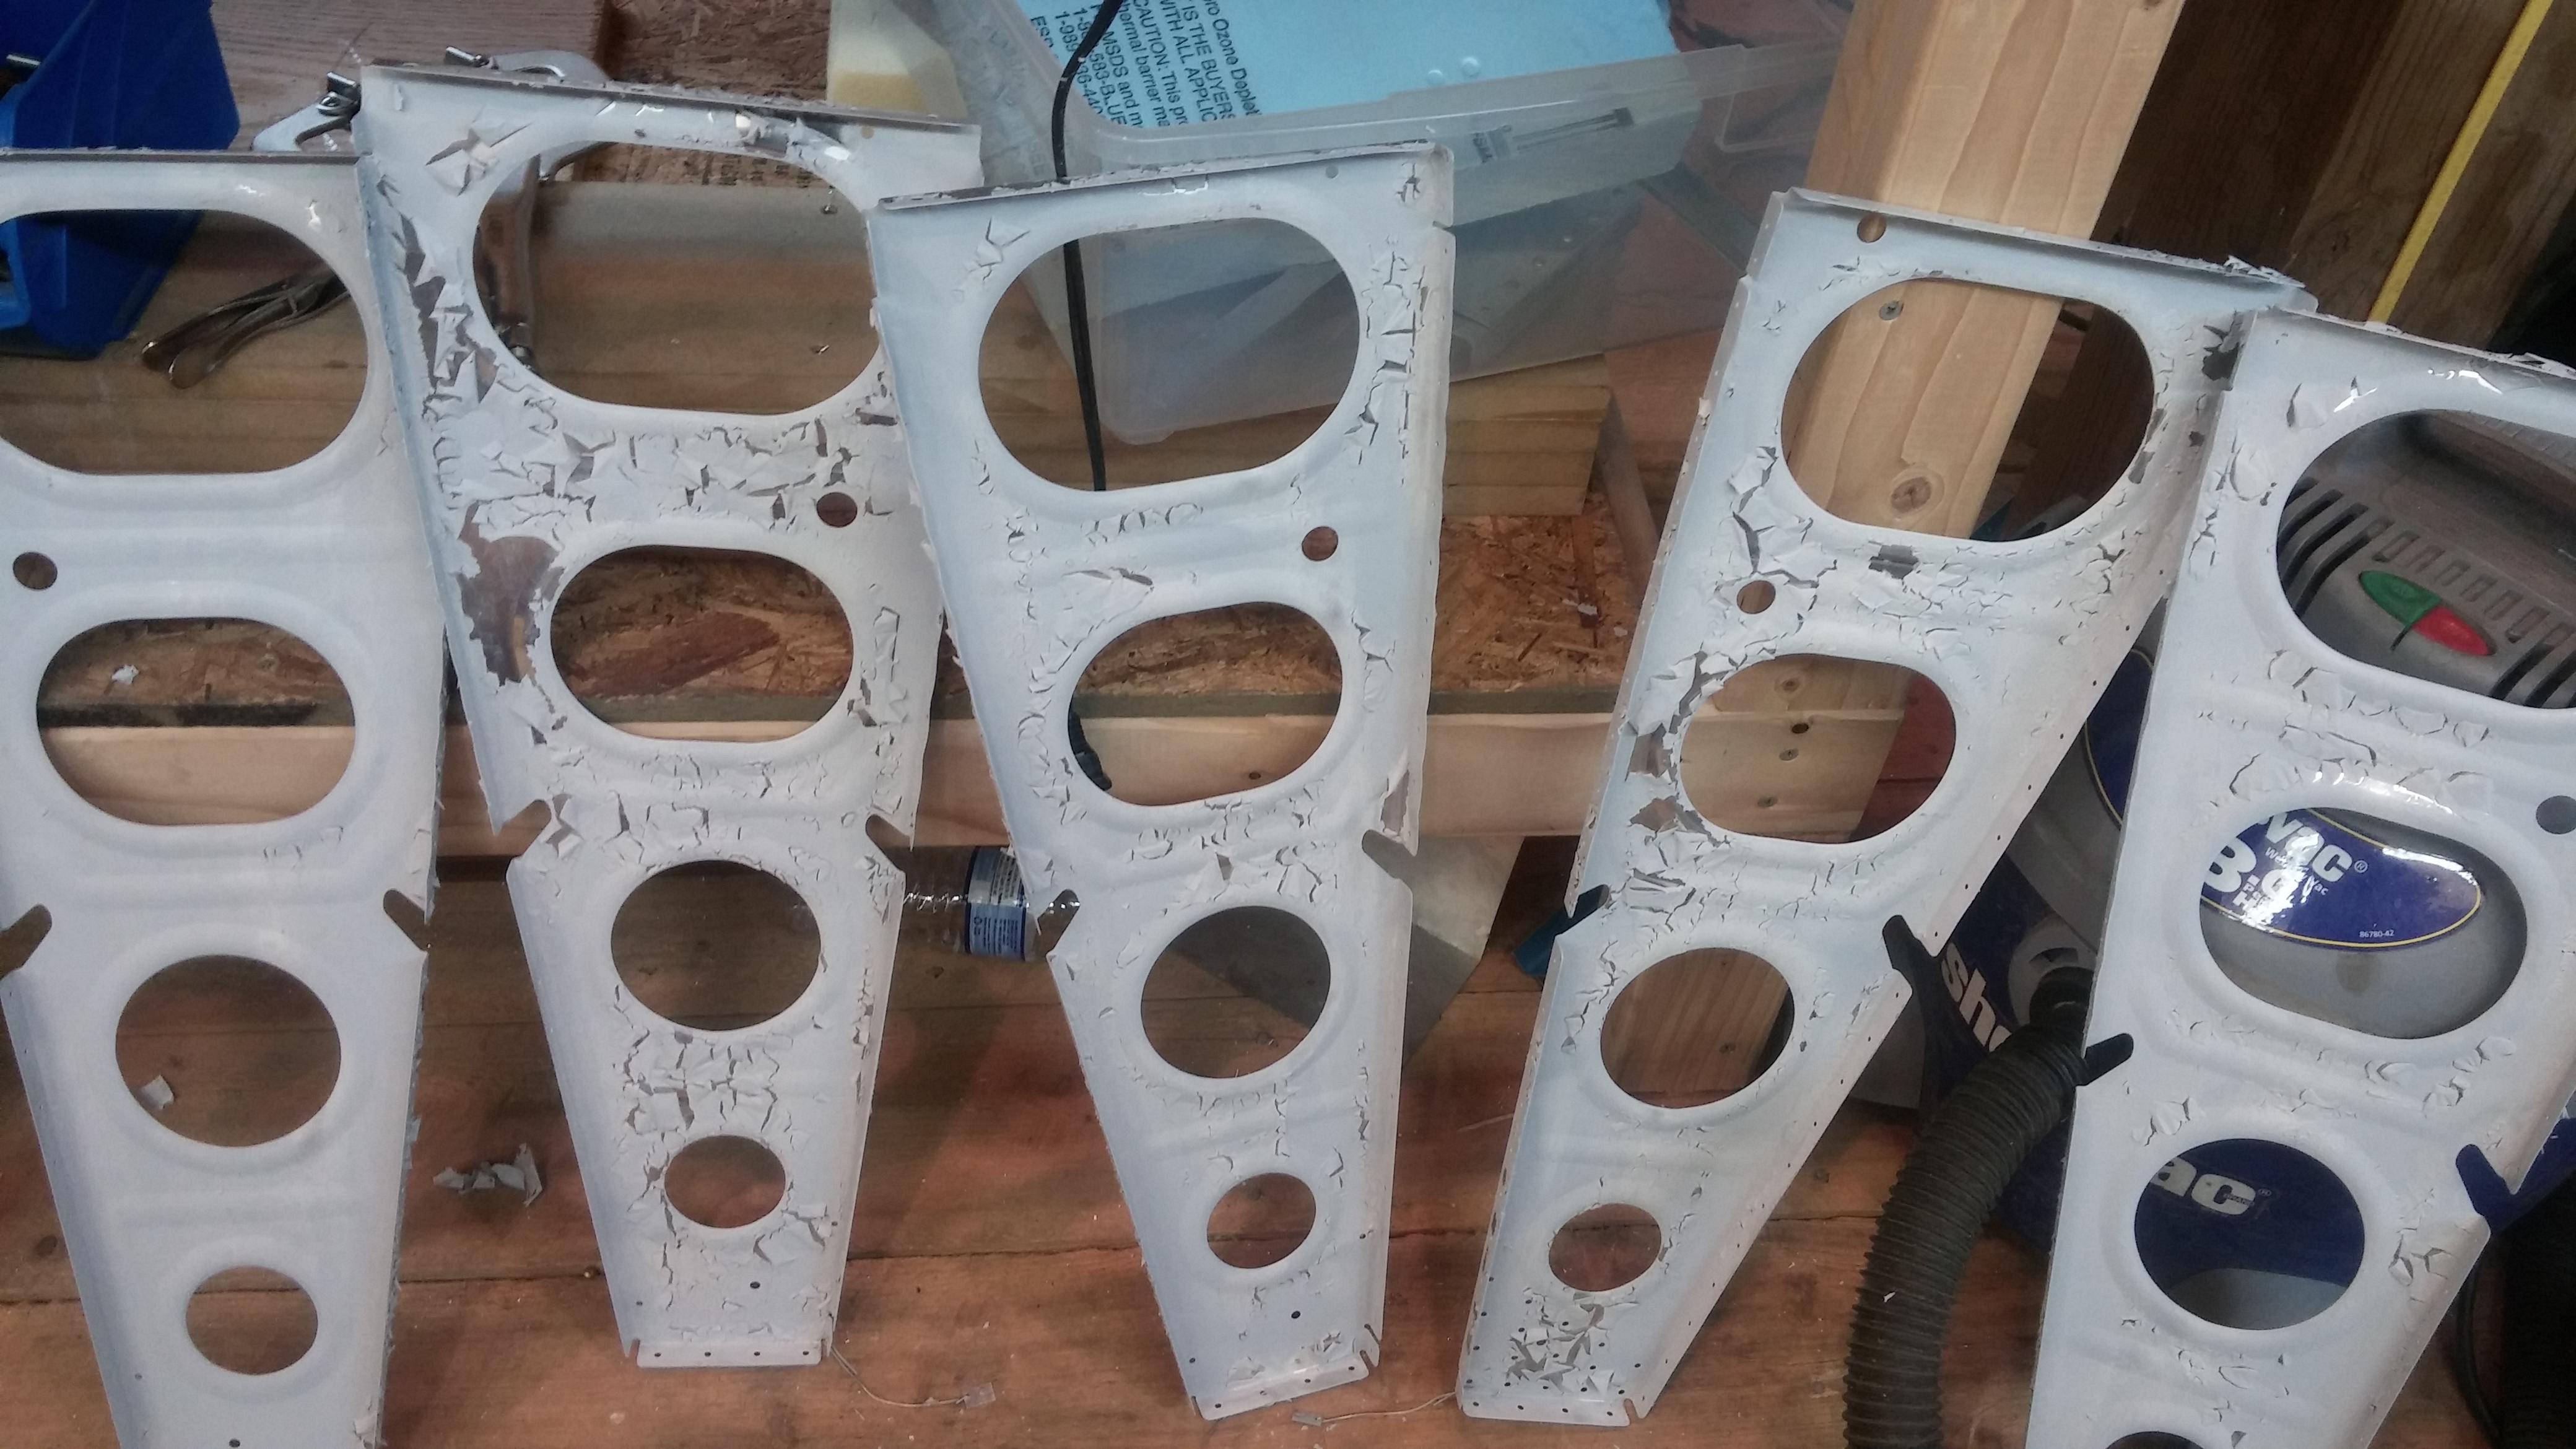
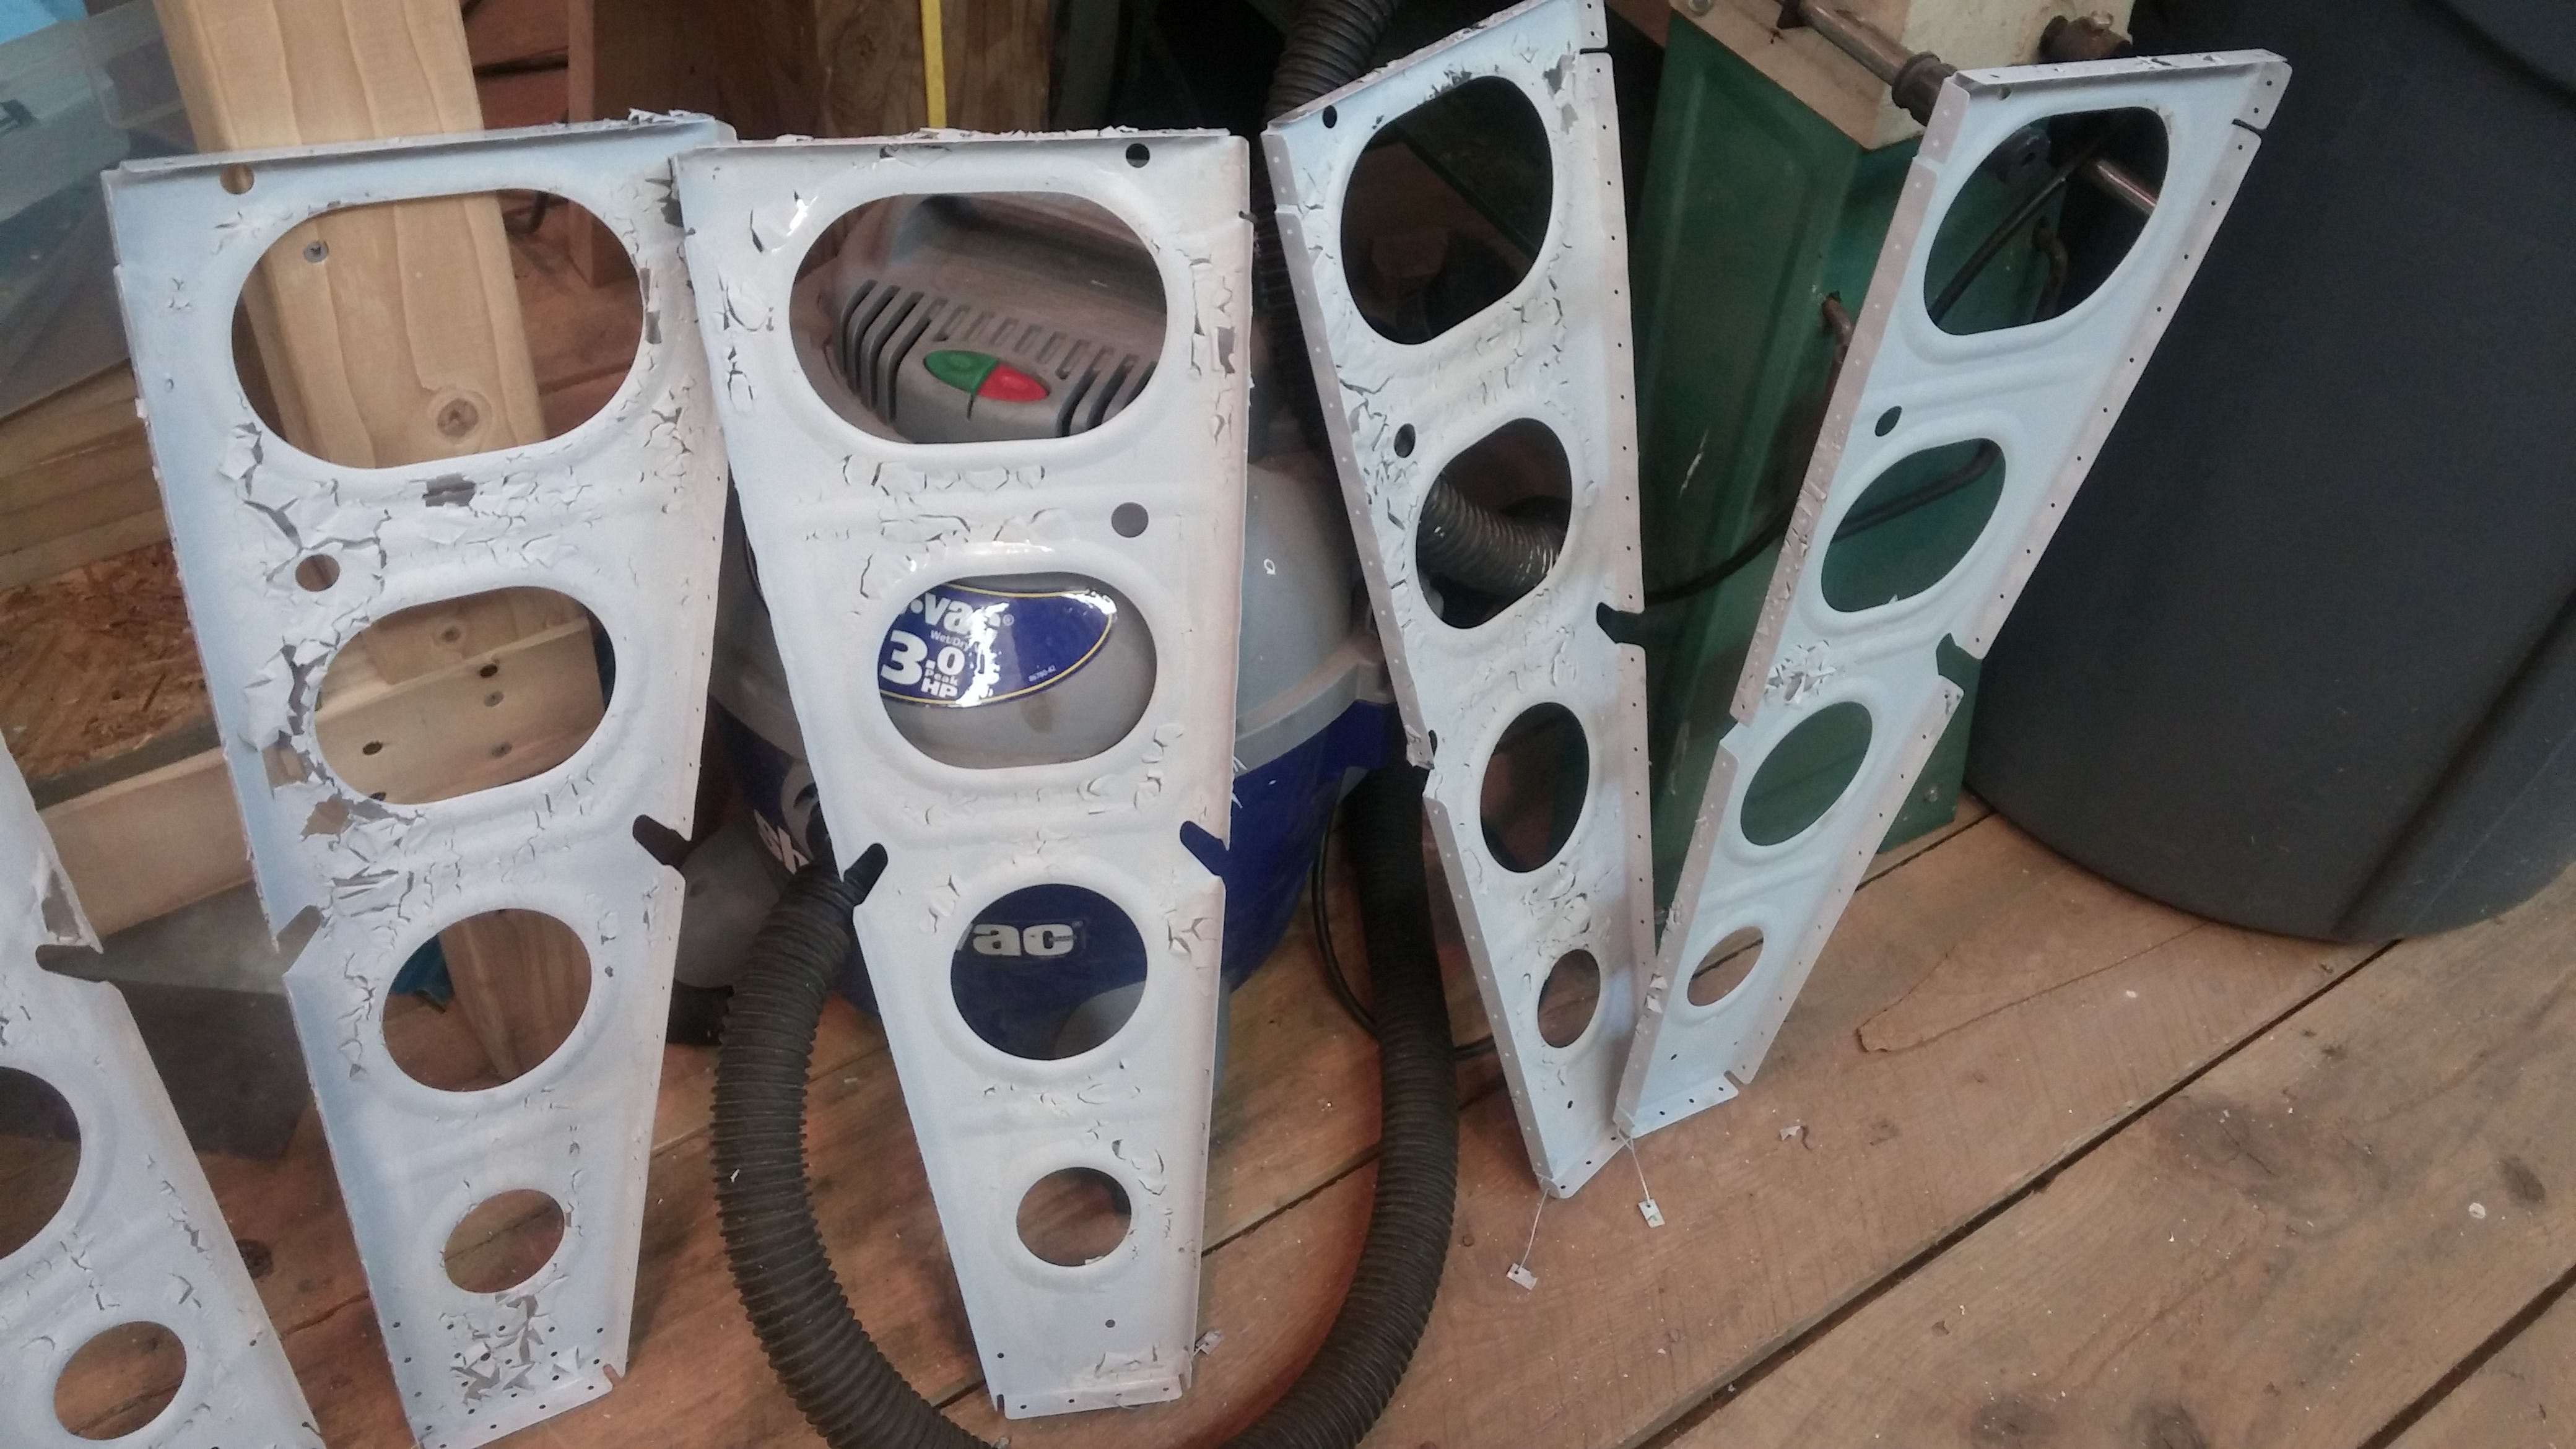
Today I have been working on fitting and deburring various parts of the wings that can all be primed as a group. I don’t want to mix up a batch of primer for just one or two things.
Today I have been working on fitting and deburring various parts of the wings that can all be primed as a group. I don’t want to mix up a batch of primer for just one or two things.
I spent a hell of a lot of time preparing the left wing ribs. Finally all the deburring was complete, and I prepared to prime them. By the time I got all the roadblocks out of the way, it was dusk when I began spraying. Outside. I think what happened is that the relative humidity skyrocketed right as I was priming and caused this failure:
Just completed Page 14-2. Time to date 99.75 hrs.
Previous days included 6/1, 6/4, and 6/6 on which I did a lot of rib fluting.
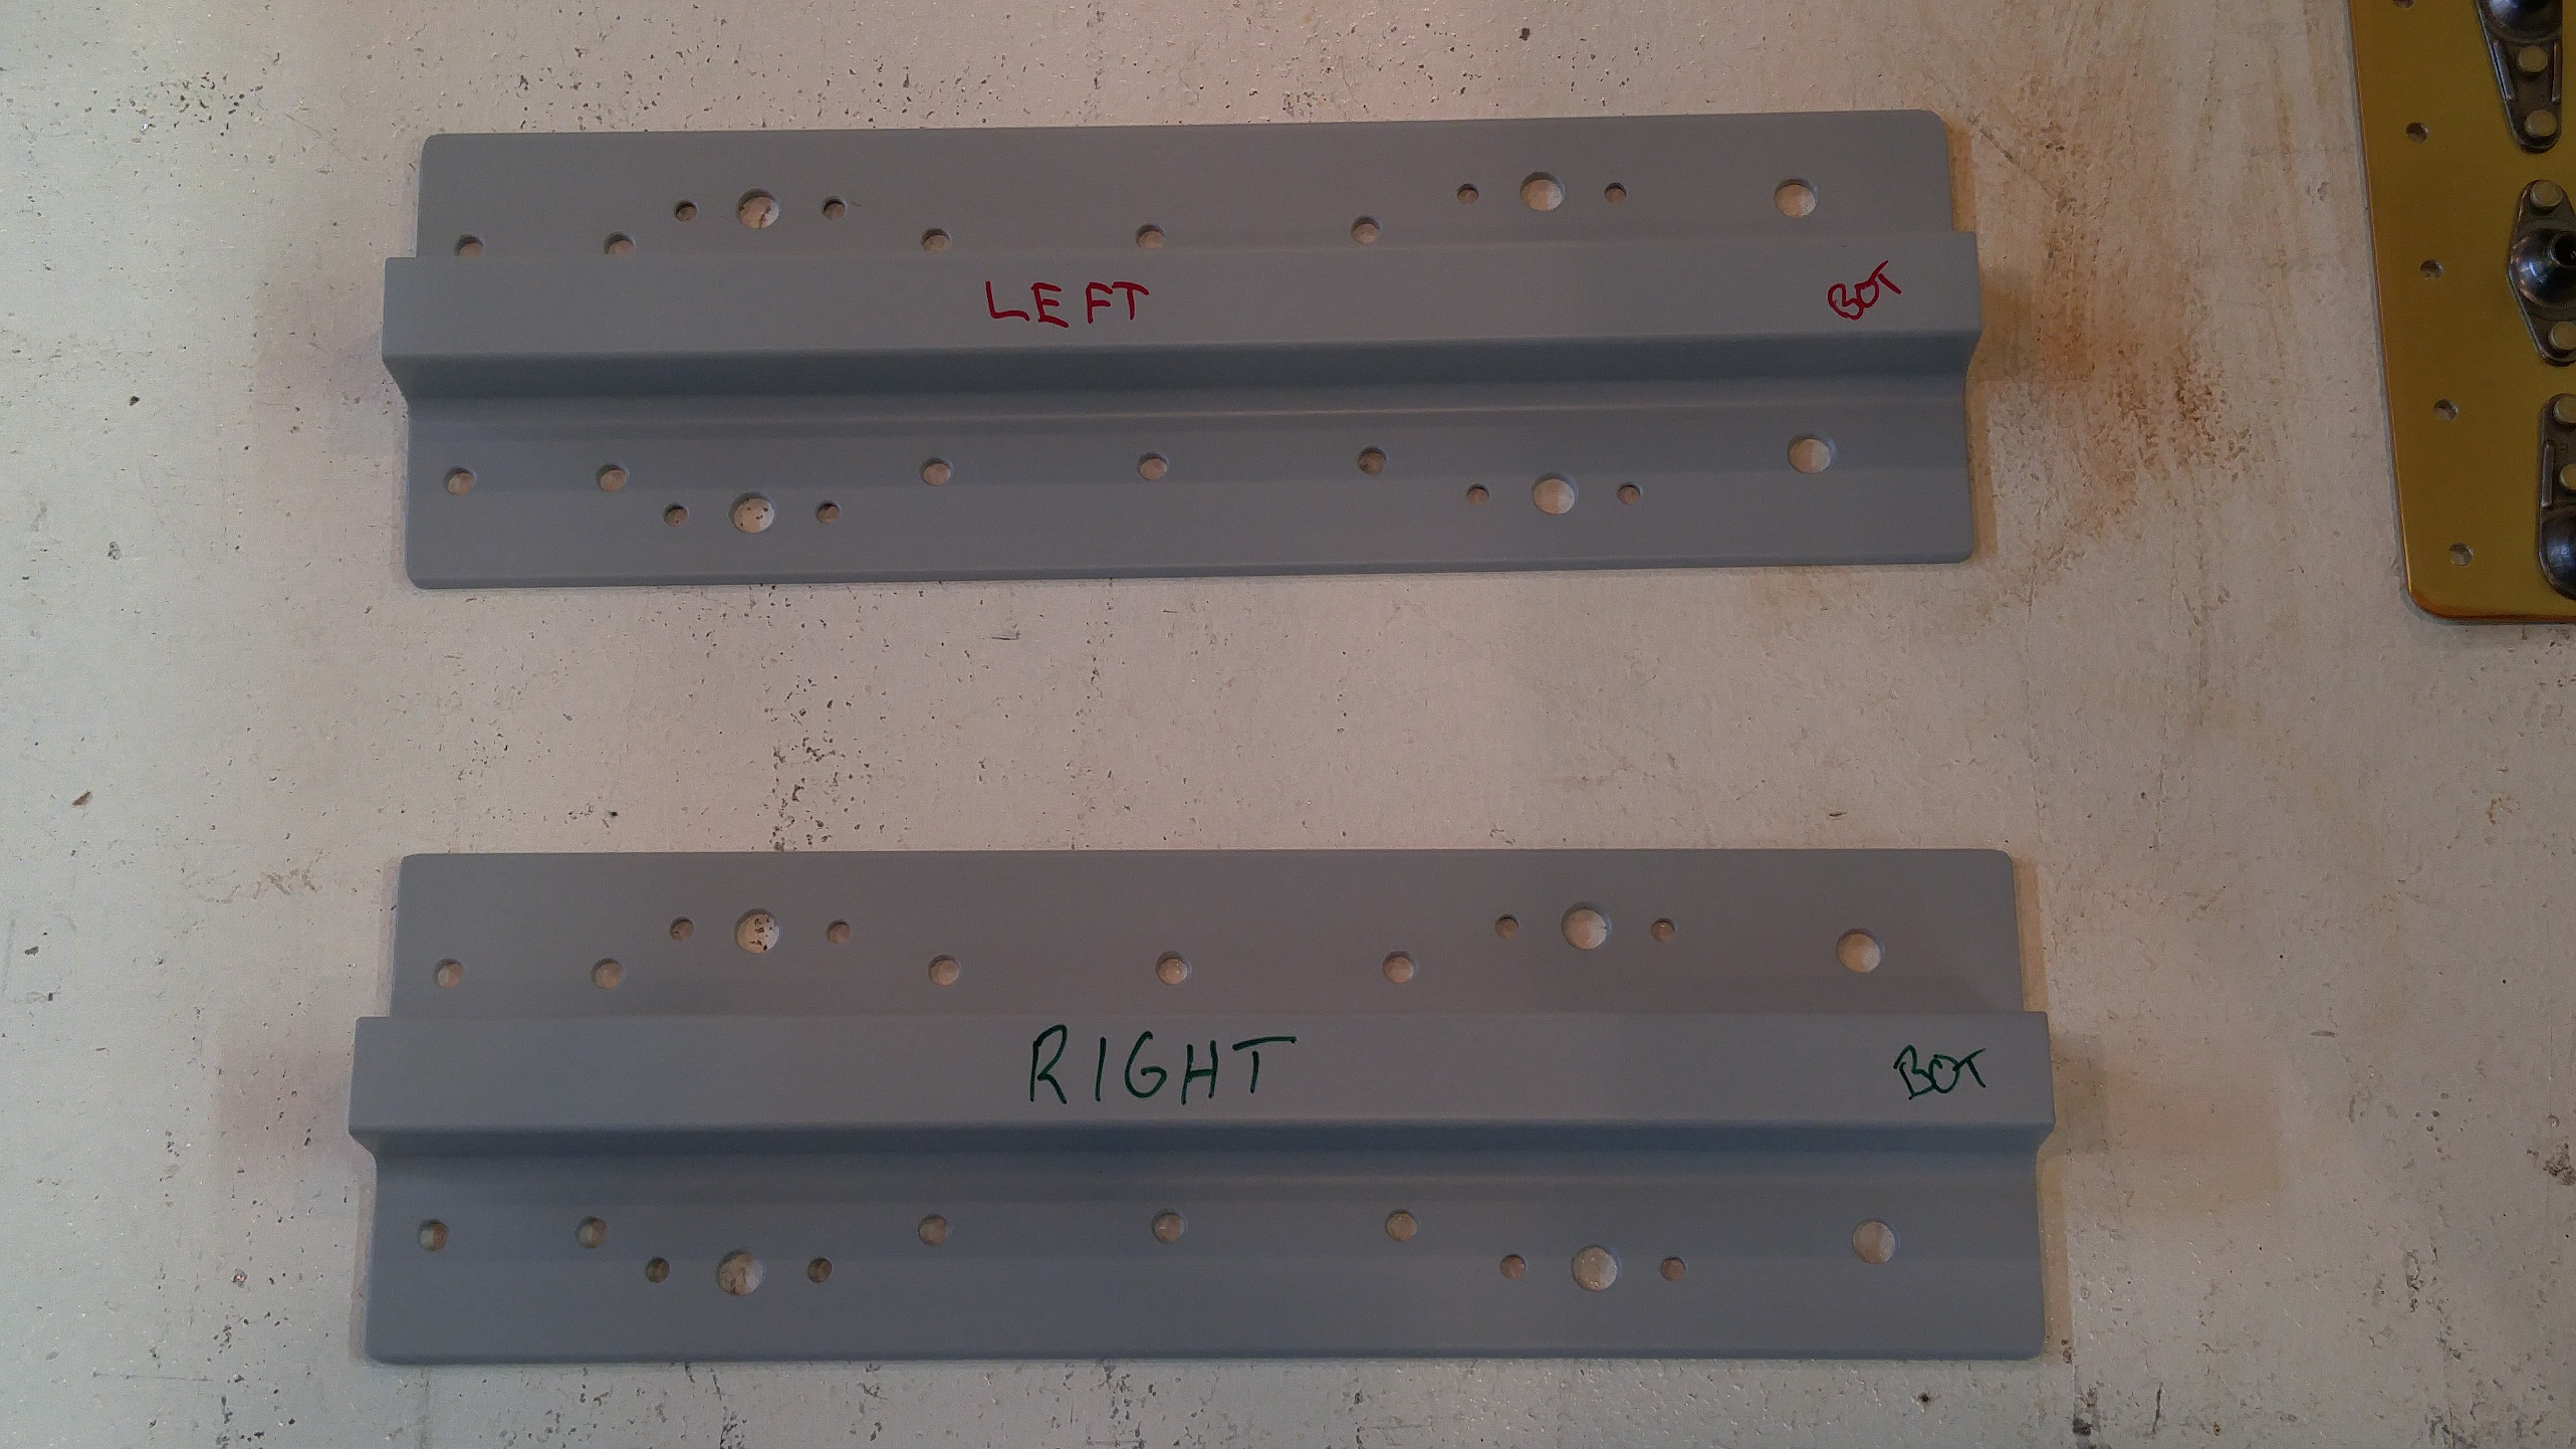
Completed fabrication and match drilling of wing tie-down mounts. Etched and primed, installed nutplates. 1 hour.
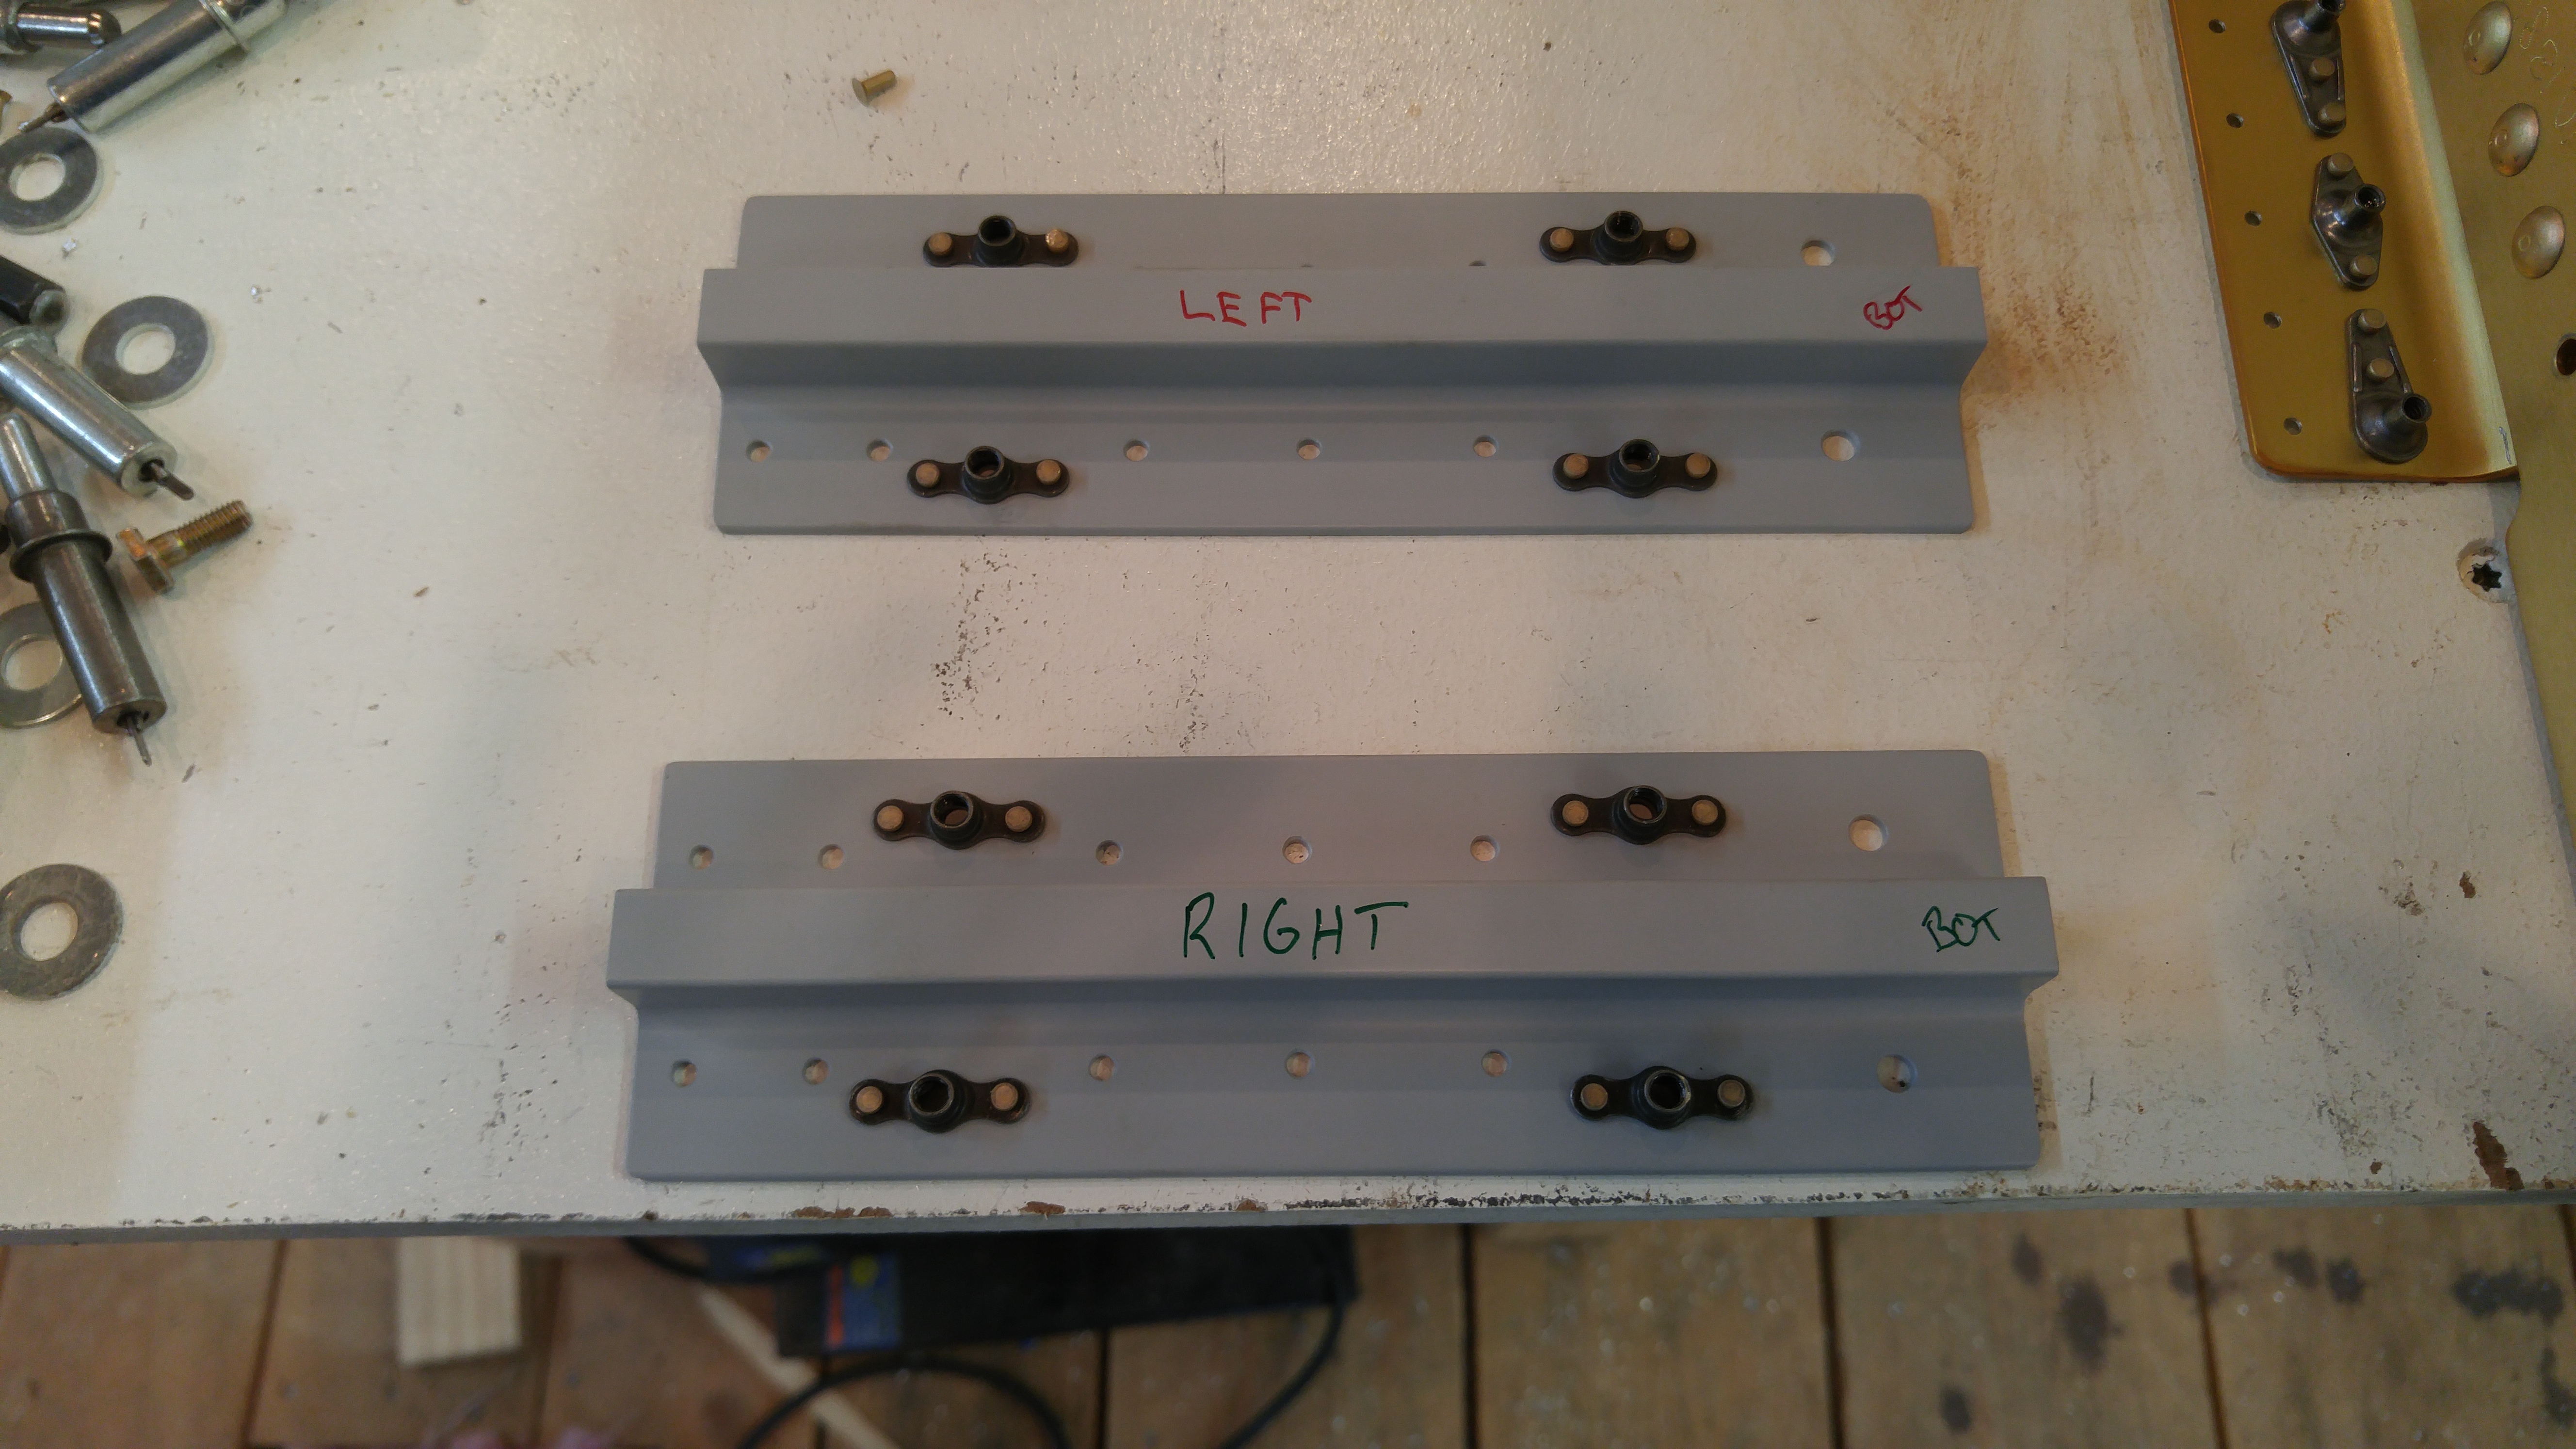
Installed brackets by riveting. Installed aileron bellcrank brackets and torqued bolts. Applied torque seal.
Over the last few weeks, I’ve completed a number of steps and logged in my paper log, but haven’t really updated the progress here.
So, in the interest of completeness, and while some primer dries, here’s an update.
4/23/2016
RHS Main spar countersinking–finished the rib/skin attach countersinks; need to complete nutplate holes.
3 hours.
4/26/2016
Received confirmation that J stiffeners can be extended with no negative (from Van’s Aircraft). Misalignment of spars and J channels required either re-making the channels or extending them.
Made Four J-Stiffener extensions approximately 9-1/8″ long each. This allows overlap of 3 rivets in the splice joint.
0.5 hour
4/27/2016
LH Spar bottom countersink complete. Top remains.
1.5 hours
4/30/2016
Machine countersank all lower fuel tank attach screw holes after installing the nutplates on the LH main spar
5 hours.
5/11/2016
Countersank RH main spar top tank attach screw holes
1 hour.
5/14/2016
“Completed Page 13-3 – Finished RH and LH main spar countersinks, installed inspection plate nutplates and countersank.
Spot primed. Widened hole in LH Spar–all per plans. Also primed spar web extensions and doublers.
5 hours
5/15/2016
“Completed page 13-2 step 4 – Web extension riveting, both wings.
Page 13-4, steps 1,2,3,4,5,7 completed L&R. 8&9 completed RH only.”
7 hours.
Total hours to date: 85.75
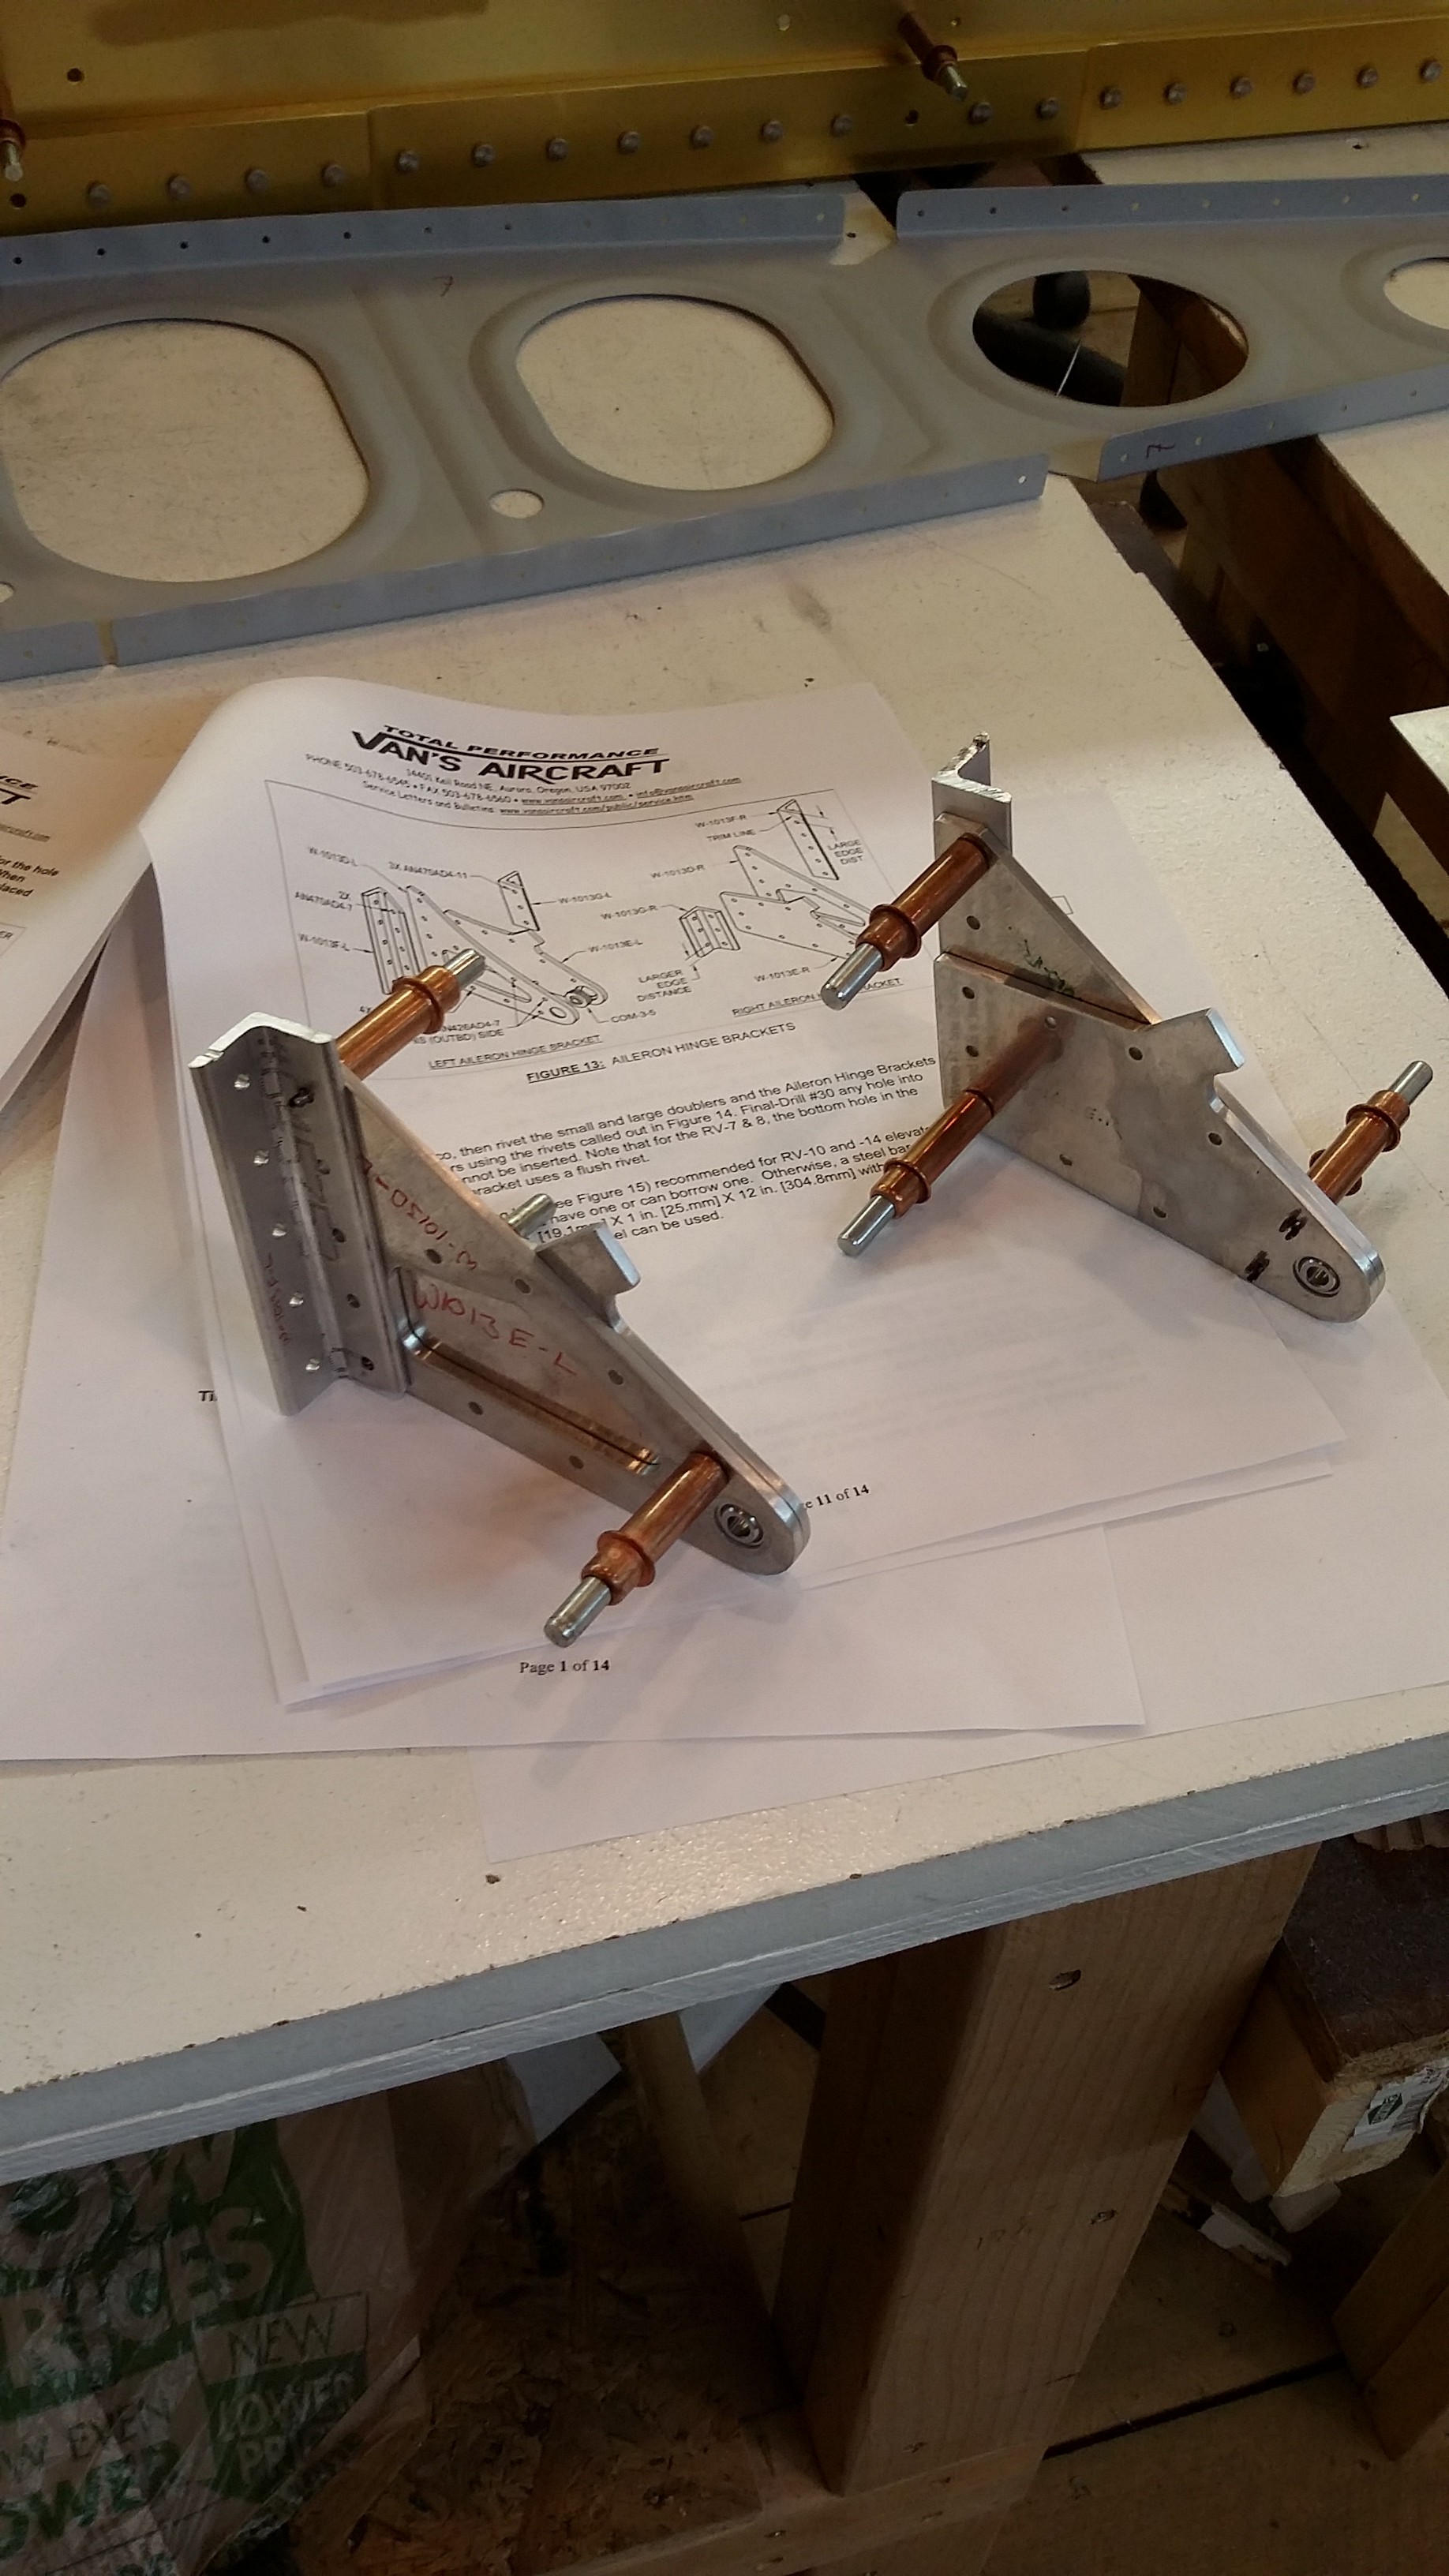
Yesterday I received the kit for the Van’s Service Bulletin 16-03-28. I had placed an order as soon as the kit became available. It was delivered in only a few days. Van’s charged $25.00, which they said is their production cost, plus shipping.
The kit is for both the RV-10 and RV-14, came in a padded envelope, and includes the following:
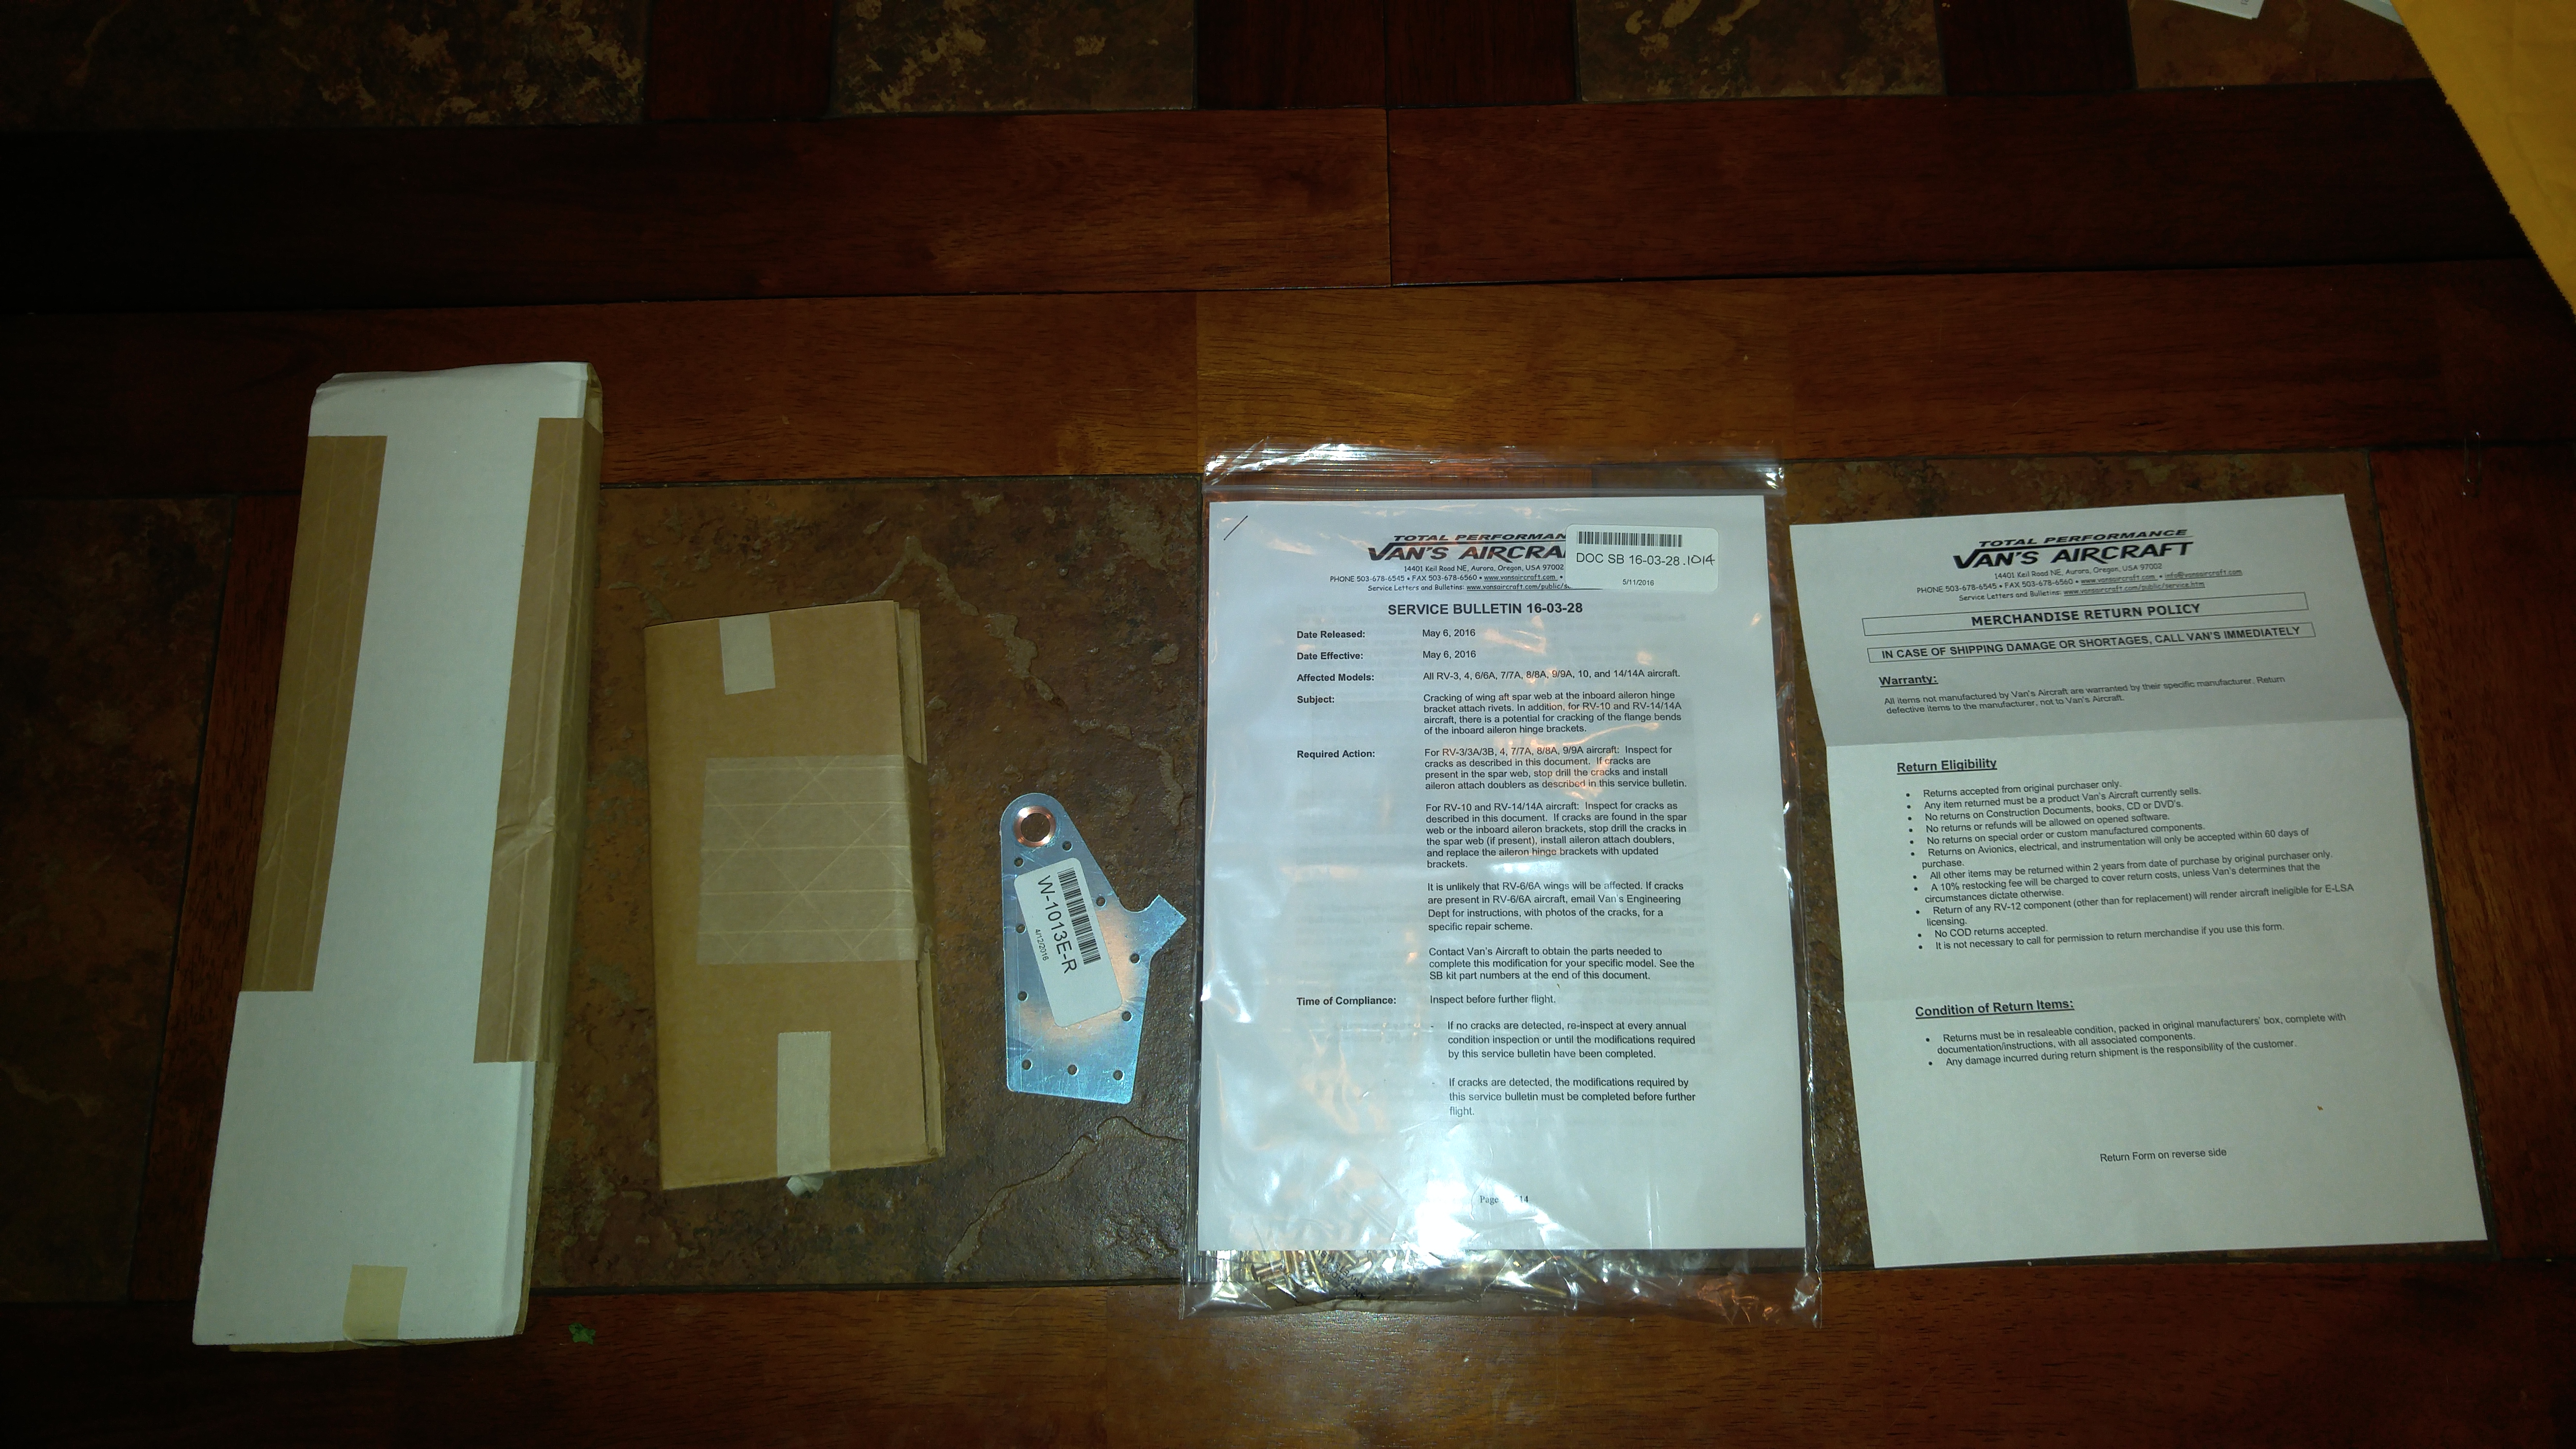
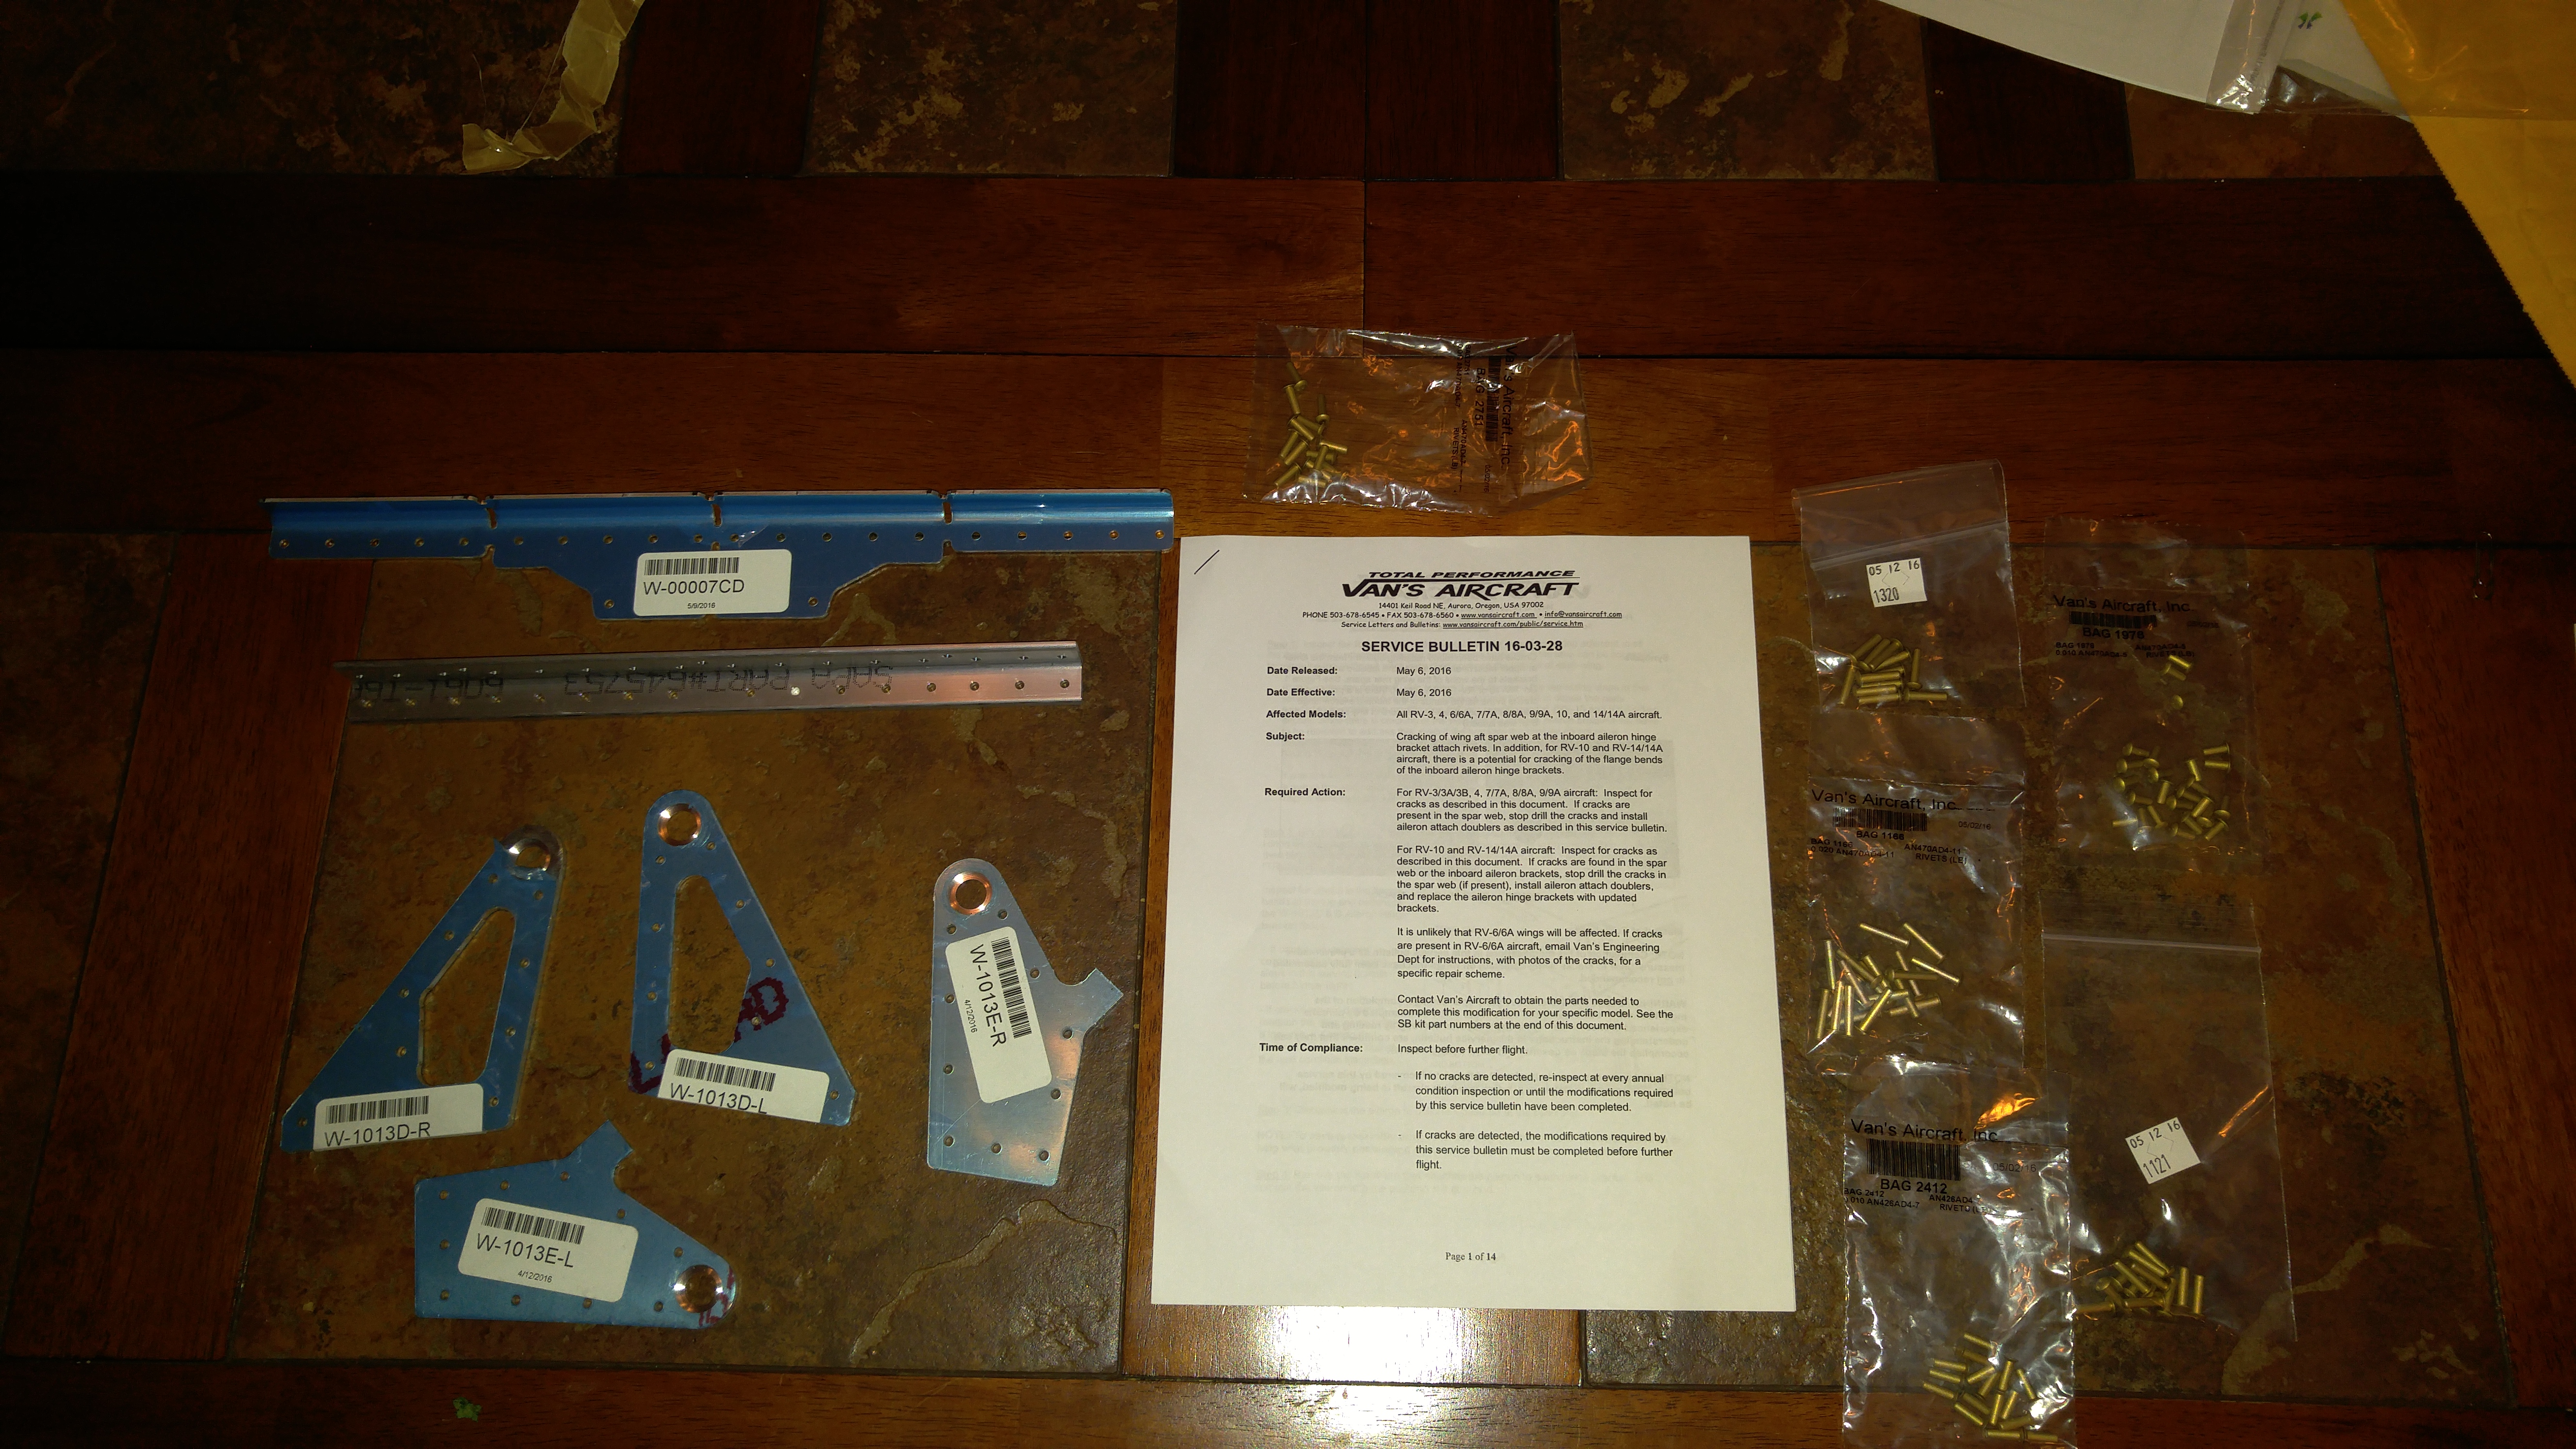
1. Paper copy of the Service Bulletin
2. W-00007CD (to be separated into parts)
3. A piece of pre-drilled angle (part number printed on a label but I forgot what it was) to be cut into parts.
4. W-1013D-R
5. W-1013D-L
6. W-1013E-R
7. W-1013E-L
8. Bag 2751 containing AN470AD4-7 Rivets
9. Bag 1320
10. Bag 1978 containing AN470AD4-5 Rivets
11. Bag 1166 containing AN470AD4-11 Rivets
12. Bag 2412 containing AN426AD4-7 Rivets
13. Bag 1121
There are no specific instructions for installing these parts as an initial construction–the instructions focus on retrofit of completed wings. It should be relatively straightforward, however. The flat parts appear to be thicker and “beefier” replacements for existing aileron bracket parts. In addition, instead of a sandwich of three parts making up the bracket, there are only two parts per bracket, with increased thickness.
There are two bracket pieces that are to be separated into multiple parts and installed on the forward and aft sides of the rear wing spar to provide additional resistance to flexing in the spar web.
Just about 5 hours (including a few short breaks) to countersink the holes on the top flange of the right hand main spar. About 308 holes, so roughly 1 per minute. Only about 930 left to go…I’m beginning to see why it takes people over 2,000 hours to build an RV-10!
Steps 2 and 3 on Page 13-3 of the RV-10 Wing plans can be rather confusing as to which holes to countersink. The language seems to be rather precise, and if taken literally, has you looking for holes that aren’t there.
The confusing sentence in Step 2 is
“Machine countersink those rib to spar flange attach rivet holes that are in line with the nutplate attach rivet holes and are inboard of the most outboard fuel tank attach nutplate.”
It’s not a difficult sentence to parse, particularly, and the latter third is quite clear. The first half, however, indicates that there should be some (rib to spar flange attach) holes IN LINE with the nutplate rivet holes. Well, if taken literally, there are NO SUCH HOLES. There are some holes that partially fit the description, but they are not exactly in line with the nutplate rivet holes–but their centerlines are about 1/16″ of an inch aft of the nutplate rivet holes’ centerlines. To someone like me who tends to read things very literally, this sentence has the potential to introduce significant confusion and frustration.
I had read aloud and thought about these steps for FAR too long, and finally decided that someone else surely has had the same confusion. So a simple search on Van’s Air Force Forums produced this gem of a thread, which I recommend to anyone as confused as I was.
A link from that thread, provided by Mike Jimenez, contains some helpful photos.
8hr today on the wing box stiffeners and tank attach nutplate rivet hole countersinking.
Clecoed and final drilled the left win spar extension and associated plates. Deburred. Time 1.75 hrs. Will prime later. Also worked on page 10-22 and completed tail cone top deck installation–1 hr.