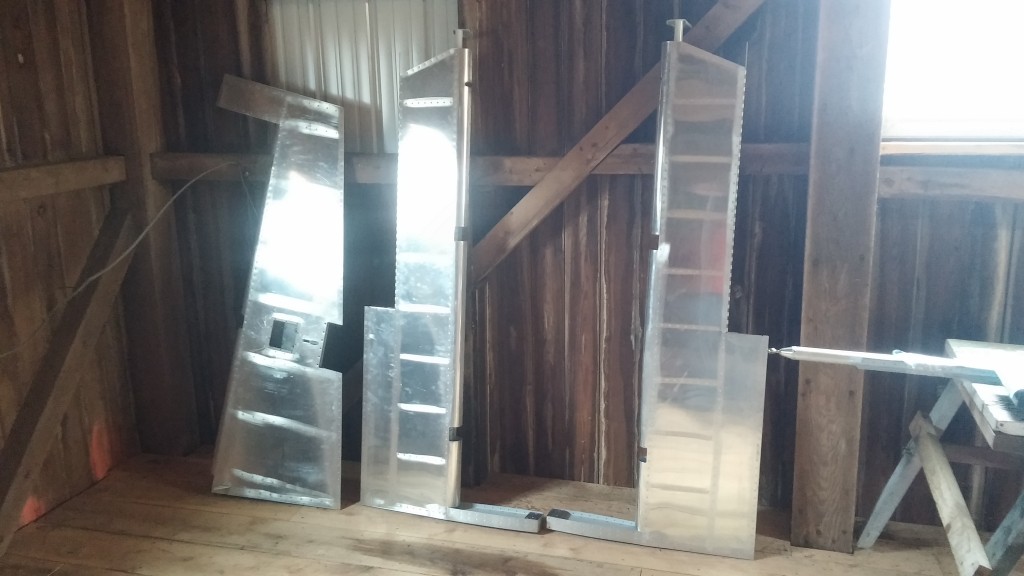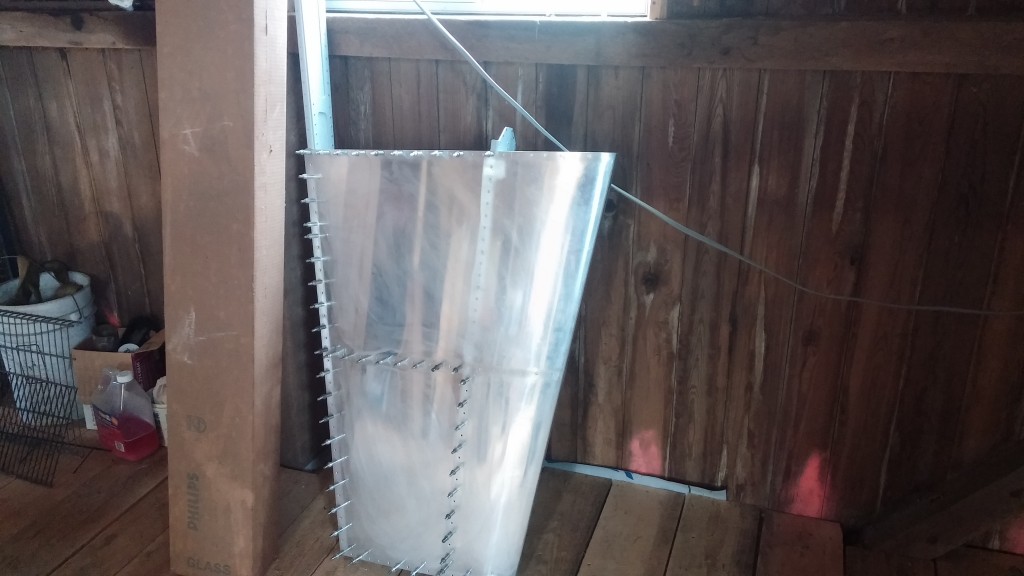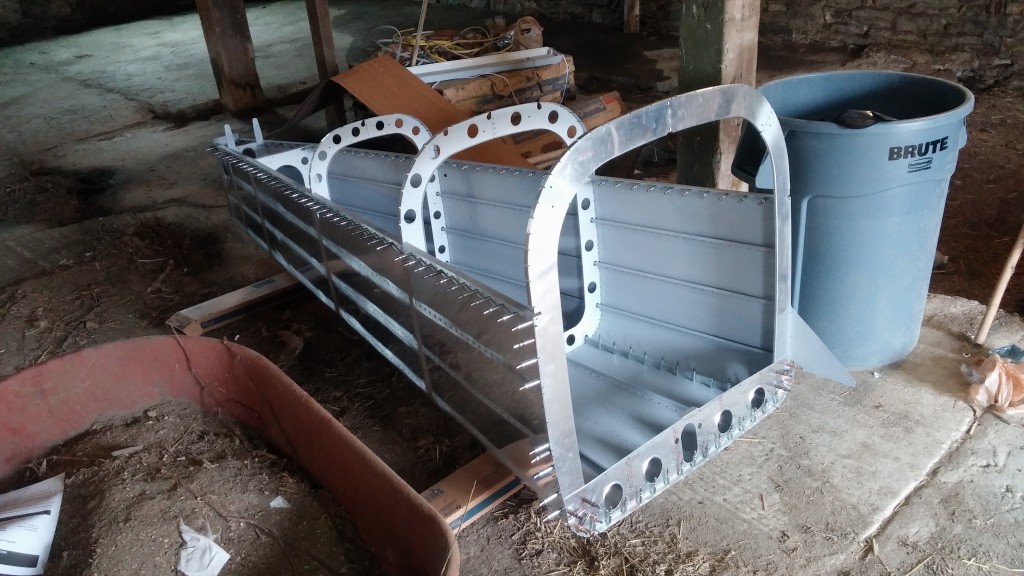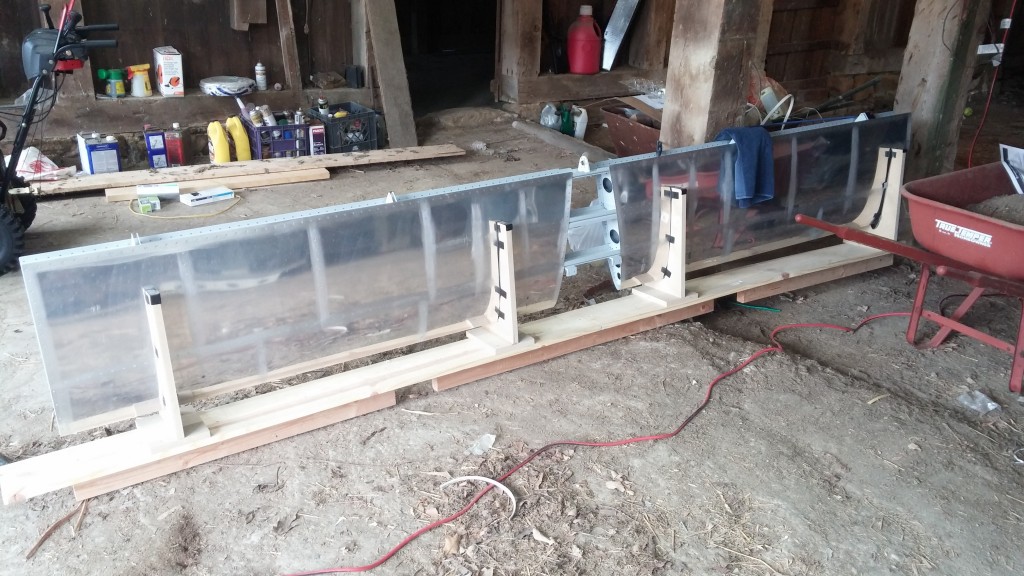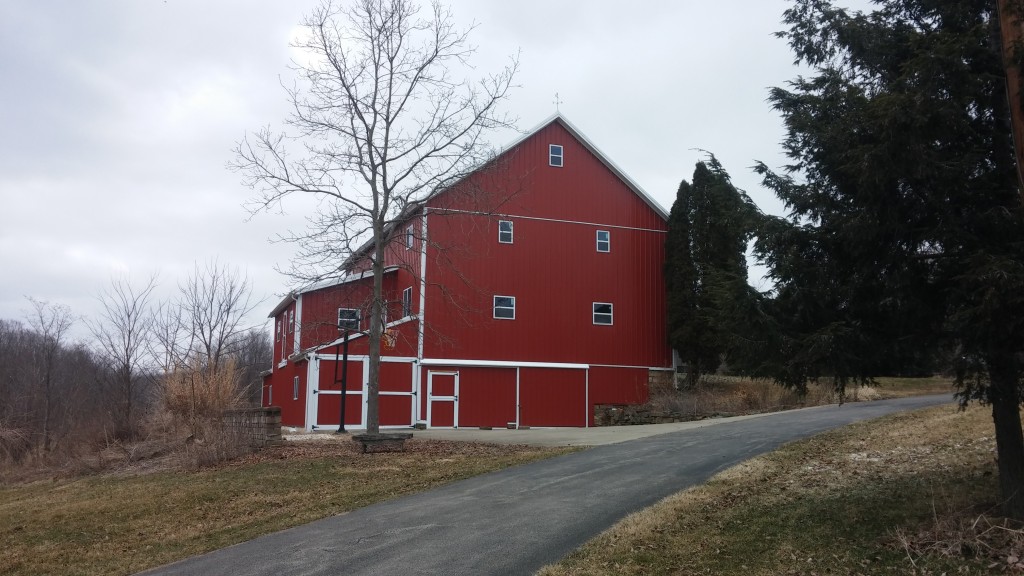
So, the barn is big. Maybe *too* big. Why would I say that? Well, there are almost too many ways here to set up a workshop, so many that I have fallen victim to some “analysis paralysis.” There are two full size floors, a 1/3 size loft, and an “annex” with a large concrete floor and a second “office” above. The barn footprint is about 36′ x 45′ inside overall. On the main (2nd) floor, there is a wide open space that is ideal for pulling vehicles in and working on them. On one side, there is a 36′ x 17′ room under the loft that might be just right for the airplane workshop.
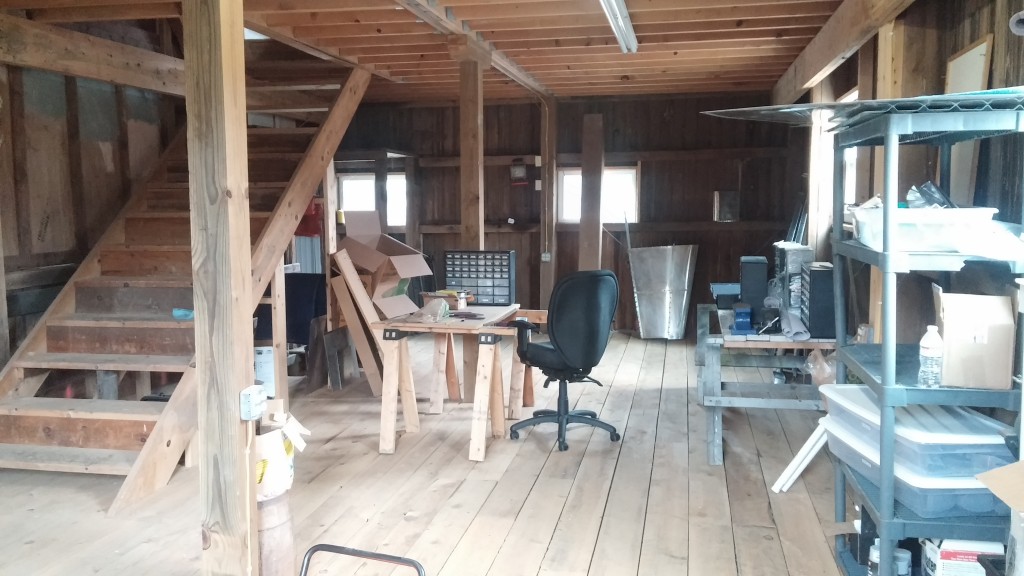 There should be plenty of space here even to build a fuselage once I straighten out the workbench and shelf situation.
The problem is, once I build a fuselage in here, how do I get it out? There is a partially completed doorway that could be used, but *what are the dimensions of a completed fuselage less the landing gear*?
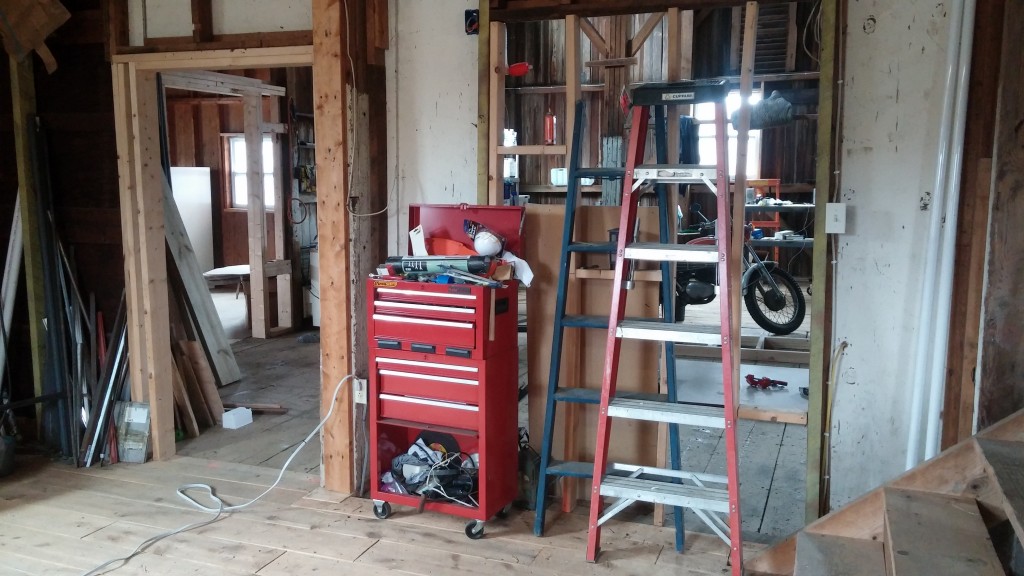
Currently my thought is to build the wings in this side room, and probably the fuselage, but once the gear goes on, if I don’t make provisions to knock this wall out later, I’ll have to move construction out into the larger main area.
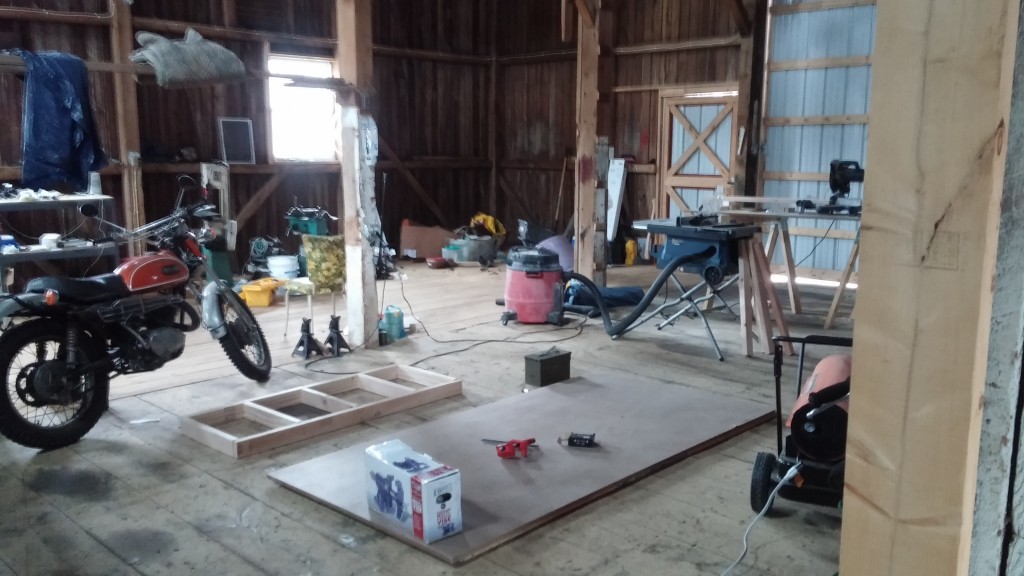 This space is huge, and would be perfect for building a plane except for one thing: it is simply too large to heat. The roof peak is approximately 20 feet up from this level, and there is no way I’m going to build a permanent ceiling in here (the aesthetics of the barn are just too cool to ruin with a flat ceiling, plus it would ruin the view from the loft). You can see one frame of an EAA workbench under construction near the bike.
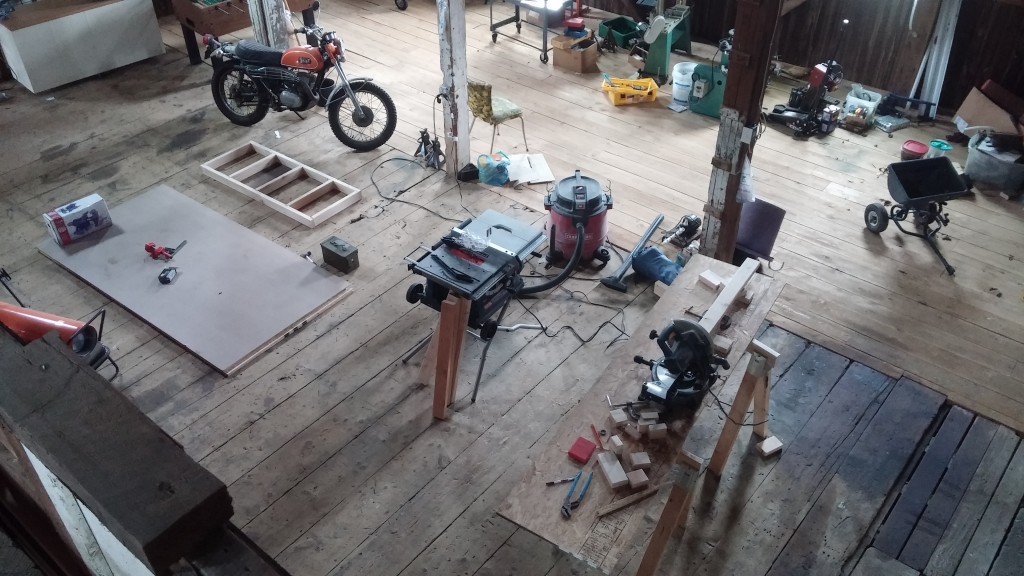
Once the empennage attach happens, the plane may be too long to navigate around the posts in the workshop room. At that point, it may be necessary to build a false ceiling in the main room out of 2x4s and plastic sheeting just to keep the heat in. Alternatively, I could try to time the project such that everything post-empennage attach is done in warm weather, but I think that would not go well. Best laid plan(e)s, and all.
