Clecoed and final drilled the left win spar extension and associated plates. Deburred. Time 1.75 hrs. Will prime later. Also worked on page 10-22 and completed tail cone top deck installation–1 hr.
Tag: RV-10
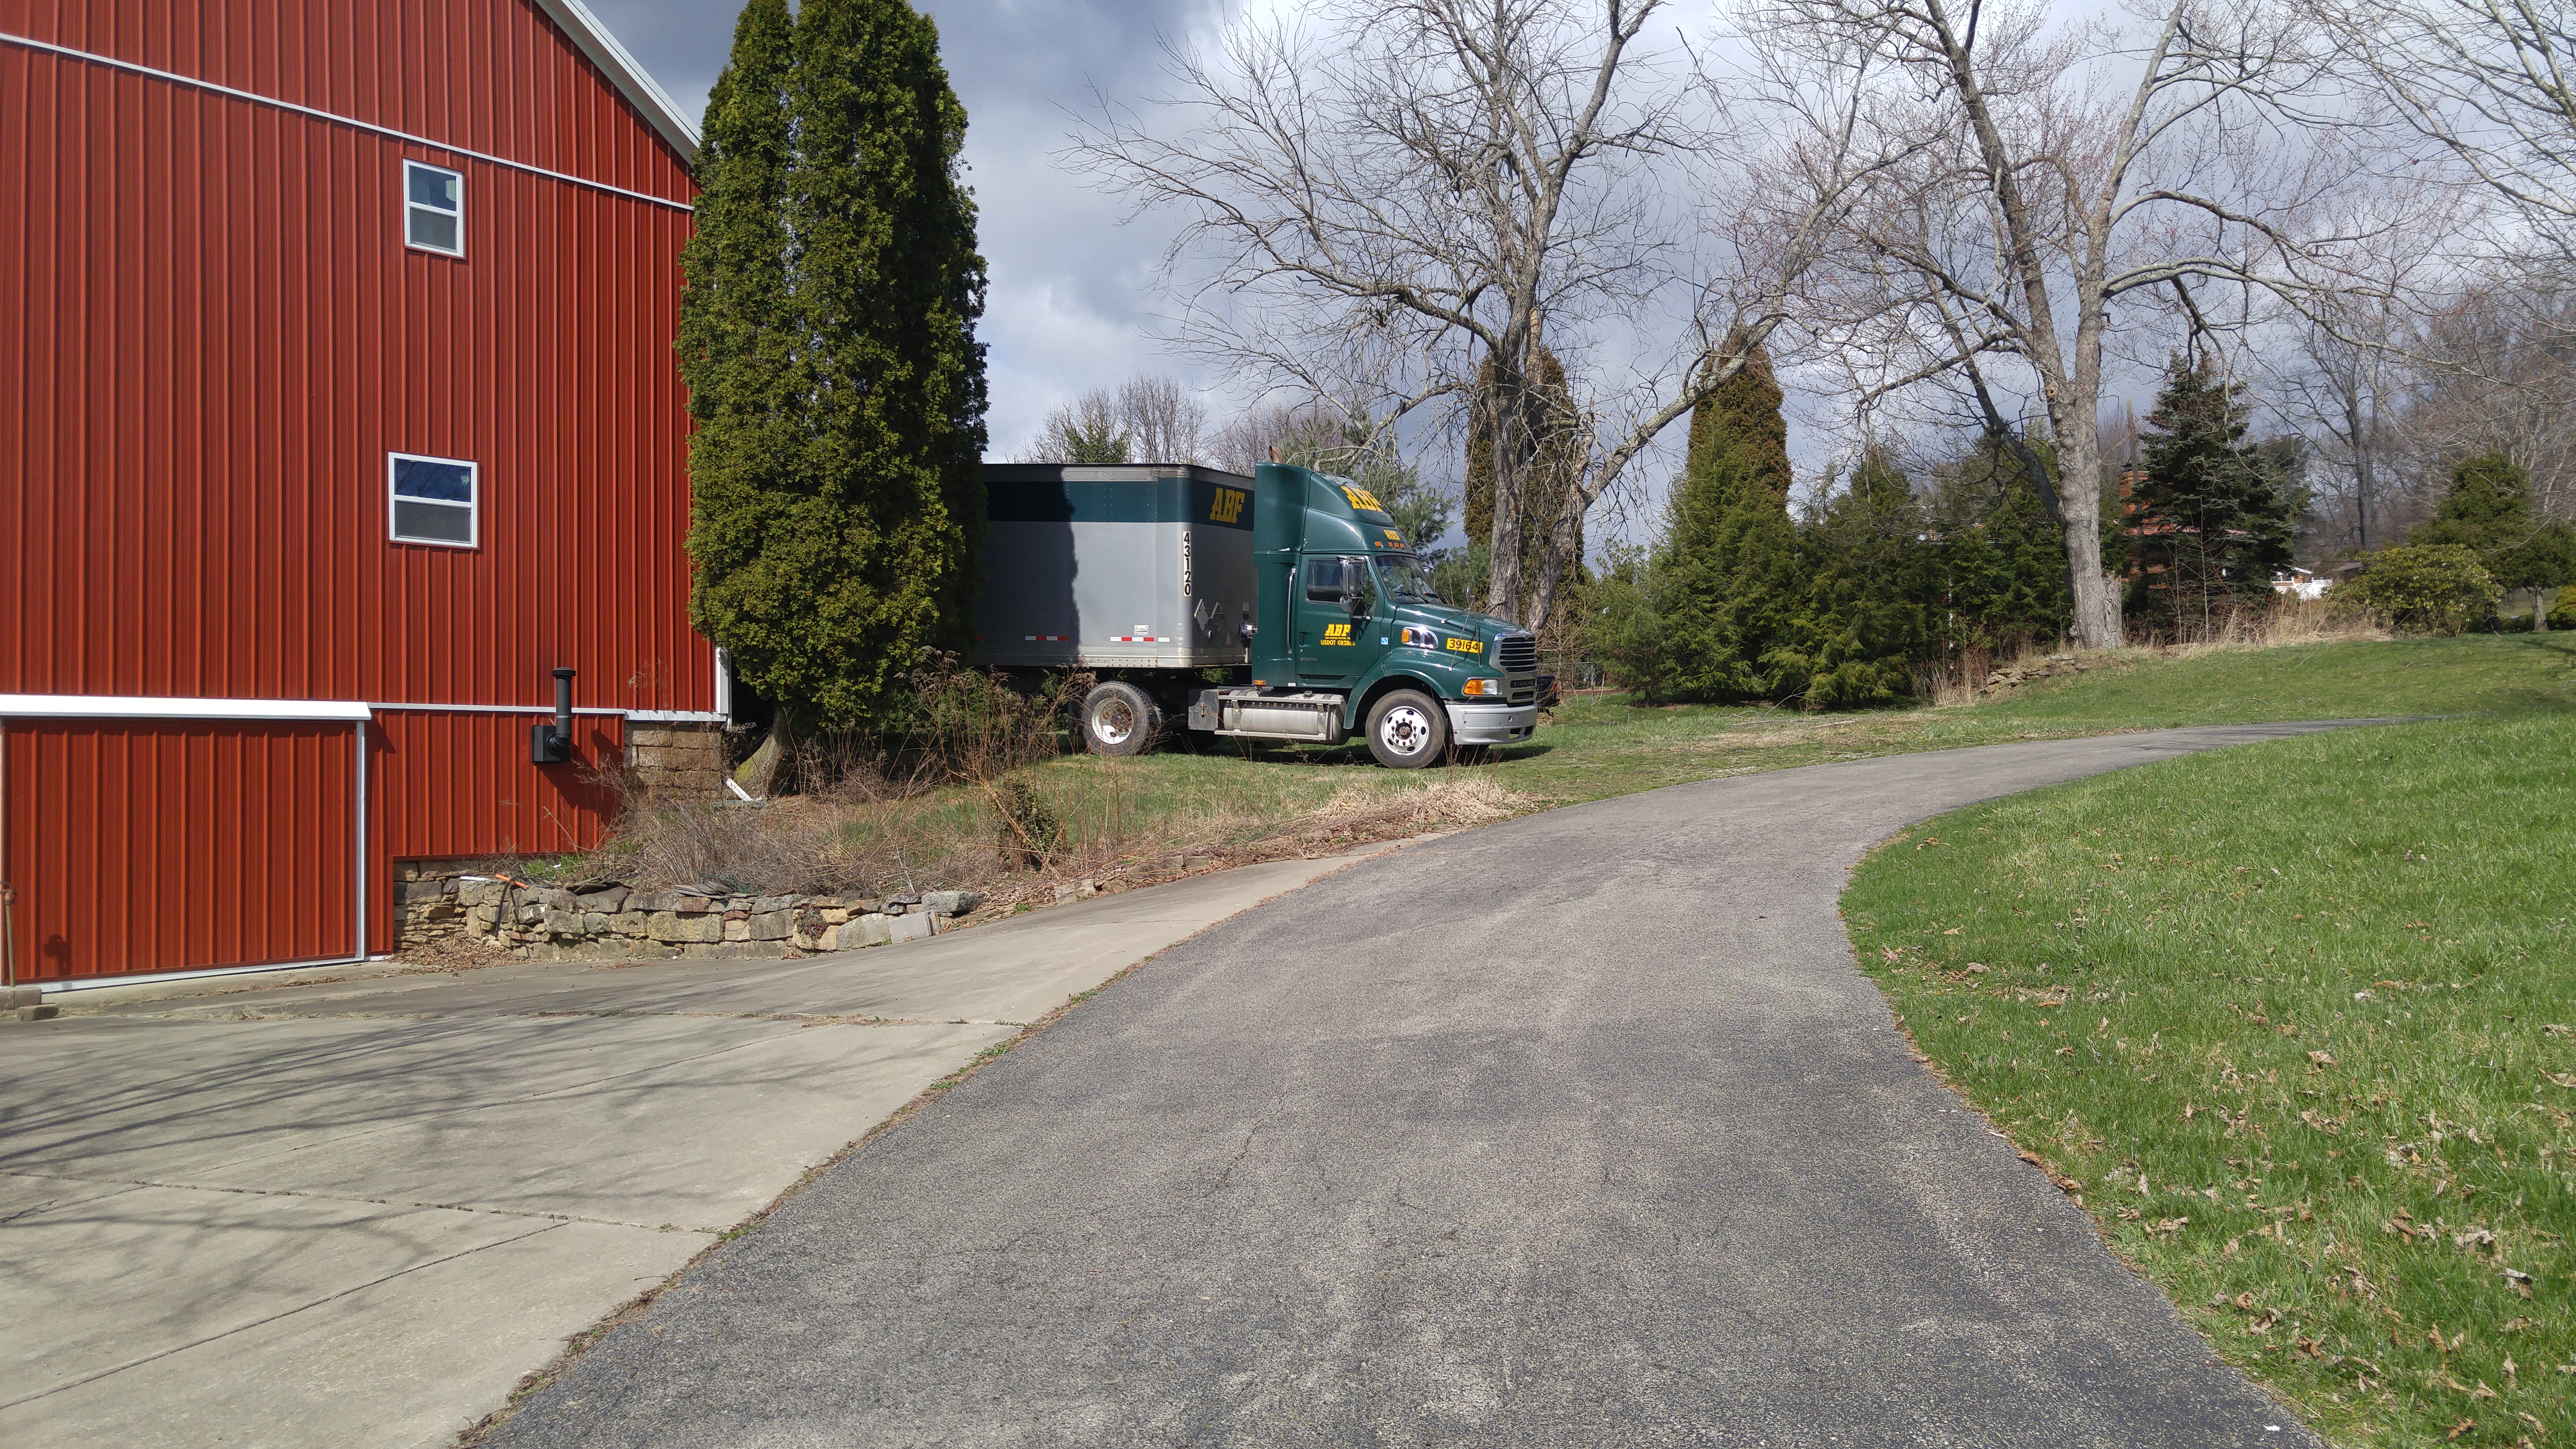
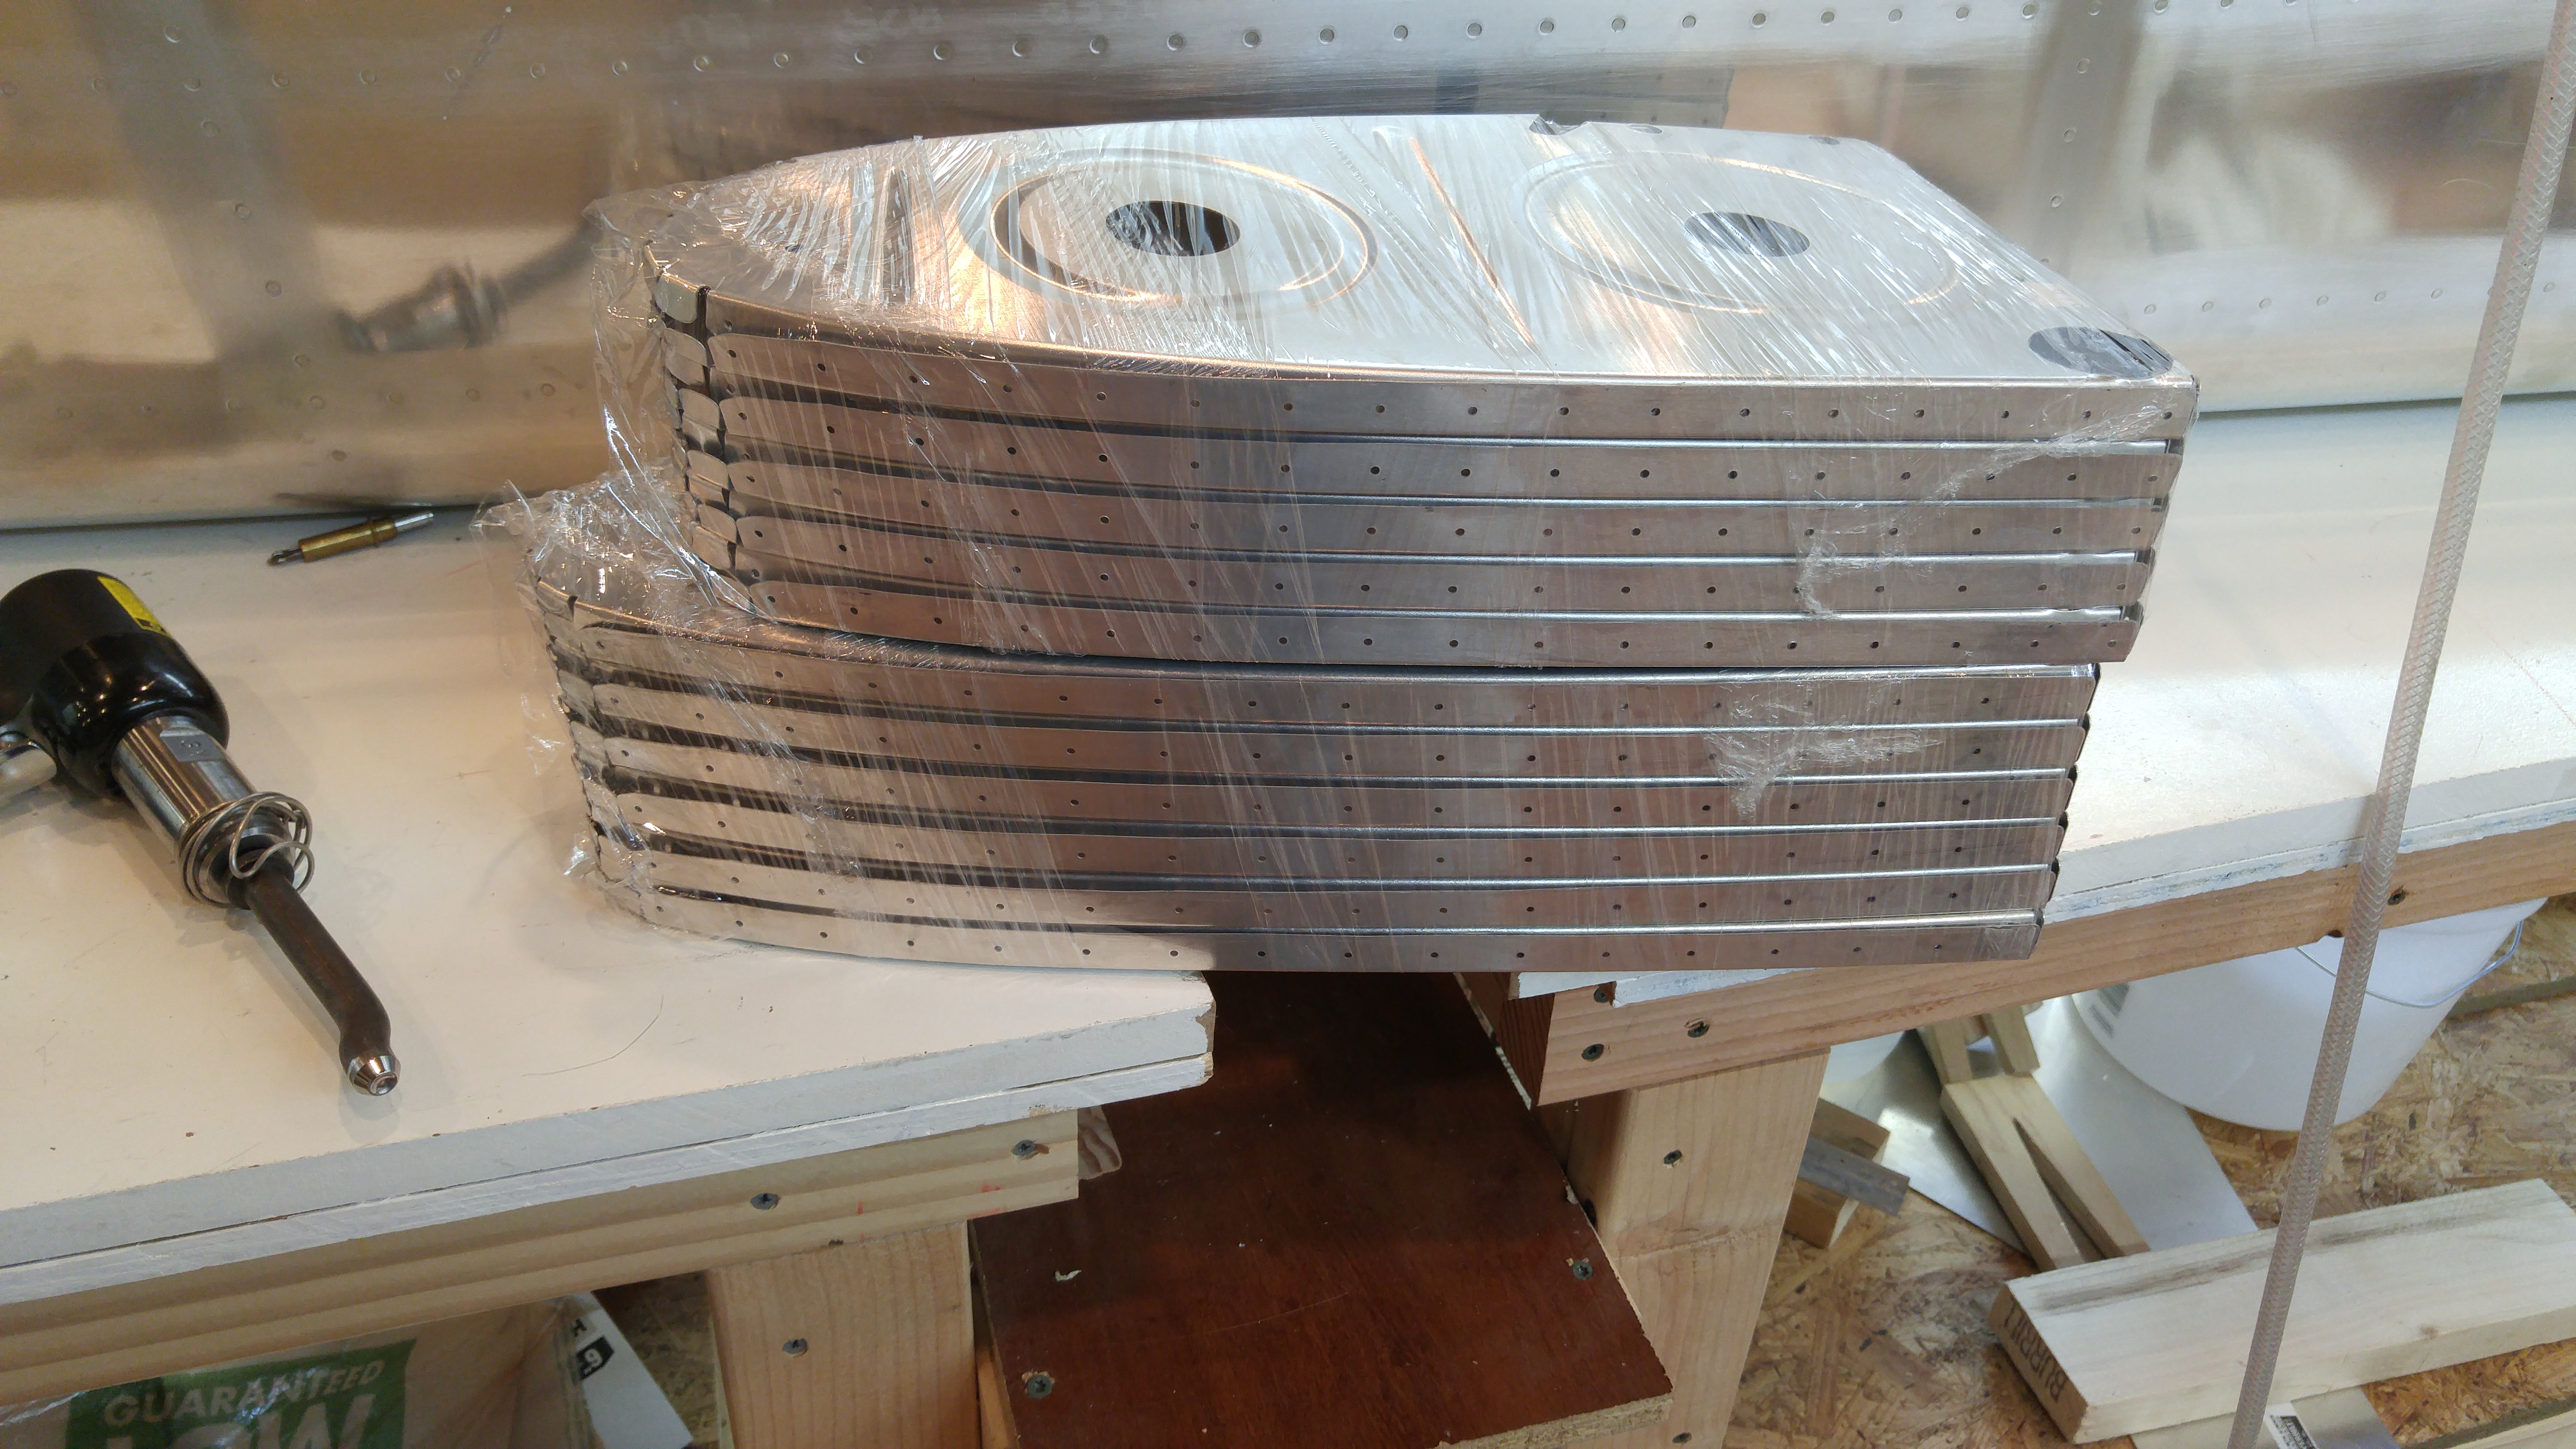
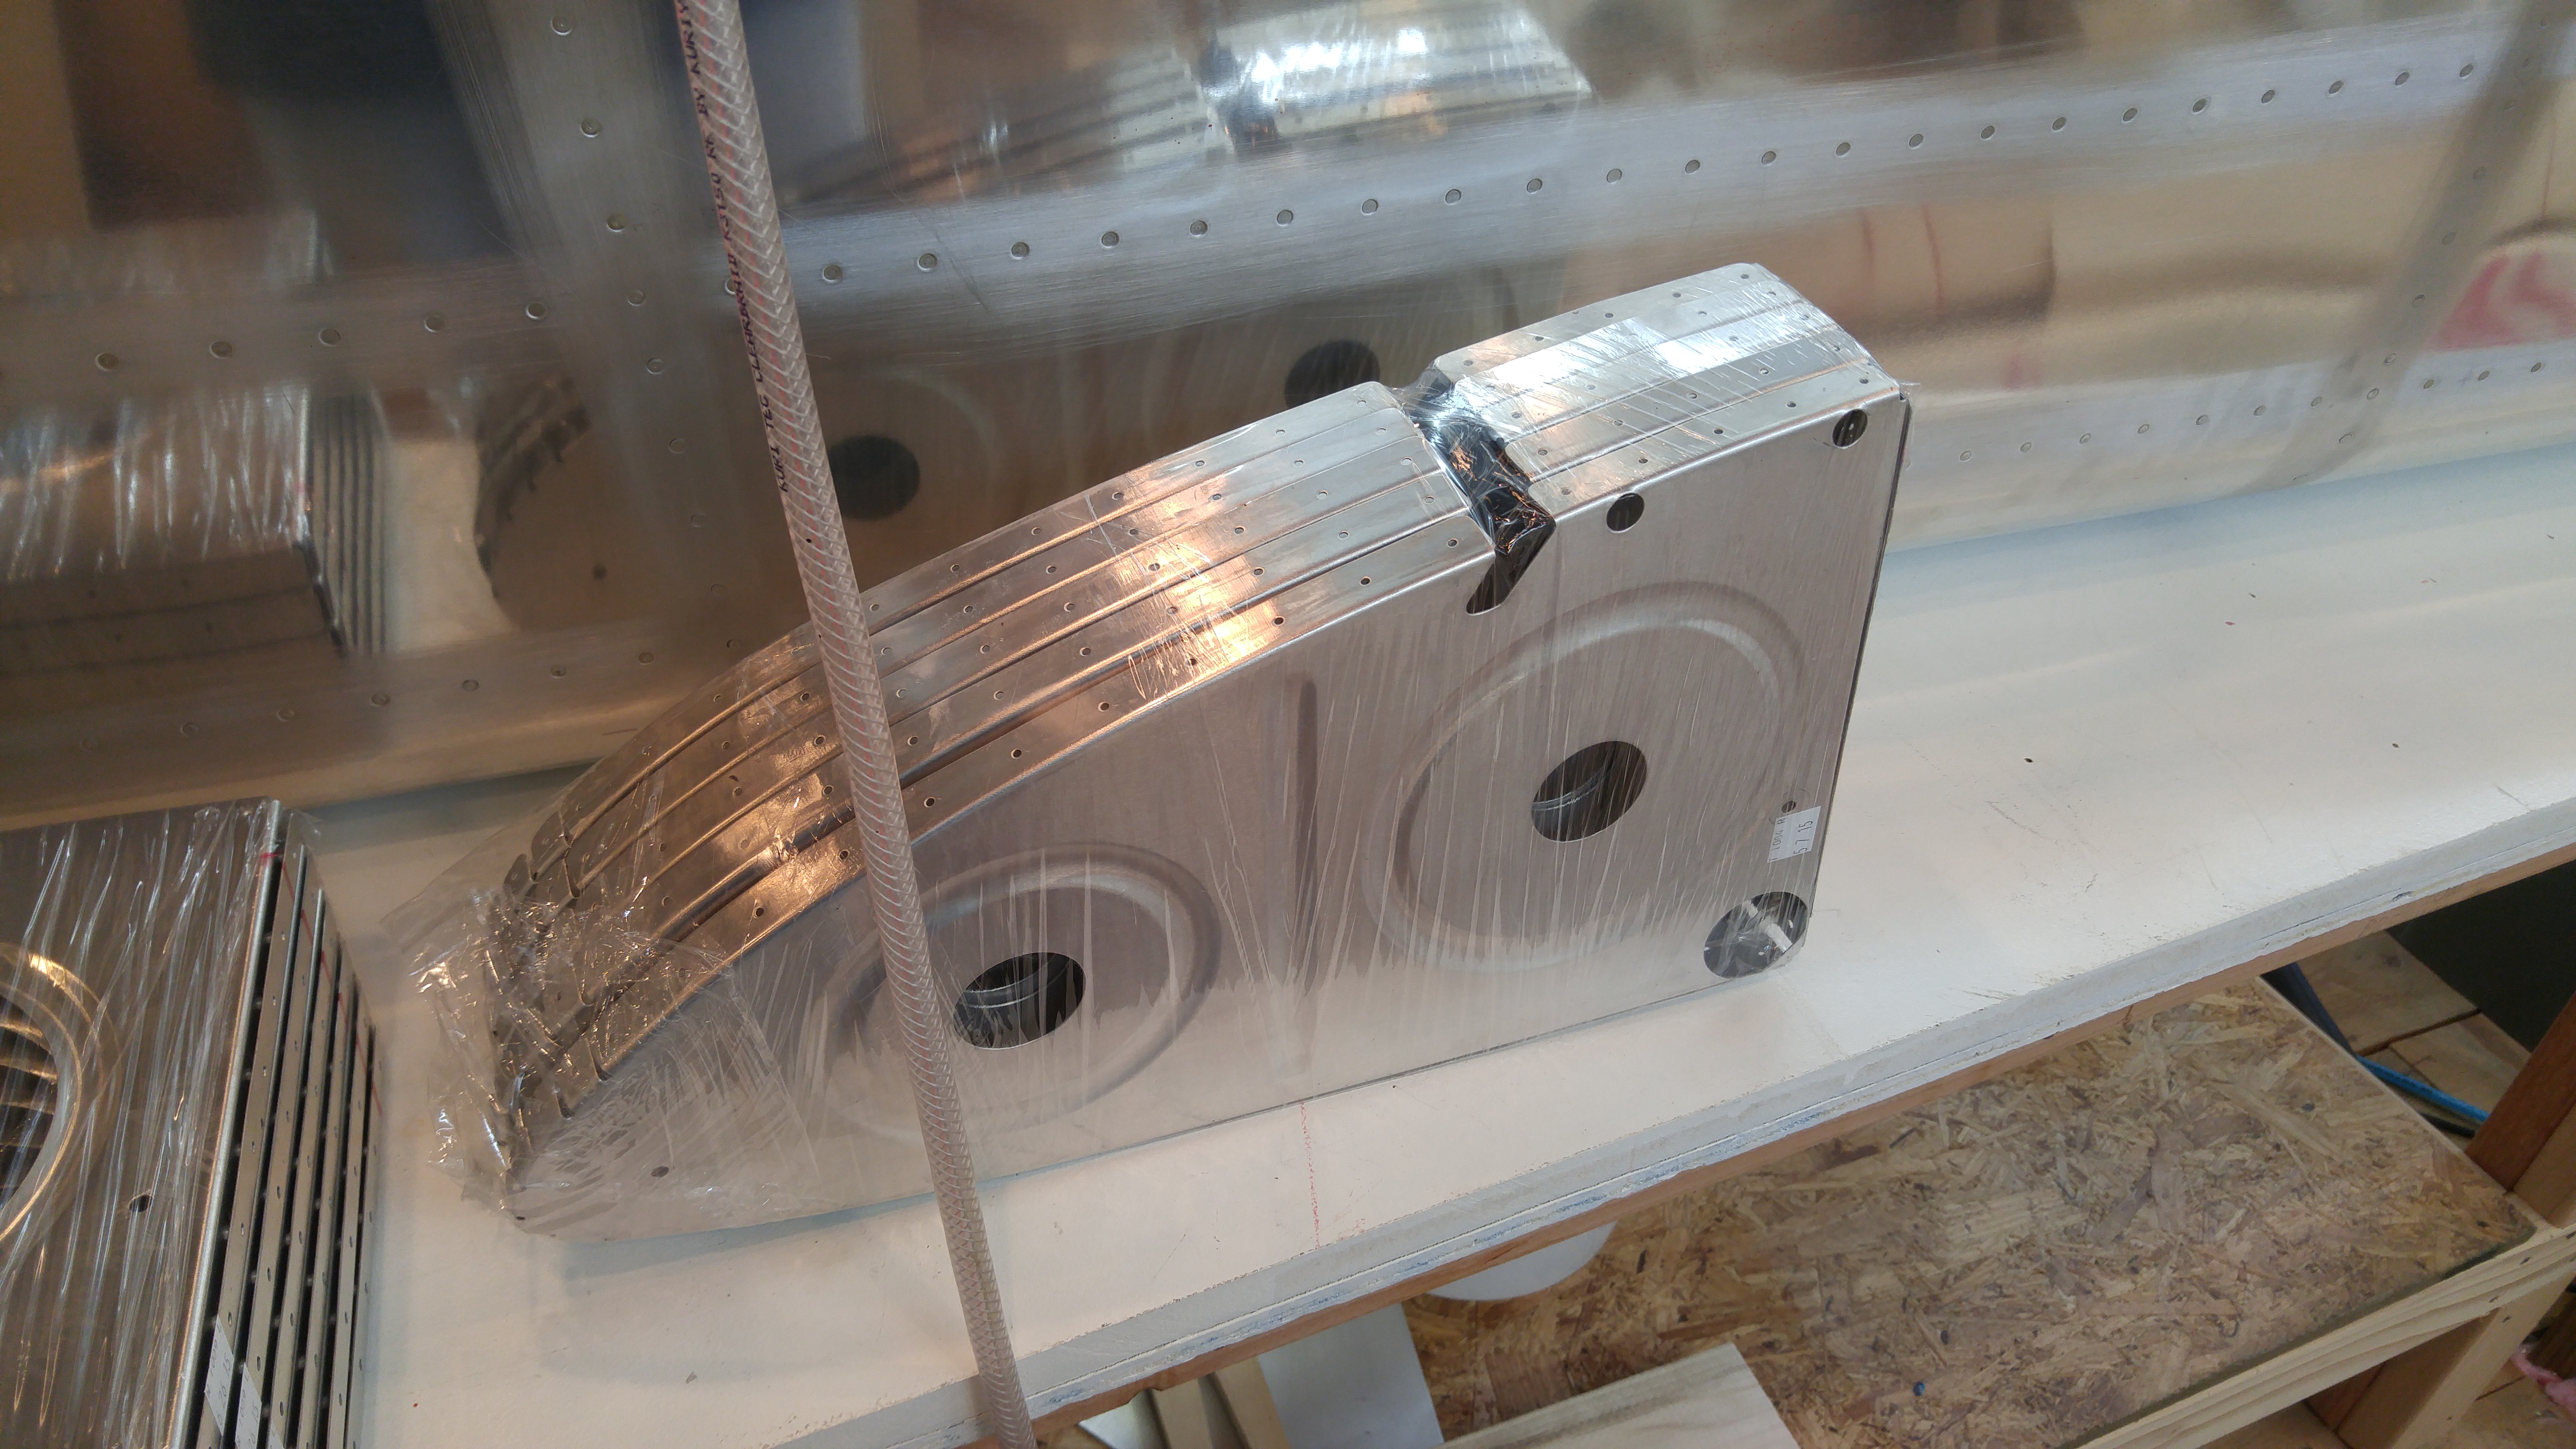
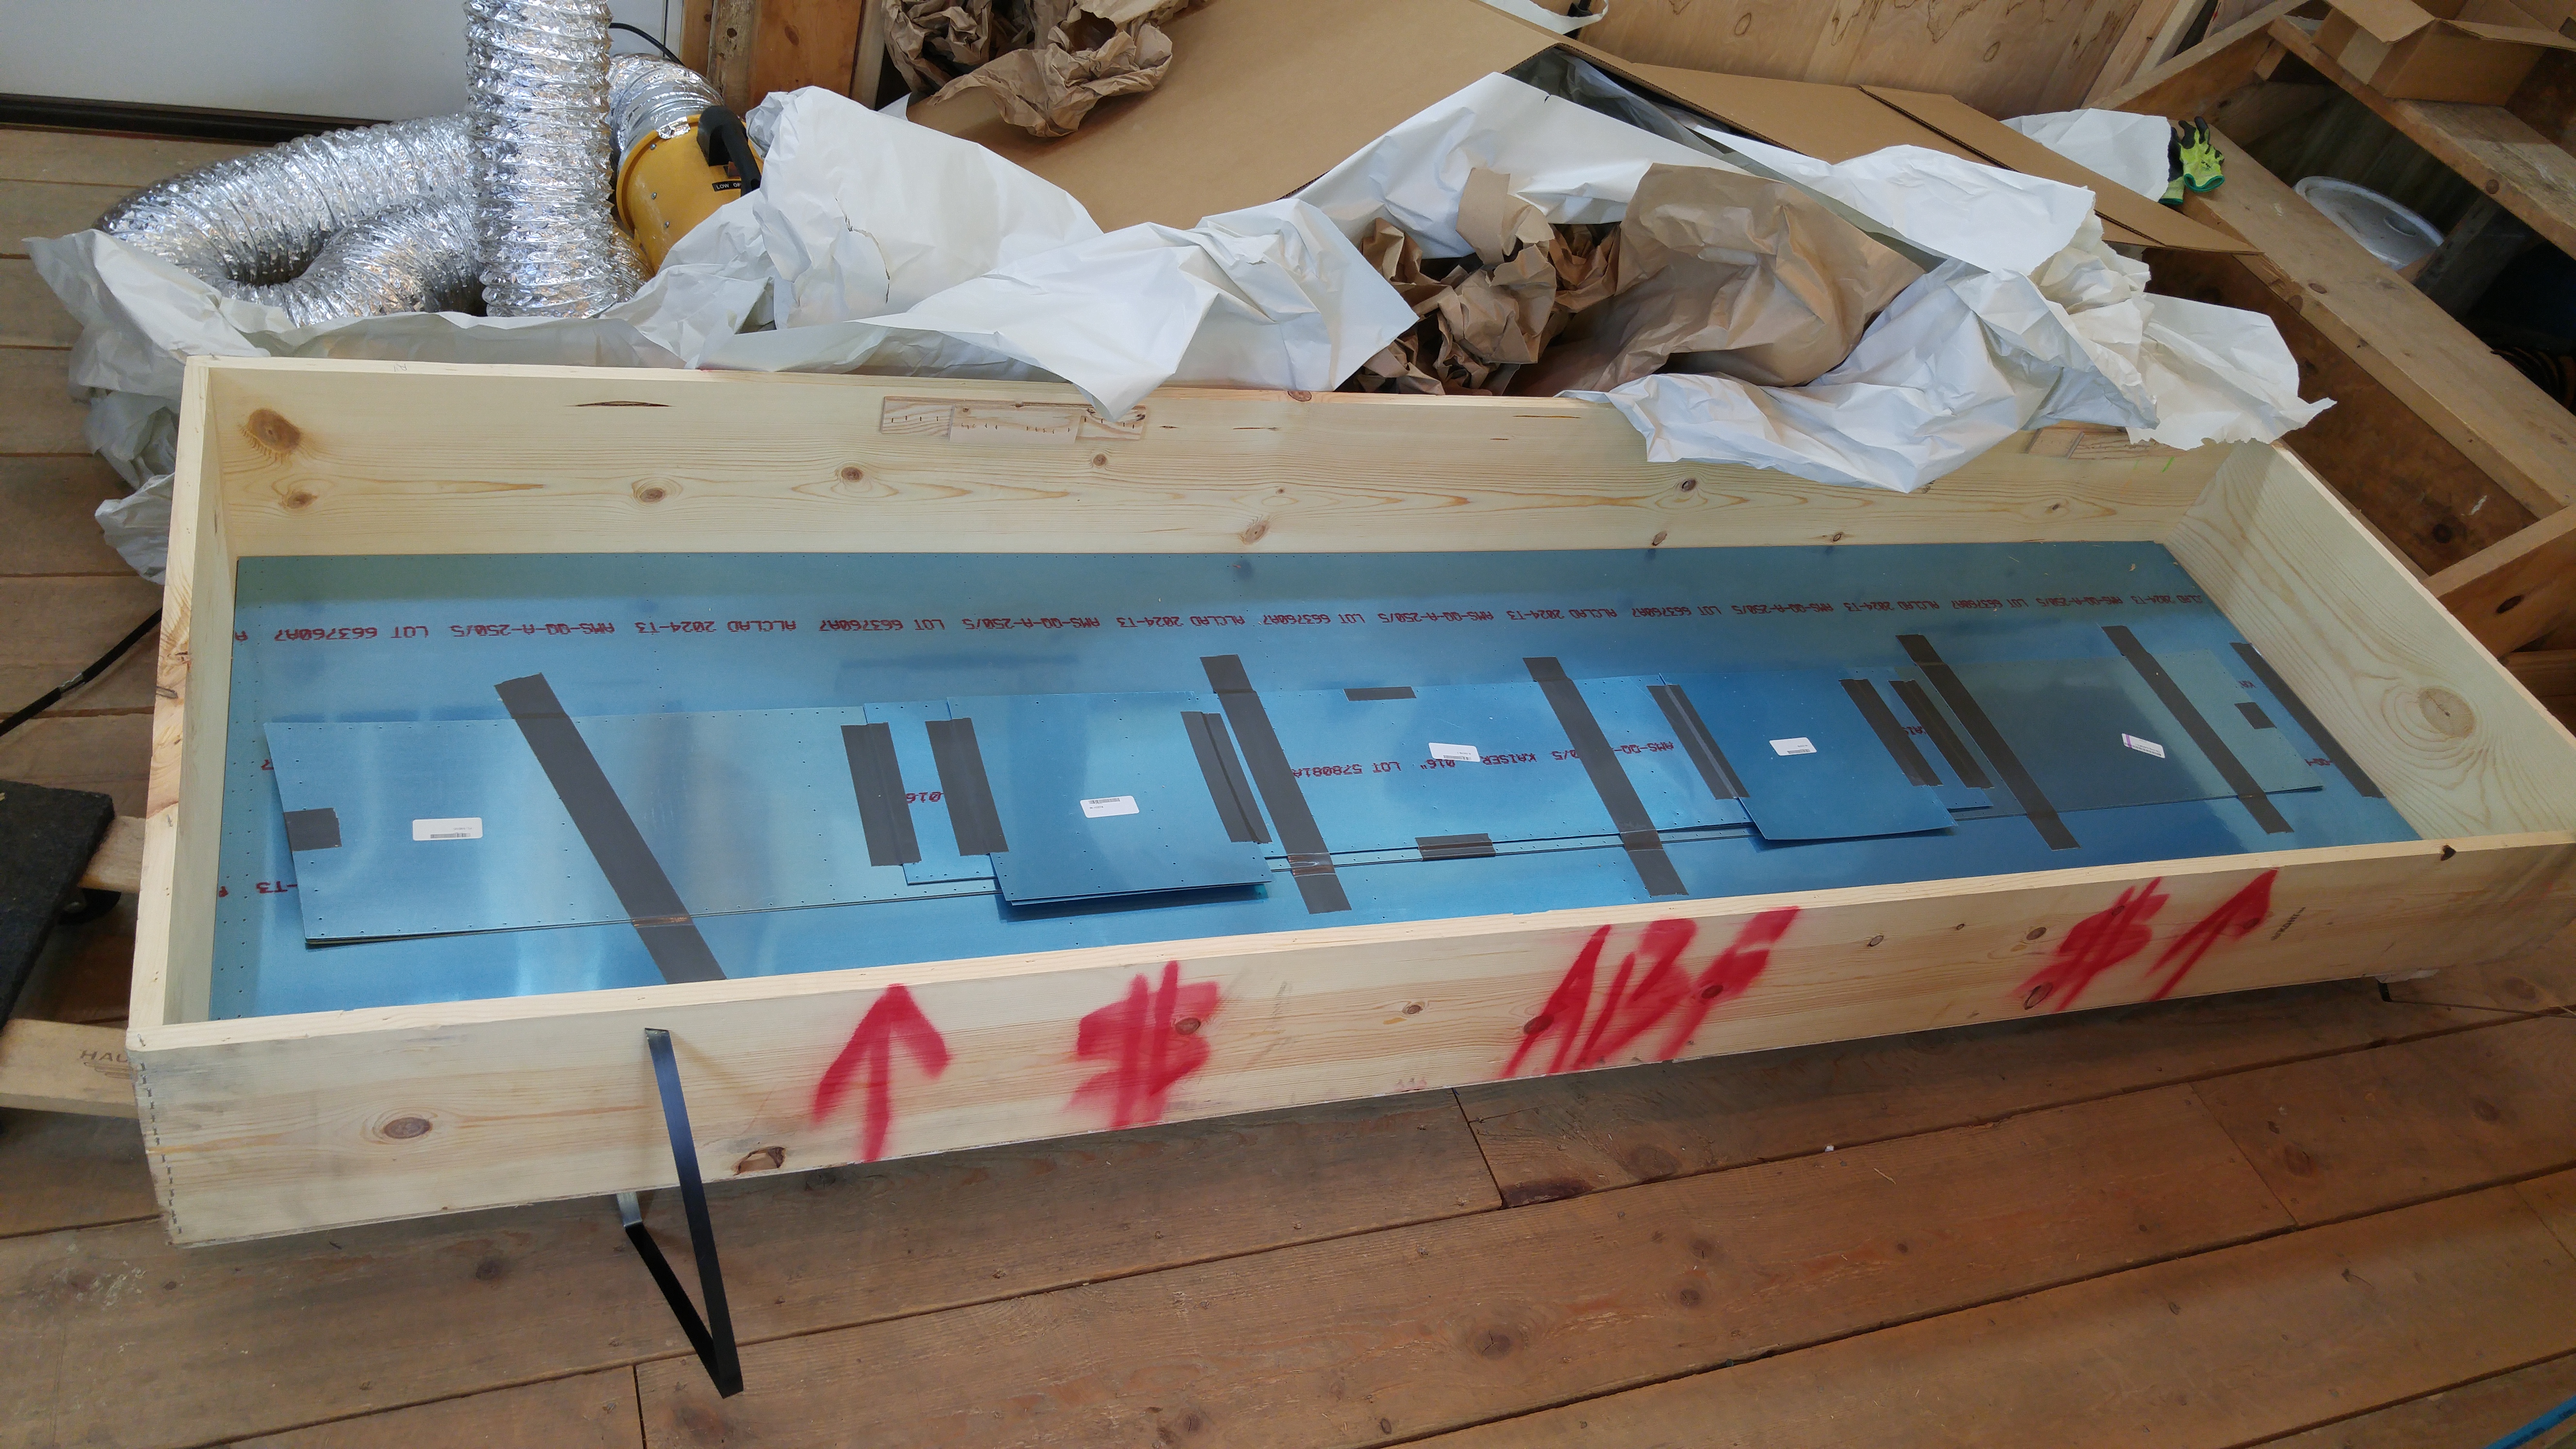
Wing Kit Delivered
Today was the delivery date for the wing kit. It came via ABF, with no damage noted to the crates. On opening, I saw no damage to the contents. I’m still working on inventory but have found a few small discrepancies, mainly small bags of hardware with incorrect or missing items.
There were a couple of backordered items, including WD-1014-PC (4) and WD-421-L/R-PC (1 ea).
Other than the slight discrepancies, the kit appears to have been packaged well
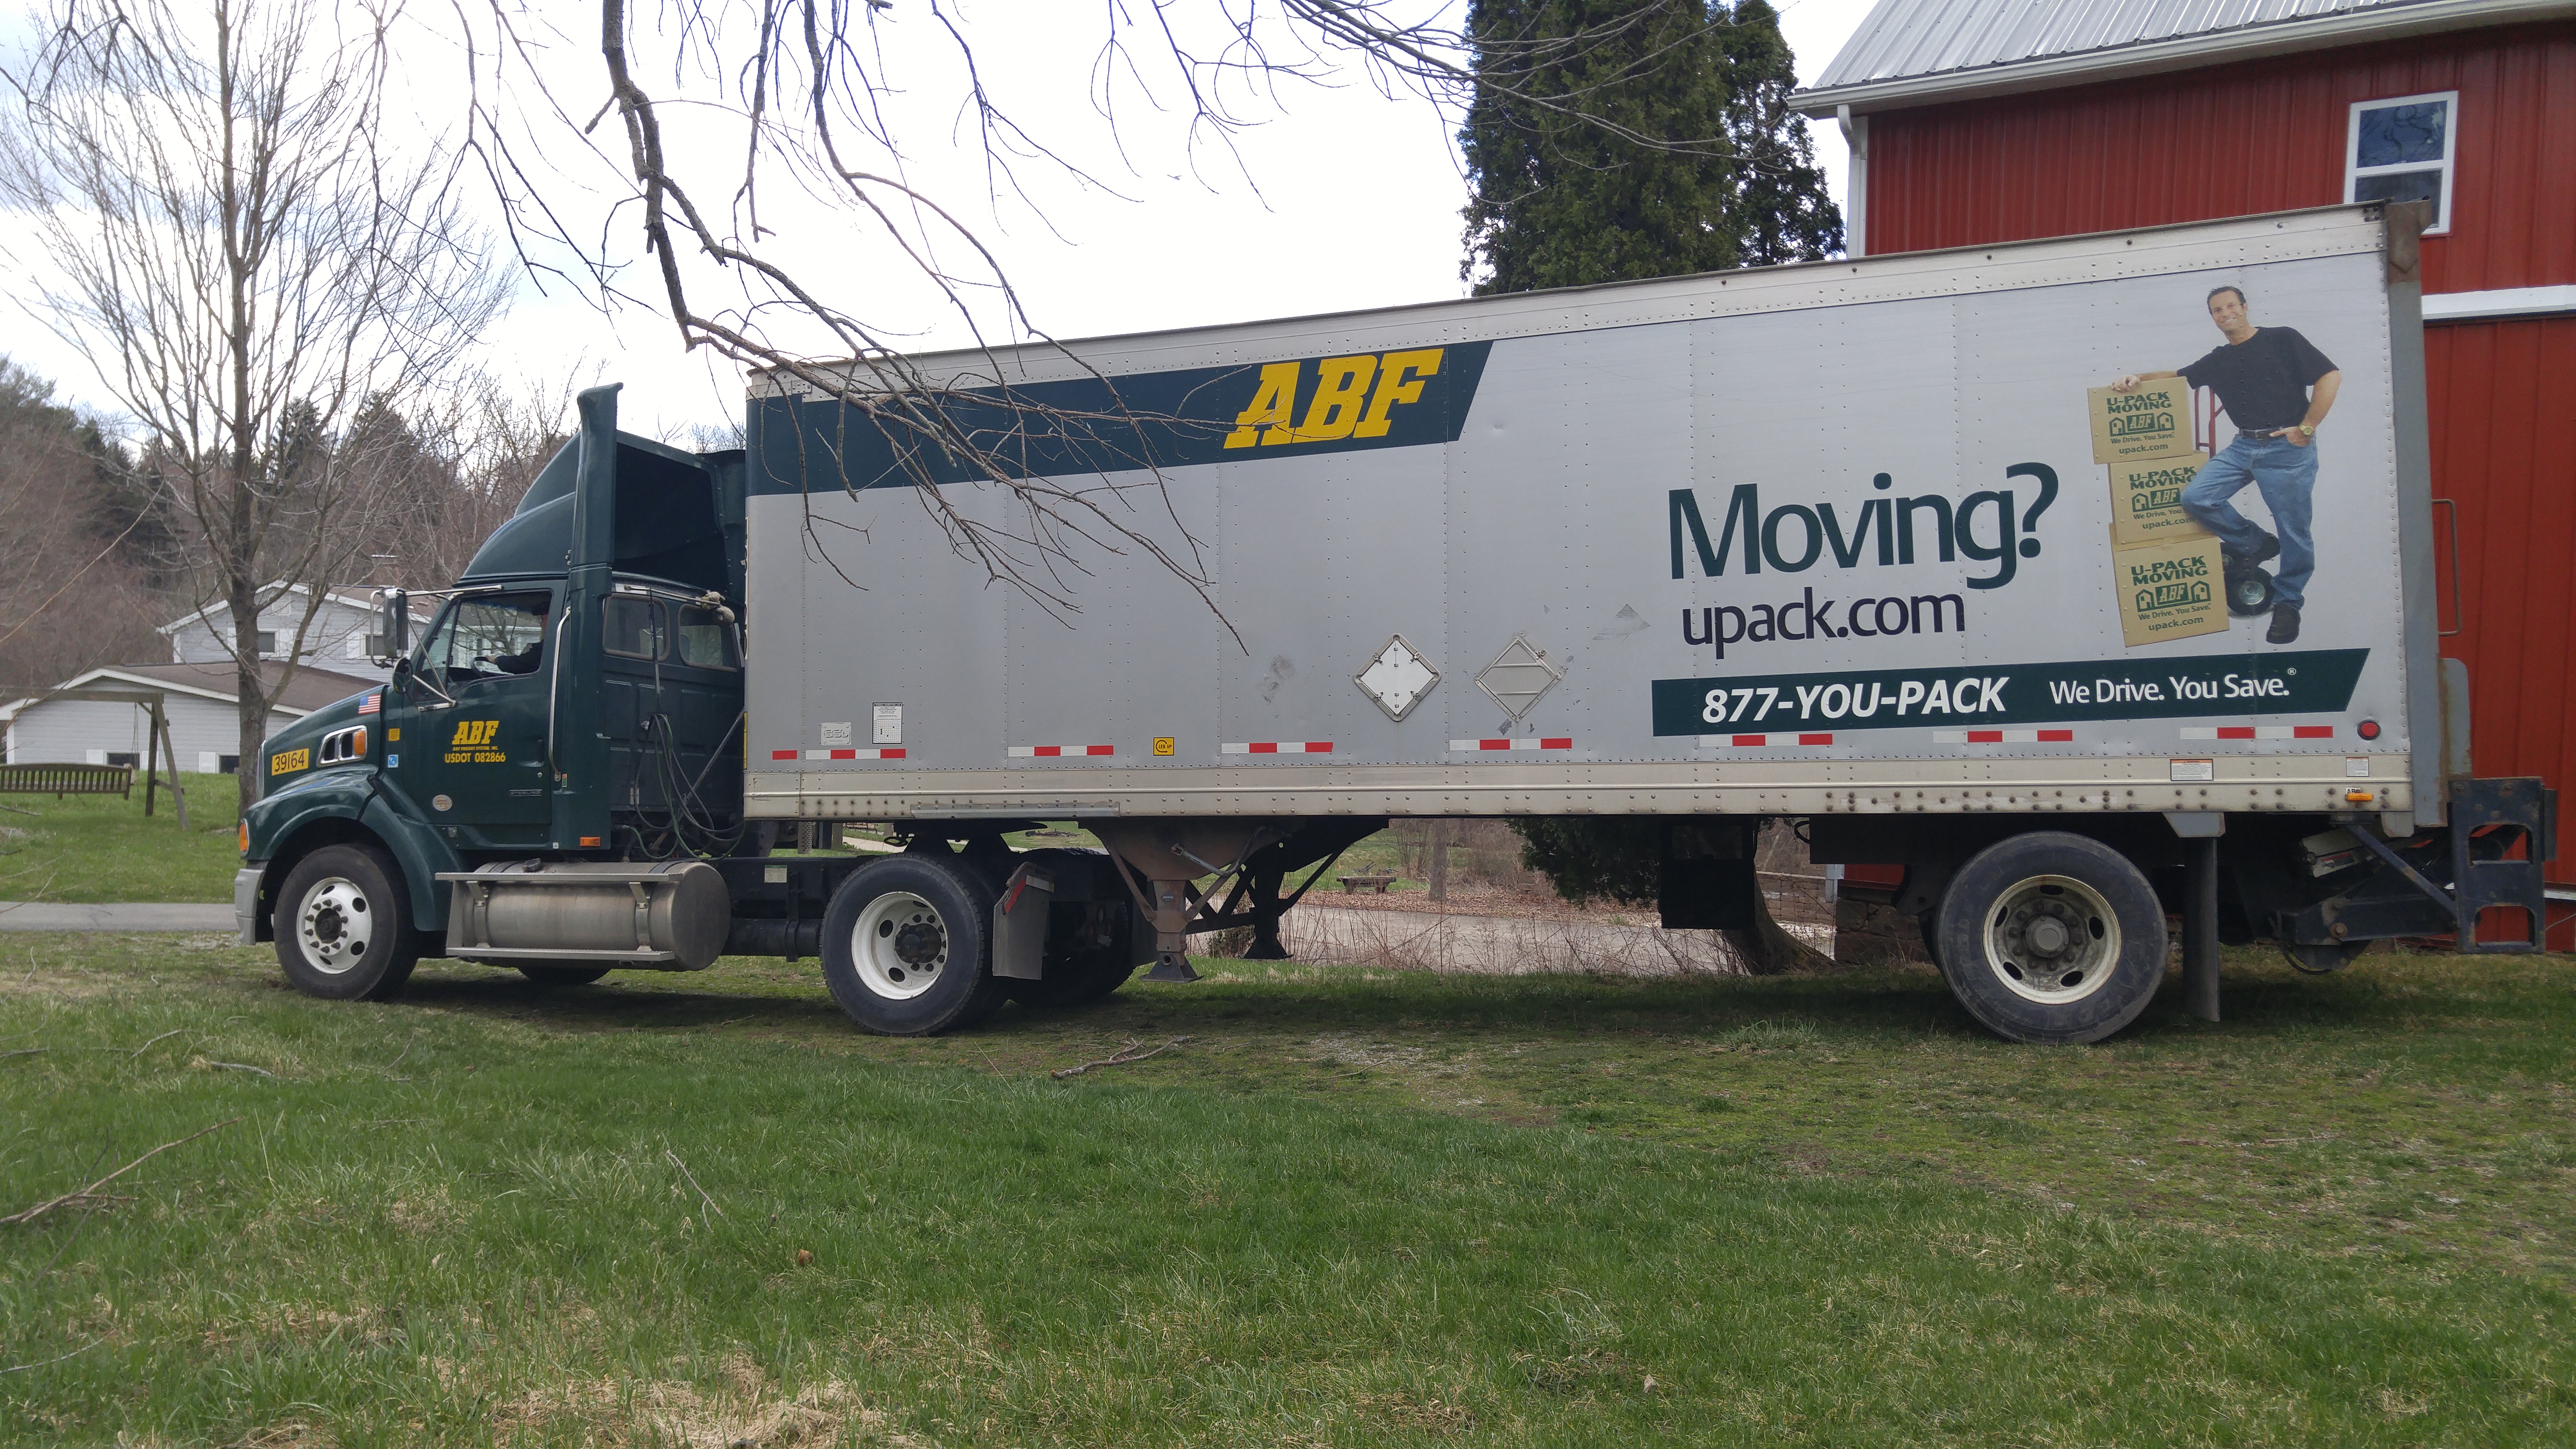
The truck driver was able to back all the way up to the big door in the barn.
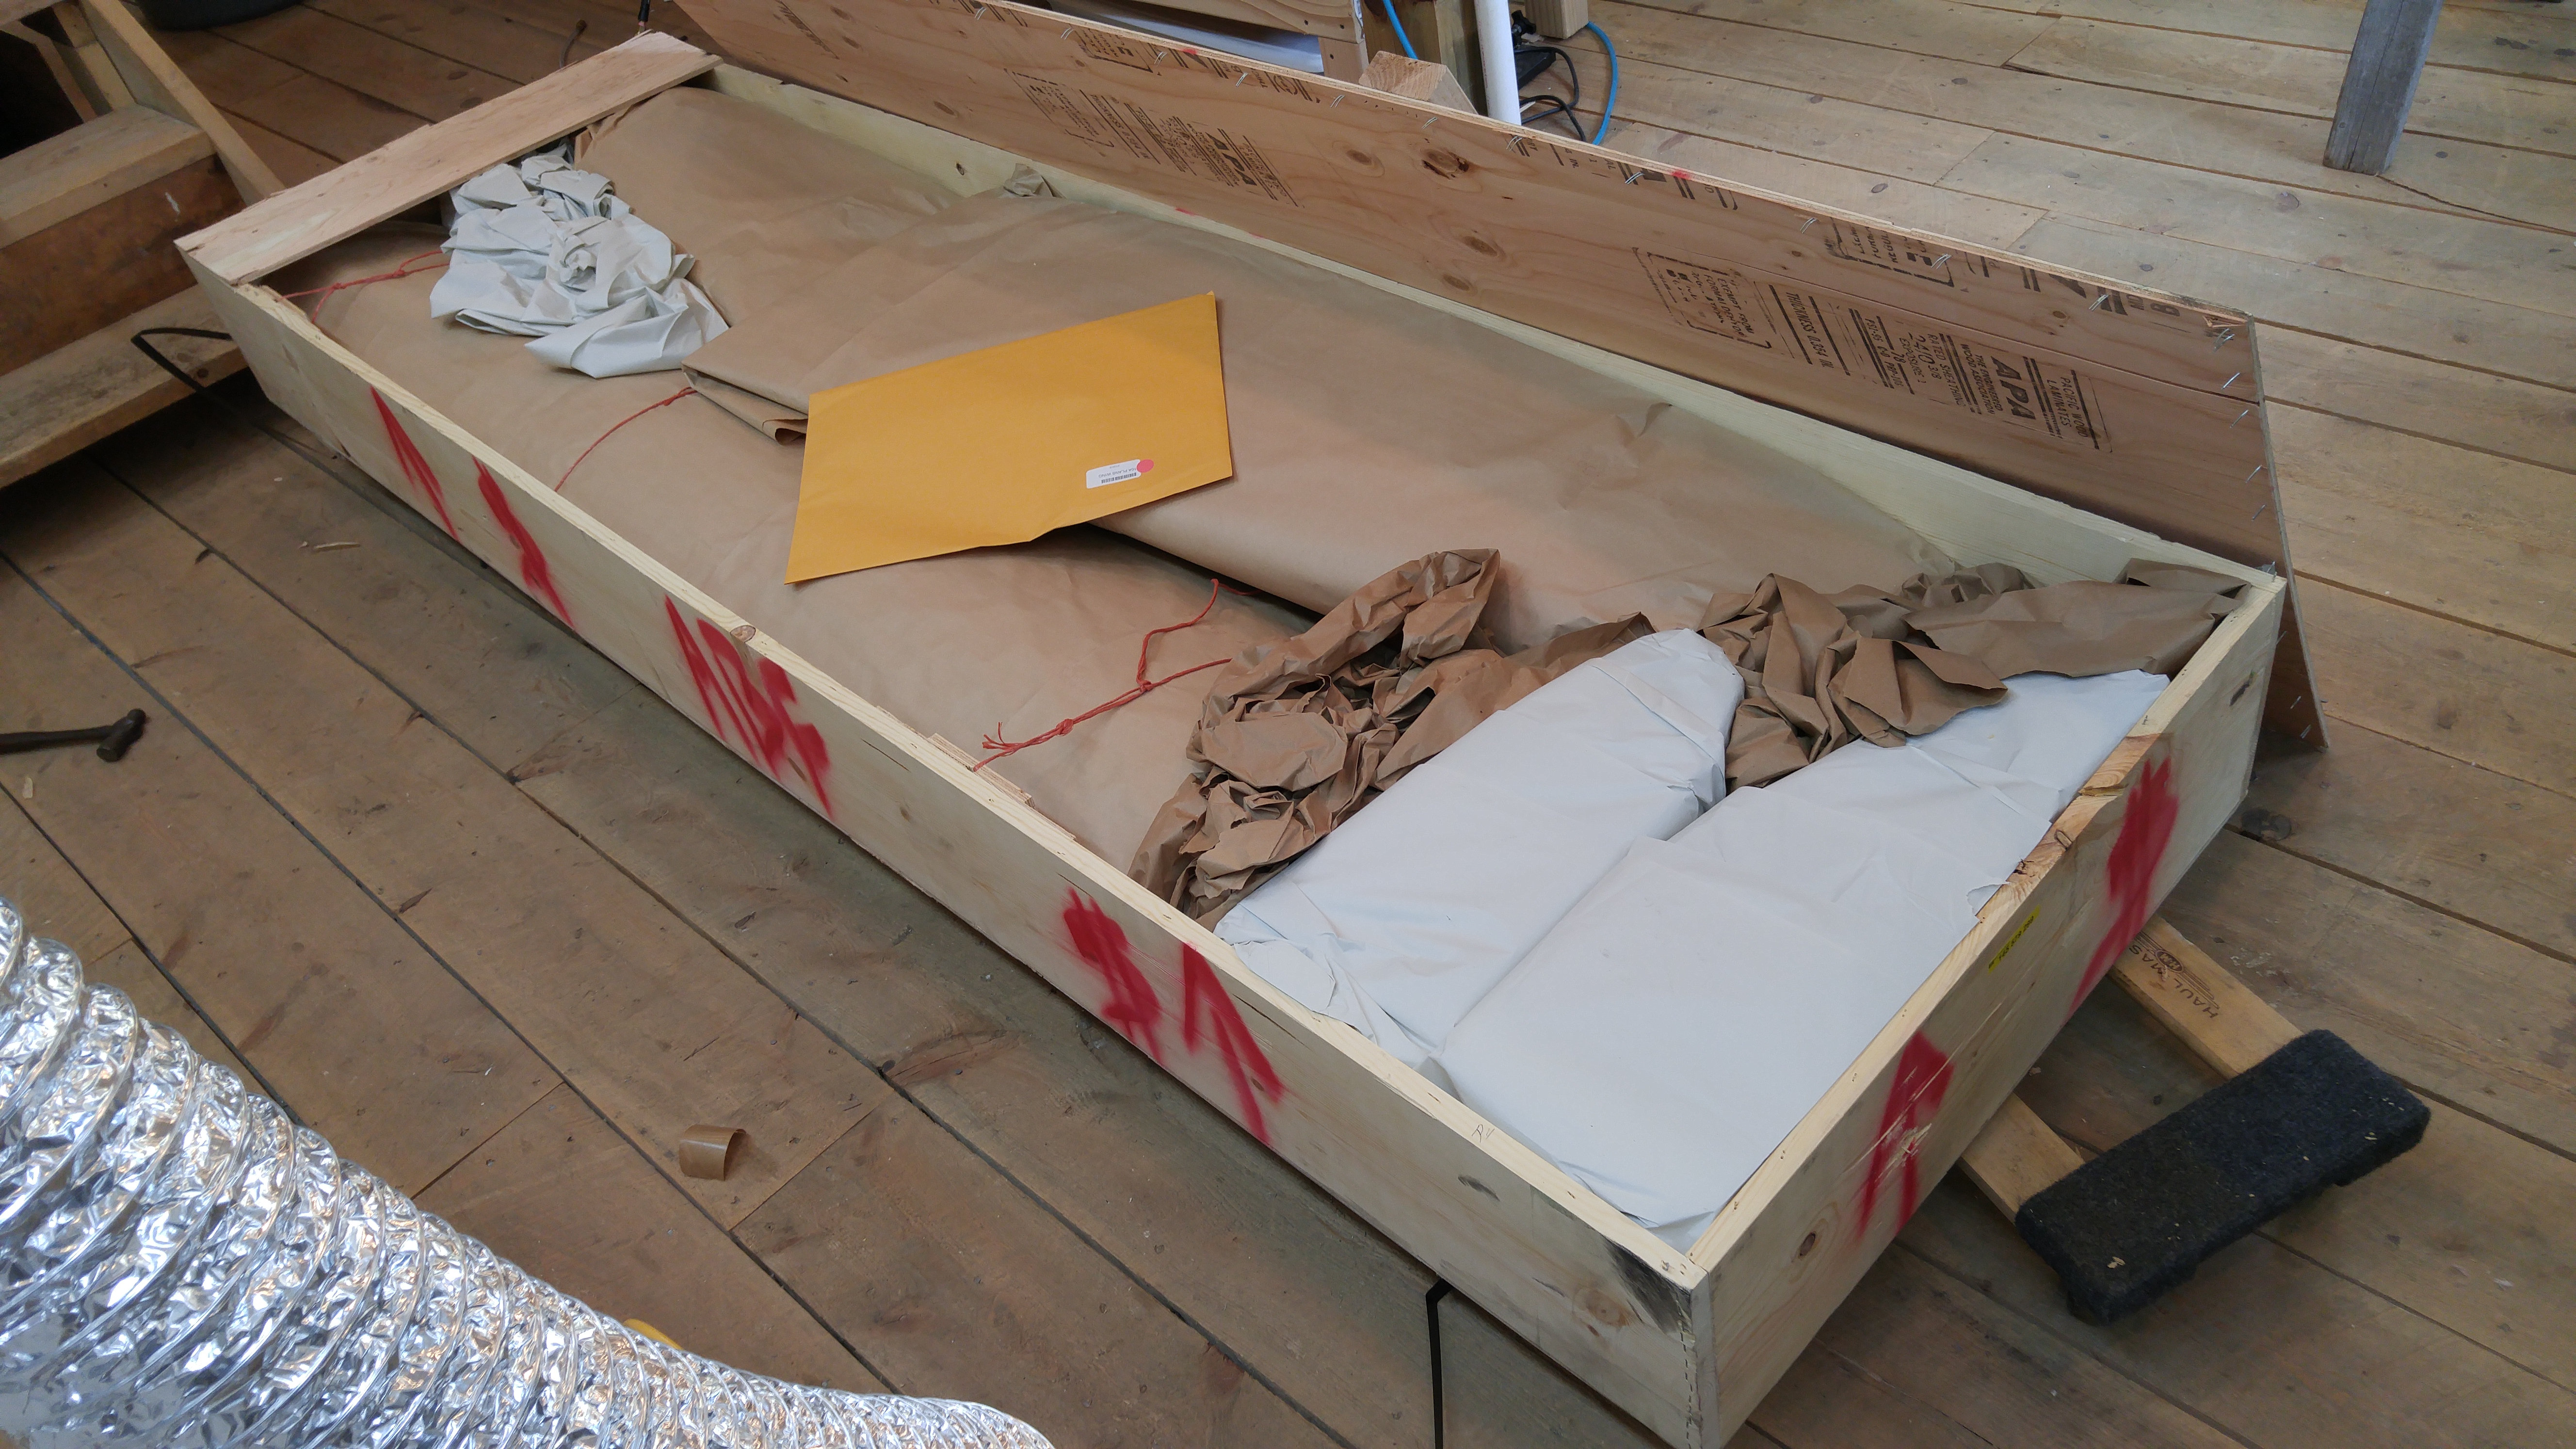
The skin/wingtip crate with the lid off.
Ribs
Ribs
Oh, Hey! More Ribs!
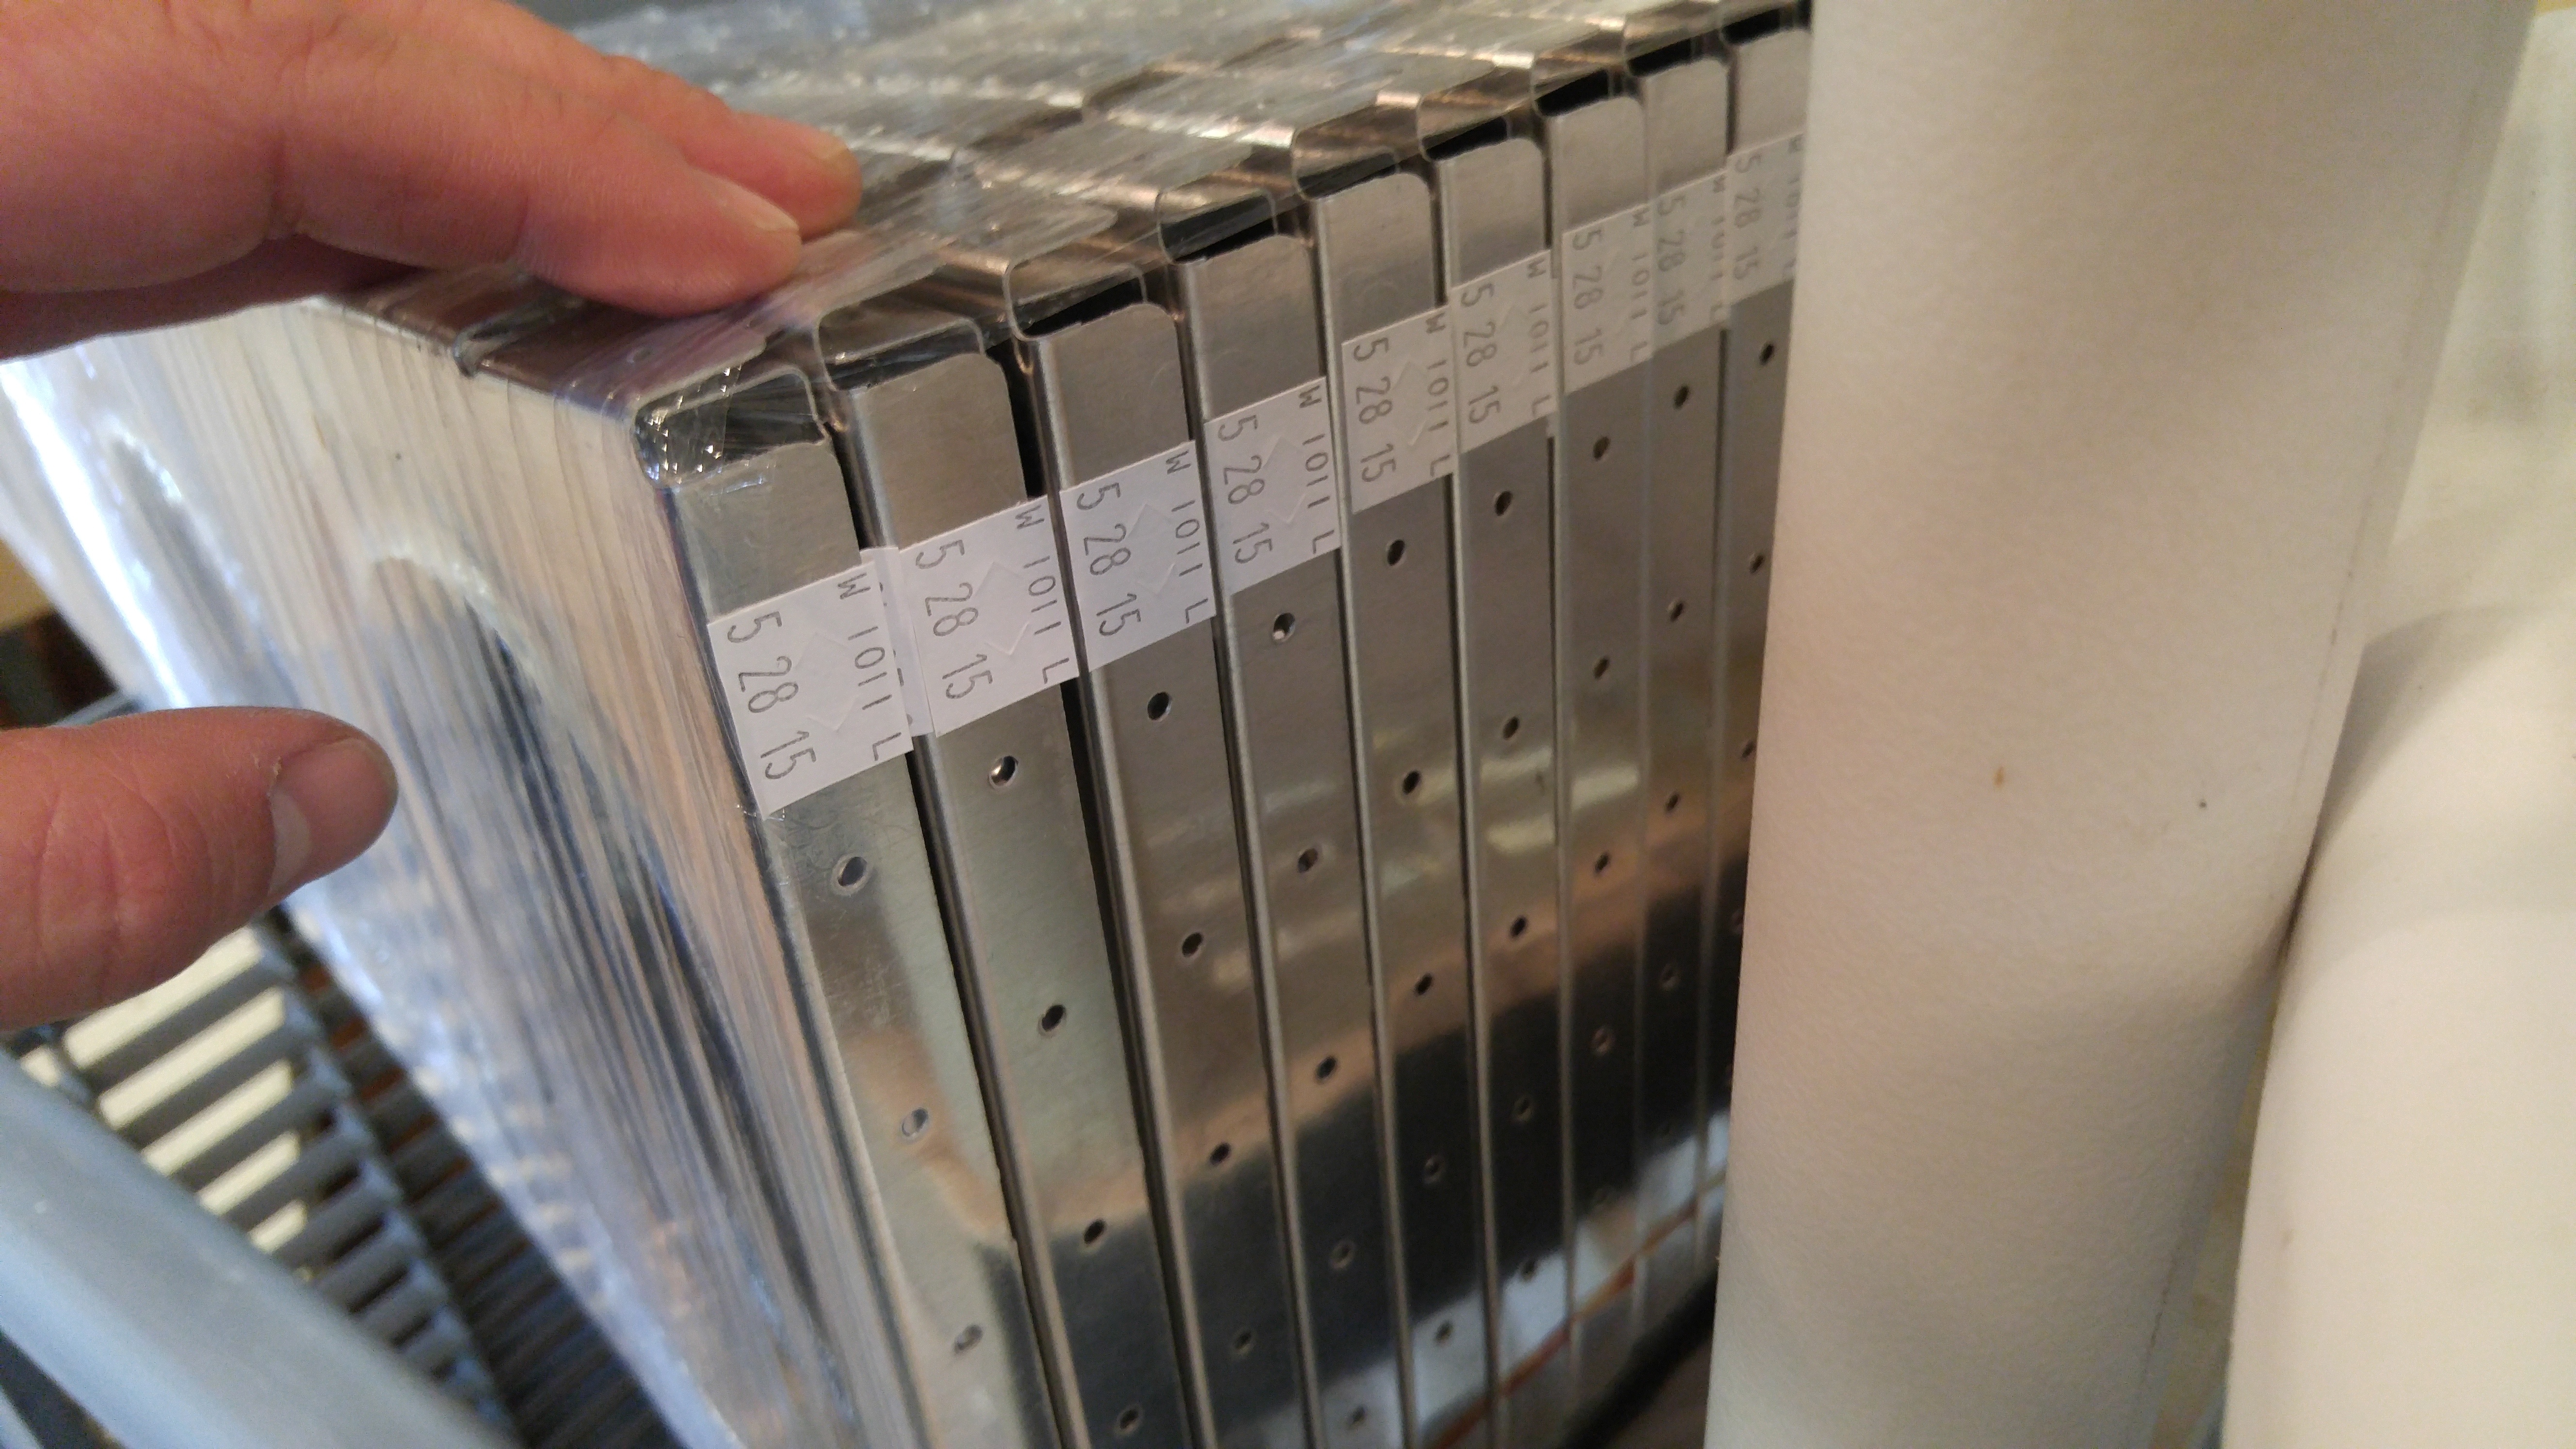
Guess what?
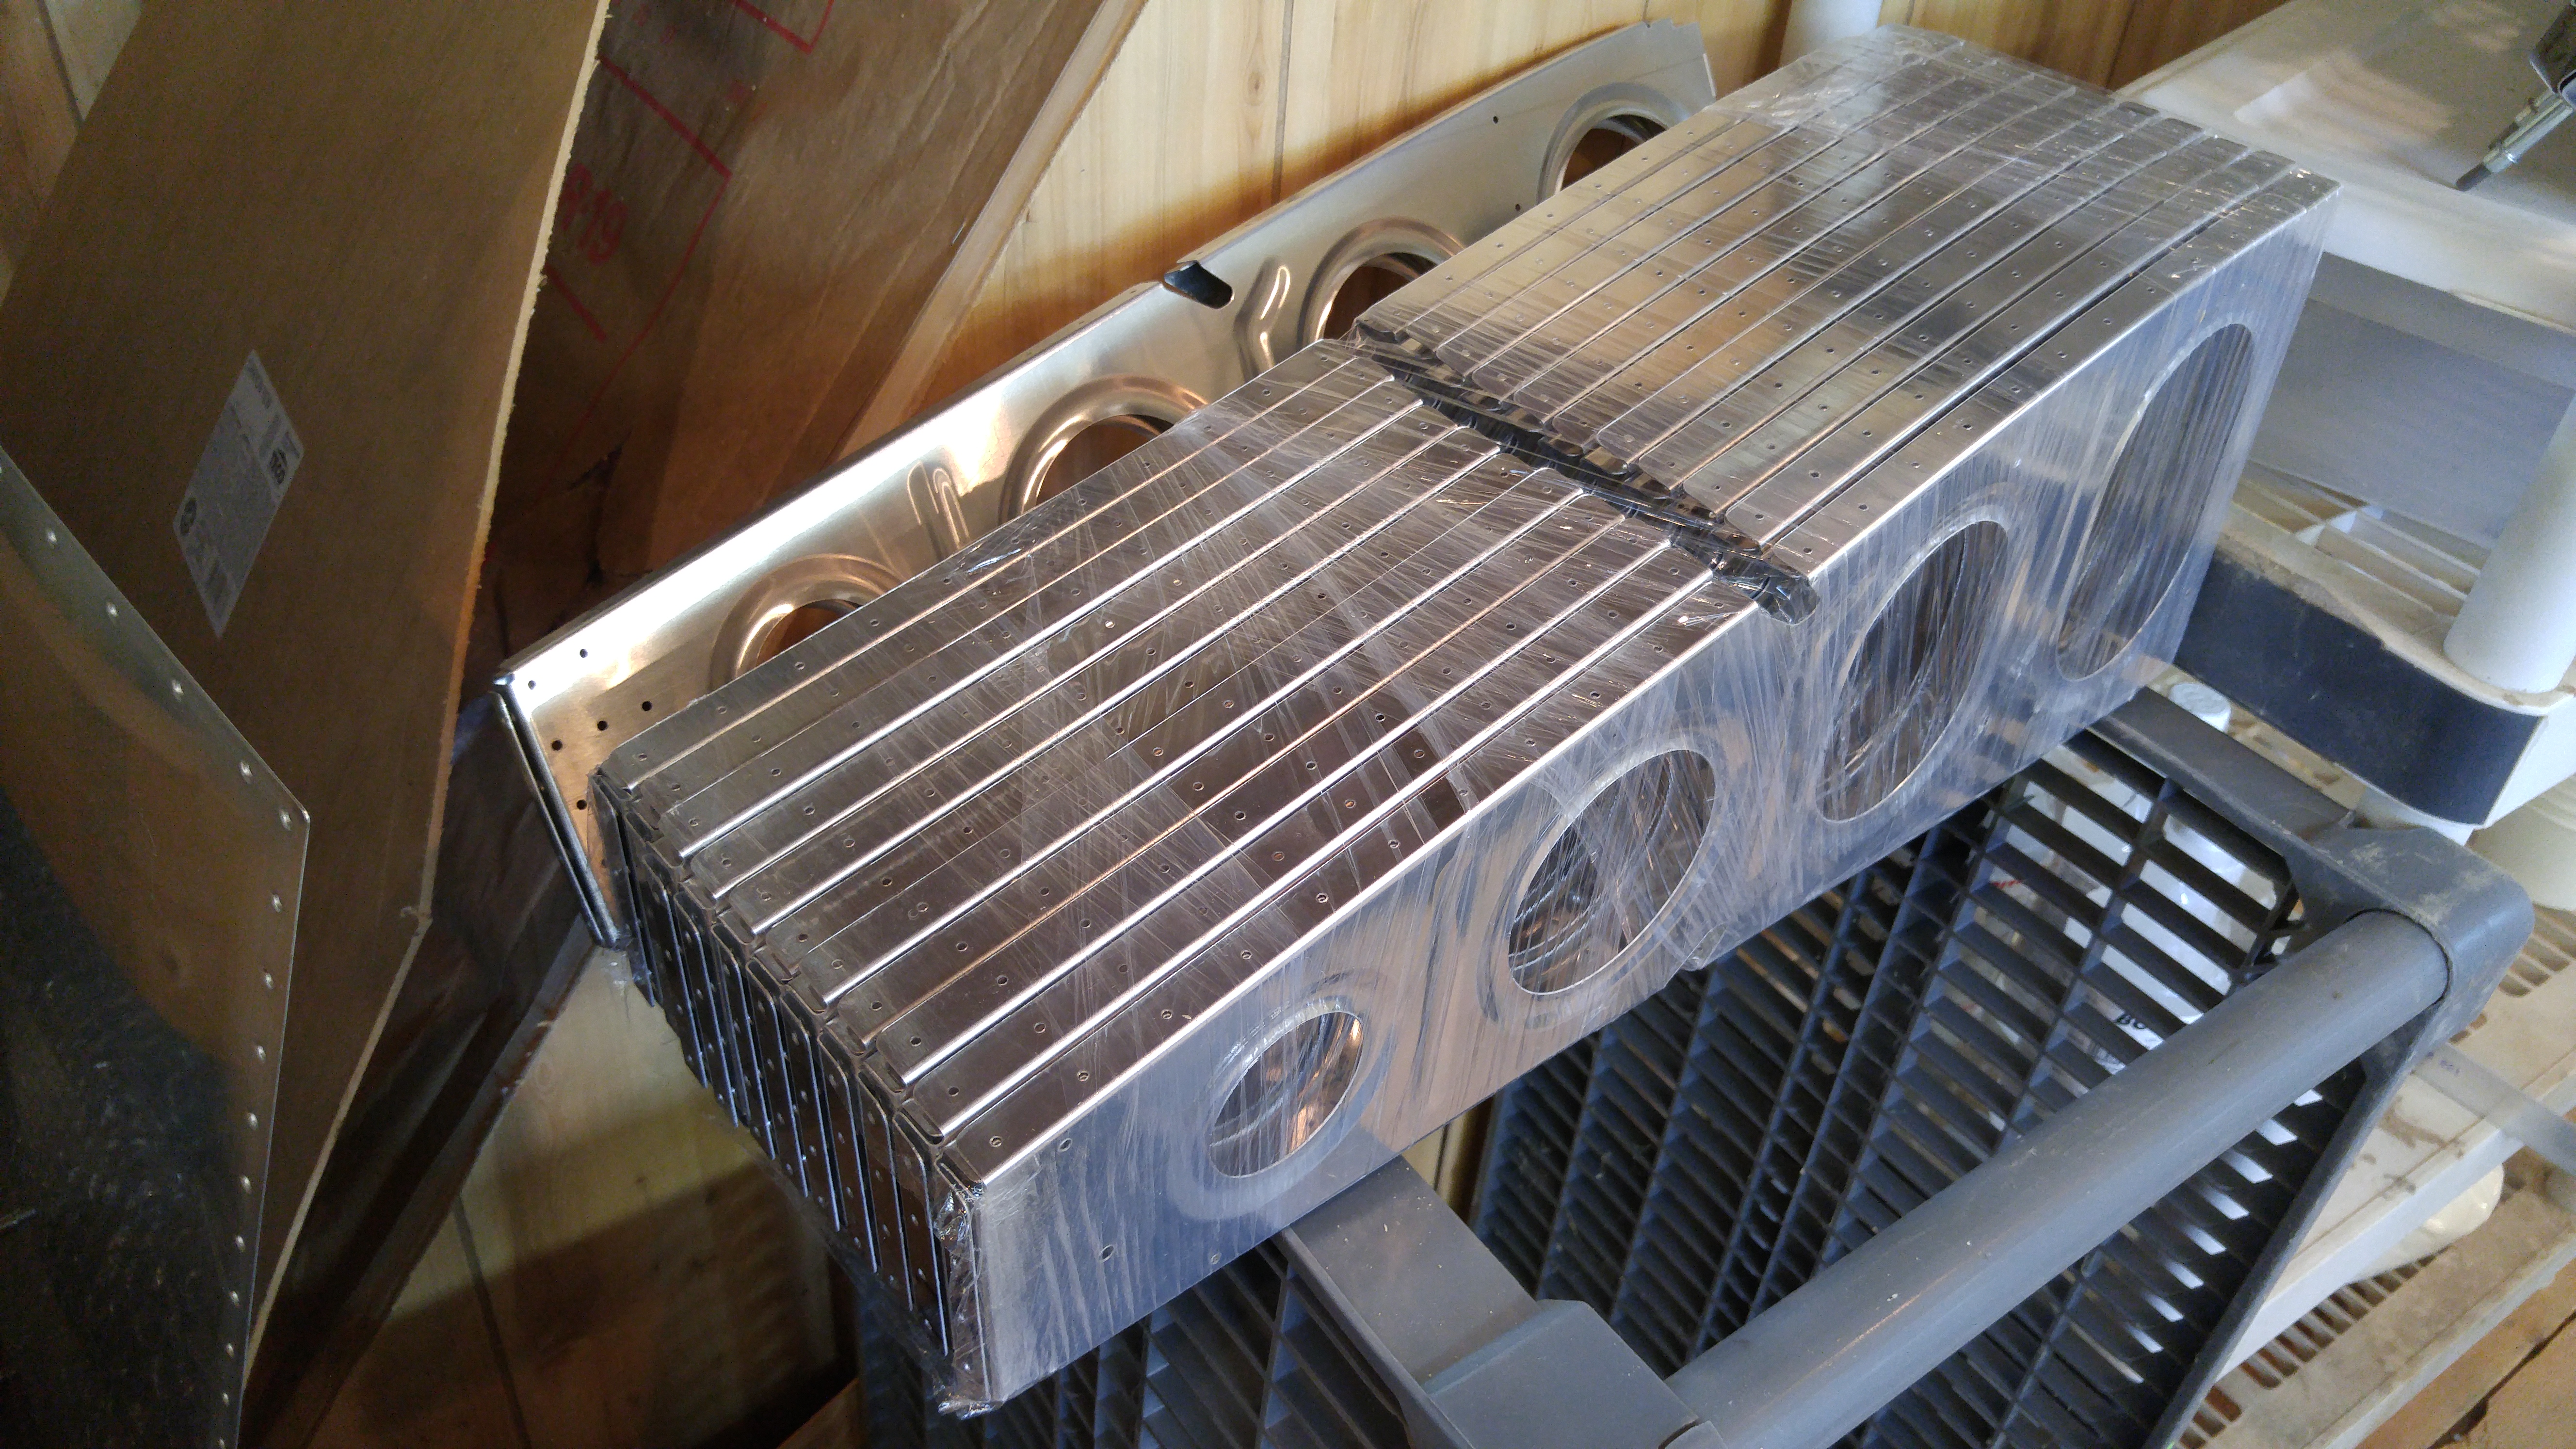
You guessed it.
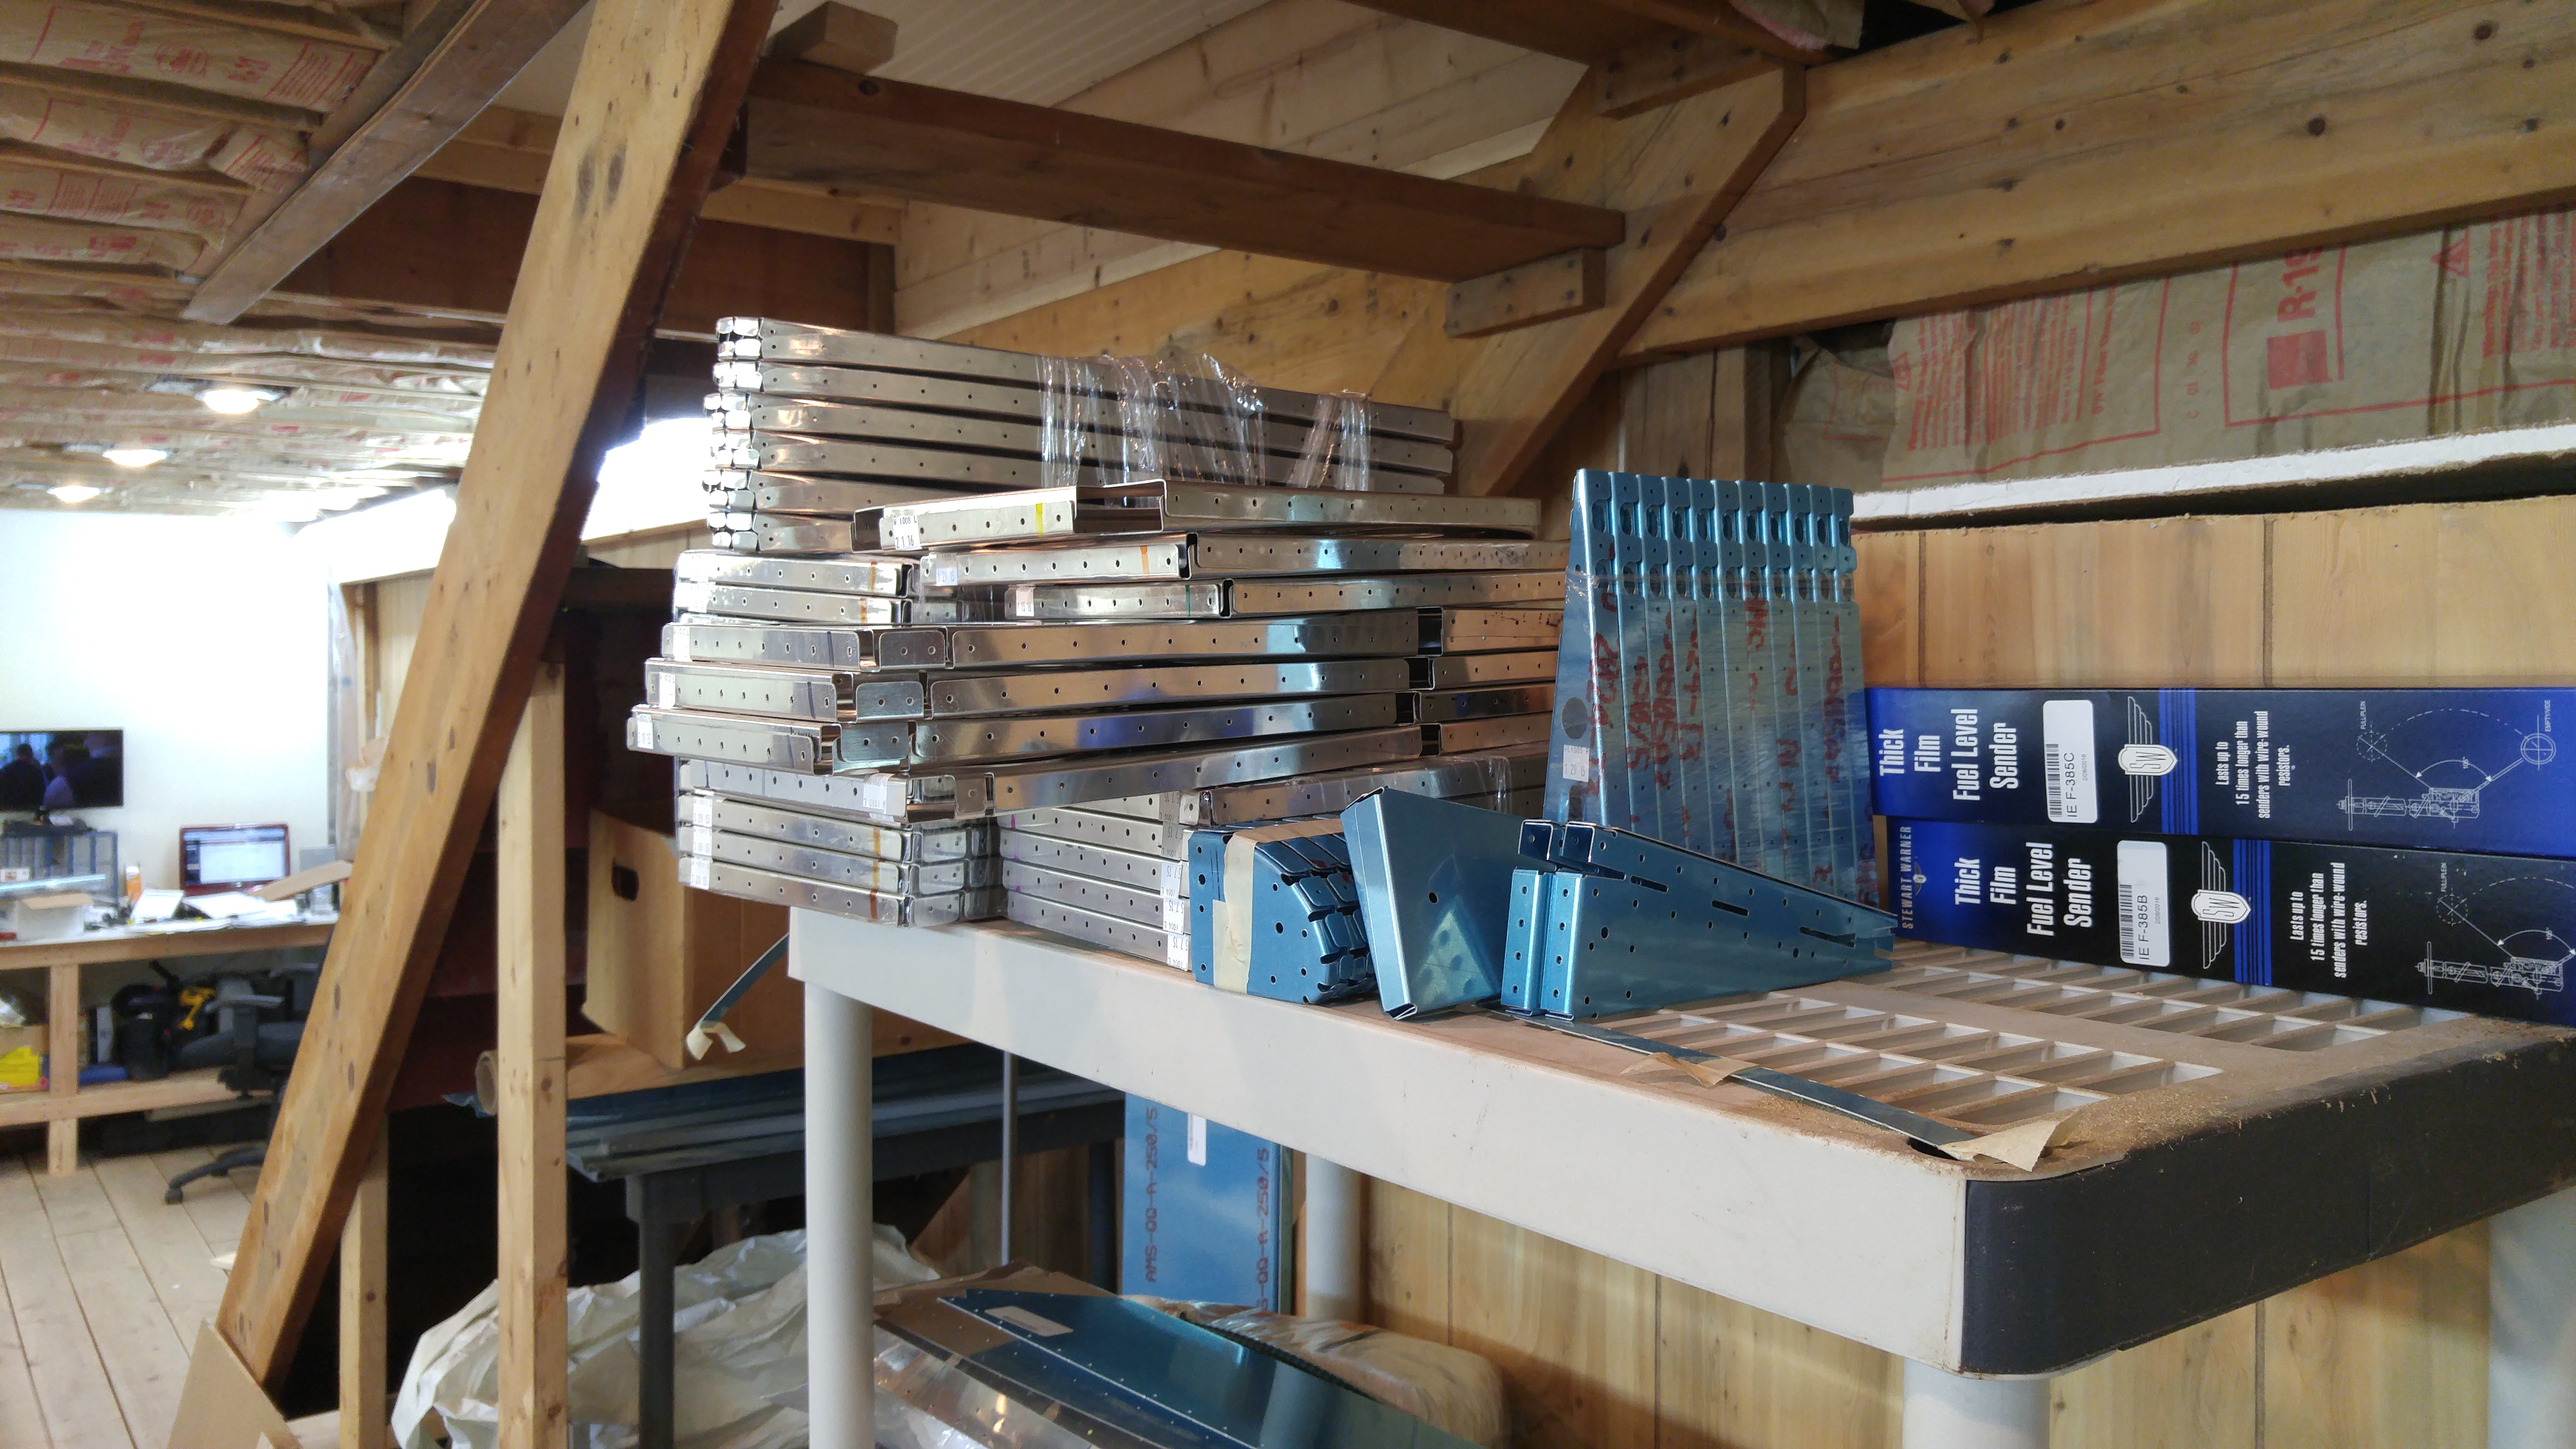
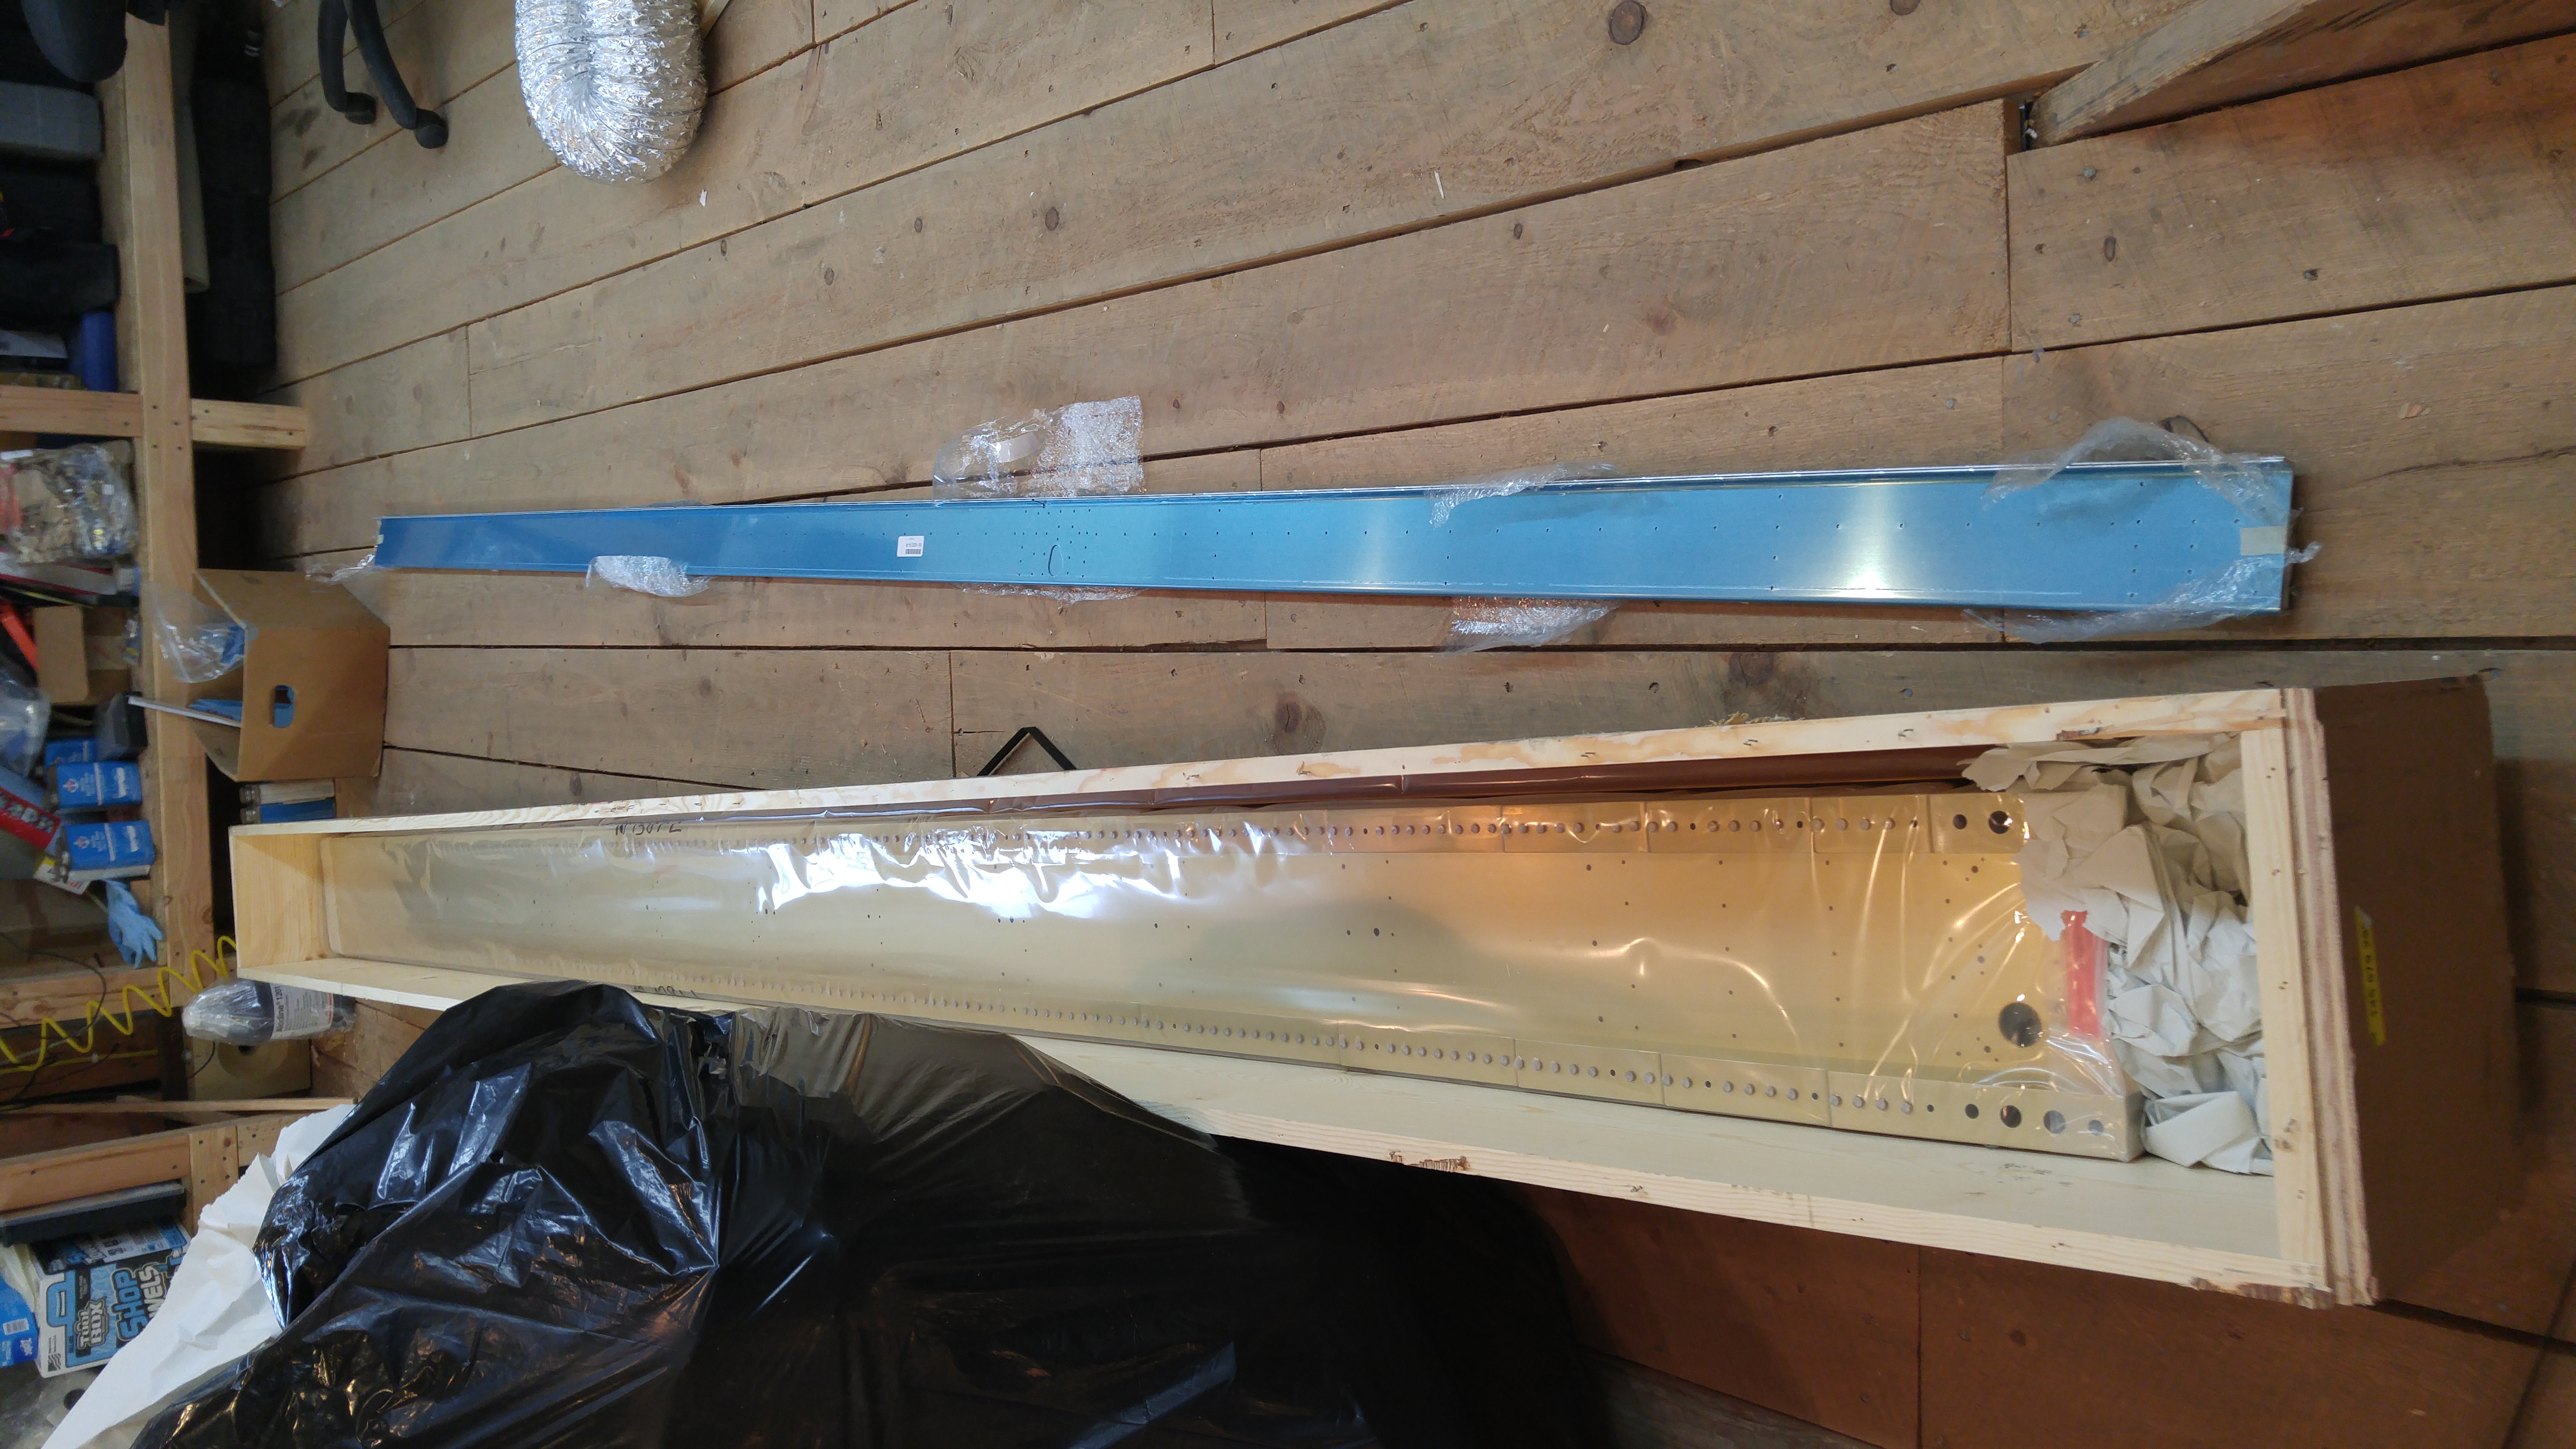
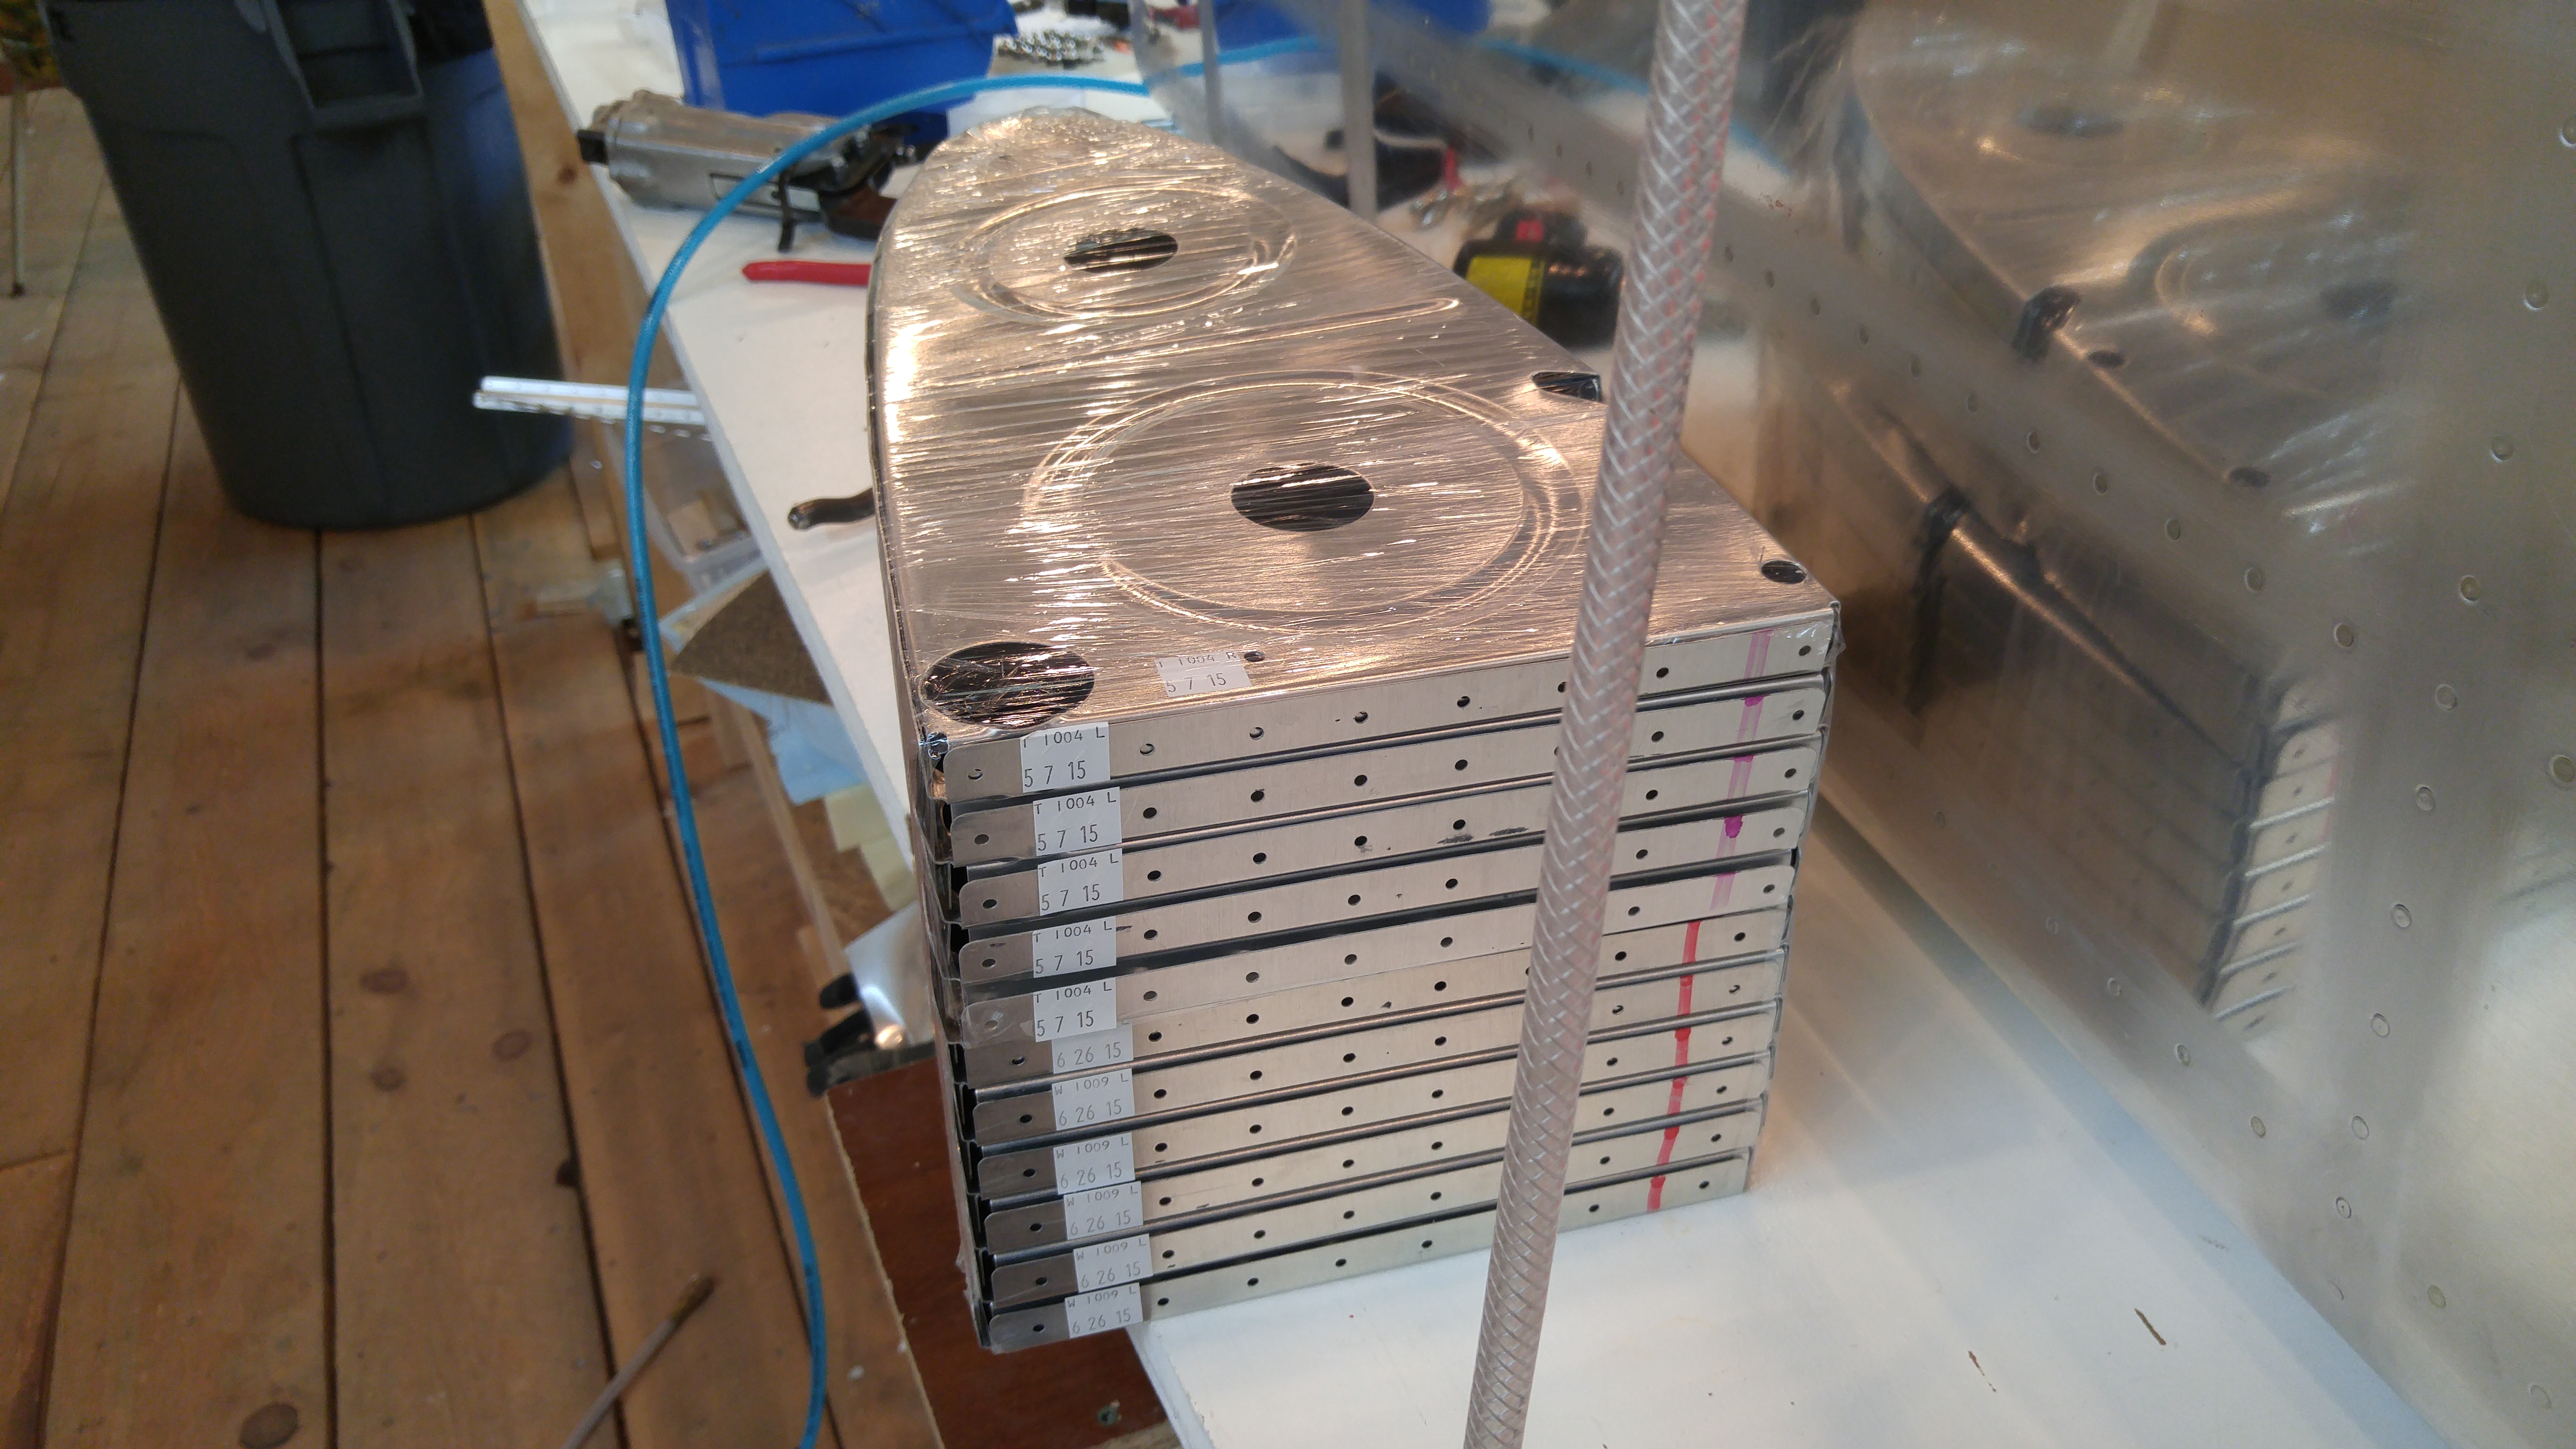
Spars
Skins
Wing Kit Shipped!
I got word today that the wing kit has shipped from Van’s Aircraft. Things are getting real. The kit wasn’t supposed to ship until next week sometime, but evidently they got it crated up in advance of the estimated date. I’ll call ABF for an update on ETA probably on Monday.
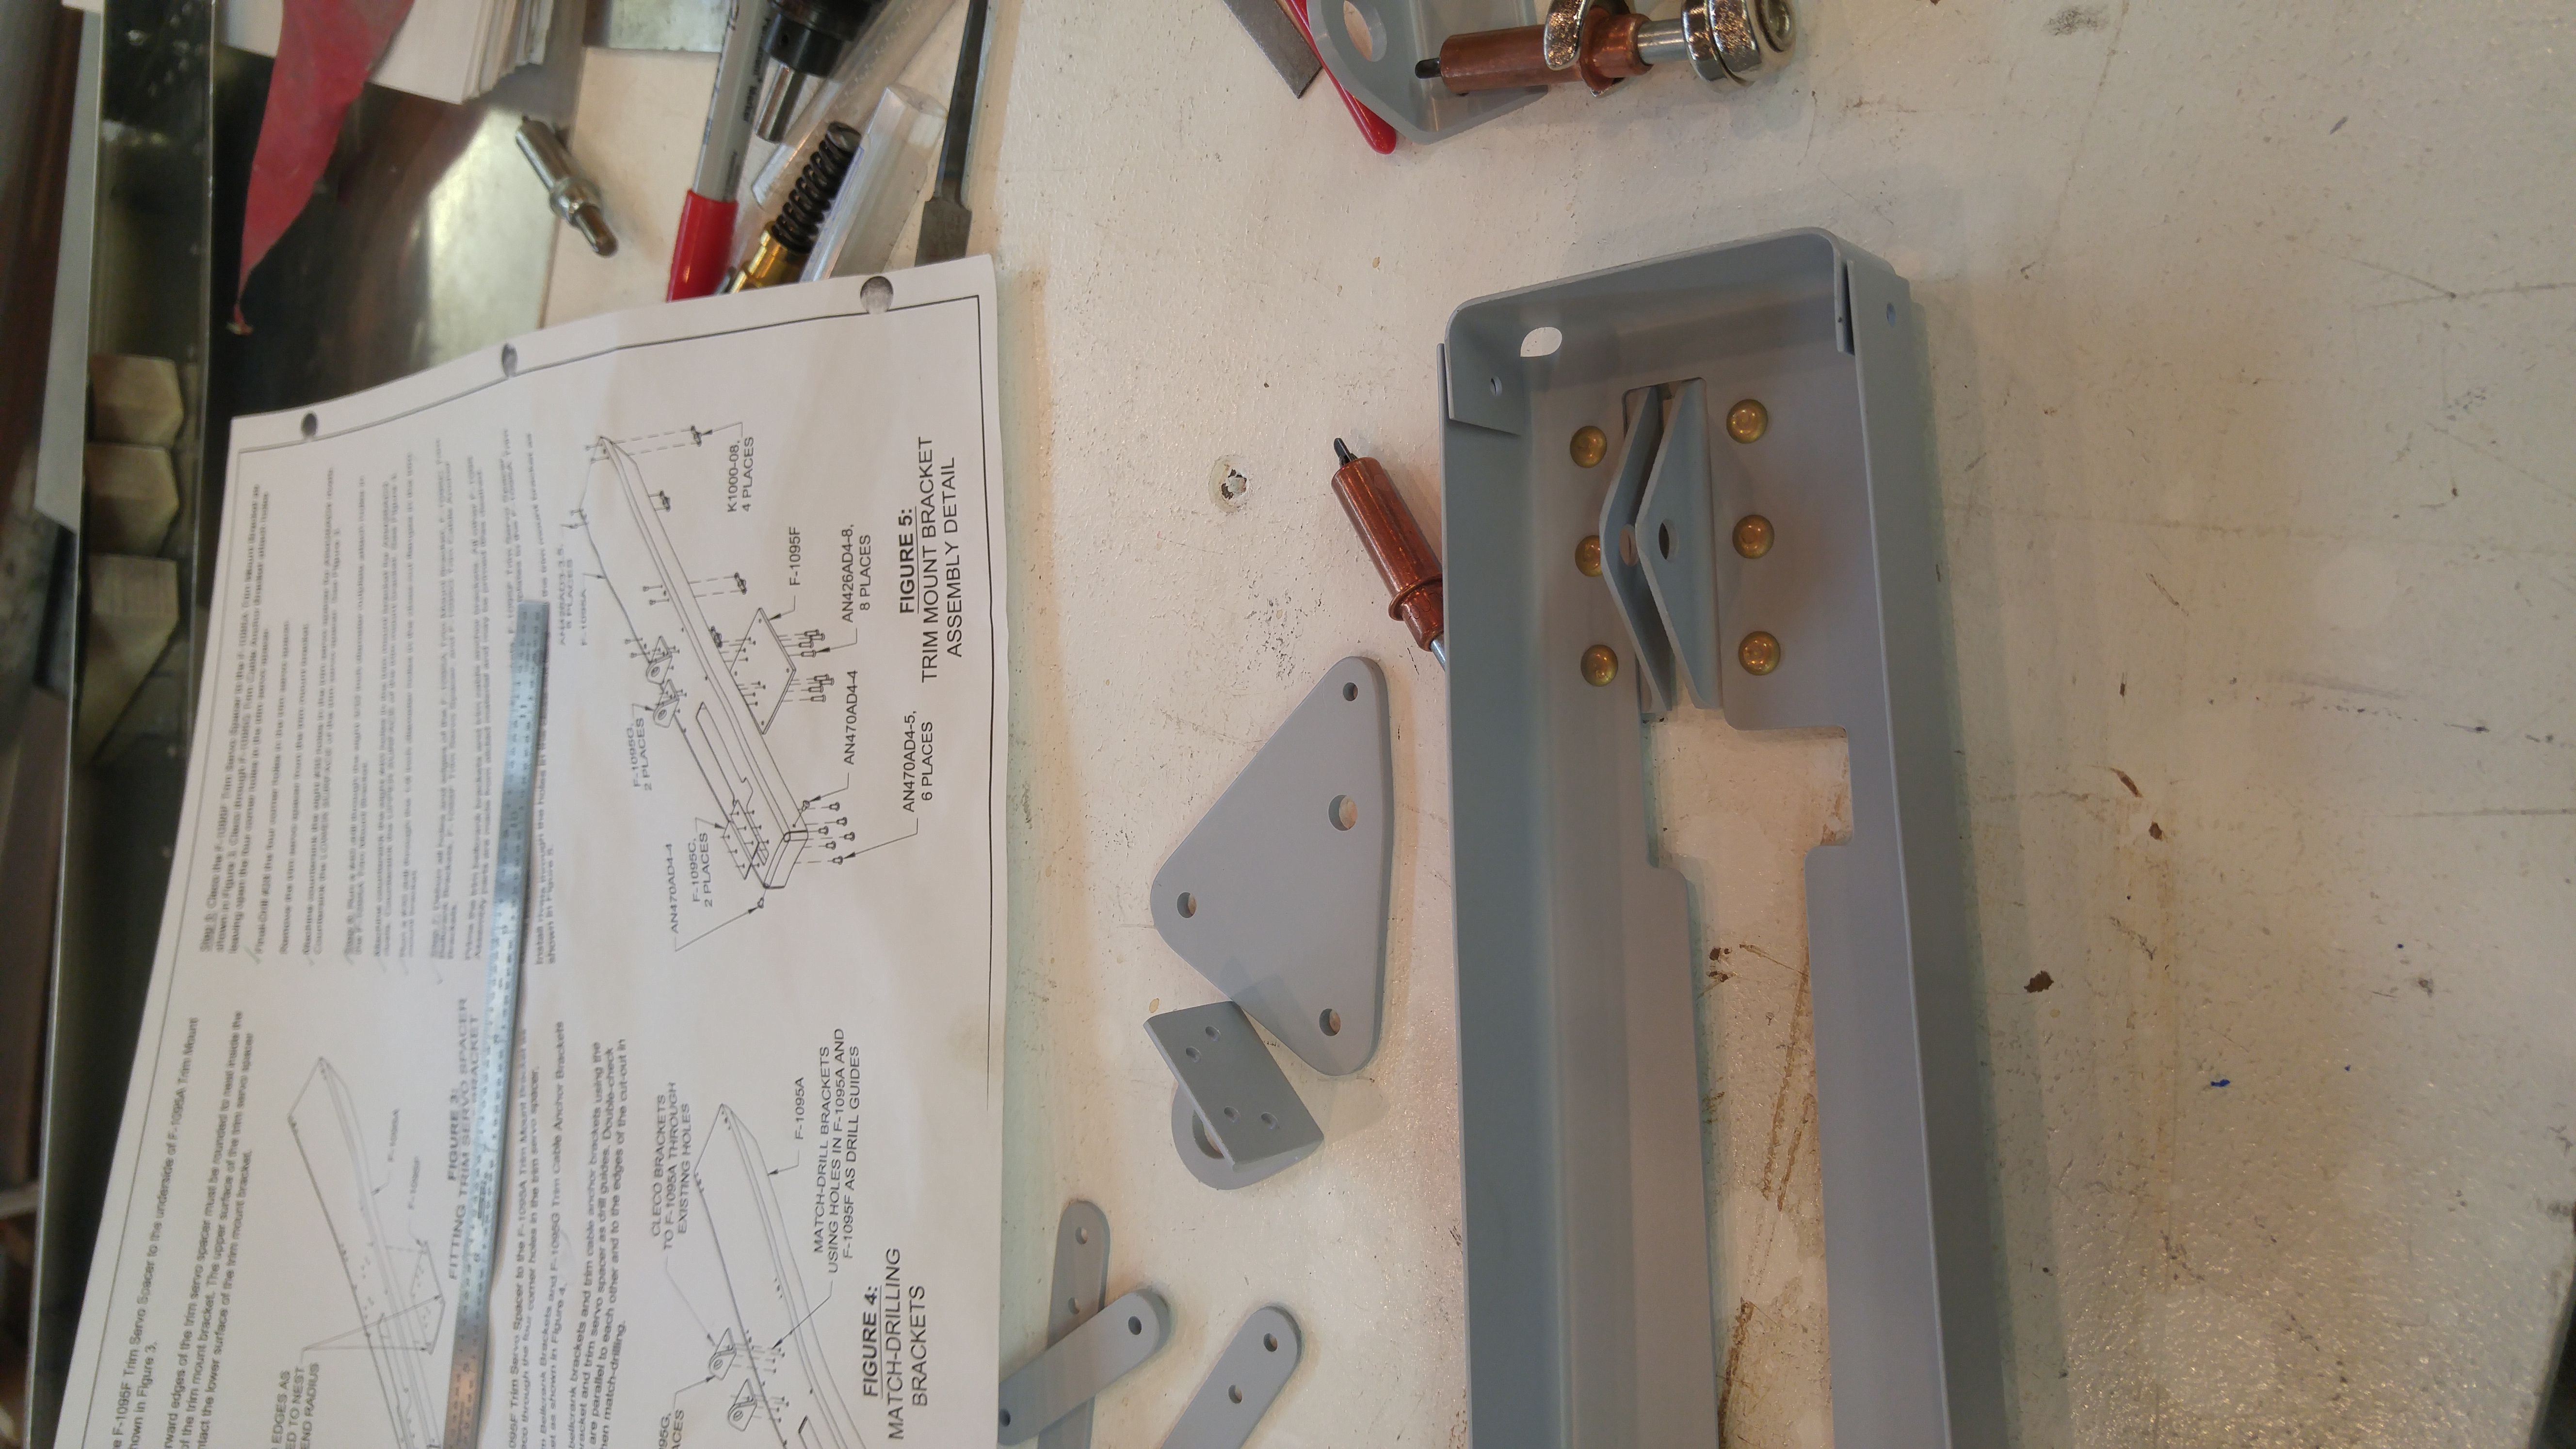
Elevator Trim Servo Bracket Assembly
This evening I took the primed parts for the elevator trim servo system and assembled them. All rivets were squeezed using the longeron die to get around the tall flanges on the bracket itself. Time this evening: 2.5 hrs.
The initial rivets
Push-Pull Rod brackets installed
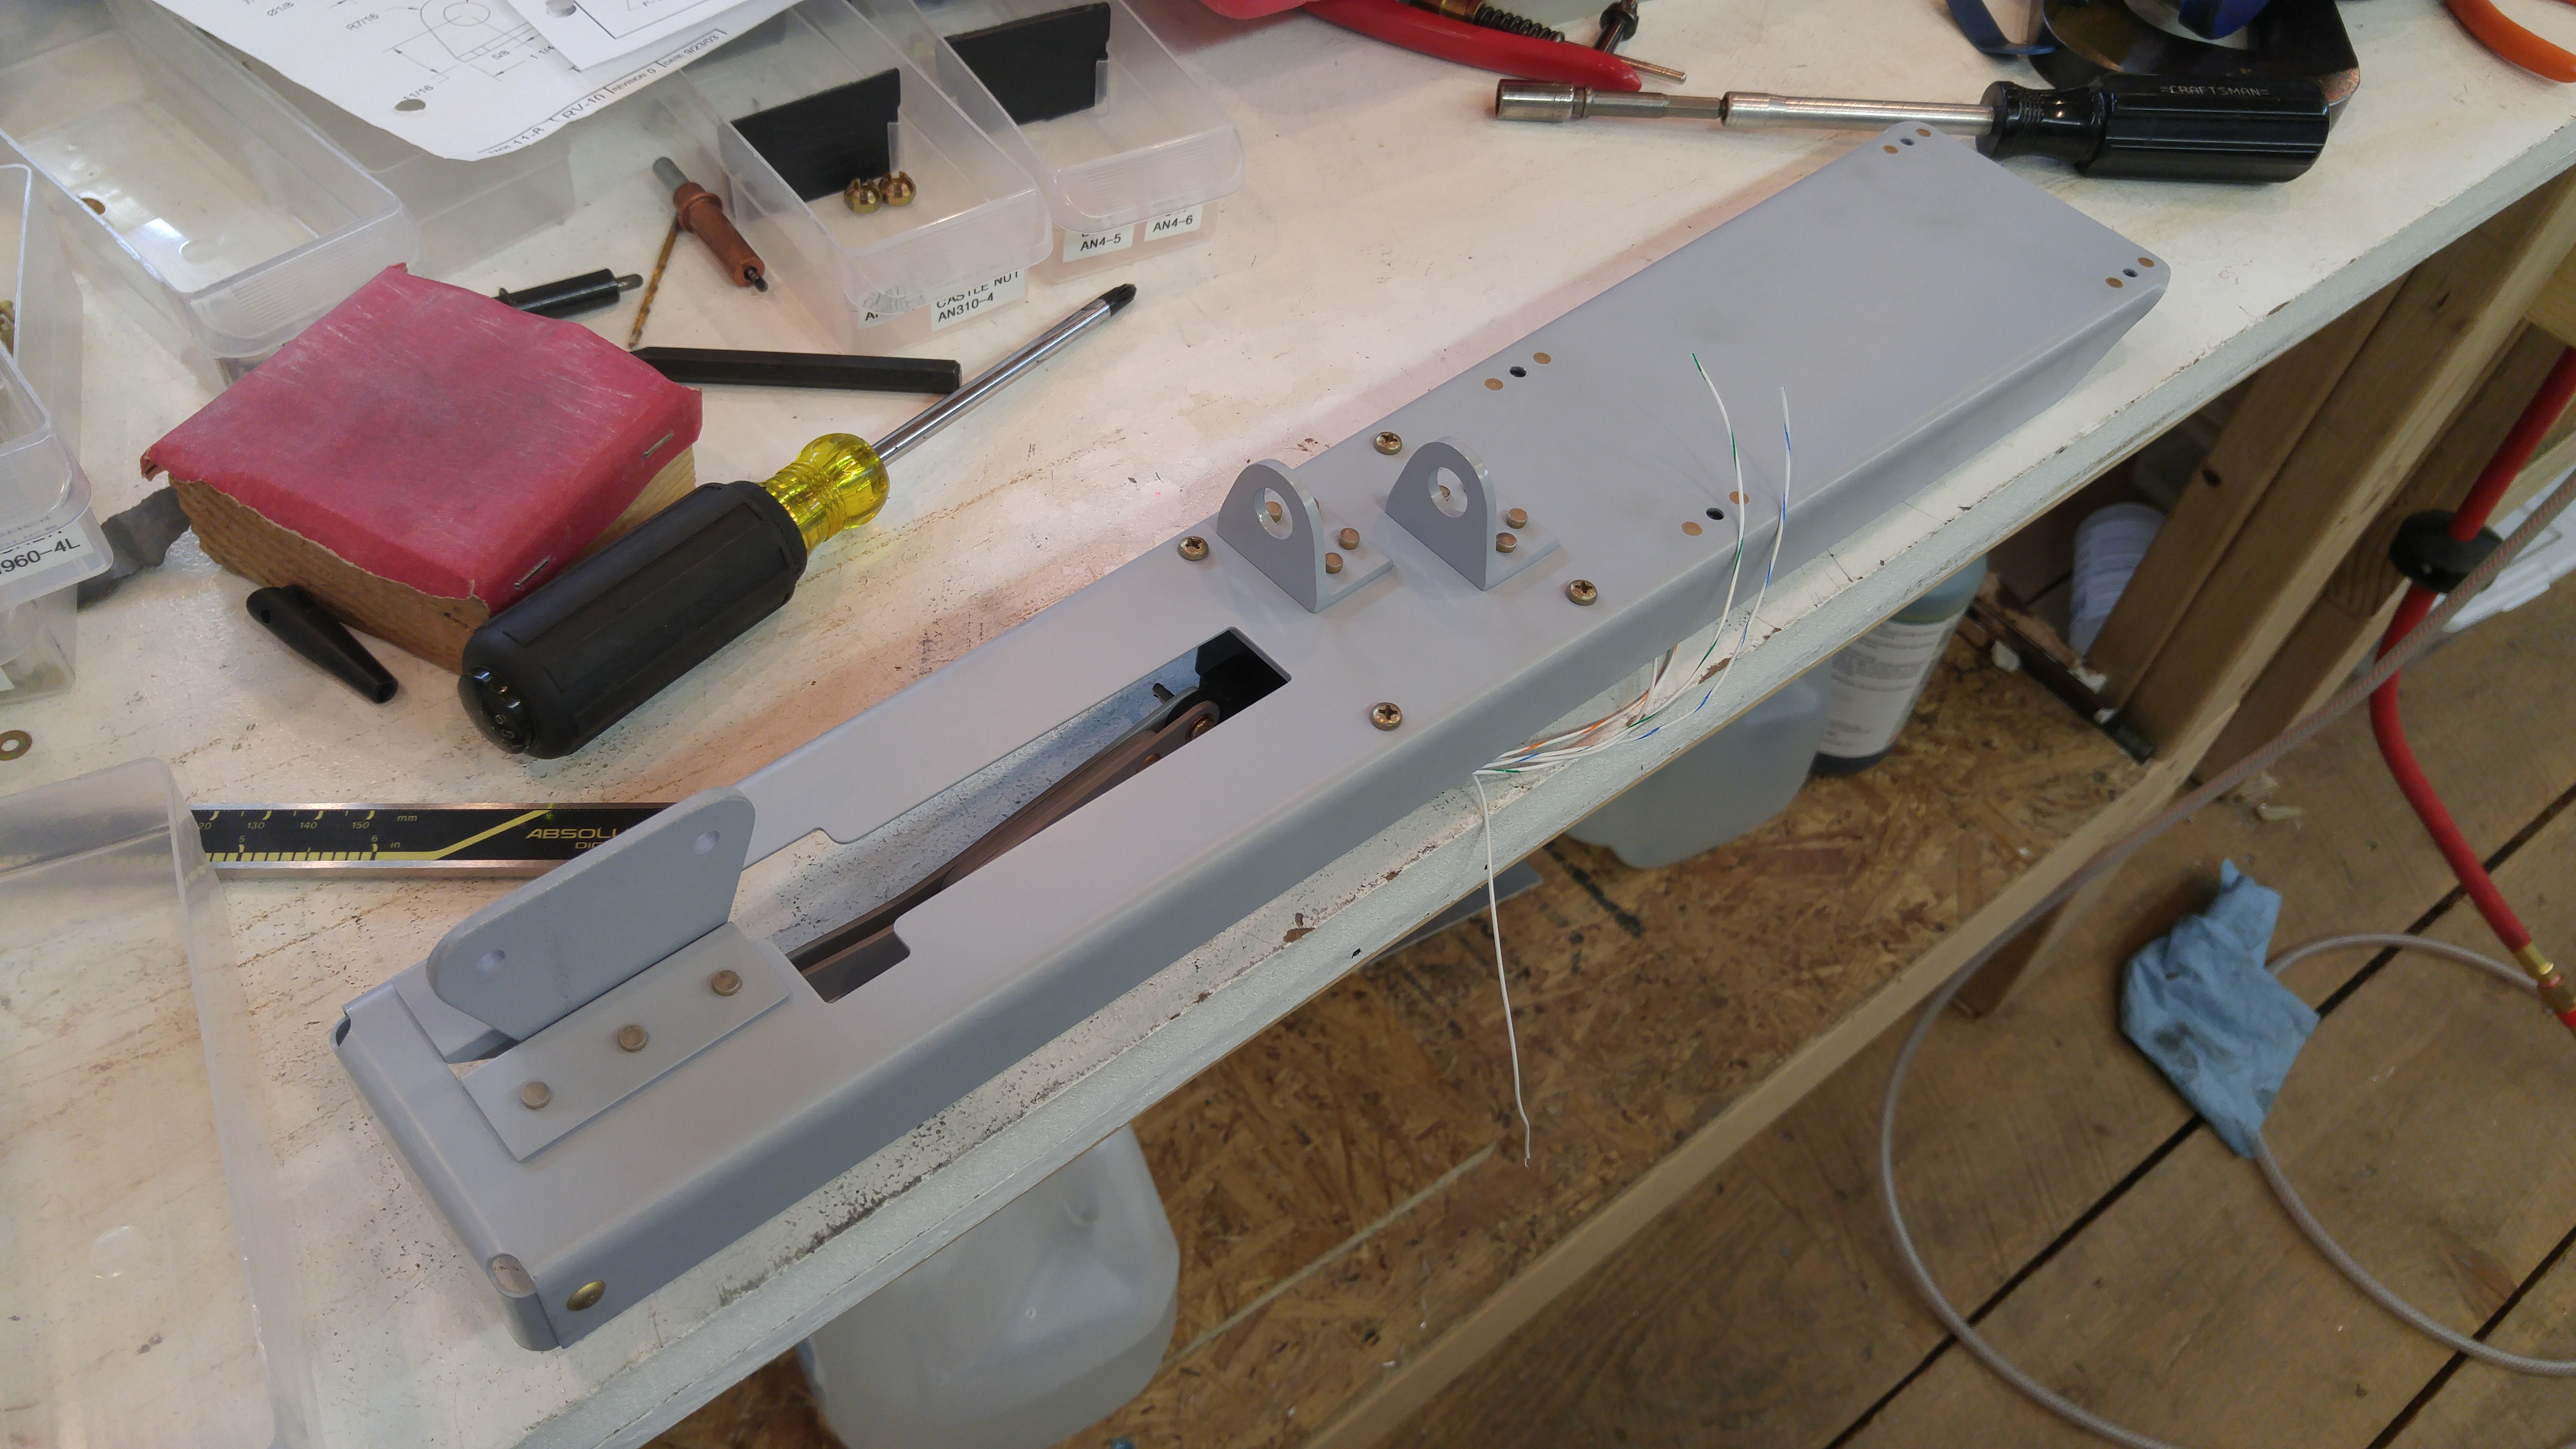
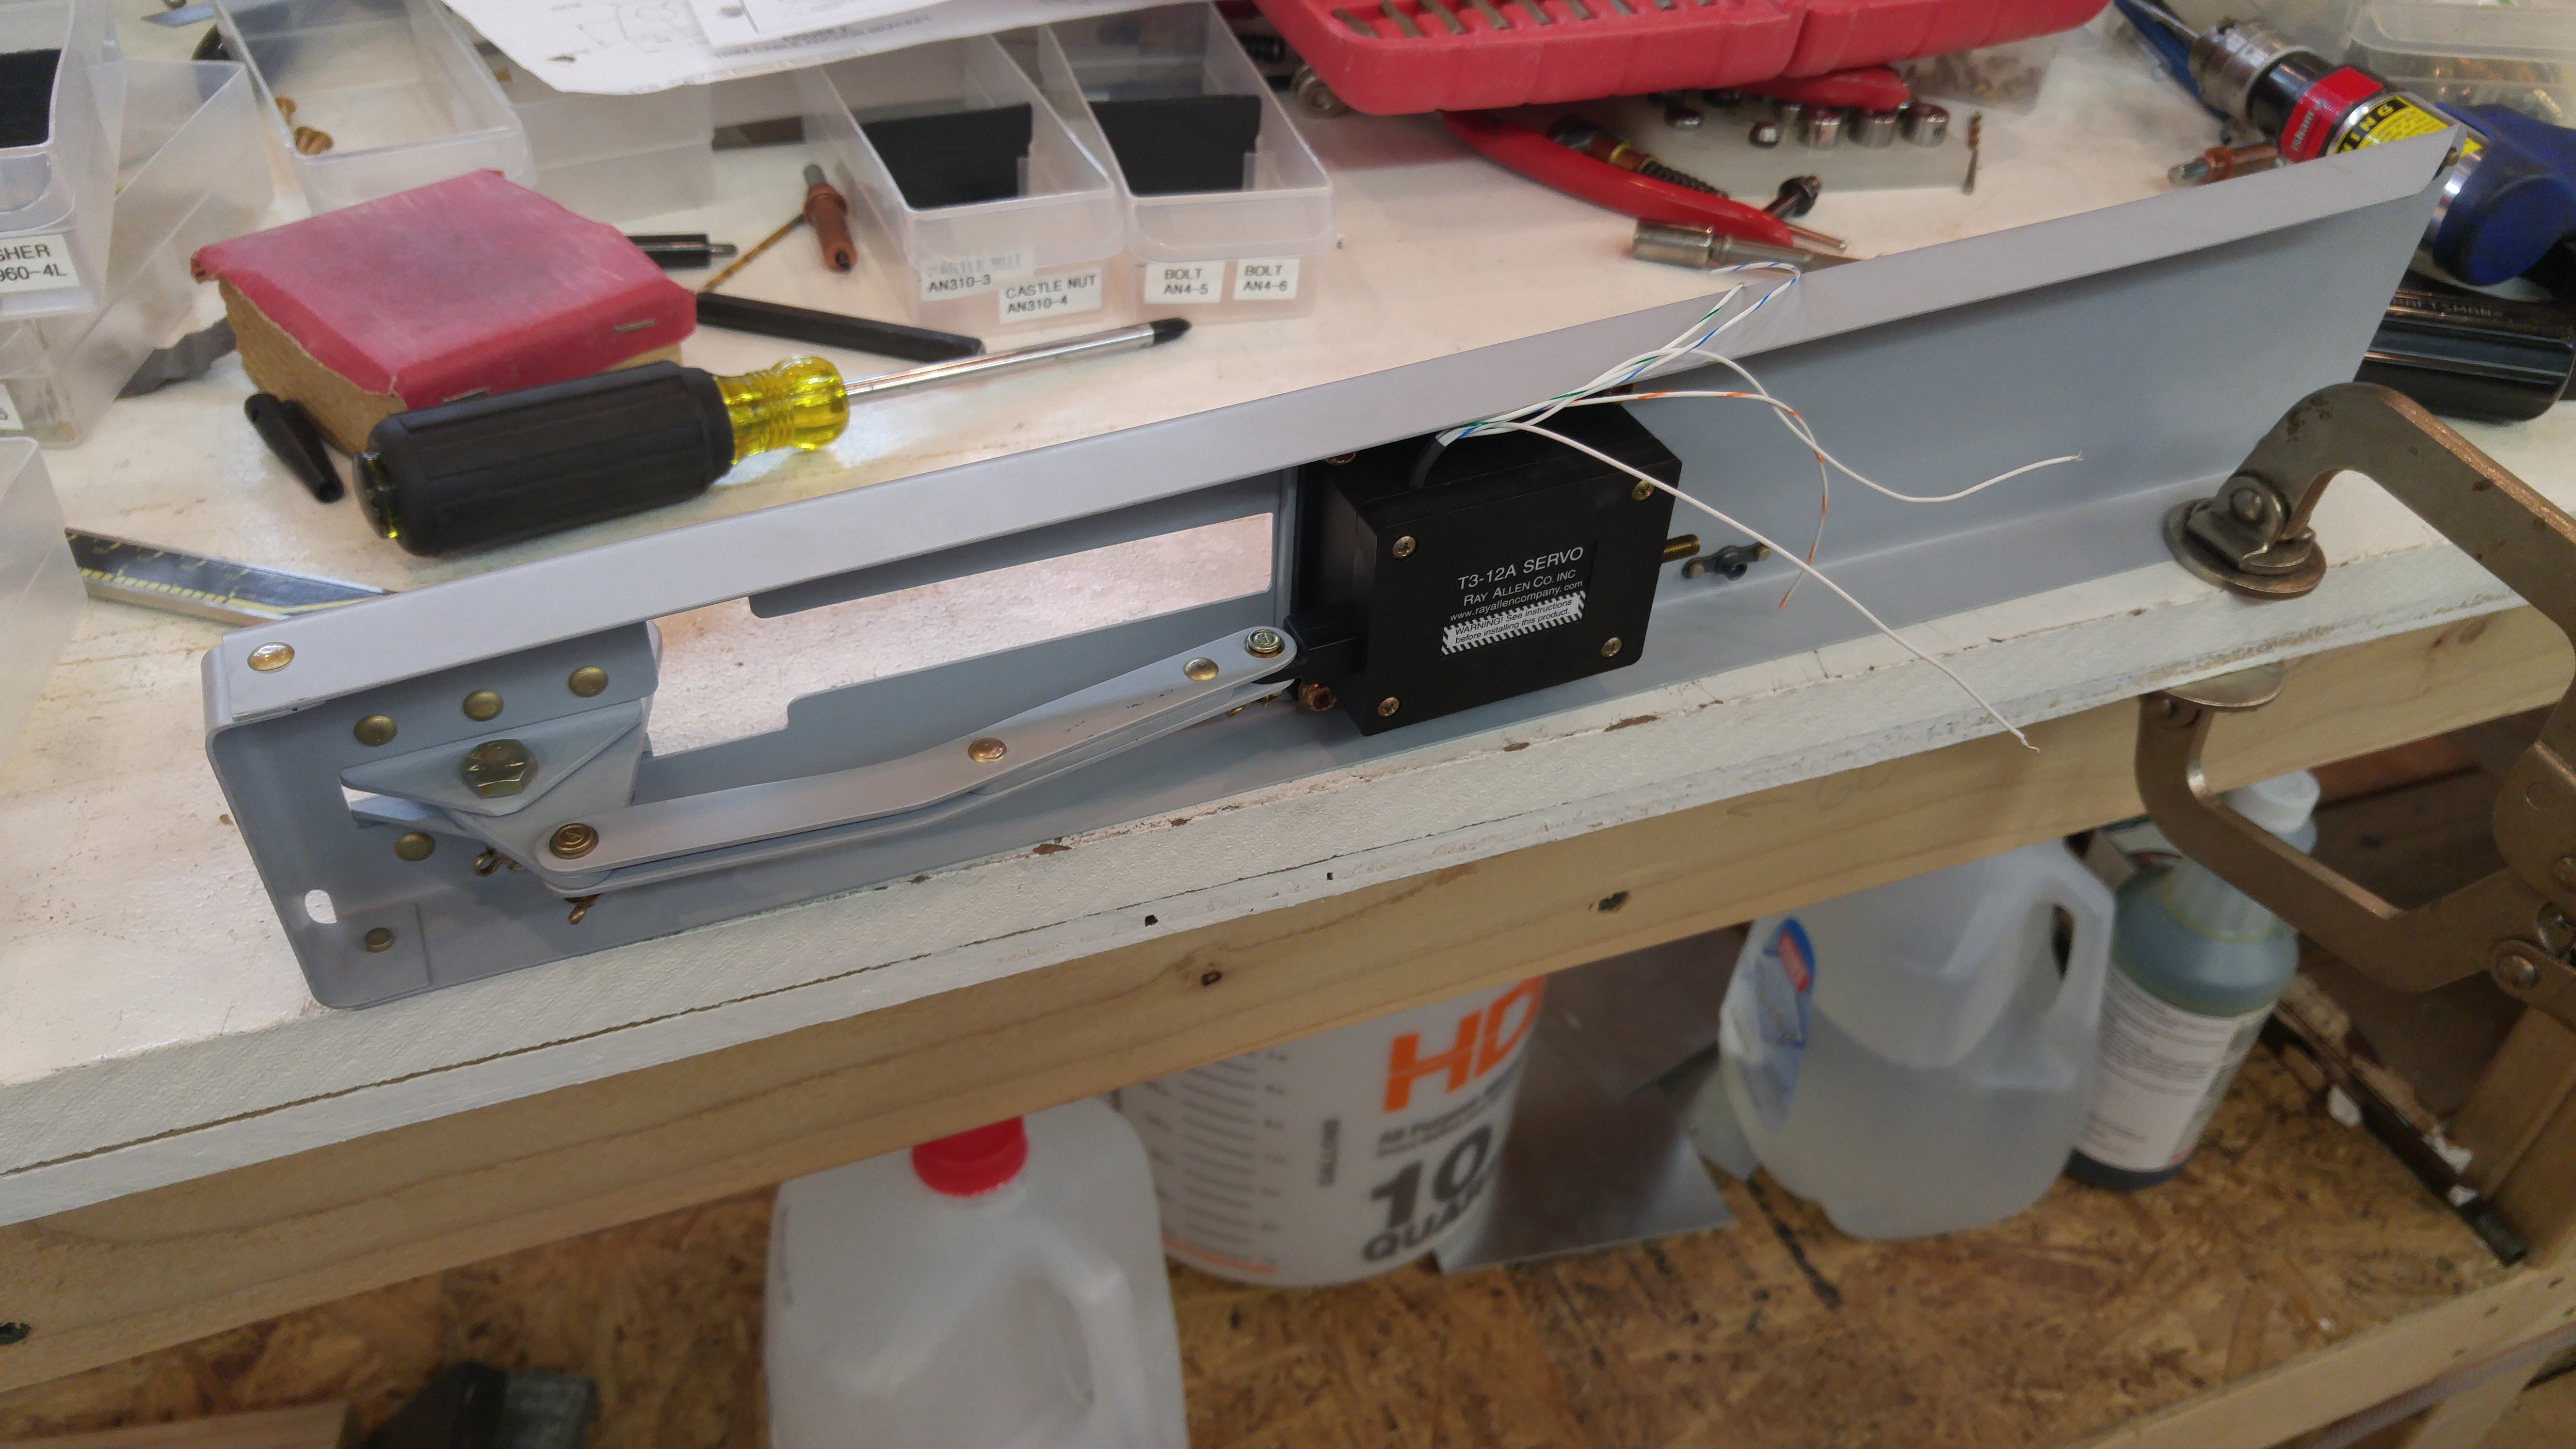
Servo and servo linkage installed
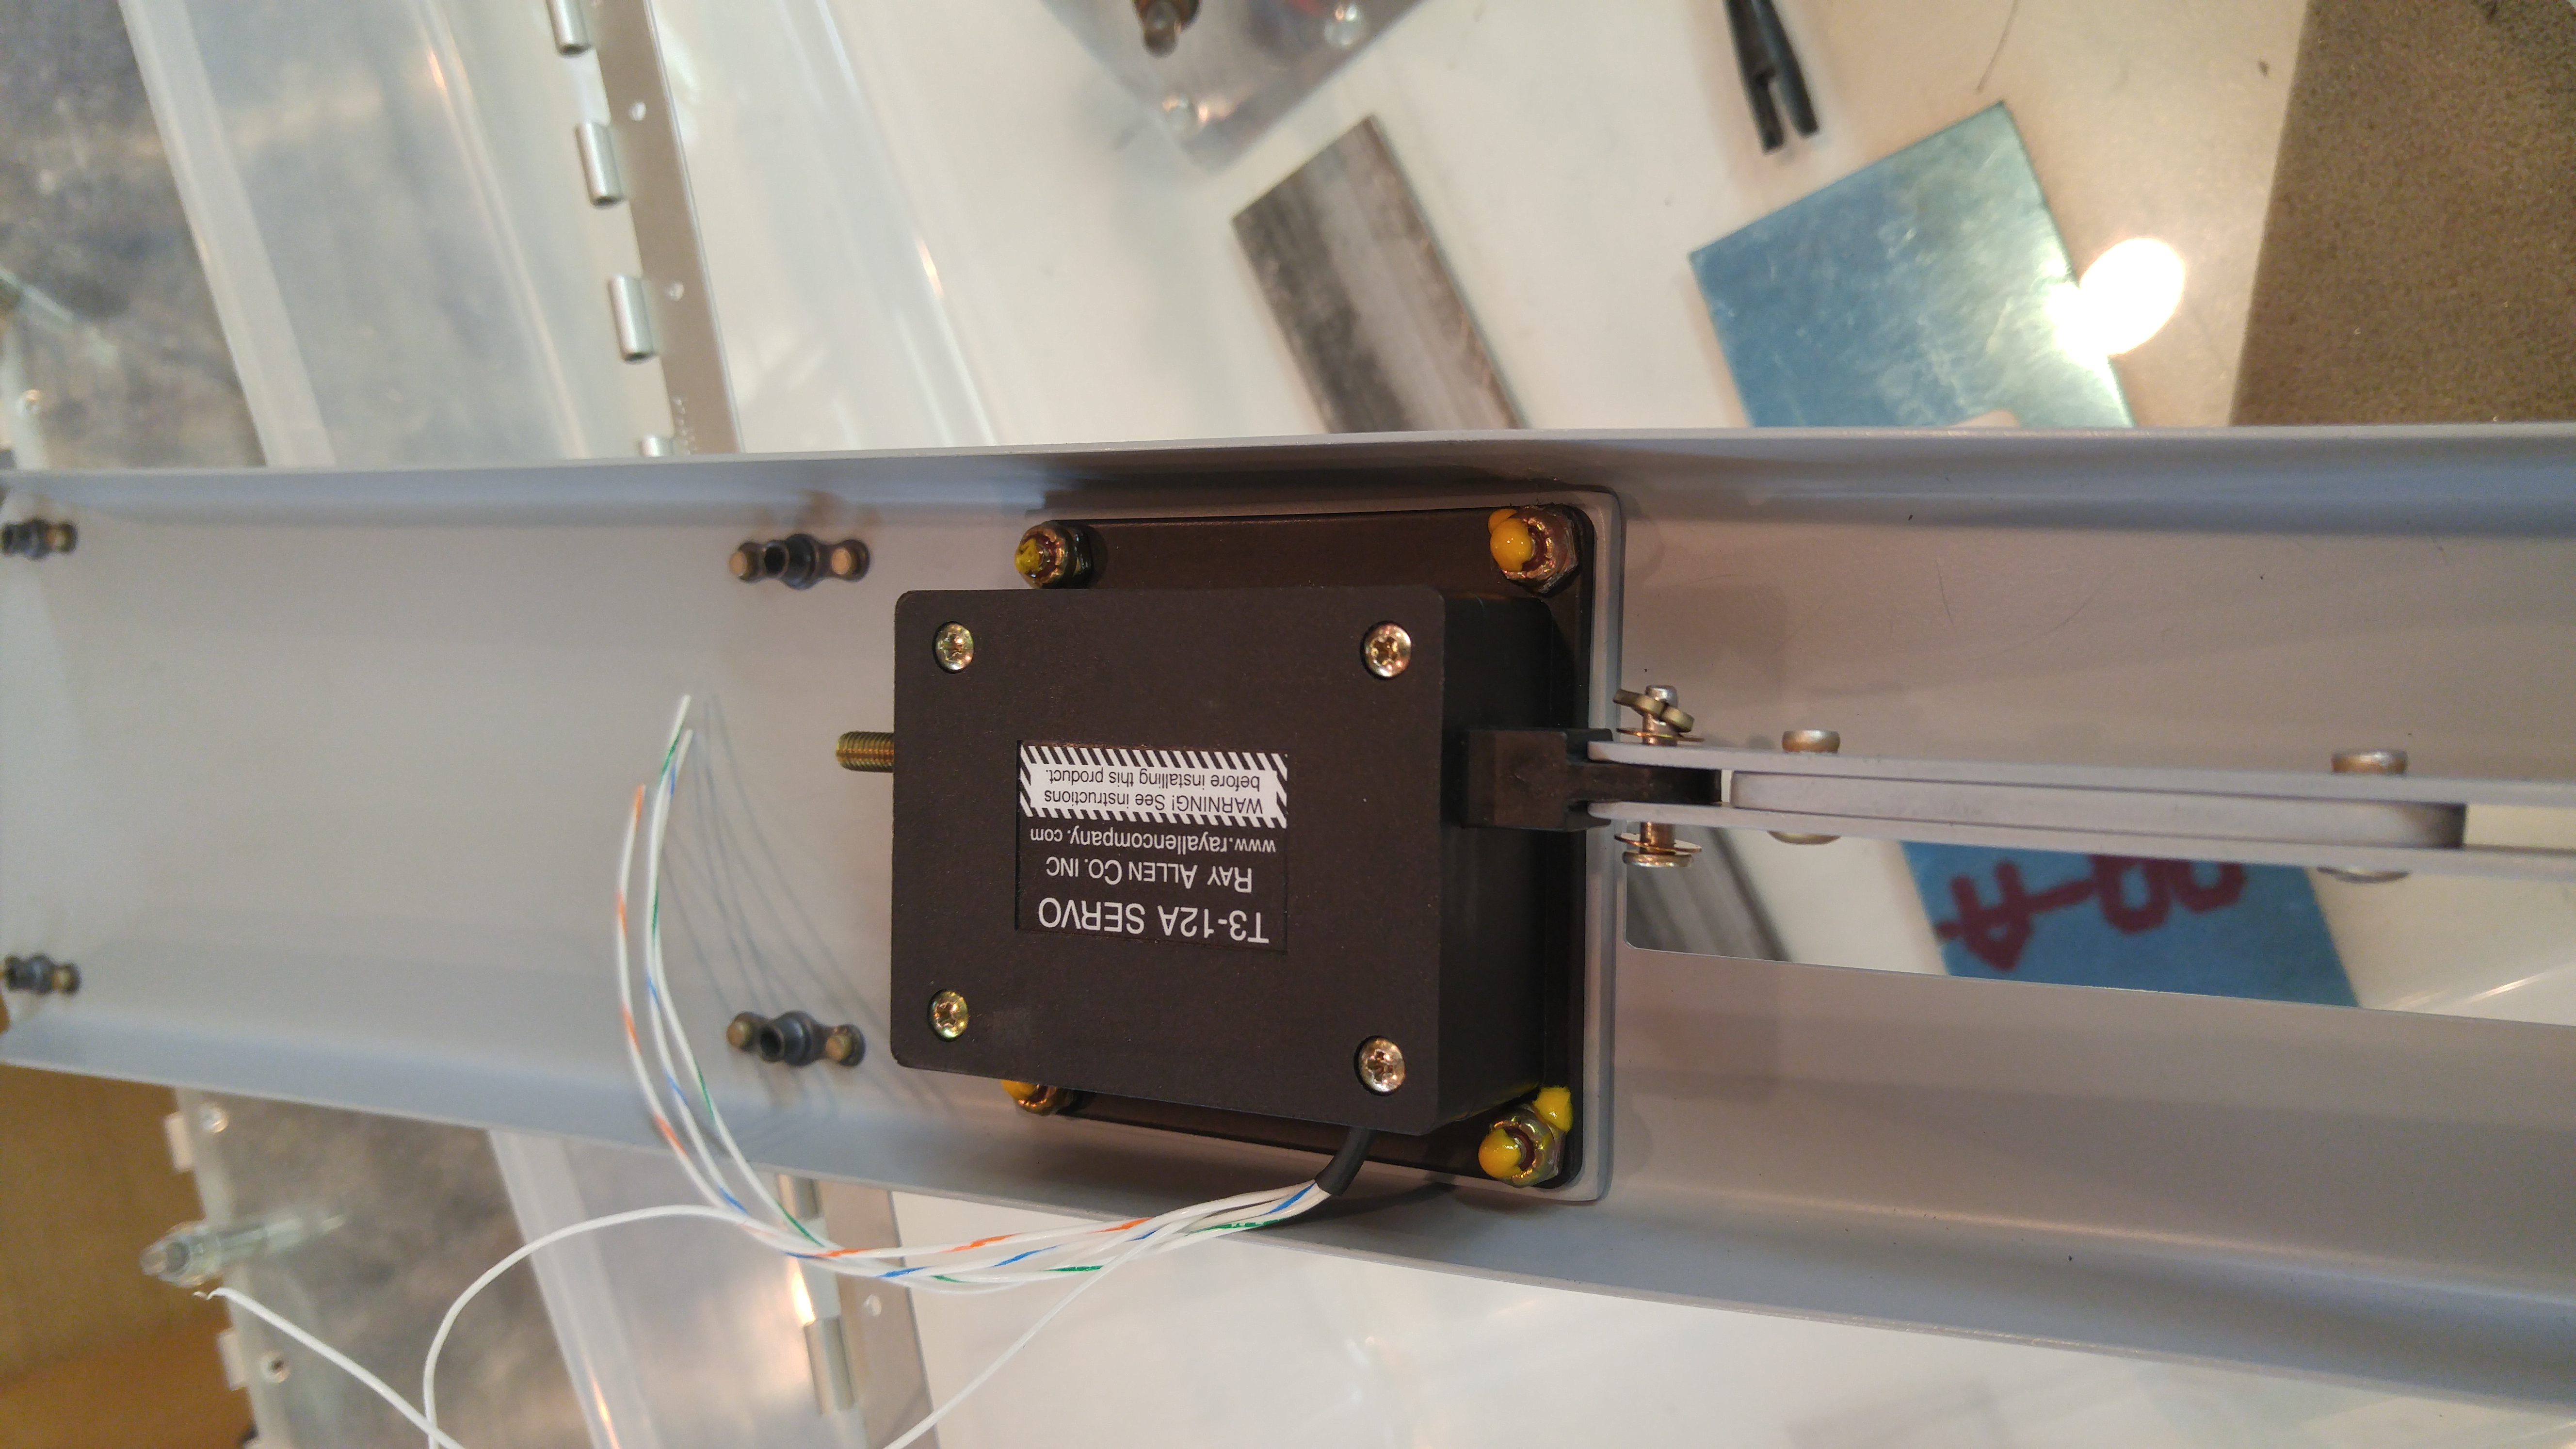
Torque Sealed the servo mounting nuts
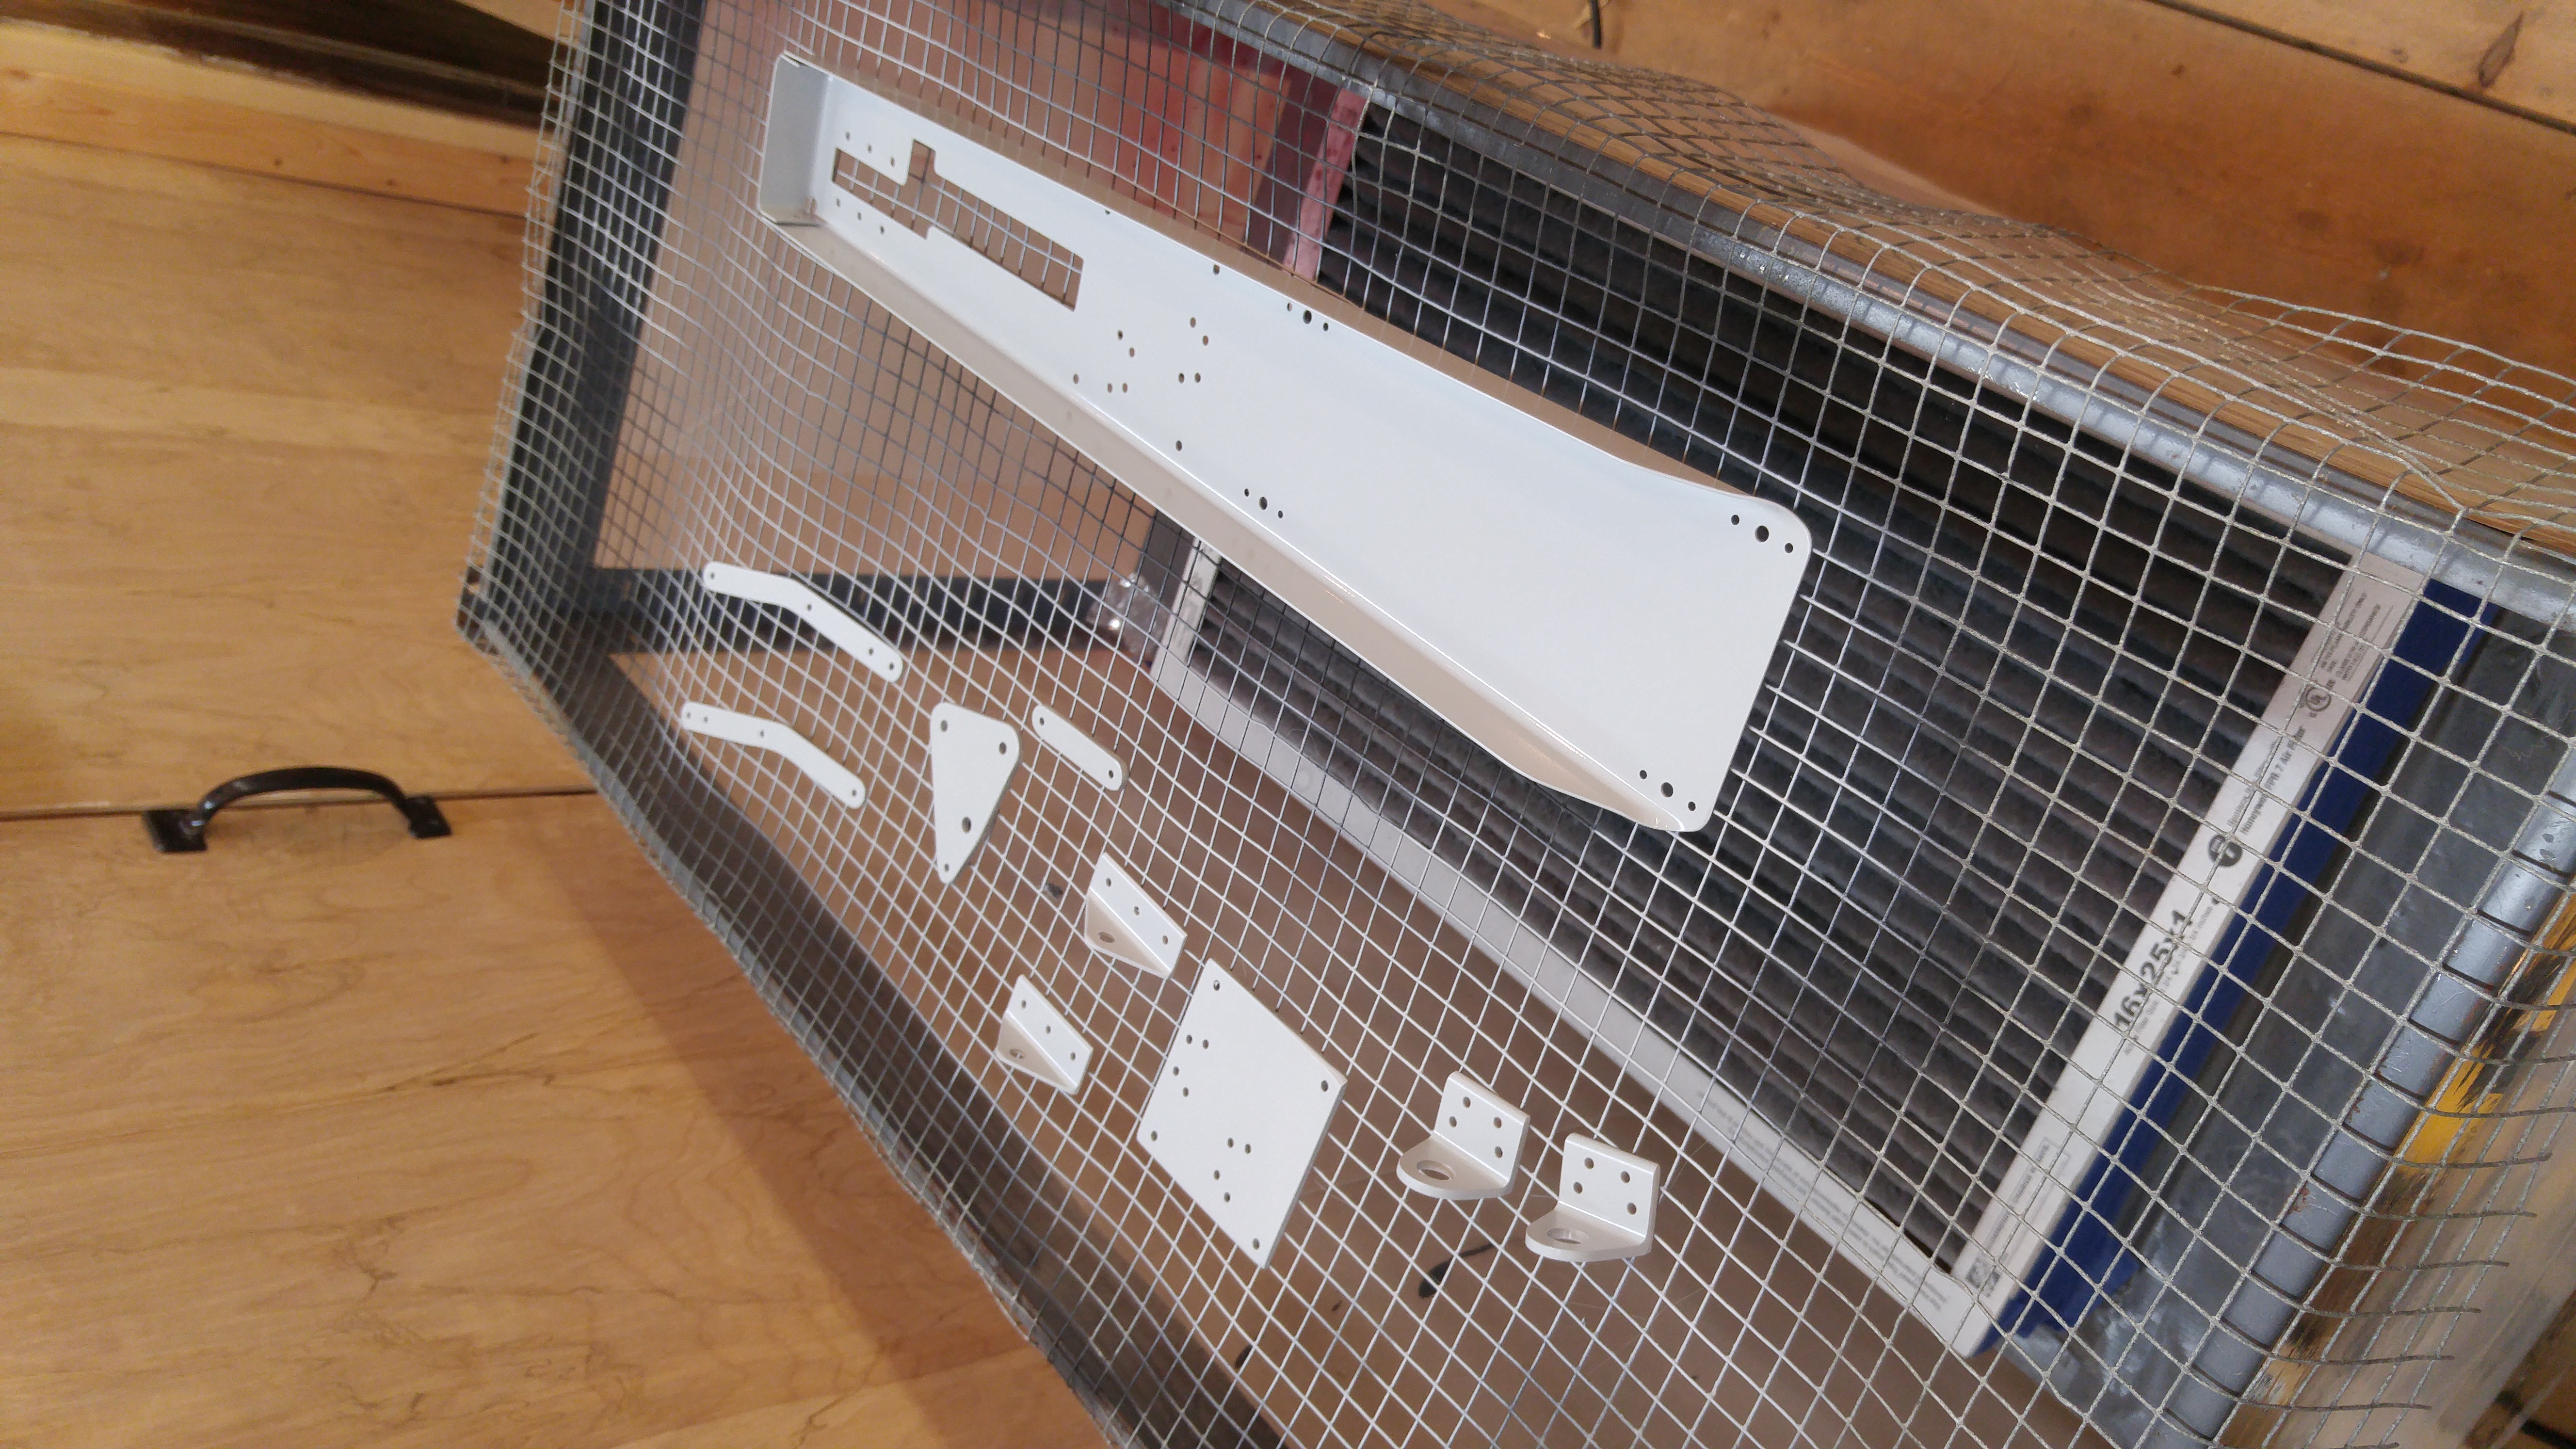
Elevator Trim Parts Primed
Test Fitting RH Trim Tab
I spent 1.5 hours on the RH trim tab the other day and test fitted it on the elevator. Now I have to re-do the LH trim tab spar and then I can prime and final assemble both.
Total time so far 23.5 hours.
Workshop 99.9%
For a while I’ve wanted to restore some capabilities I used to have at the old house, namely metalworking tools that have been sidelined since we moved way back in ’14. I’ve been putting this off in favor of getting the workshop improved for winter operations. Now that the shop is properly insulated and heated, etc., I had the opportunity to move the machines back in and get them set up. Pretty much everything has been moved in and installed. There is some cleaning and final leveling and adjustment needed, but that will be on an as needed basis. Now that everything is moved in and warm, I can set the machines up at leisure.
First, I built a table to hold the lathe/mill. I soon remembered just how heavy this thing is, and needed to buy a shop crane to lift it into place (at the old place I installed a temporary overhead hanger for a chainfall, but I didn’t want to do that here). The lathe is now installed on its new table and mostly leveled. The table needs a bit of bracing to make it solid. I’ll tie it into the wall if it becomes an issue.
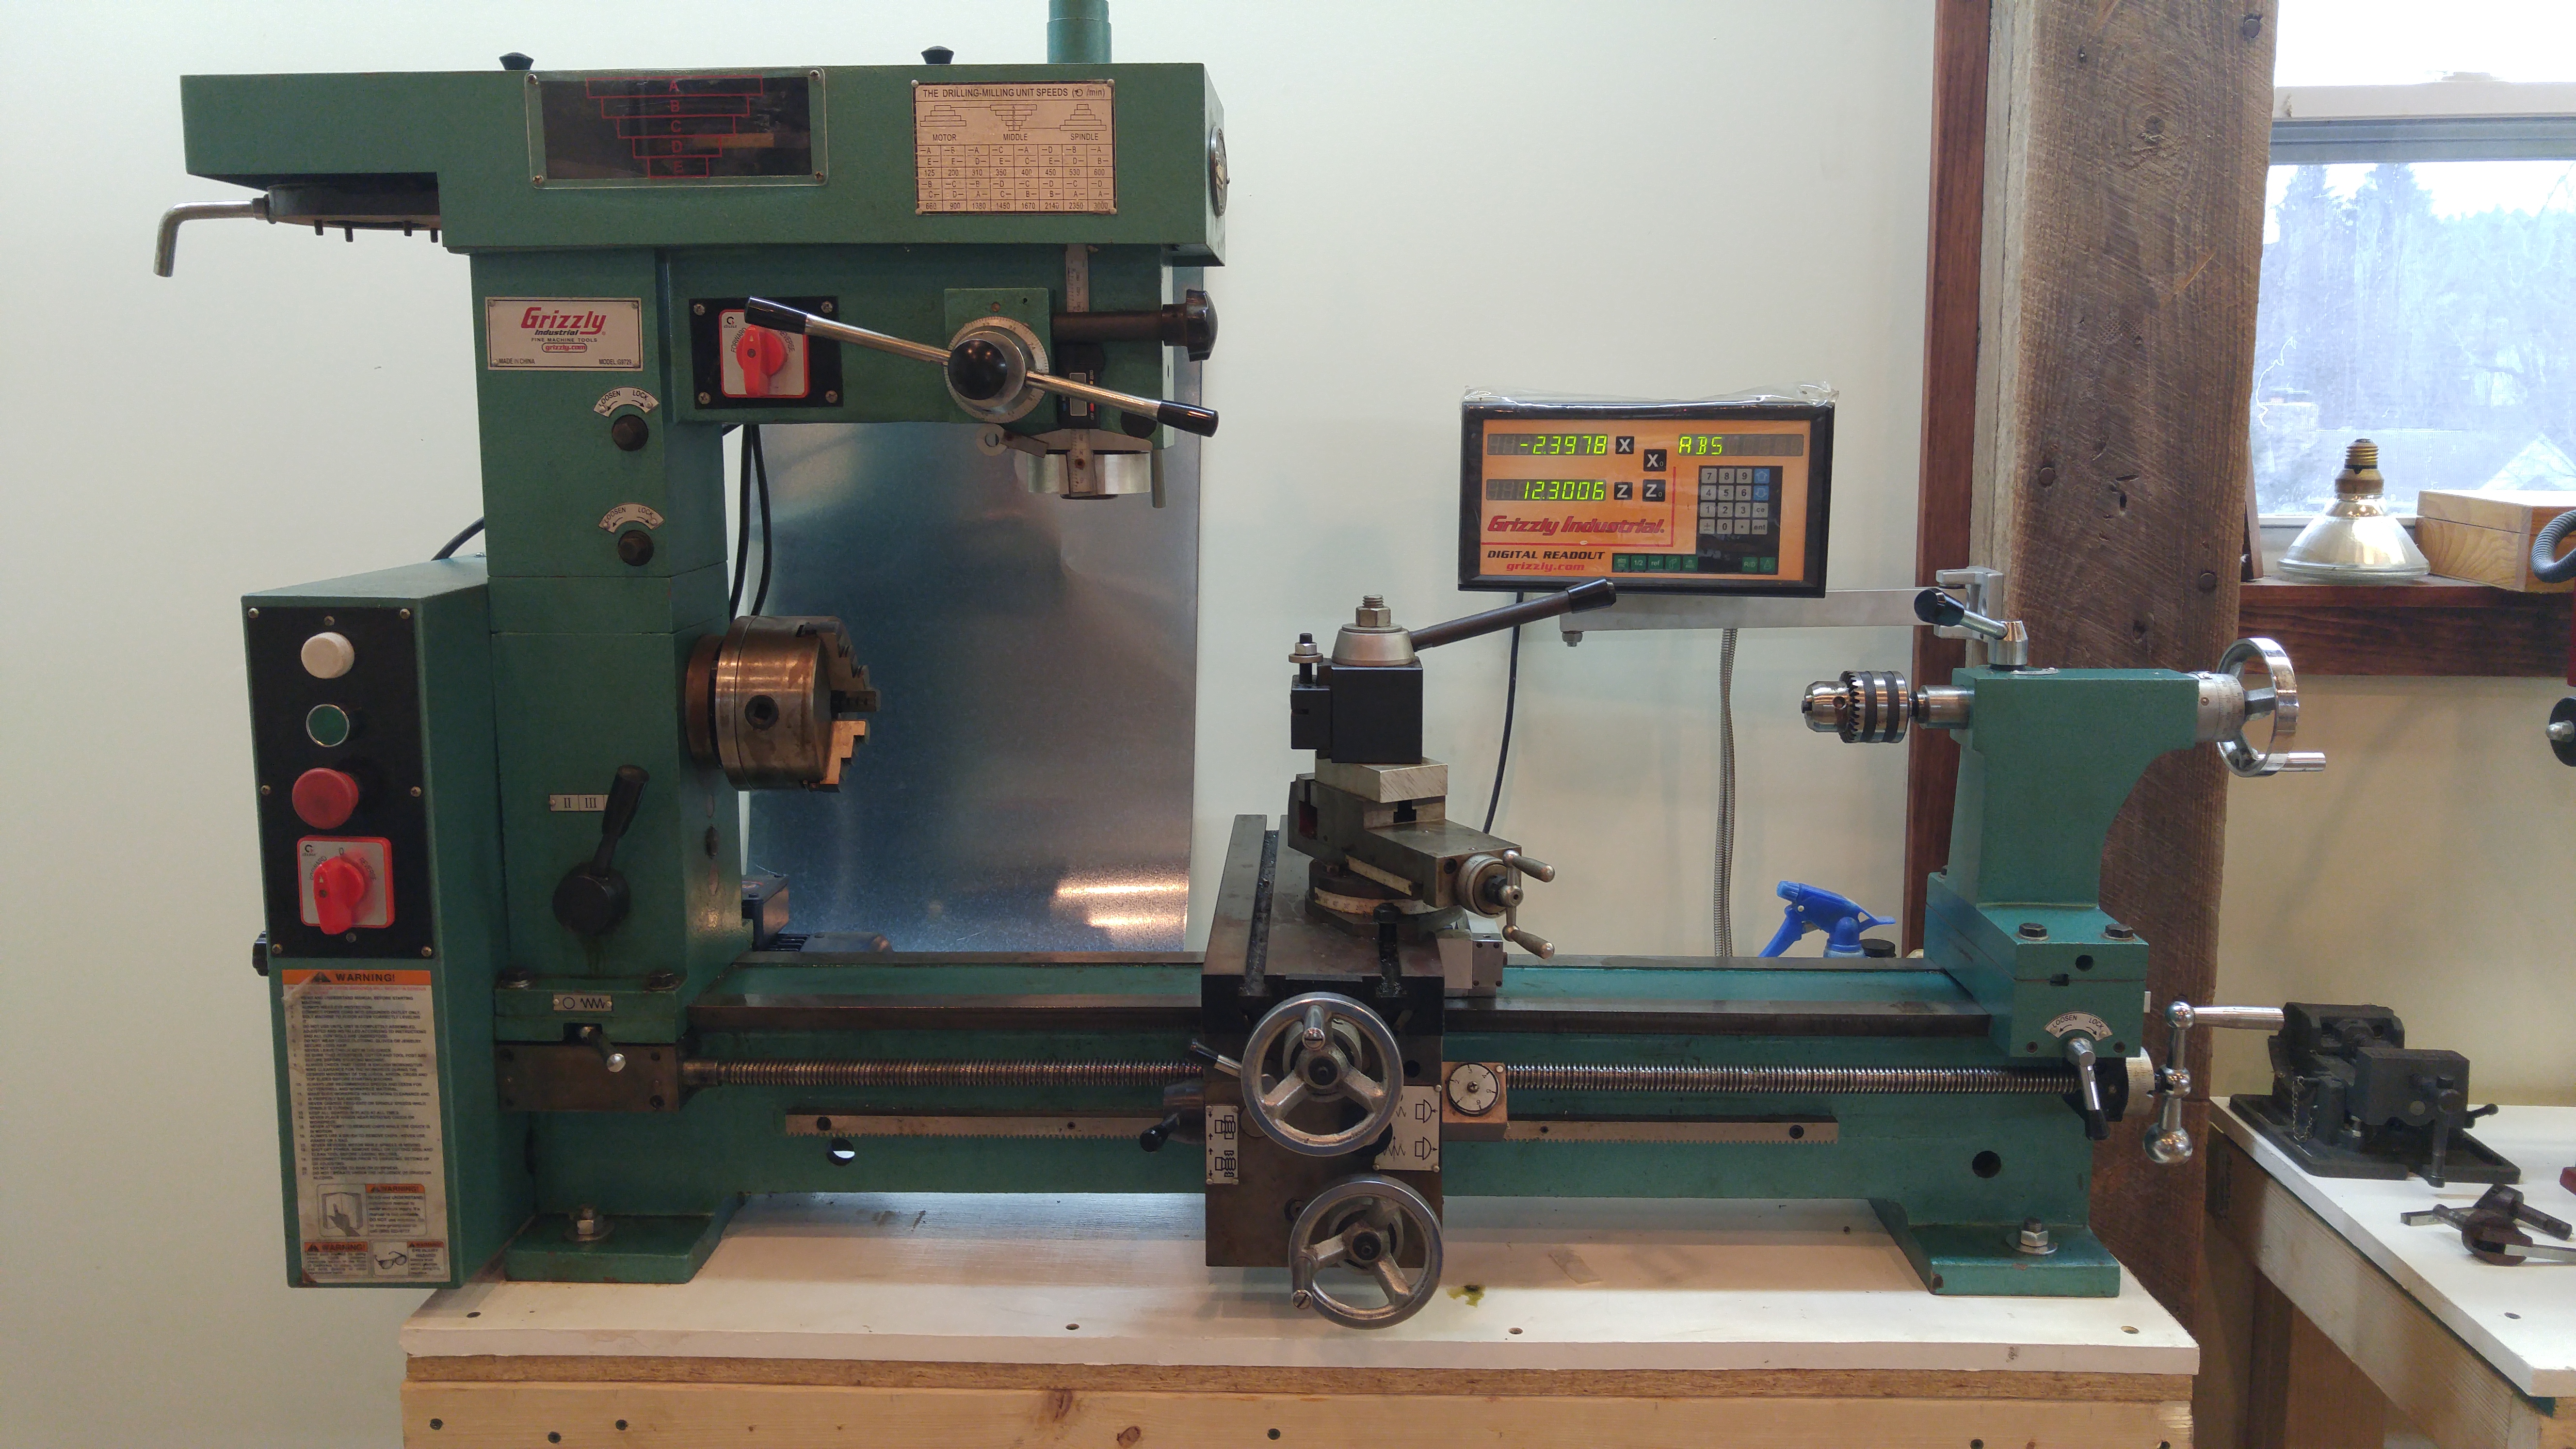
While I was buying the shop crane at Harbor Freight, I took advantage of their New Year’s Day 25% Off Sale and bought something that’s been on my “want” list for a while.
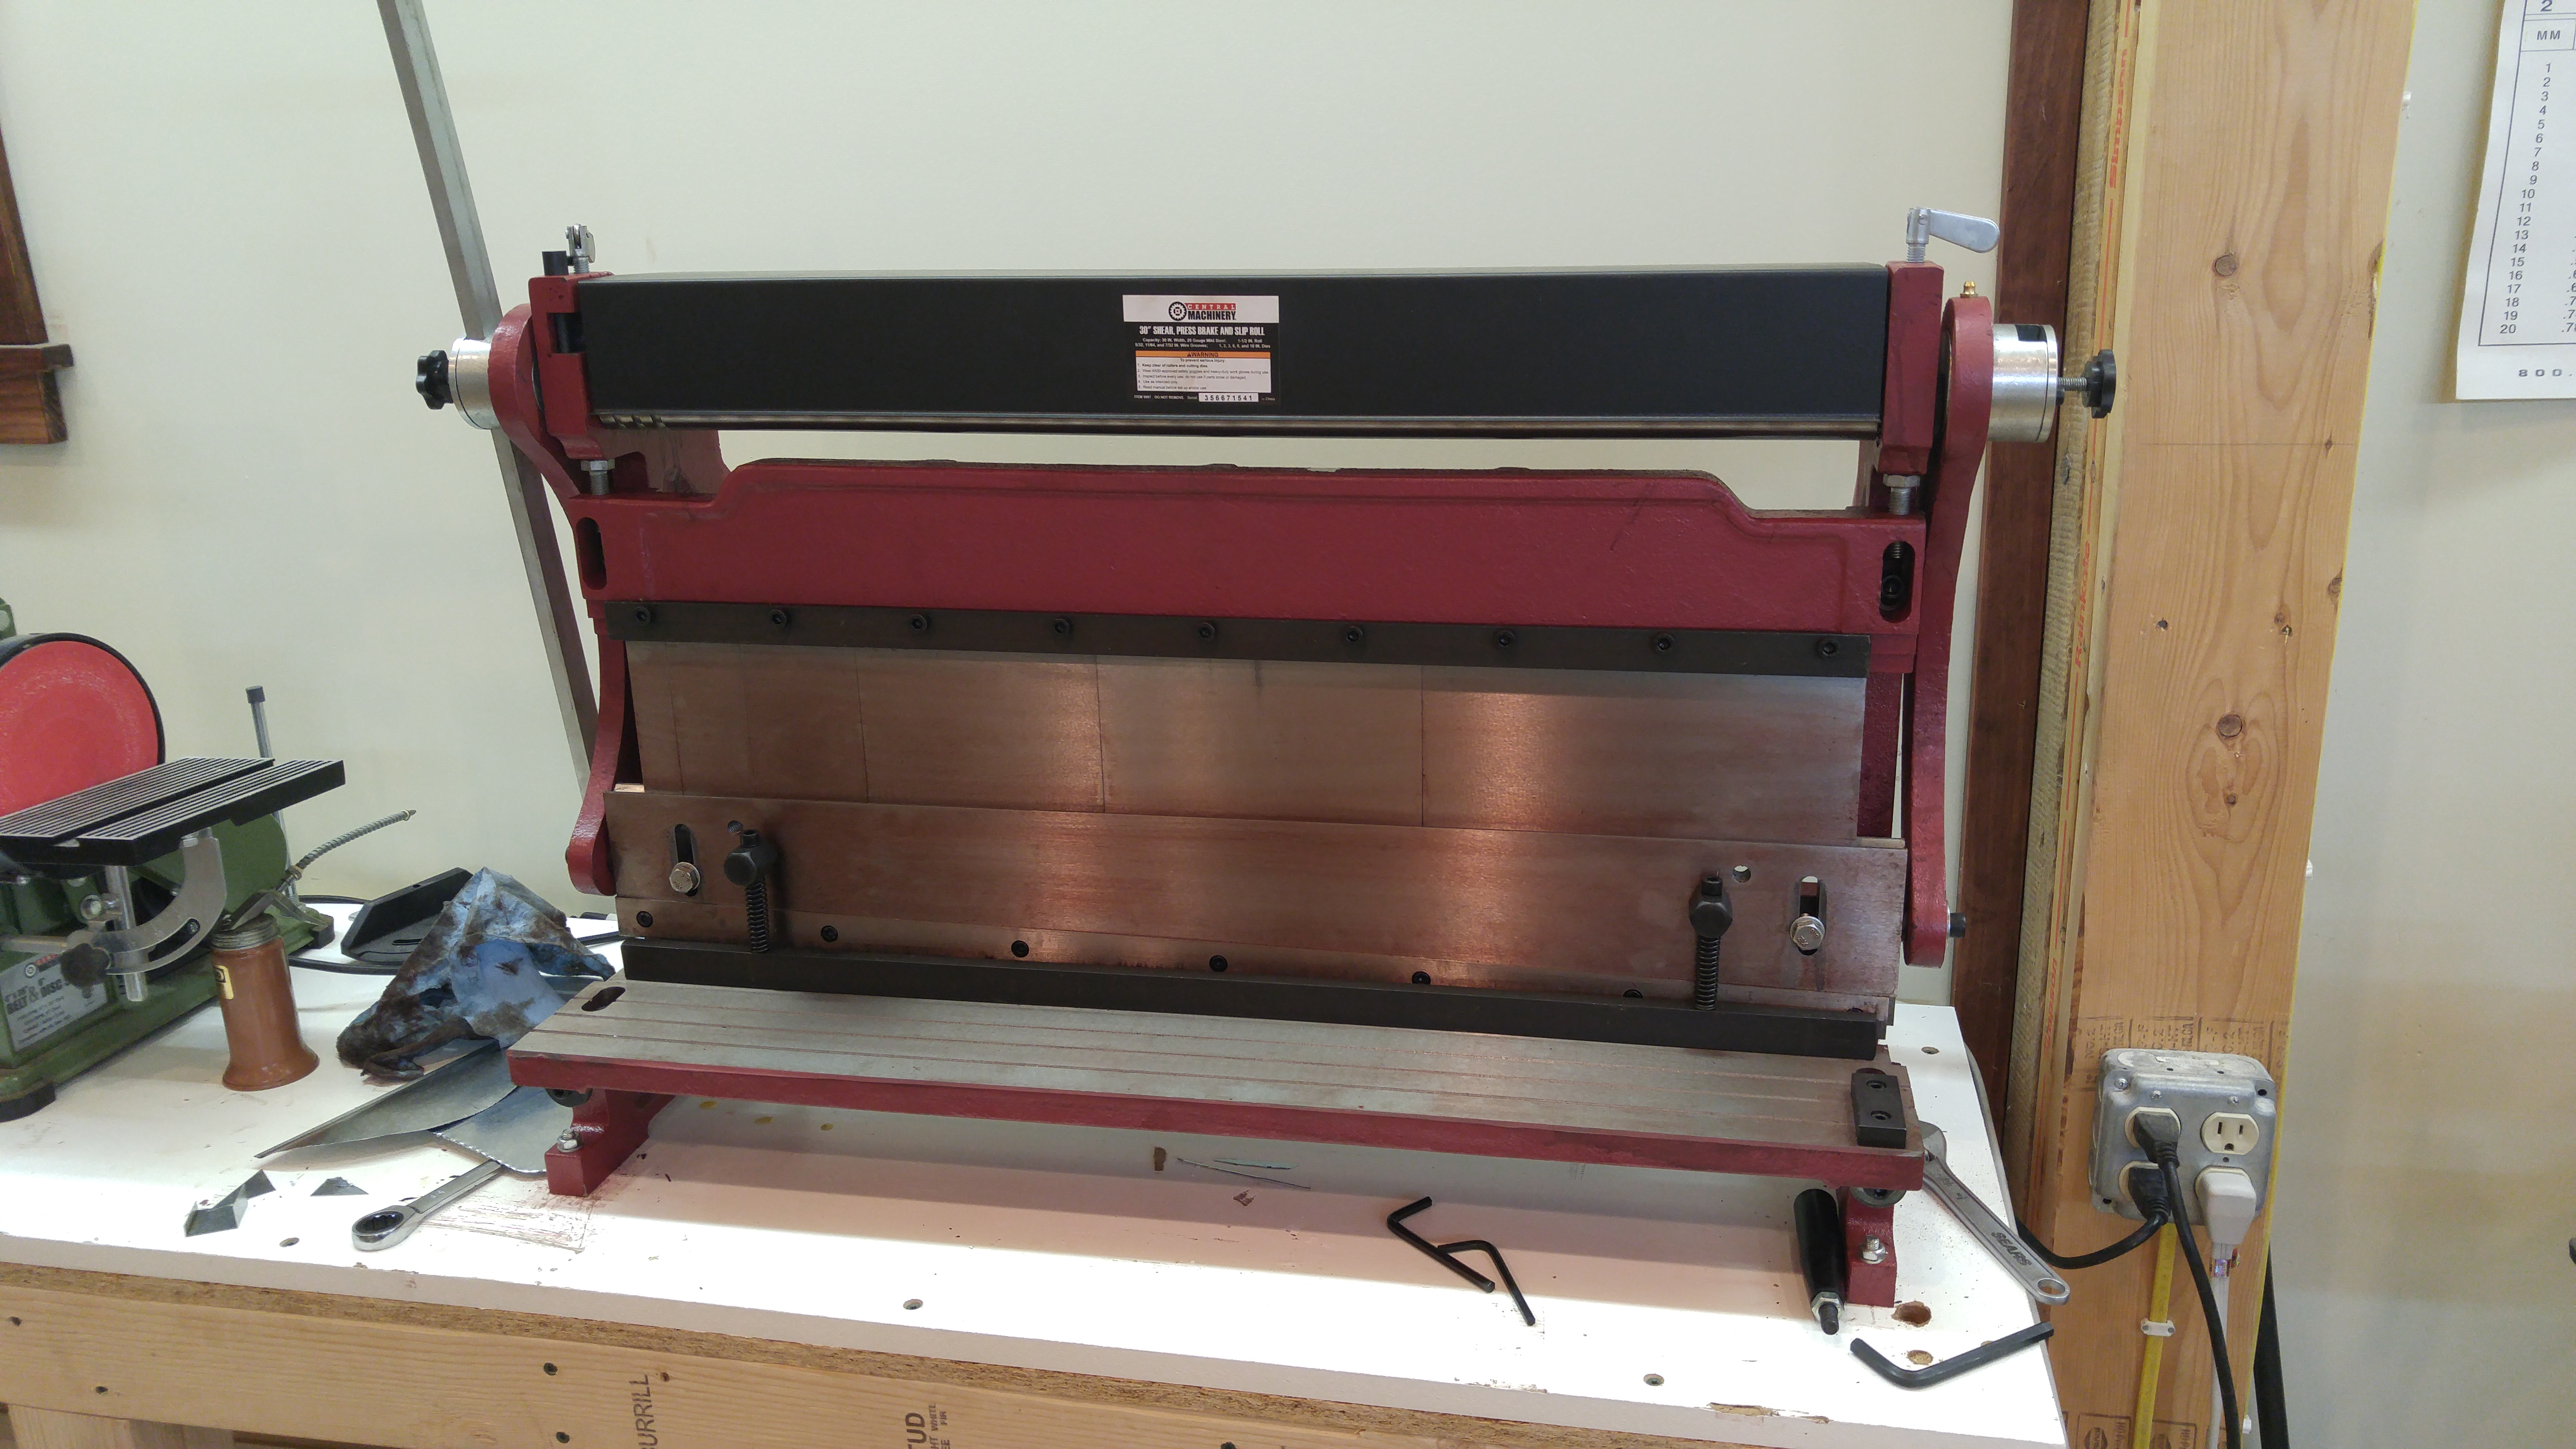
Now, of course, I needed a new table on which to mount the sheet metal machine. I decided that a single table to hold it and the mini mill was the best idea. I moved the credenza that used to support the drill press and some other tools to the far wall and installed the new table in its place, then lifted the machines up there and installed them.
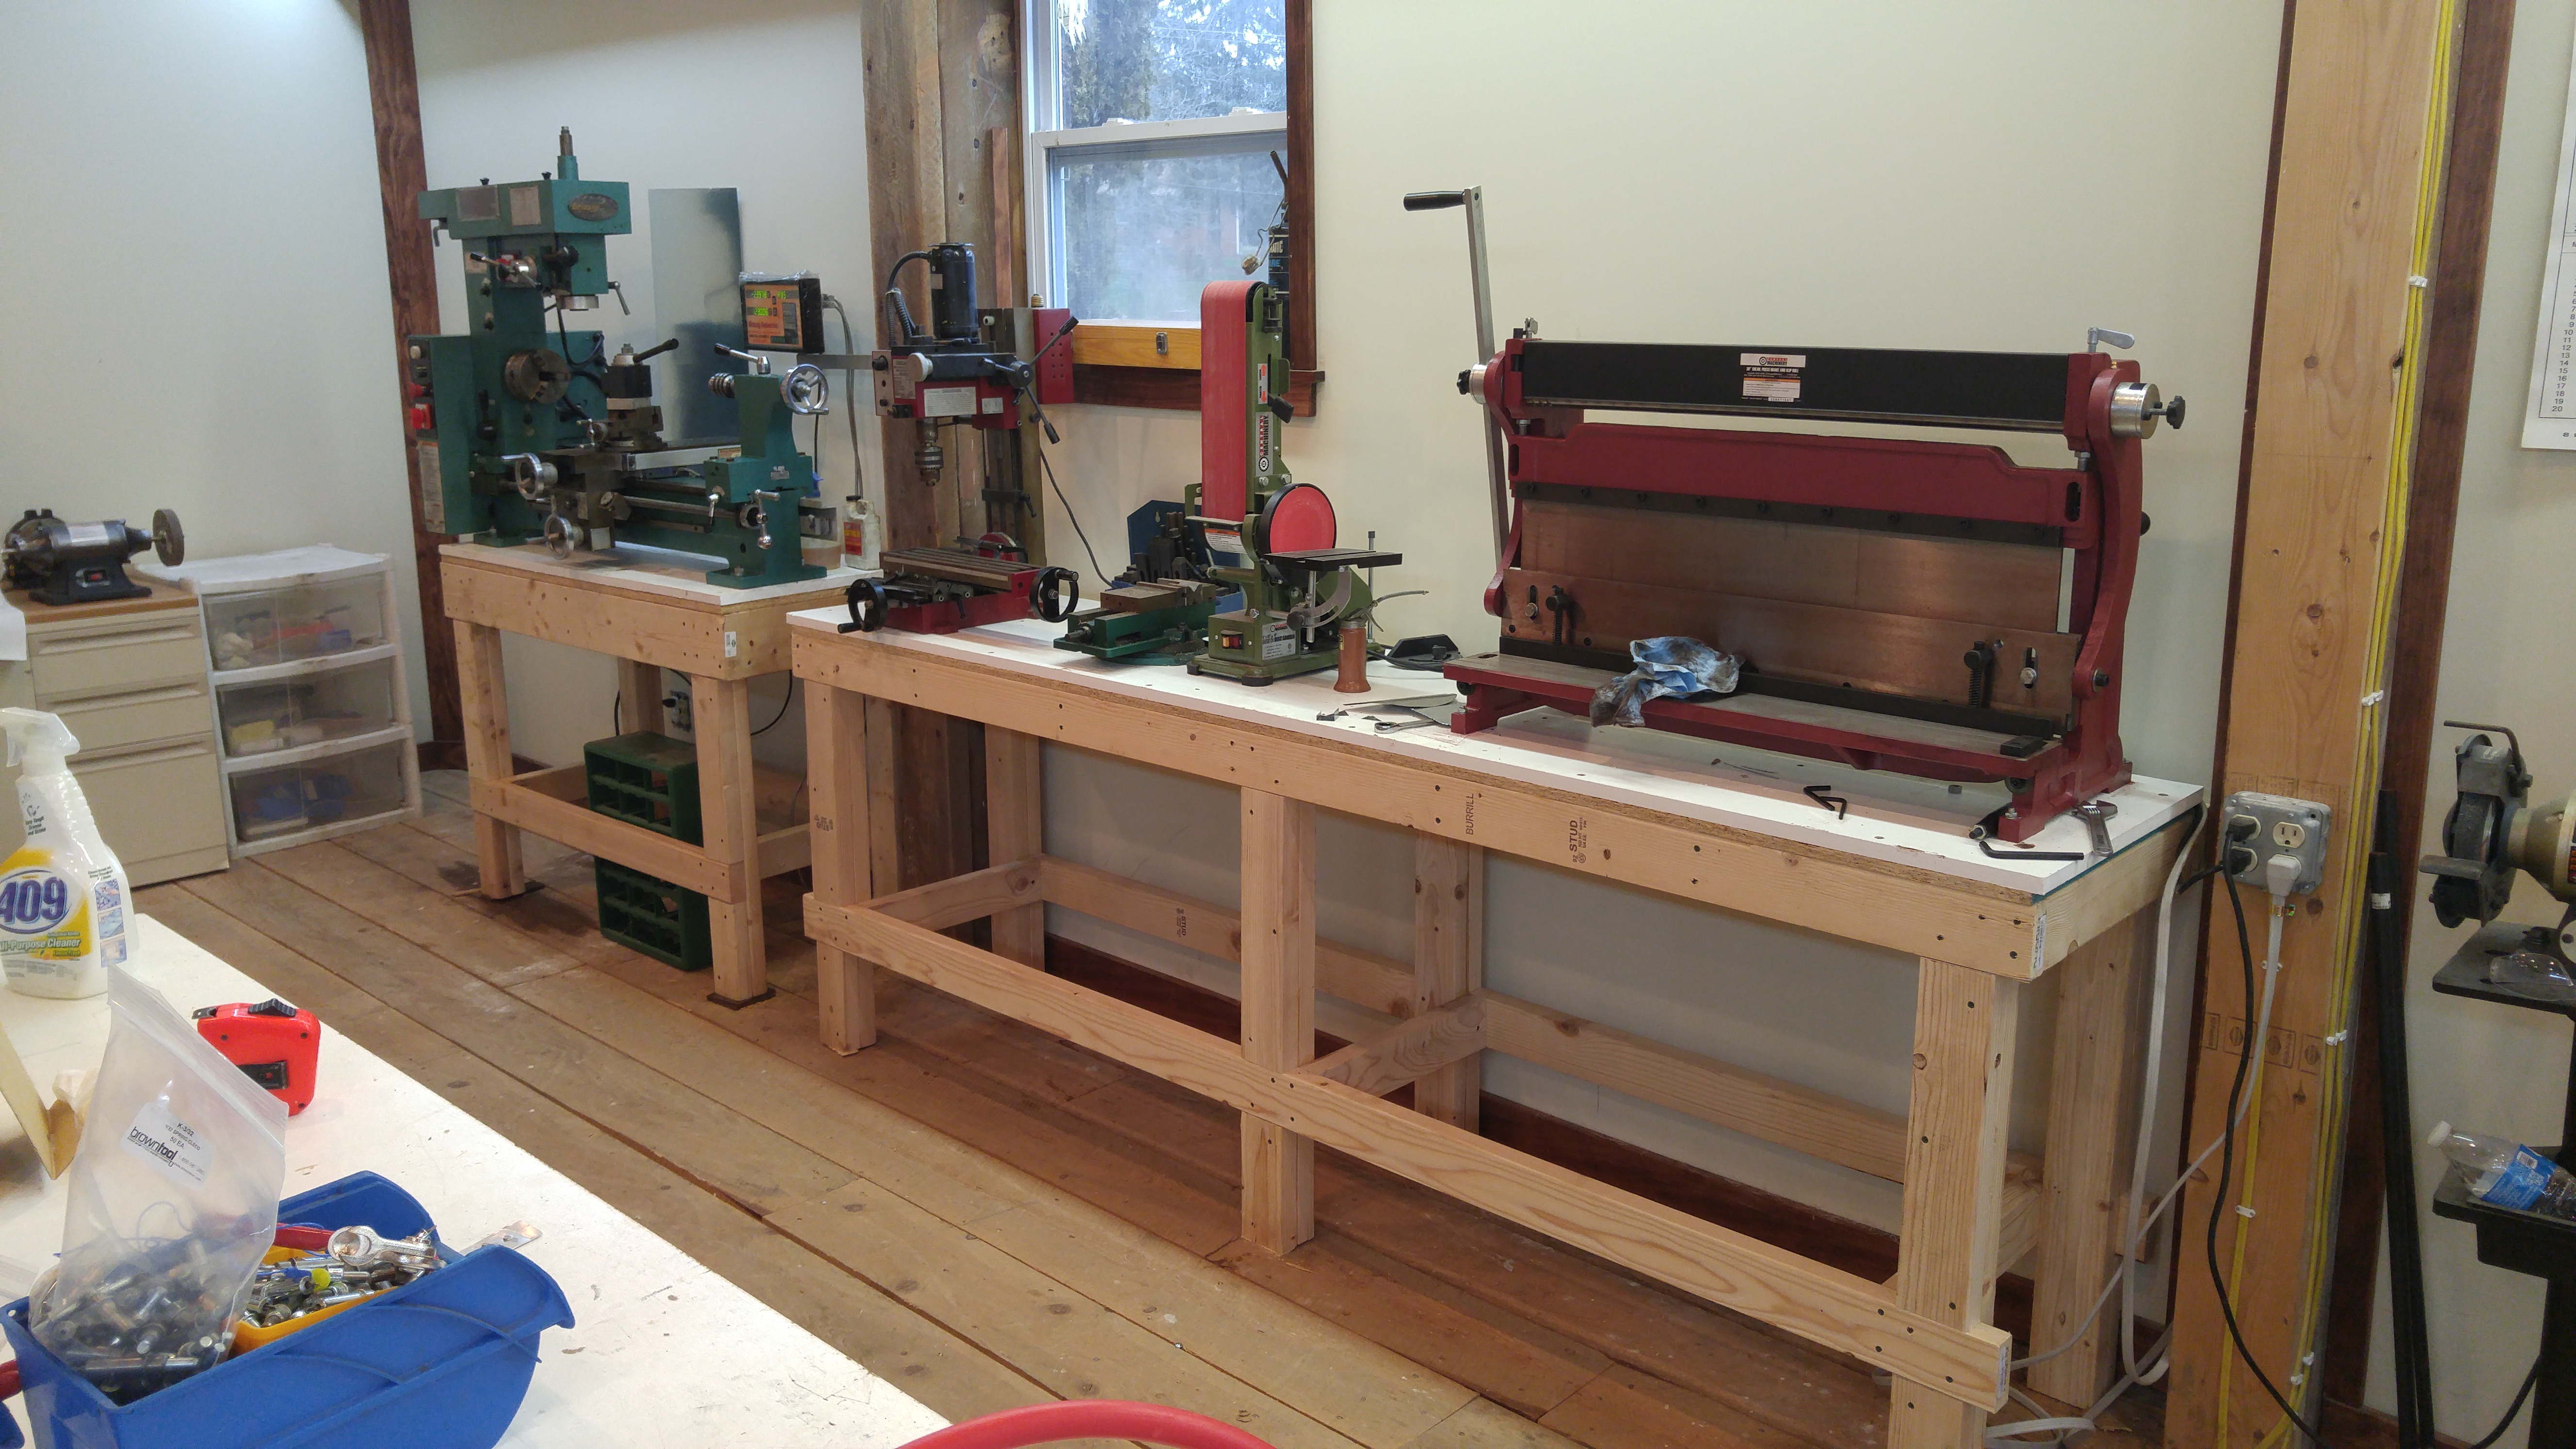
This represents what I hope is the last bit of tool installation for the shop, and now I will have the capability to make small metal parts that may come in handy during the RV-10 build. My original plan had been to build a metal shop in the basement of the barn, but that was going to require pouring concrete and building a whole new set of walls. My primary project is now the RV-10, so that will have to wait for some time, maybe forever. But at the moment I’m pretty happy with the shop I’ve put together.
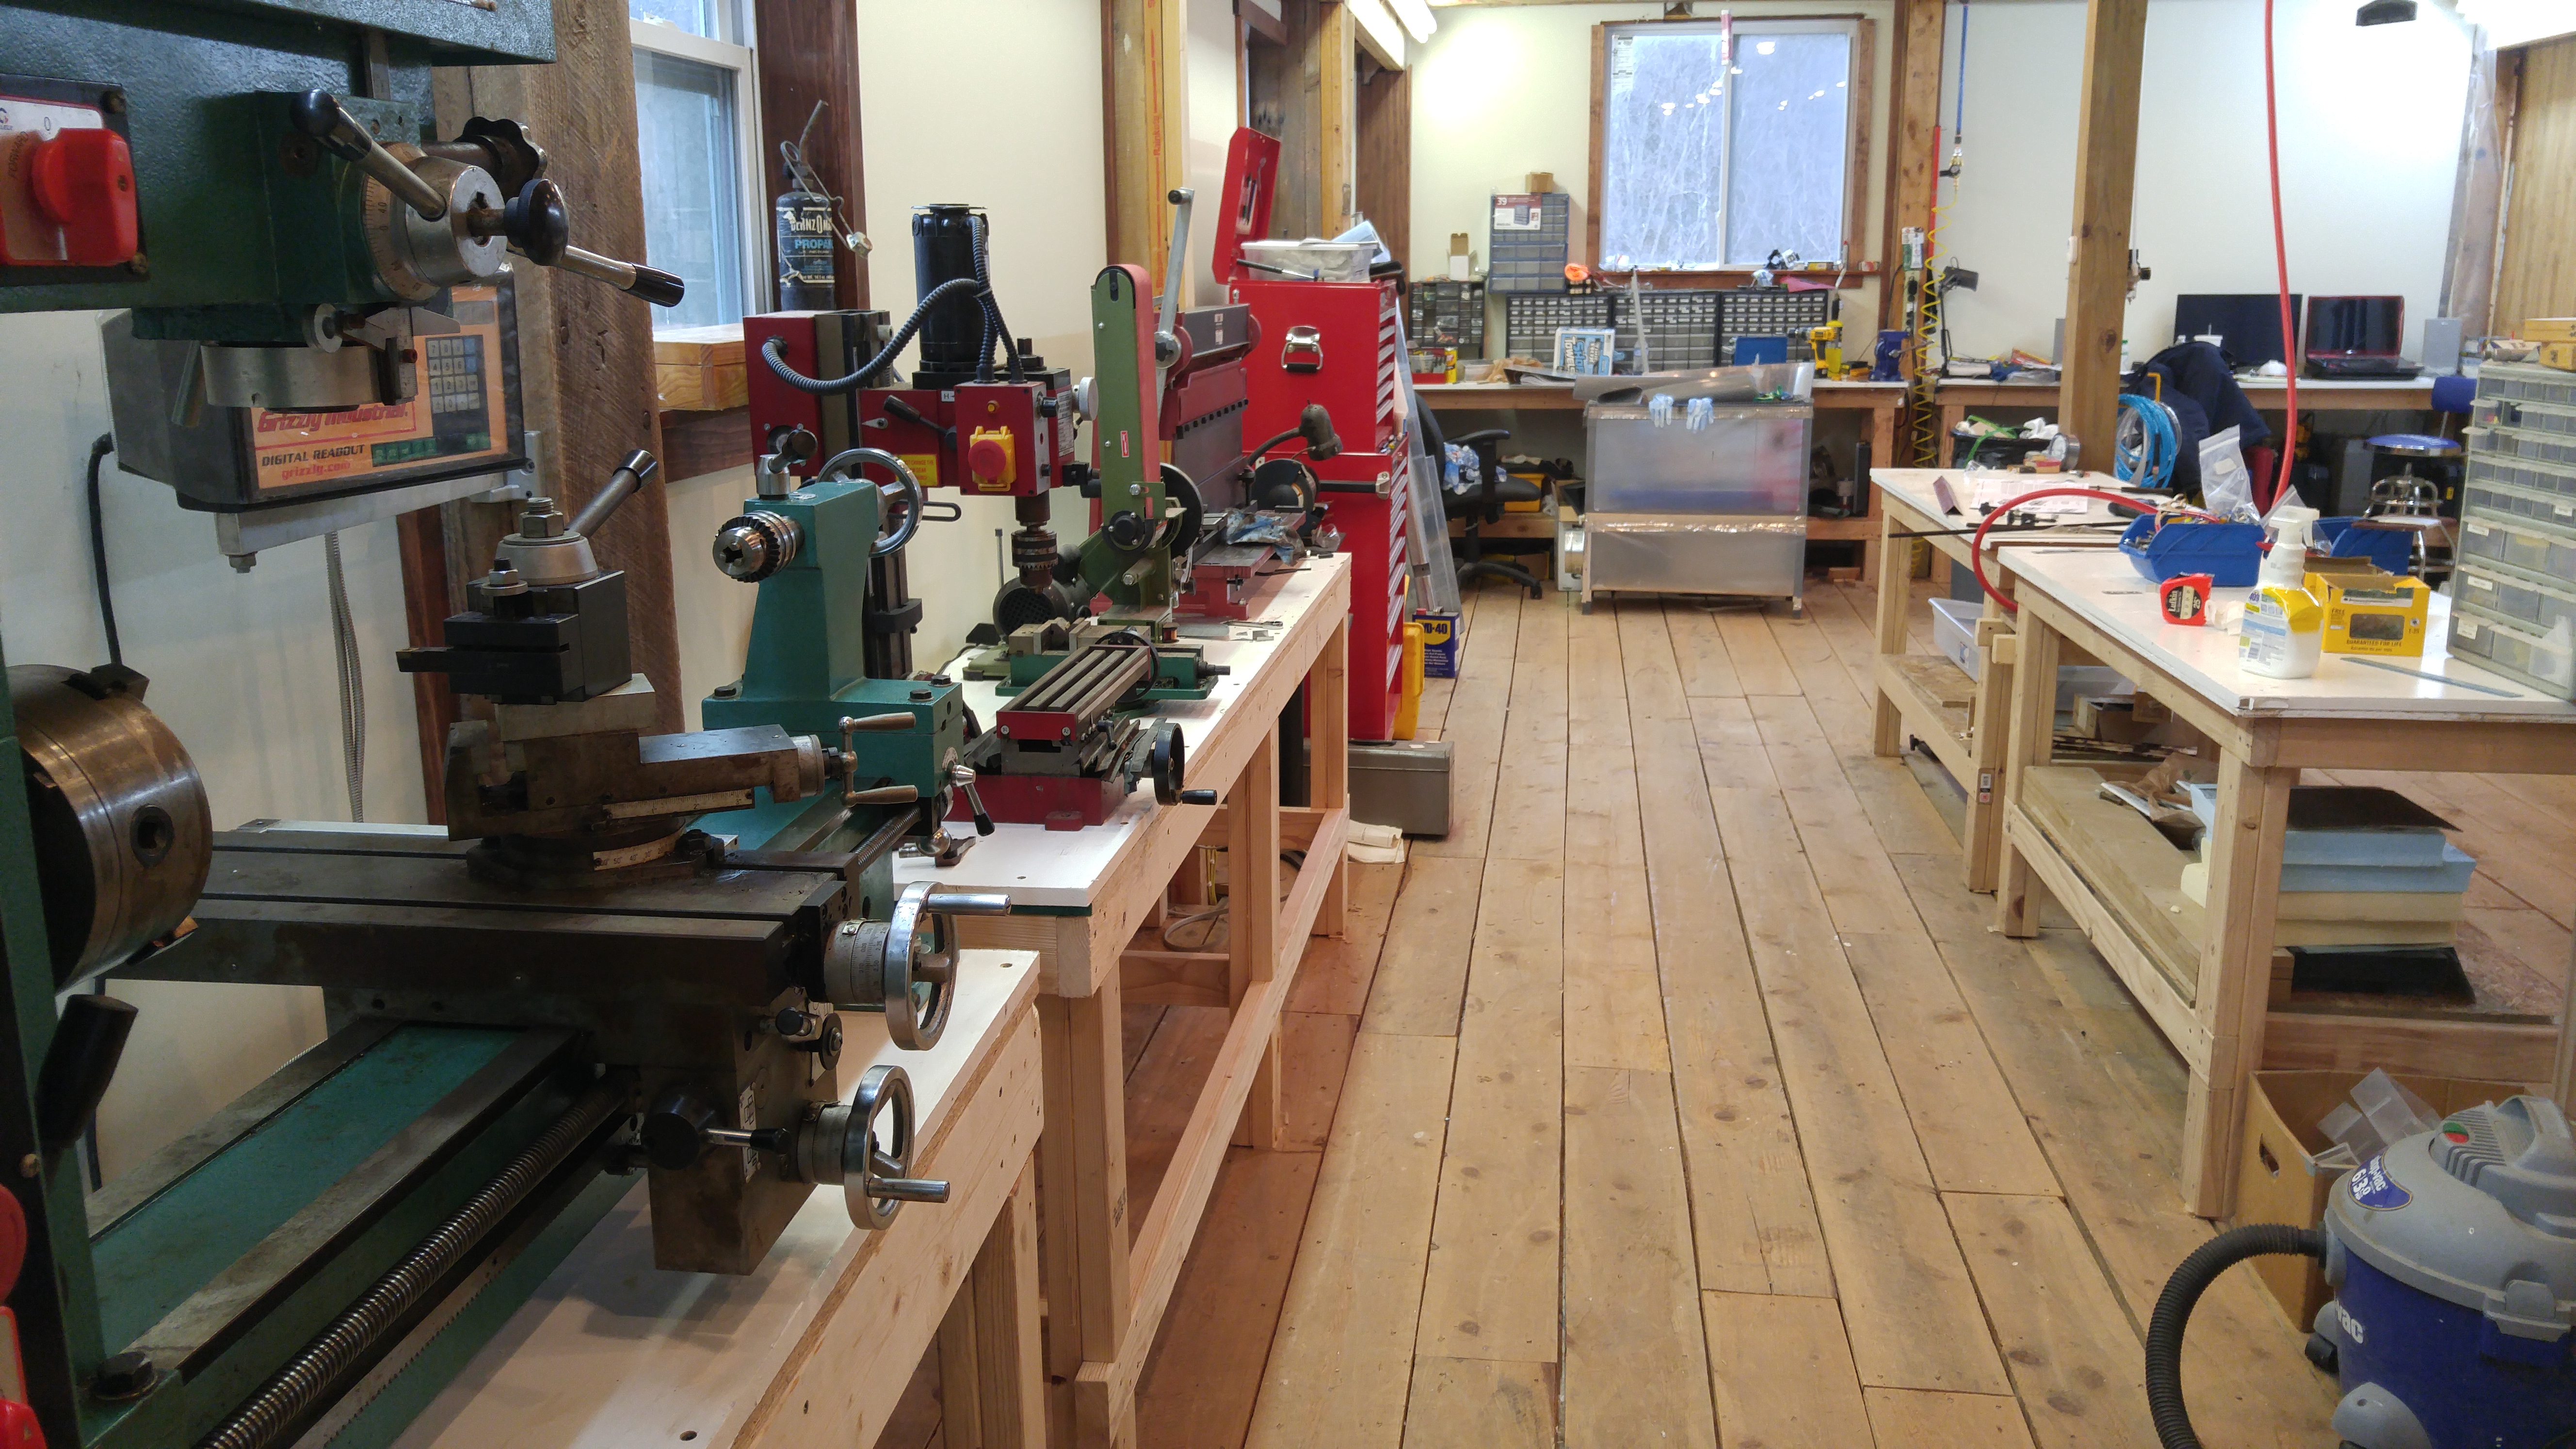

The main thing left to do is to install racks and hangers for the various completed aircraft parts that I want to store in the warm shop. I will probably end up bagging the rudder, vertical stabilizer, and elevators and storing them on the mezzanine with the horizontal stabilizer once they are fully complete. The tail cone will have to be bagged and stored on the main level of the barn. I don’t want to risk dropping or damaging it trying to lift it to the mezzanine.
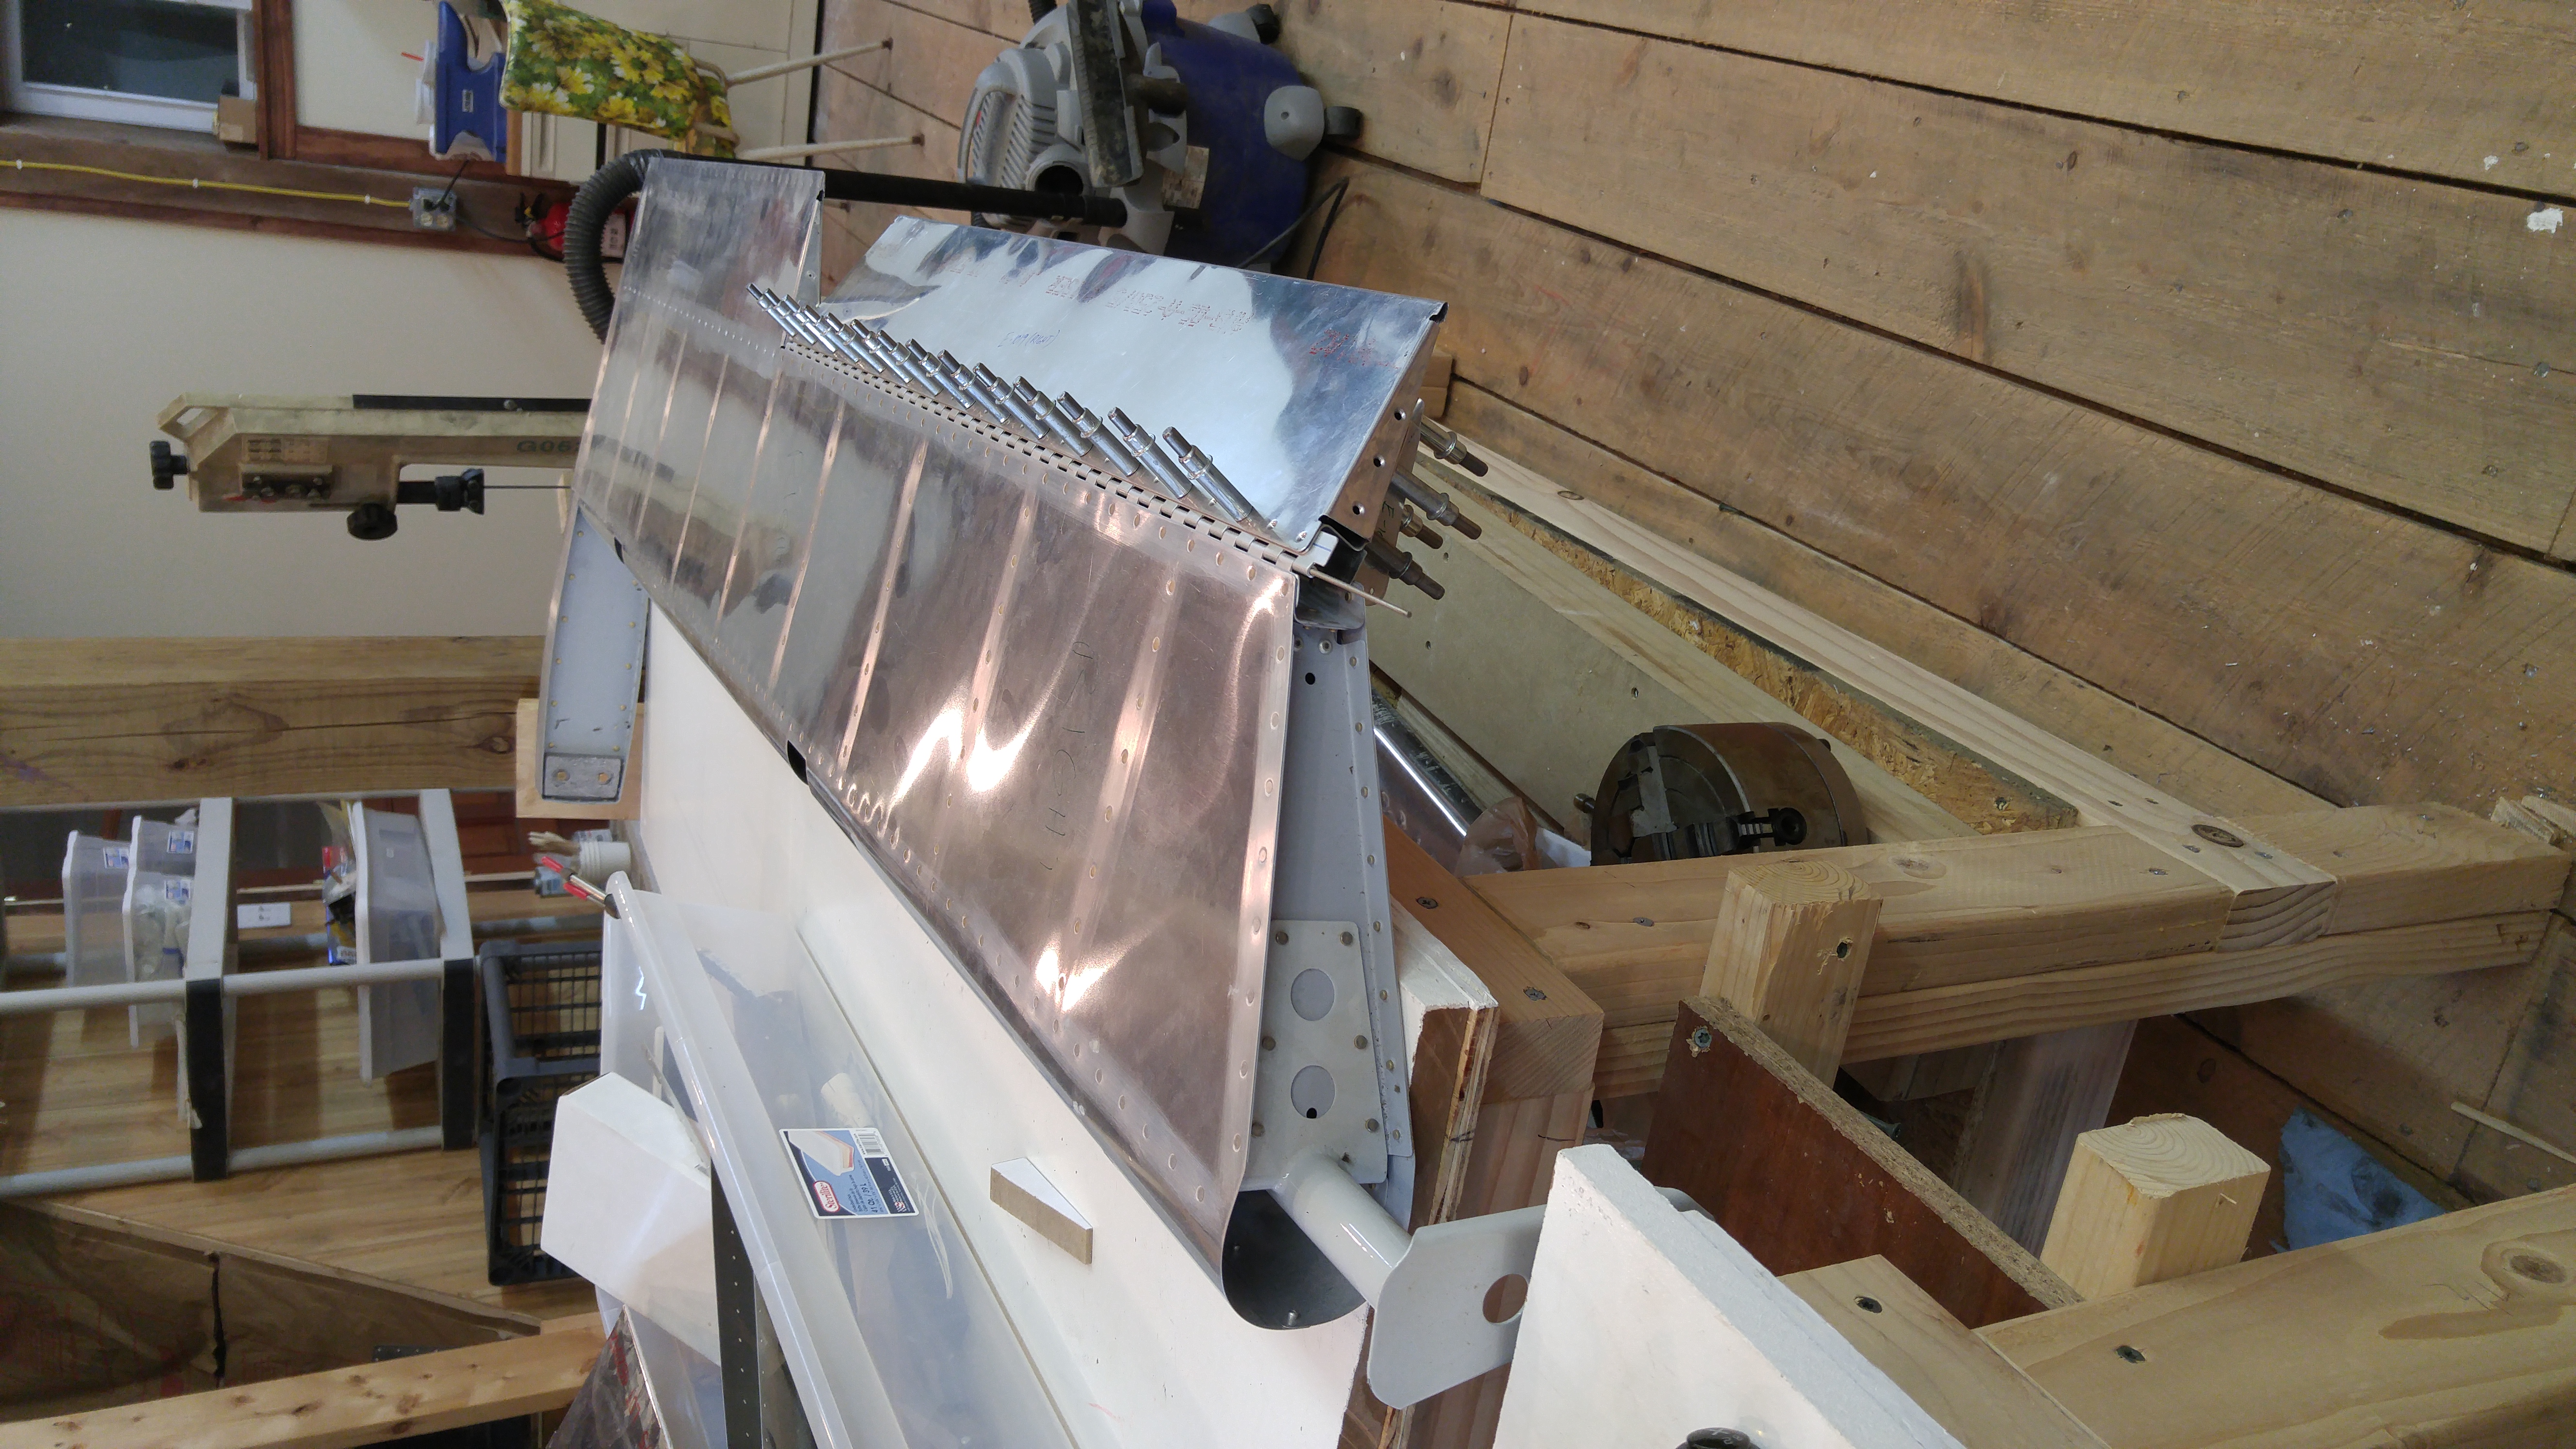
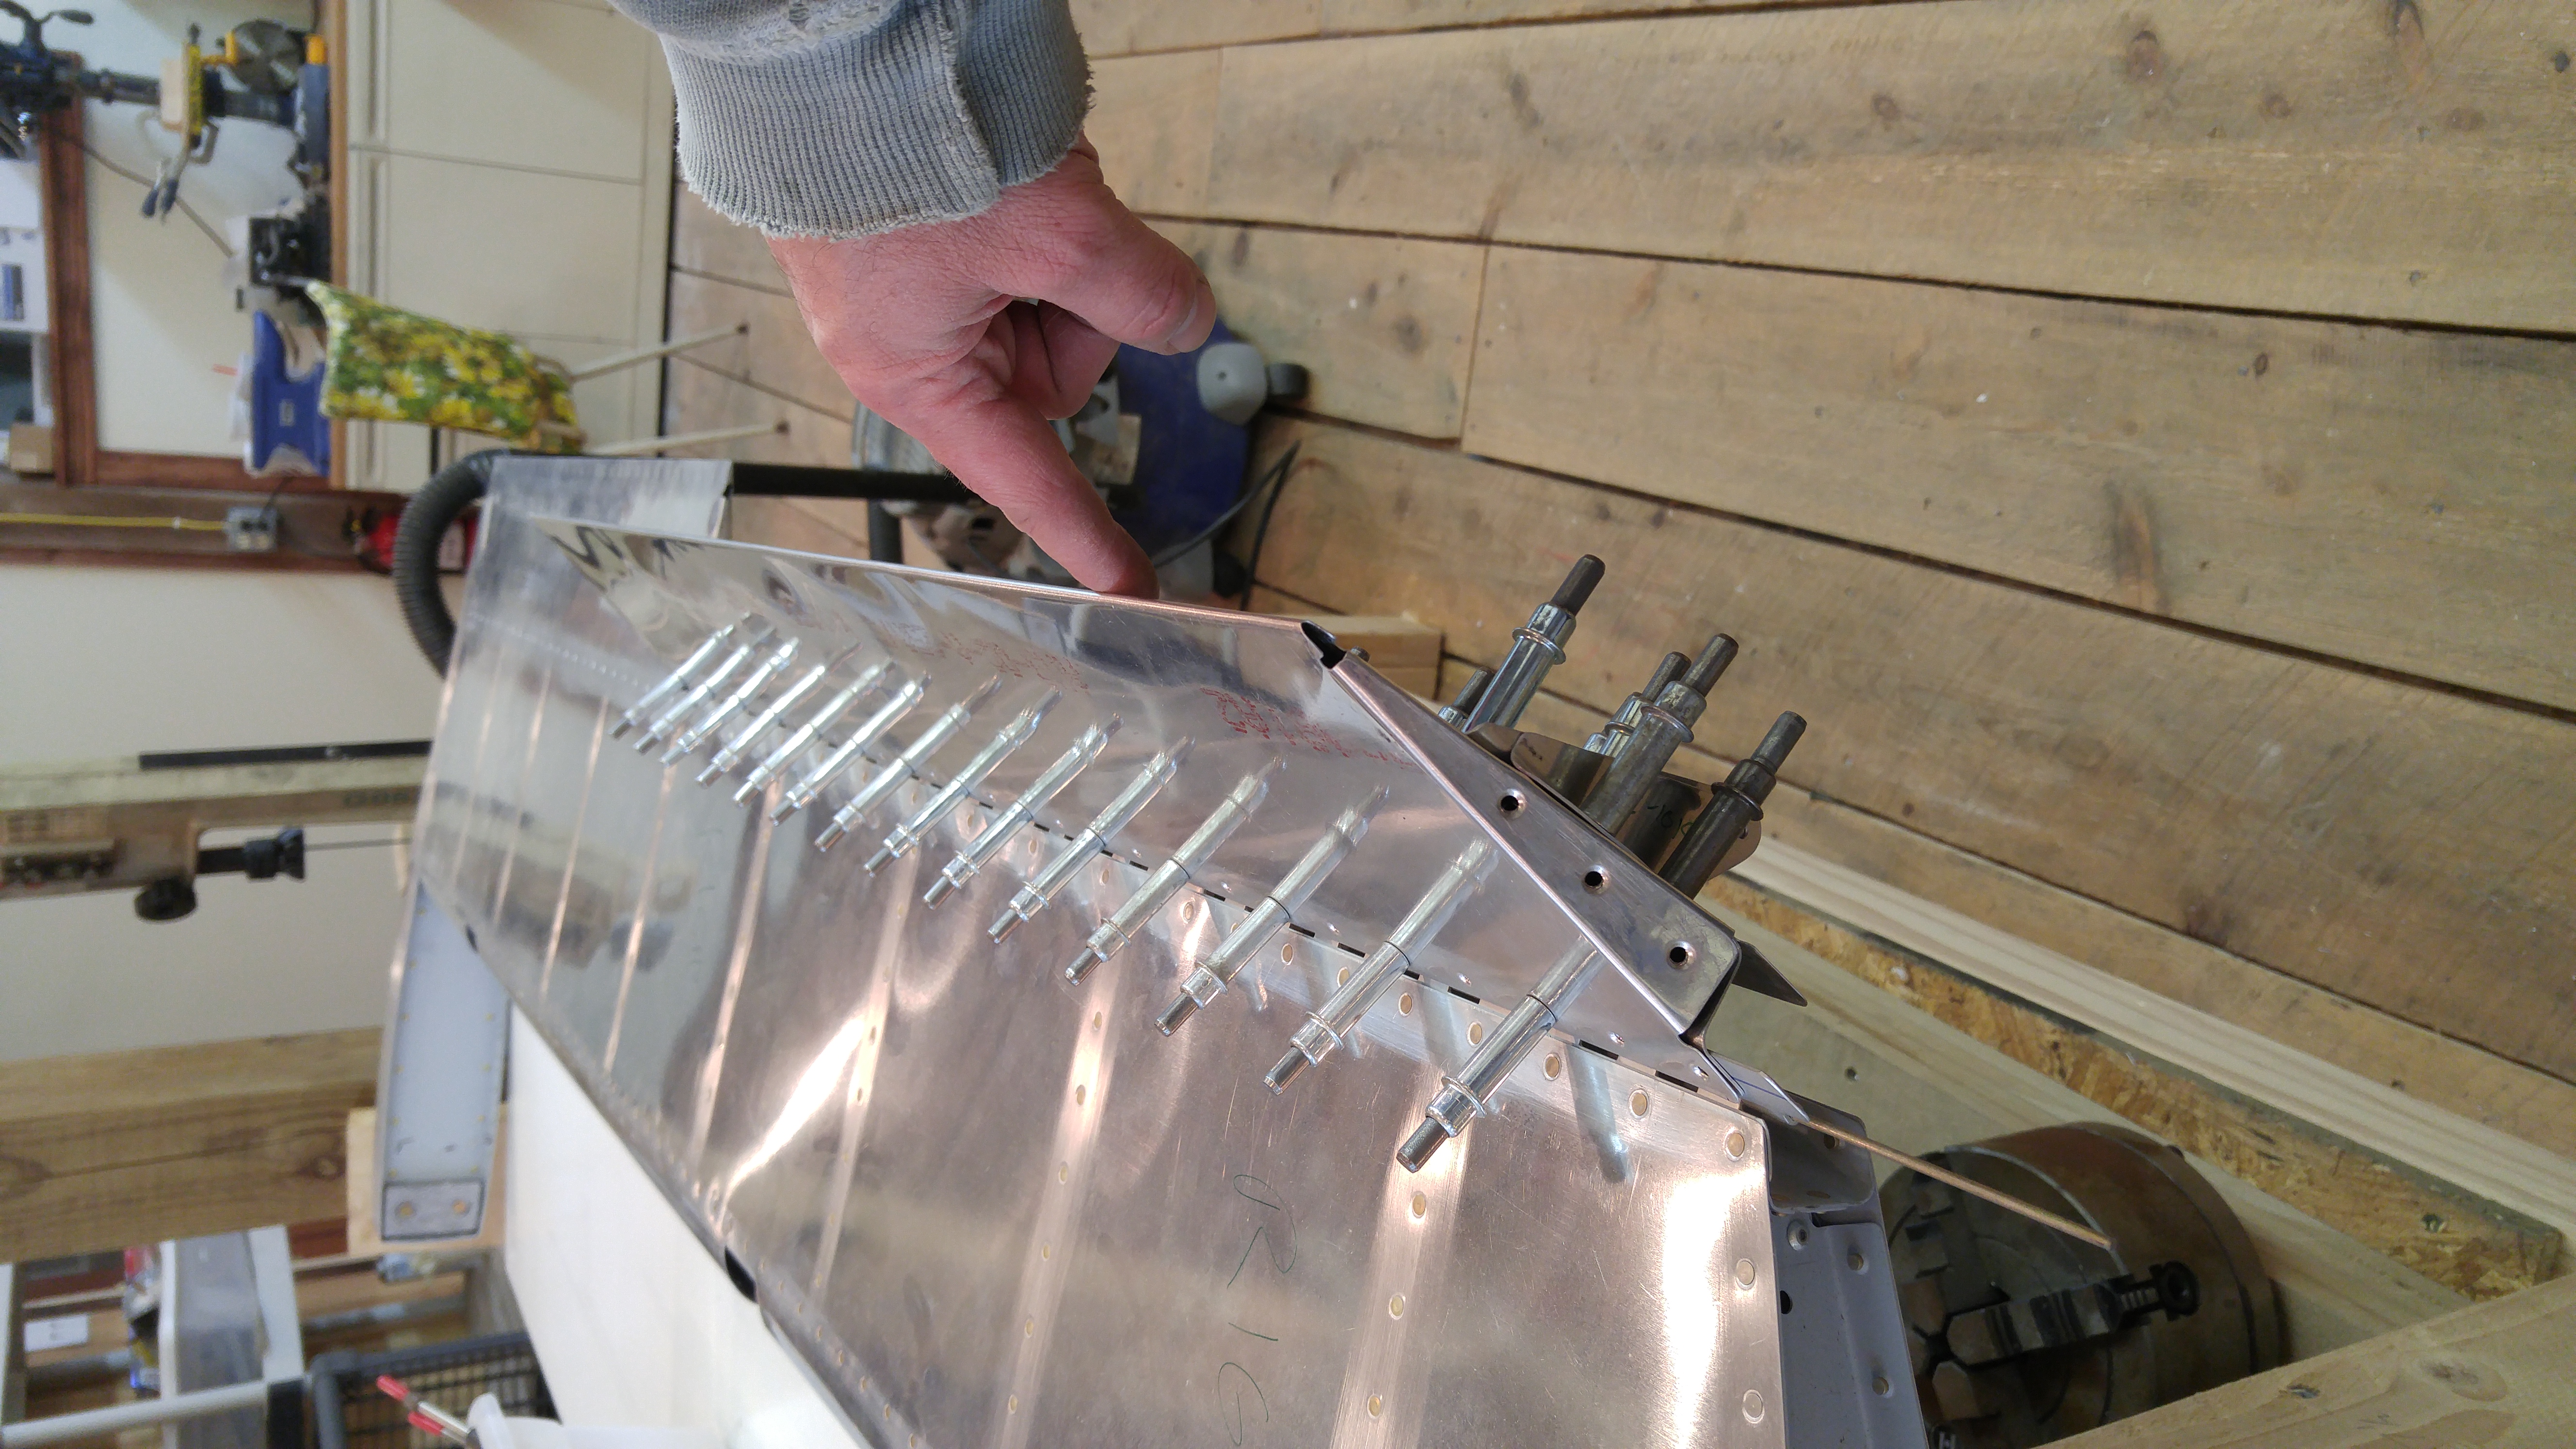
Completed Riveting Tailcone Bottom Skin
This evening I completed riveting the tailcone bottom skin F-1078 to the side skins F1073-L&R. I used the back riveting technique that others have used with success. My stainless back riveting plate allows 11 rivets to be done simultaneously. I may make a longer back rivet plate if it becomes an issue.
Also riveted F-1055-L&R to the side skins.
I had two rivets that needed to be drilled out and replaced. One required an “oops” rivet.
Time today 3:03. Total time 19:30.
First Rivet!

First Rivet Driven! Left hand side of vertical stabilizer on front spar just above the middle inspar rib. Now we’re rolling!
brief update
I’ve been spending time this summer getting the workshop ready to go so I don’t freeze my butt off working on the RV-10 in the winter. Pics will follow once I’m substantially complete.
Also I have been working on finishing up the instrument rating. Once I have that in my pocket and the workshop is ready to go, it should be full steam ahead on the RV-10 construction (I expect some interruption in productivity due to the expected release of Fallout 4 in November).