Just about 5 hours (including a few short breaks) to countersink the holes on the top flange of the right hand main spar. About 308 holes, so roughly 1 per minute. Only about 930 left to go…I’m beginning to see why it takes people over 2,000 hours to build an RV-10!
Tag: construction
Spar Confusion: Page 13-3, Steps 2 and 3. VAF to the Rescue!
Steps 2 and 3 on Page 13-3 of the RV-10 Wing plans can be rather confusing as to which holes to countersink. The language seems to be rather precise, and if taken literally, has you looking for holes that aren’t there.
The confusing sentence in Step 2 is
“Machine countersink those rib to spar flange attach rivet holes that are in line with the nutplate attach rivet holes and are inboard of the most outboard fuel tank attach nutplate.”
It’s not a difficult sentence to parse, particularly, and the latter third is quite clear. The first half, however, indicates that there should be some (rib to spar flange attach) holes IN LINE with the nutplate rivet holes. Well, if taken literally, there are NO SUCH HOLES. There are some holes that partially fit the description, but they are not exactly in line with the nutplate rivet holes–but their centerlines are about 1/16″ of an inch aft of the nutplate rivet holes’ centerlines. To someone like me who tends to read things very literally, this sentence has the potential to introduce significant confusion and frustration.
I had read aloud and thought about these steps for FAR too long, and finally decided that someone else surely has had the same confusion. So a simple search on Van’s Air Force Forums produced this gem of a thread, which I recommend to anyone as confused as I was.
A link from that thread, provided by Mike Jimenez, contains some helpful photos.
Right and Left Wing Box Stiffener Match Drilling
8hr today on the wing box stiffeners and tank attach nutplate rivet hole countersinking.
Left Wing Spar Web Extension
Clecoed and final drilled the left win spar extension and associated plates. Deburred. Time 1.75 hrs. Will prime later. Also worked on page 10-22 and completed tail cone top deck installation–1 hr.
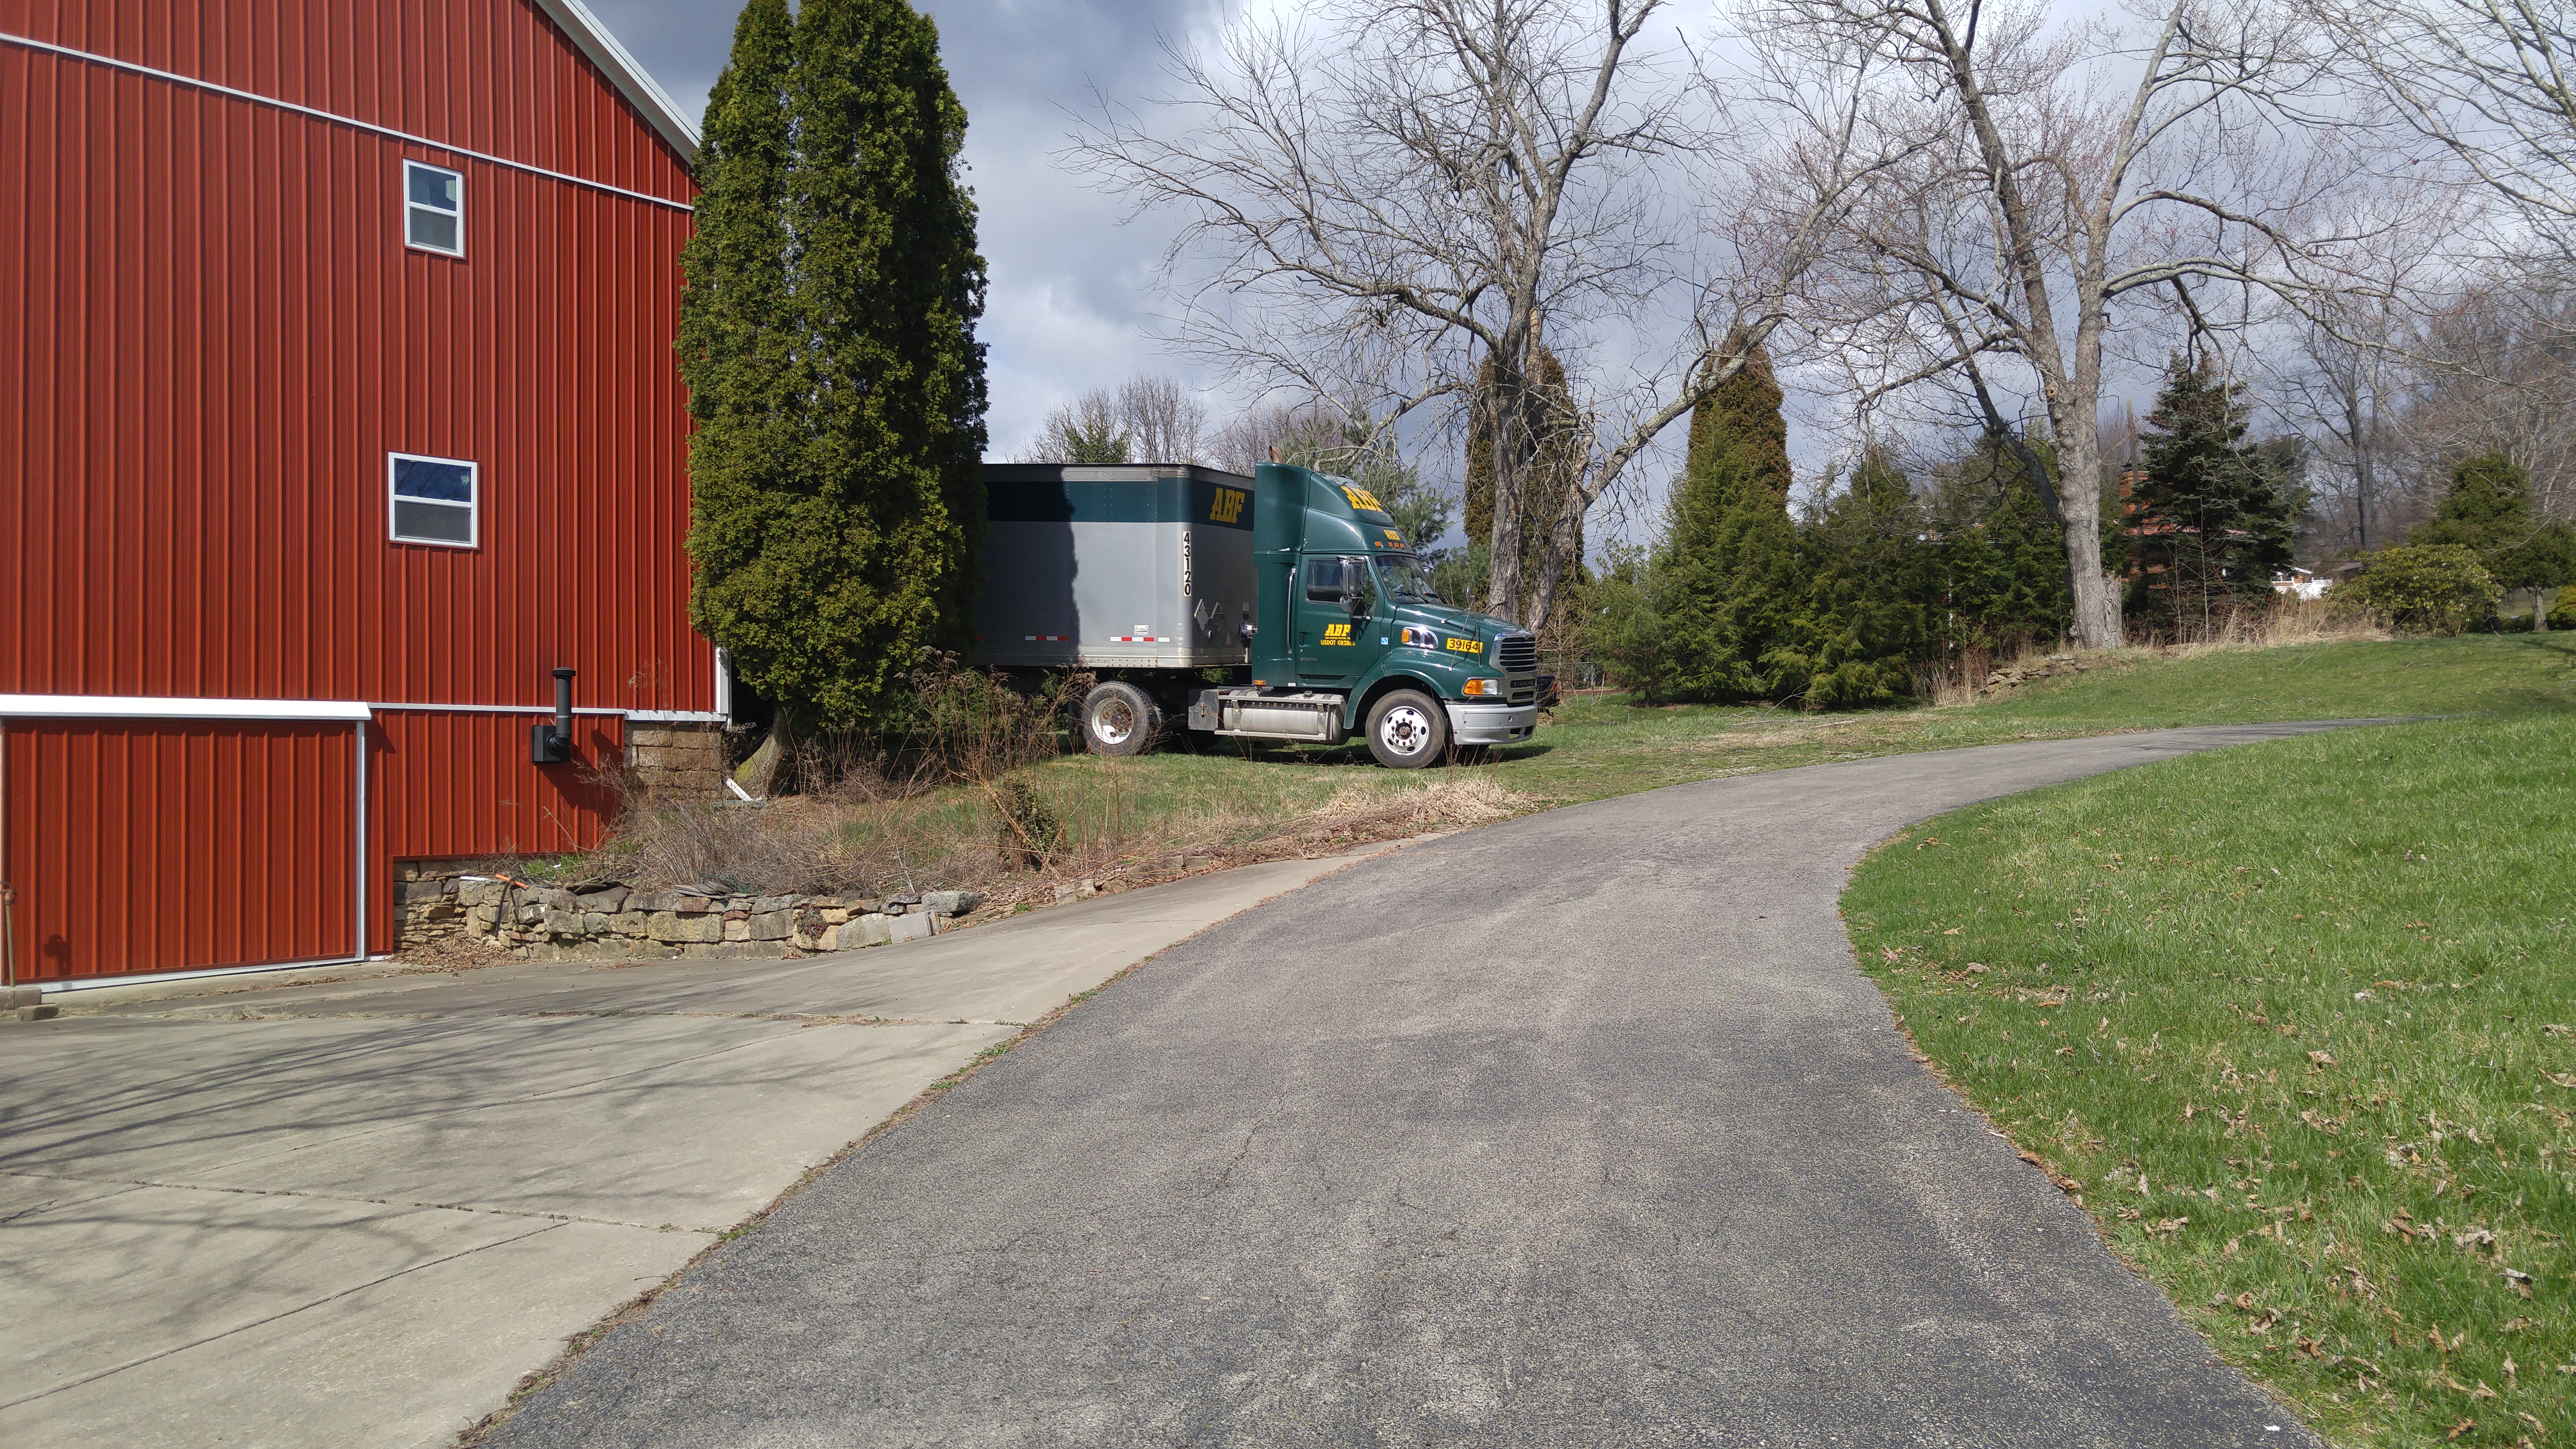
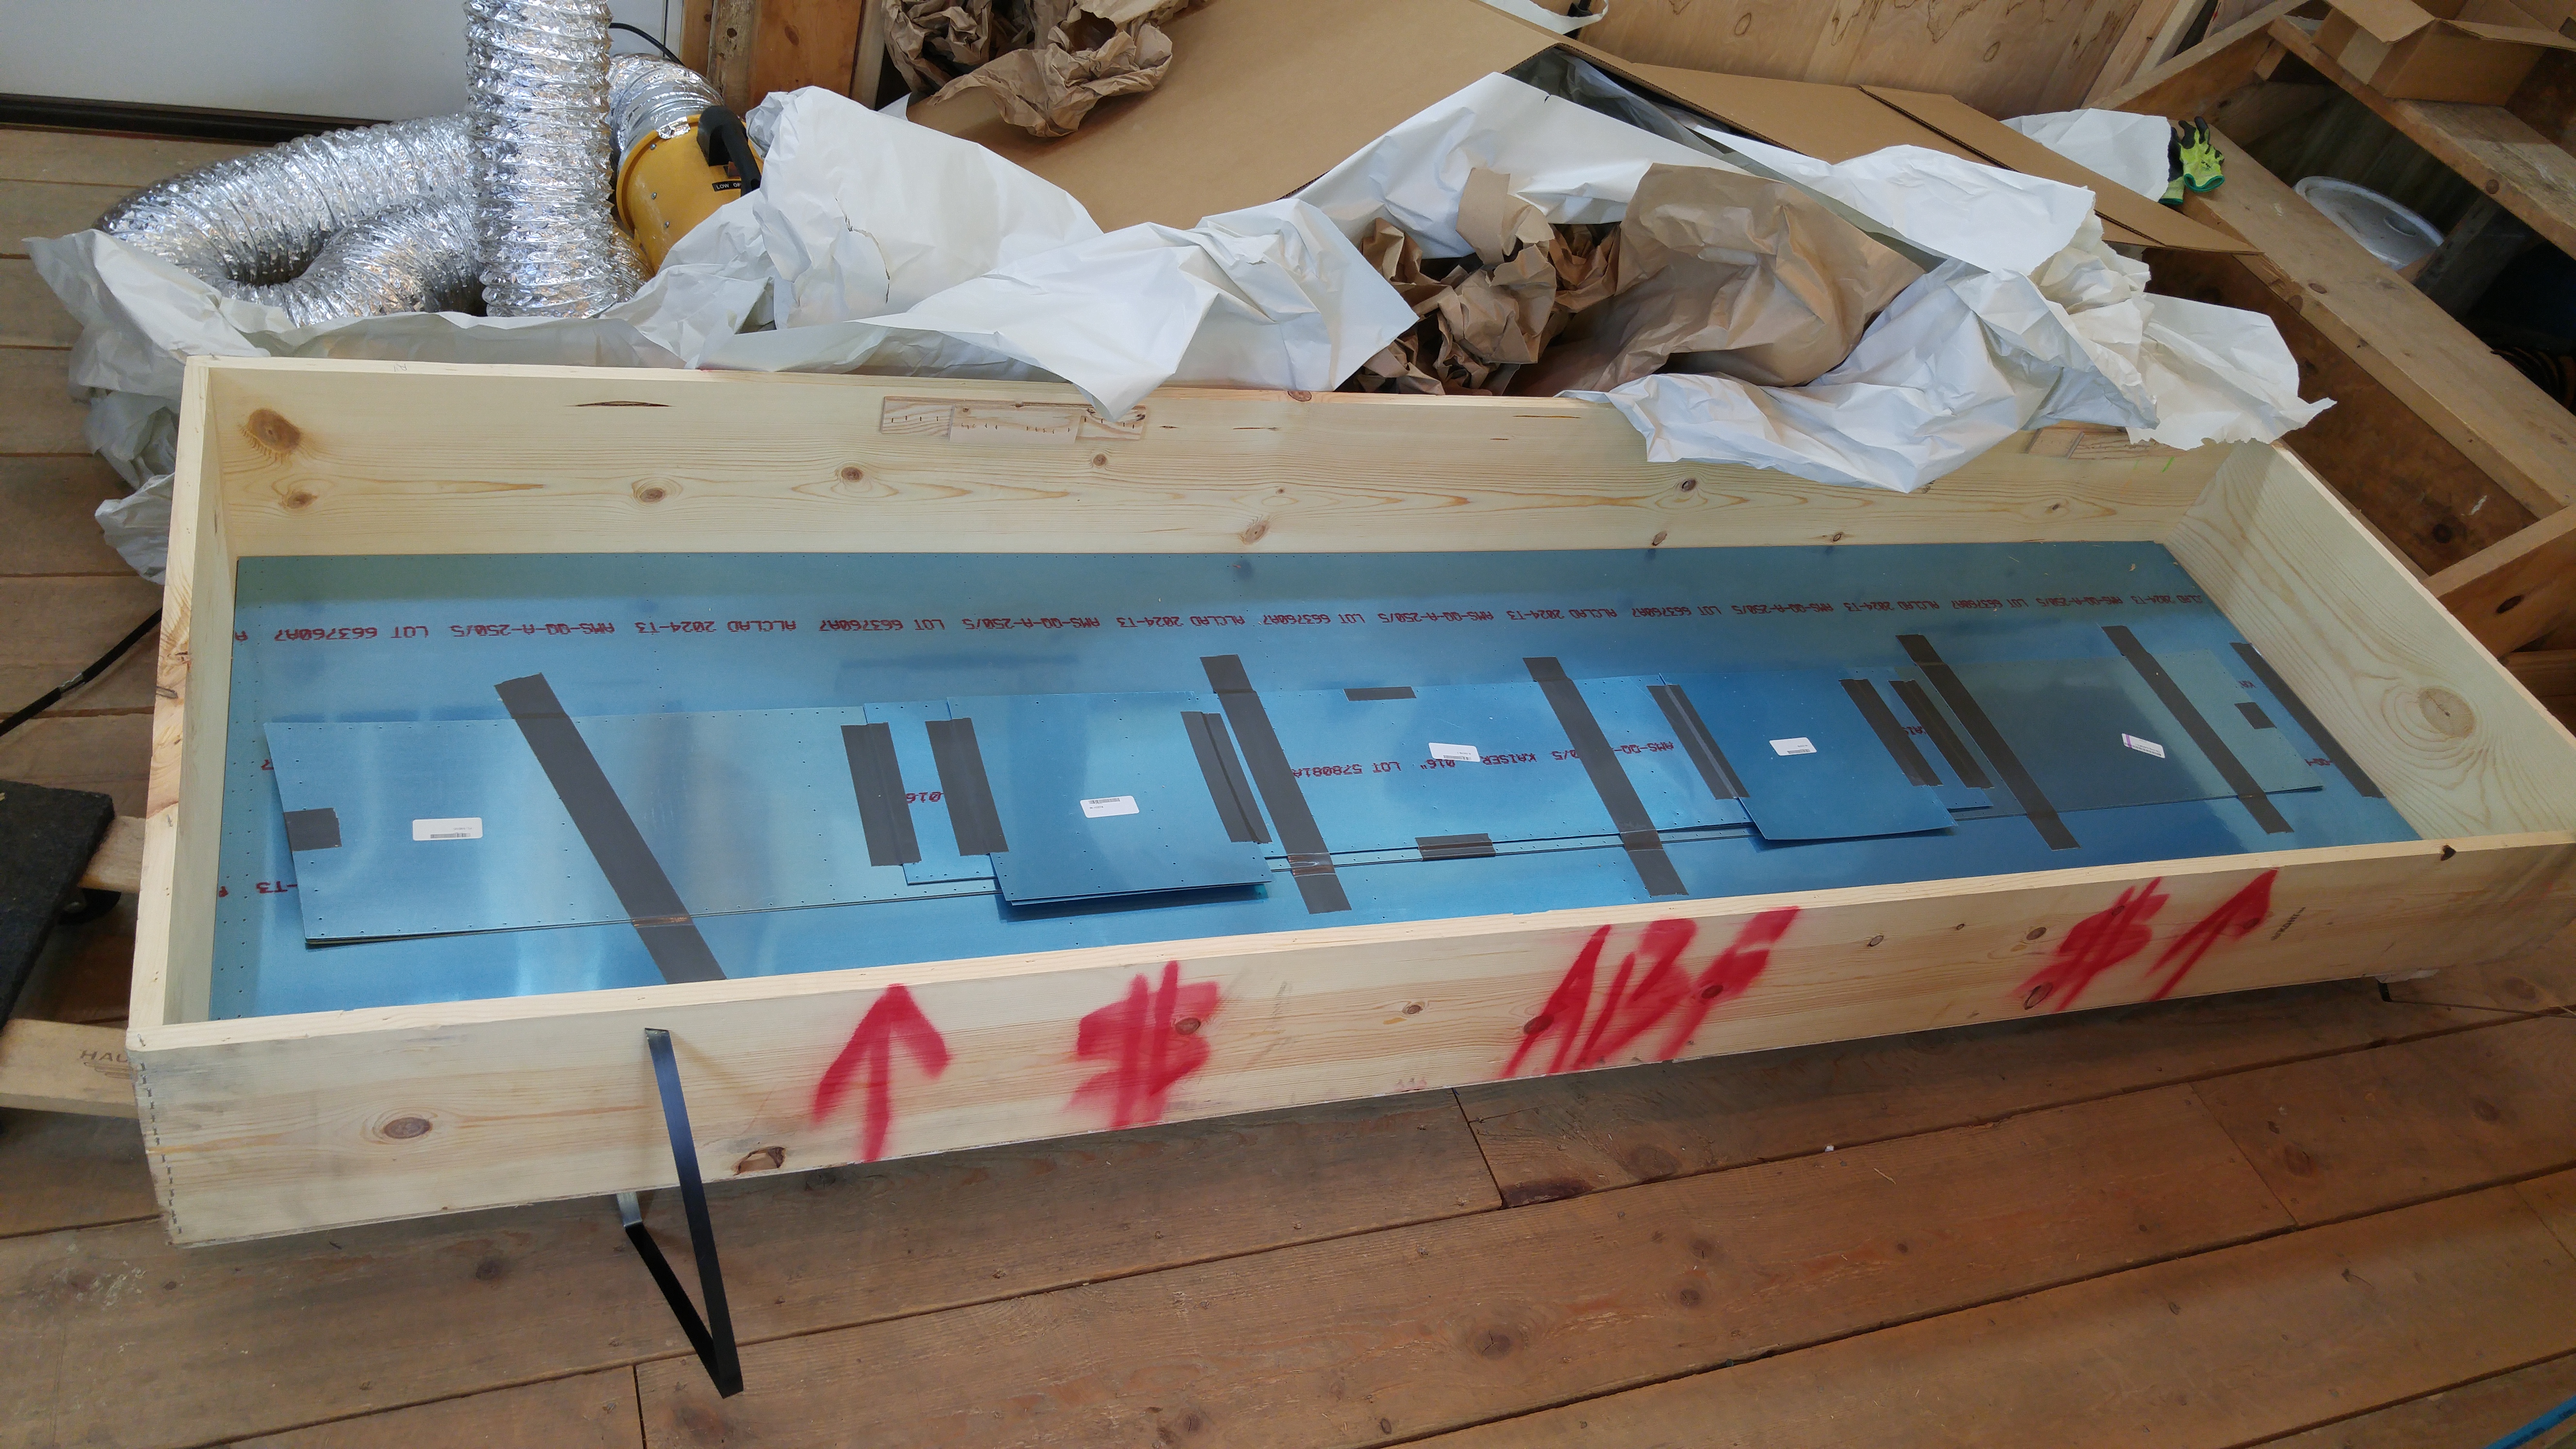
Wing Kit Delivered
Today was the delivery date for the wing kit. It came via ABF, with no damage noted to the crates. On opening, I saw no damage to the contents. I’m still working on inventory but have found a few small discrepancies, mainly small bags of hardware with incorrect or missing items.
There were a couple of backordered items, including WD-1014-PC (4) and WD-421-L/R-PC (1 ea).
Other than the slight discrepancies, the kit appears to have been packaged well
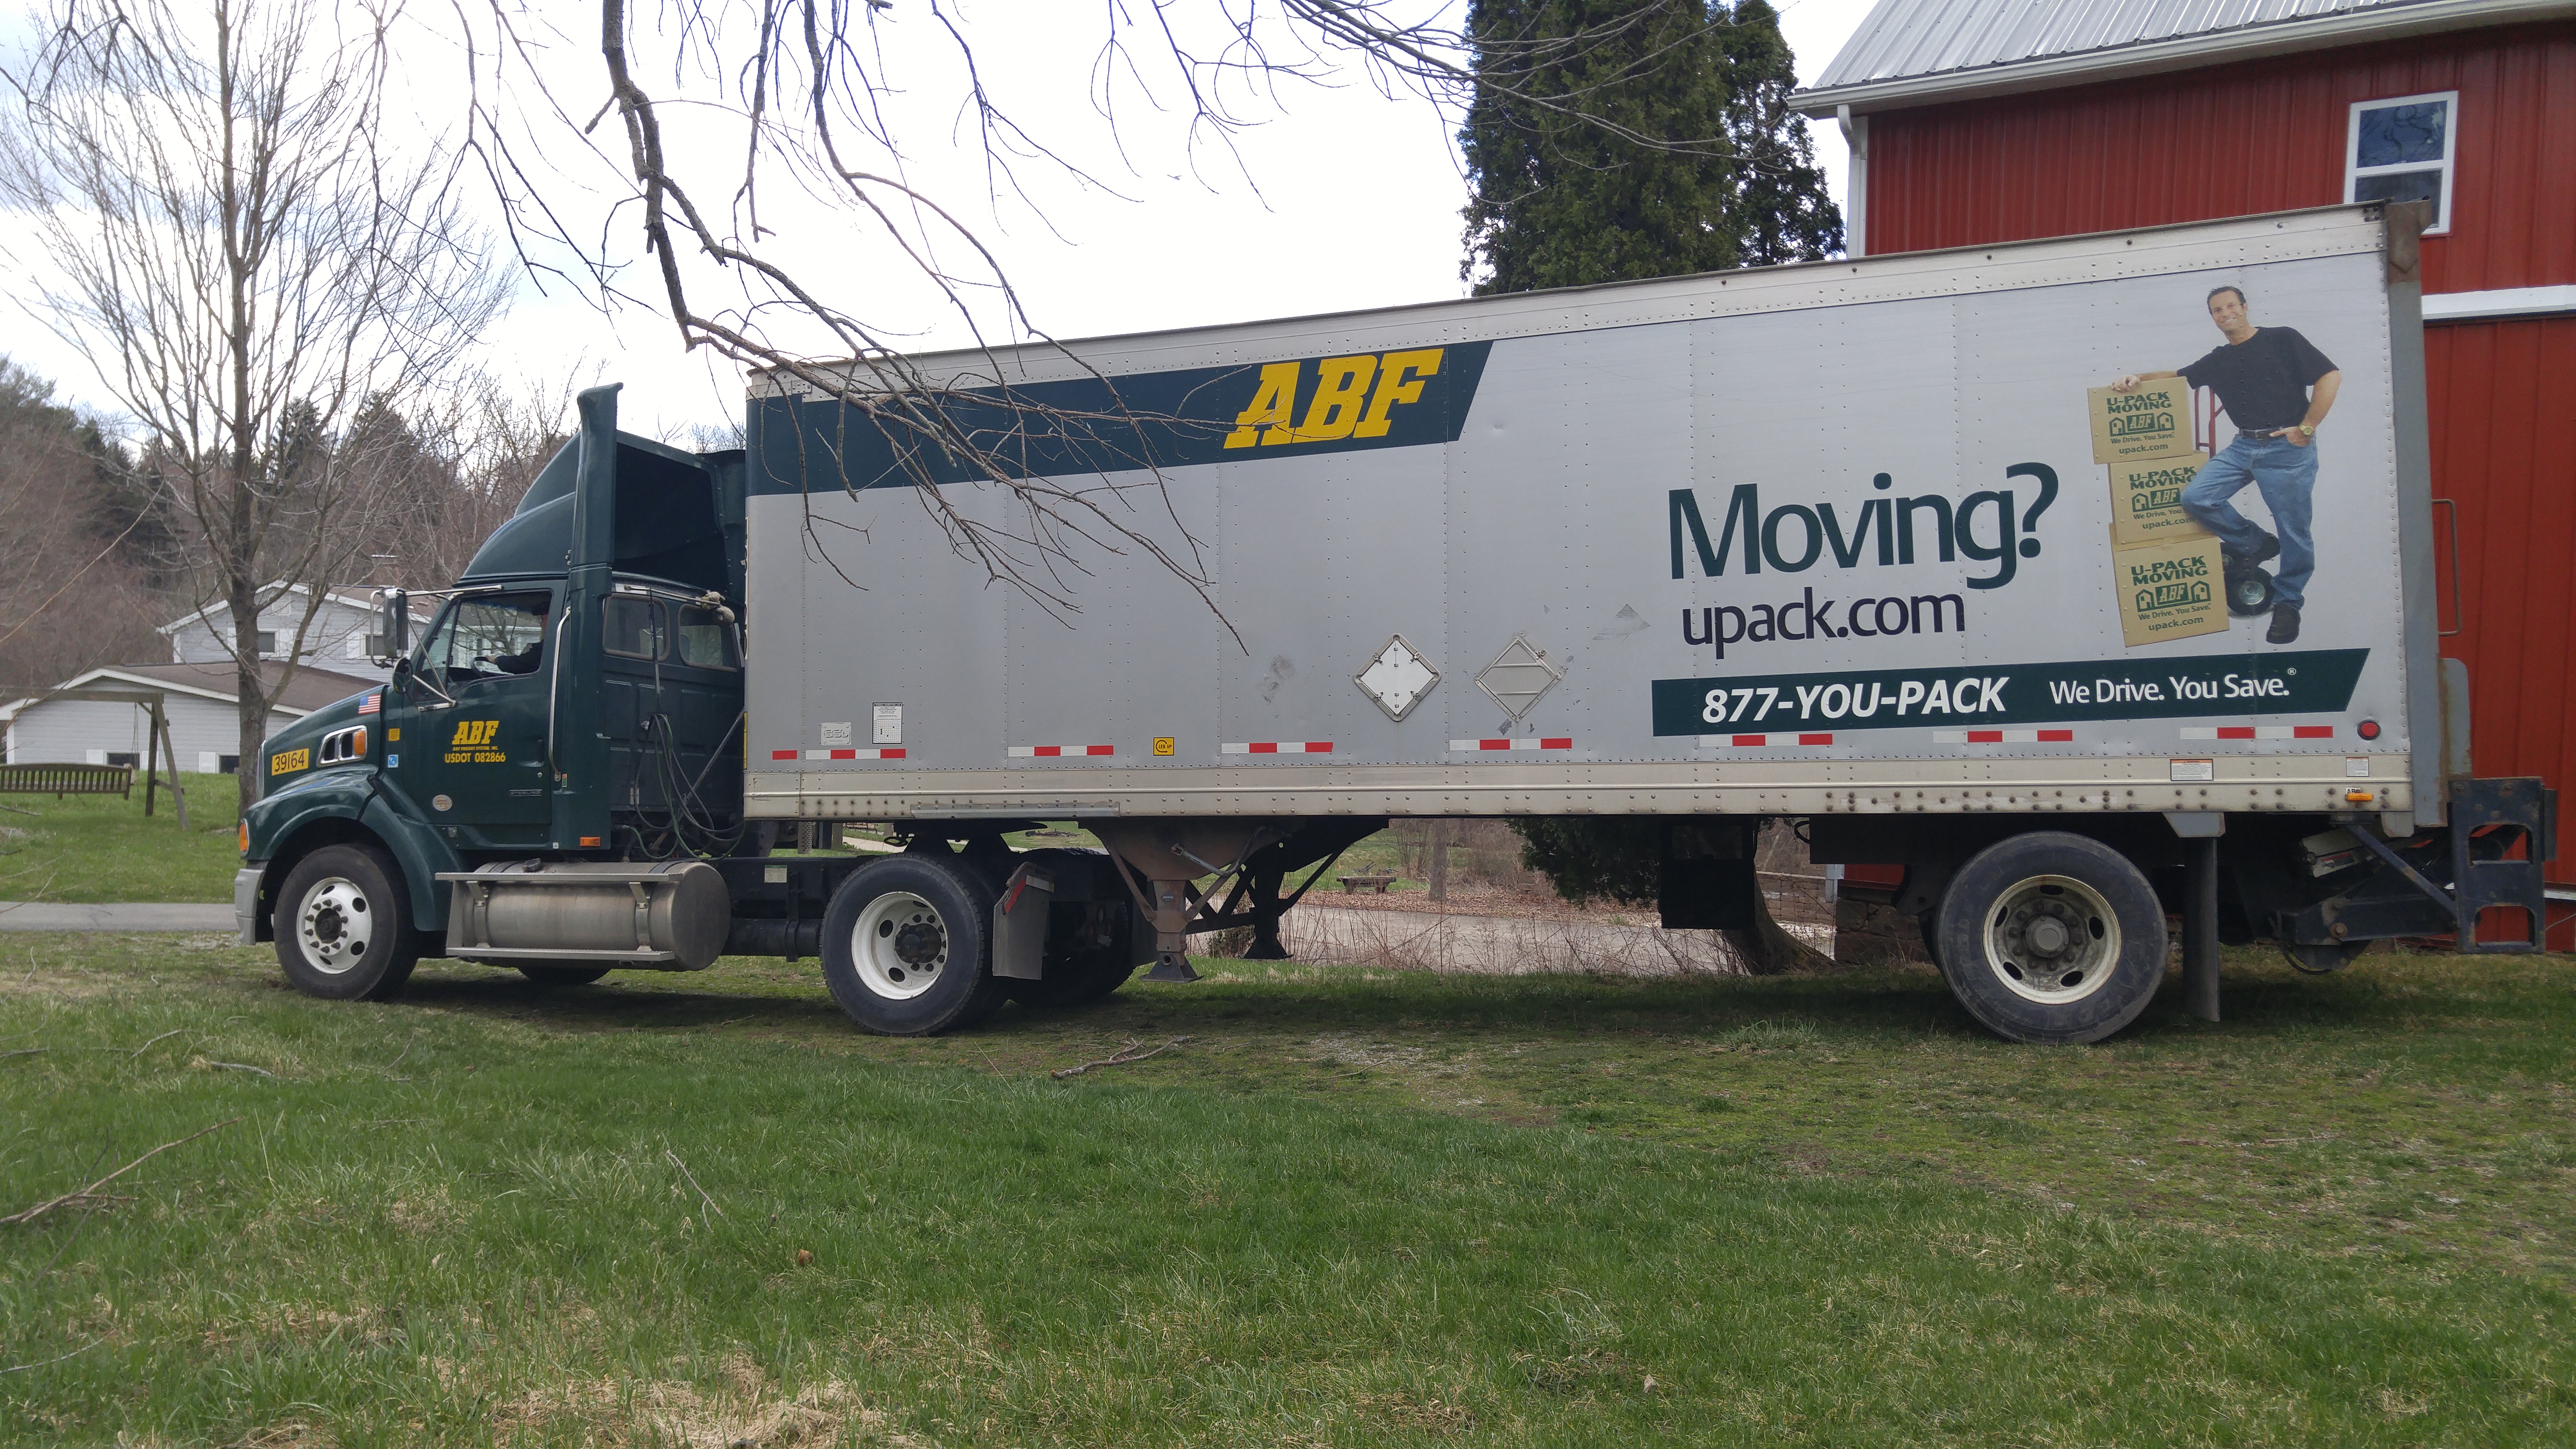
The truck driver was able to back all the way up to the big door in the barn.
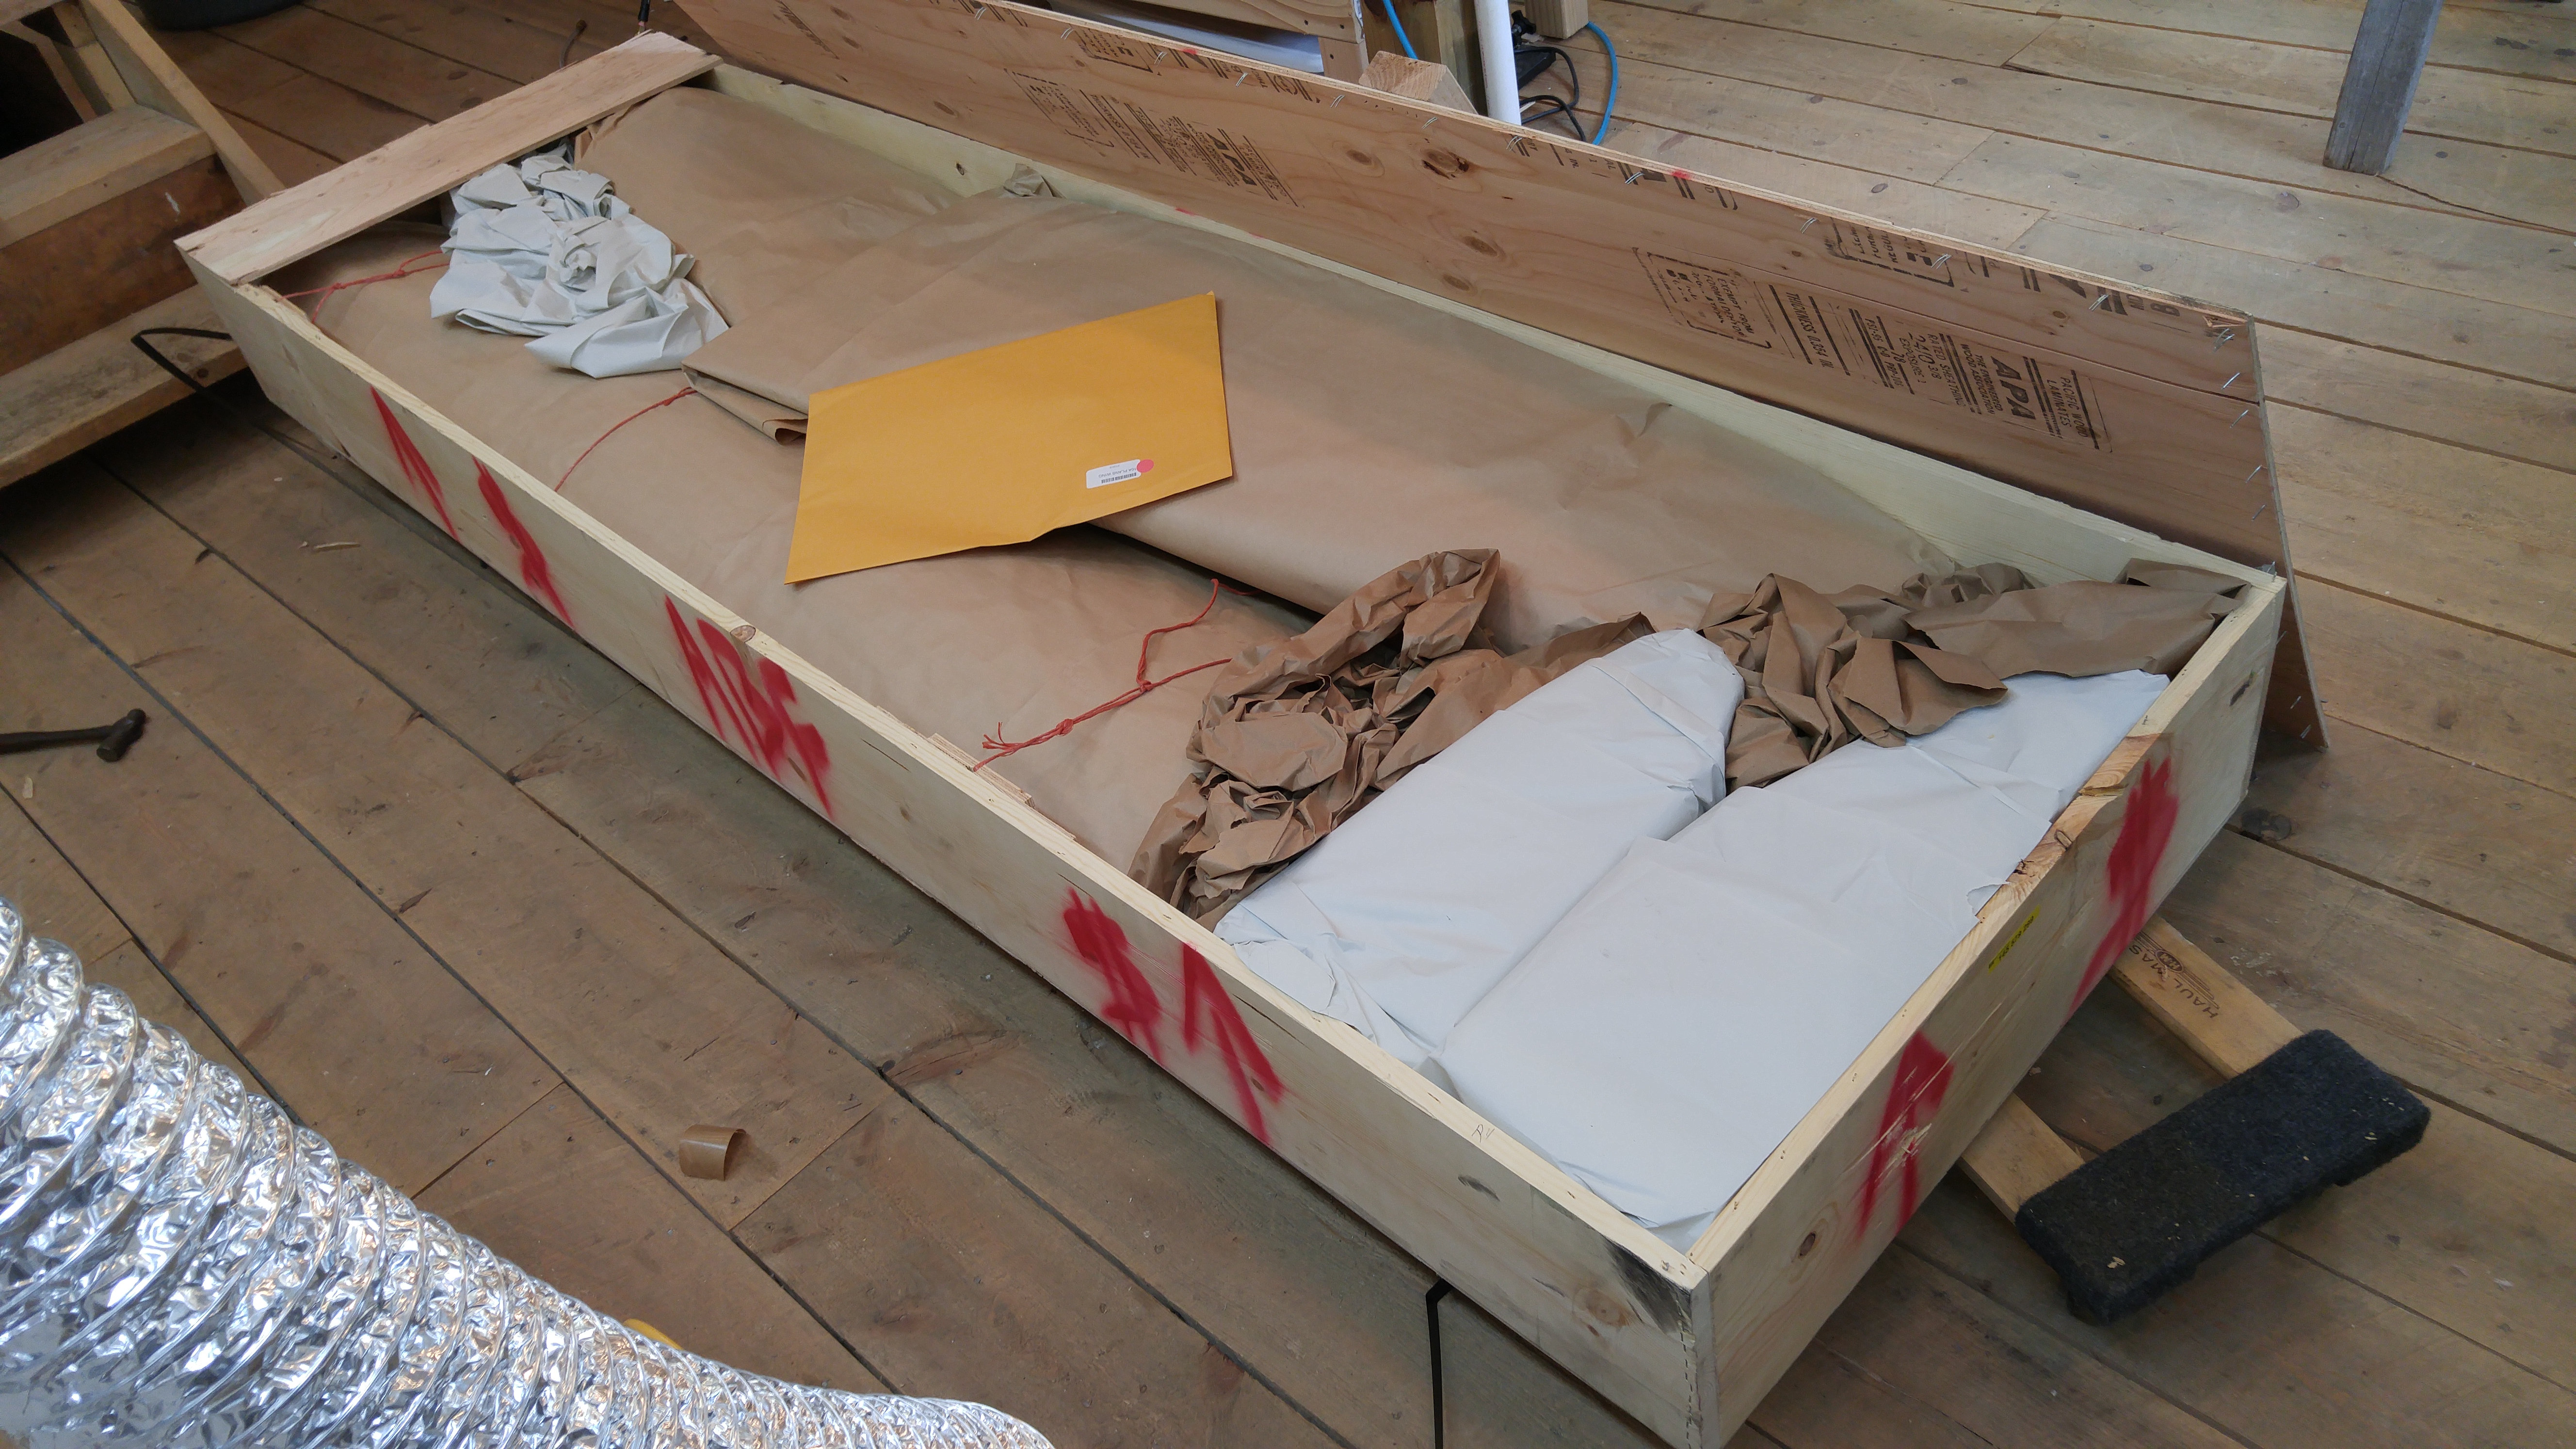
The skin/wingtip crate with the lid off.
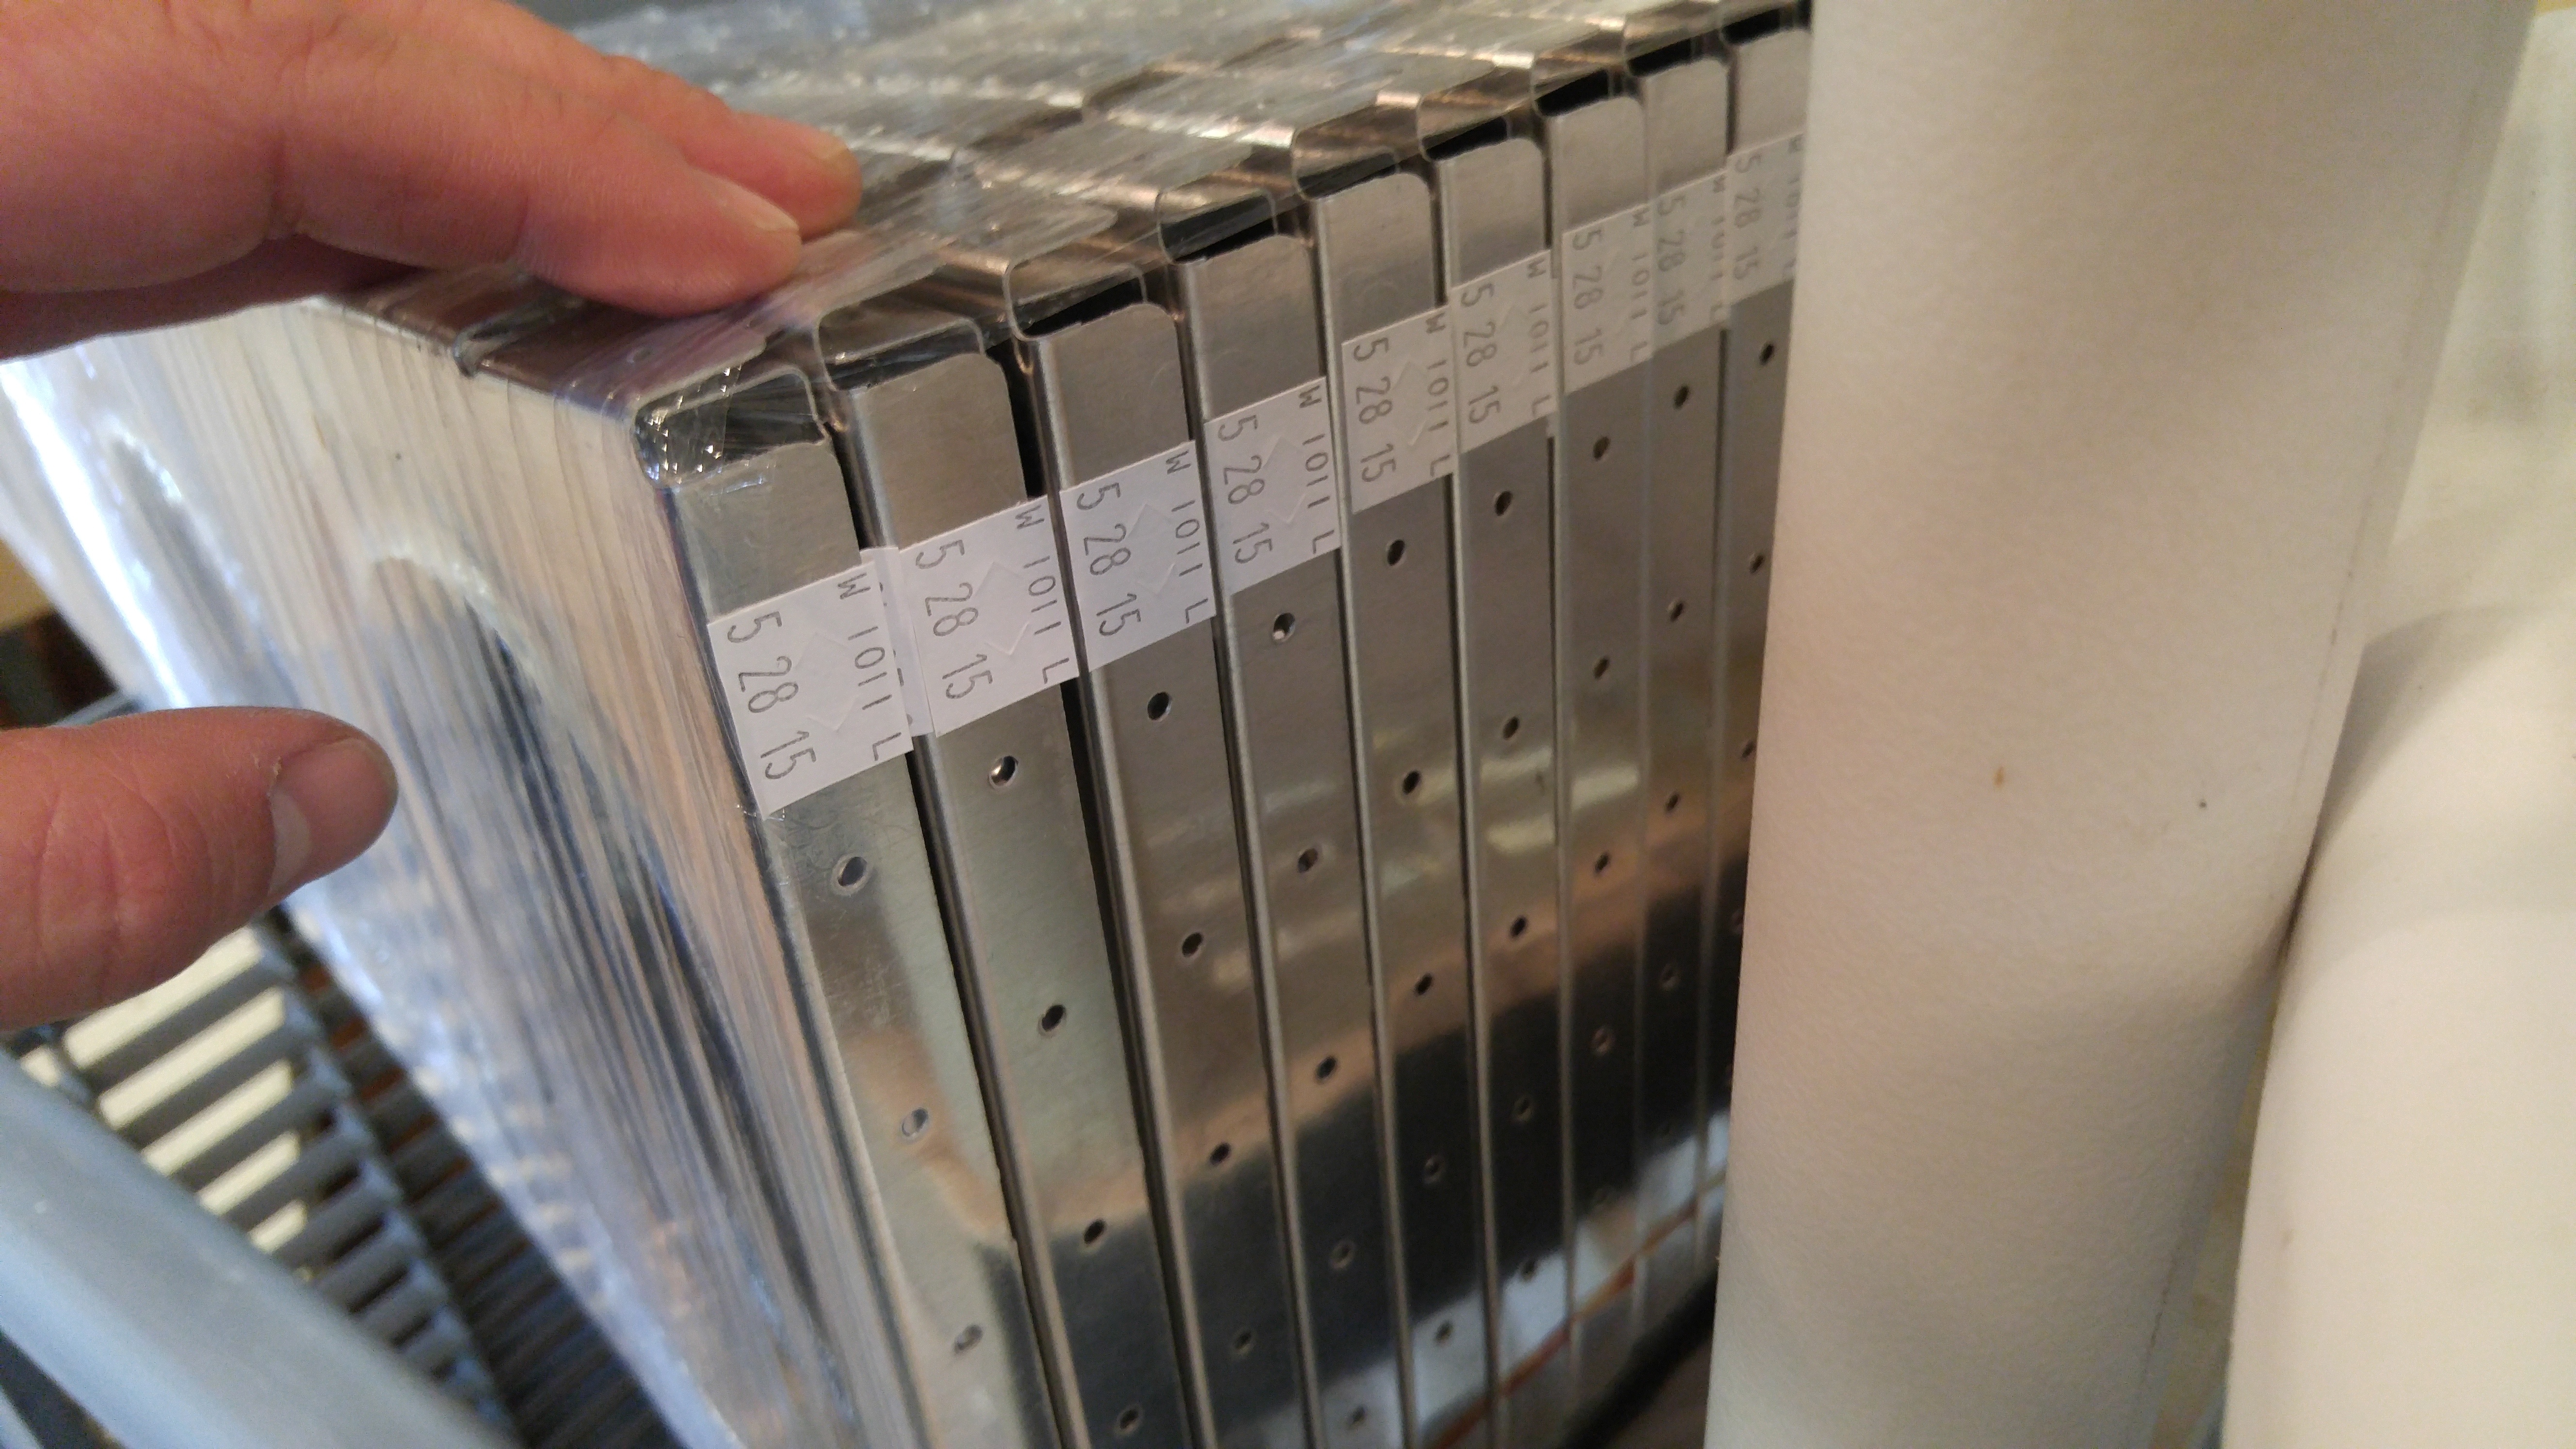
Ribs
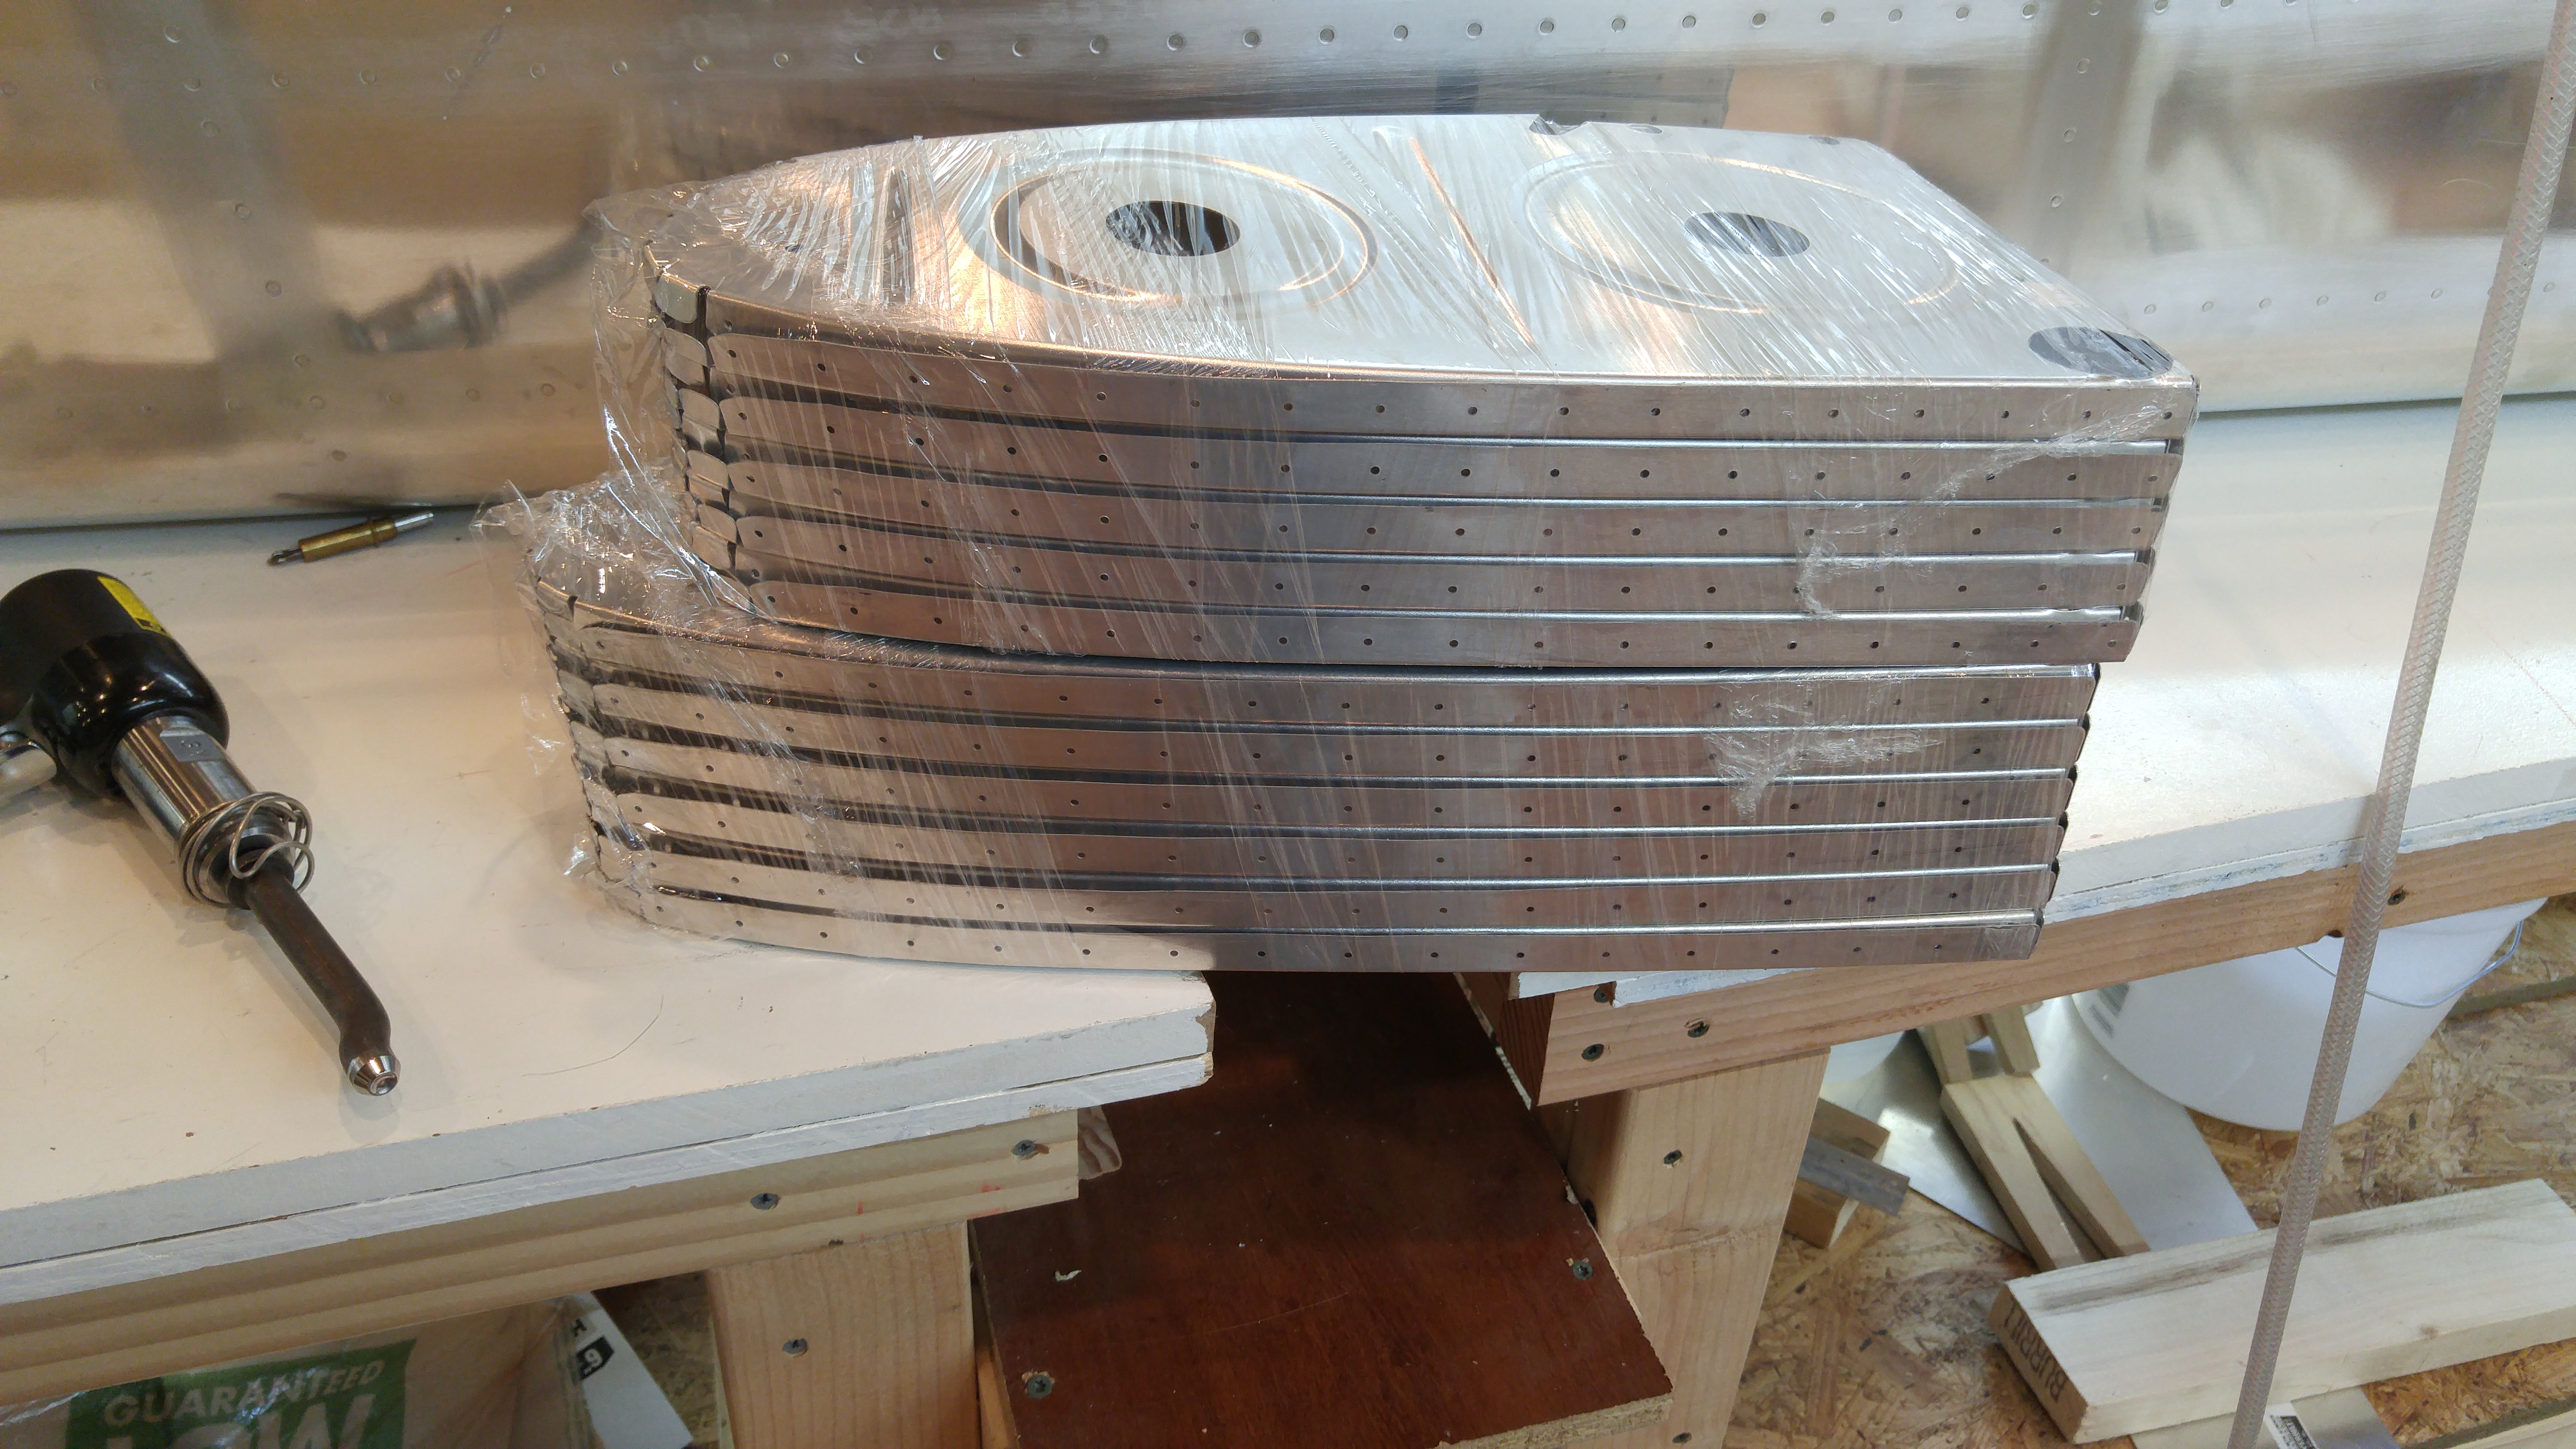
Ribs
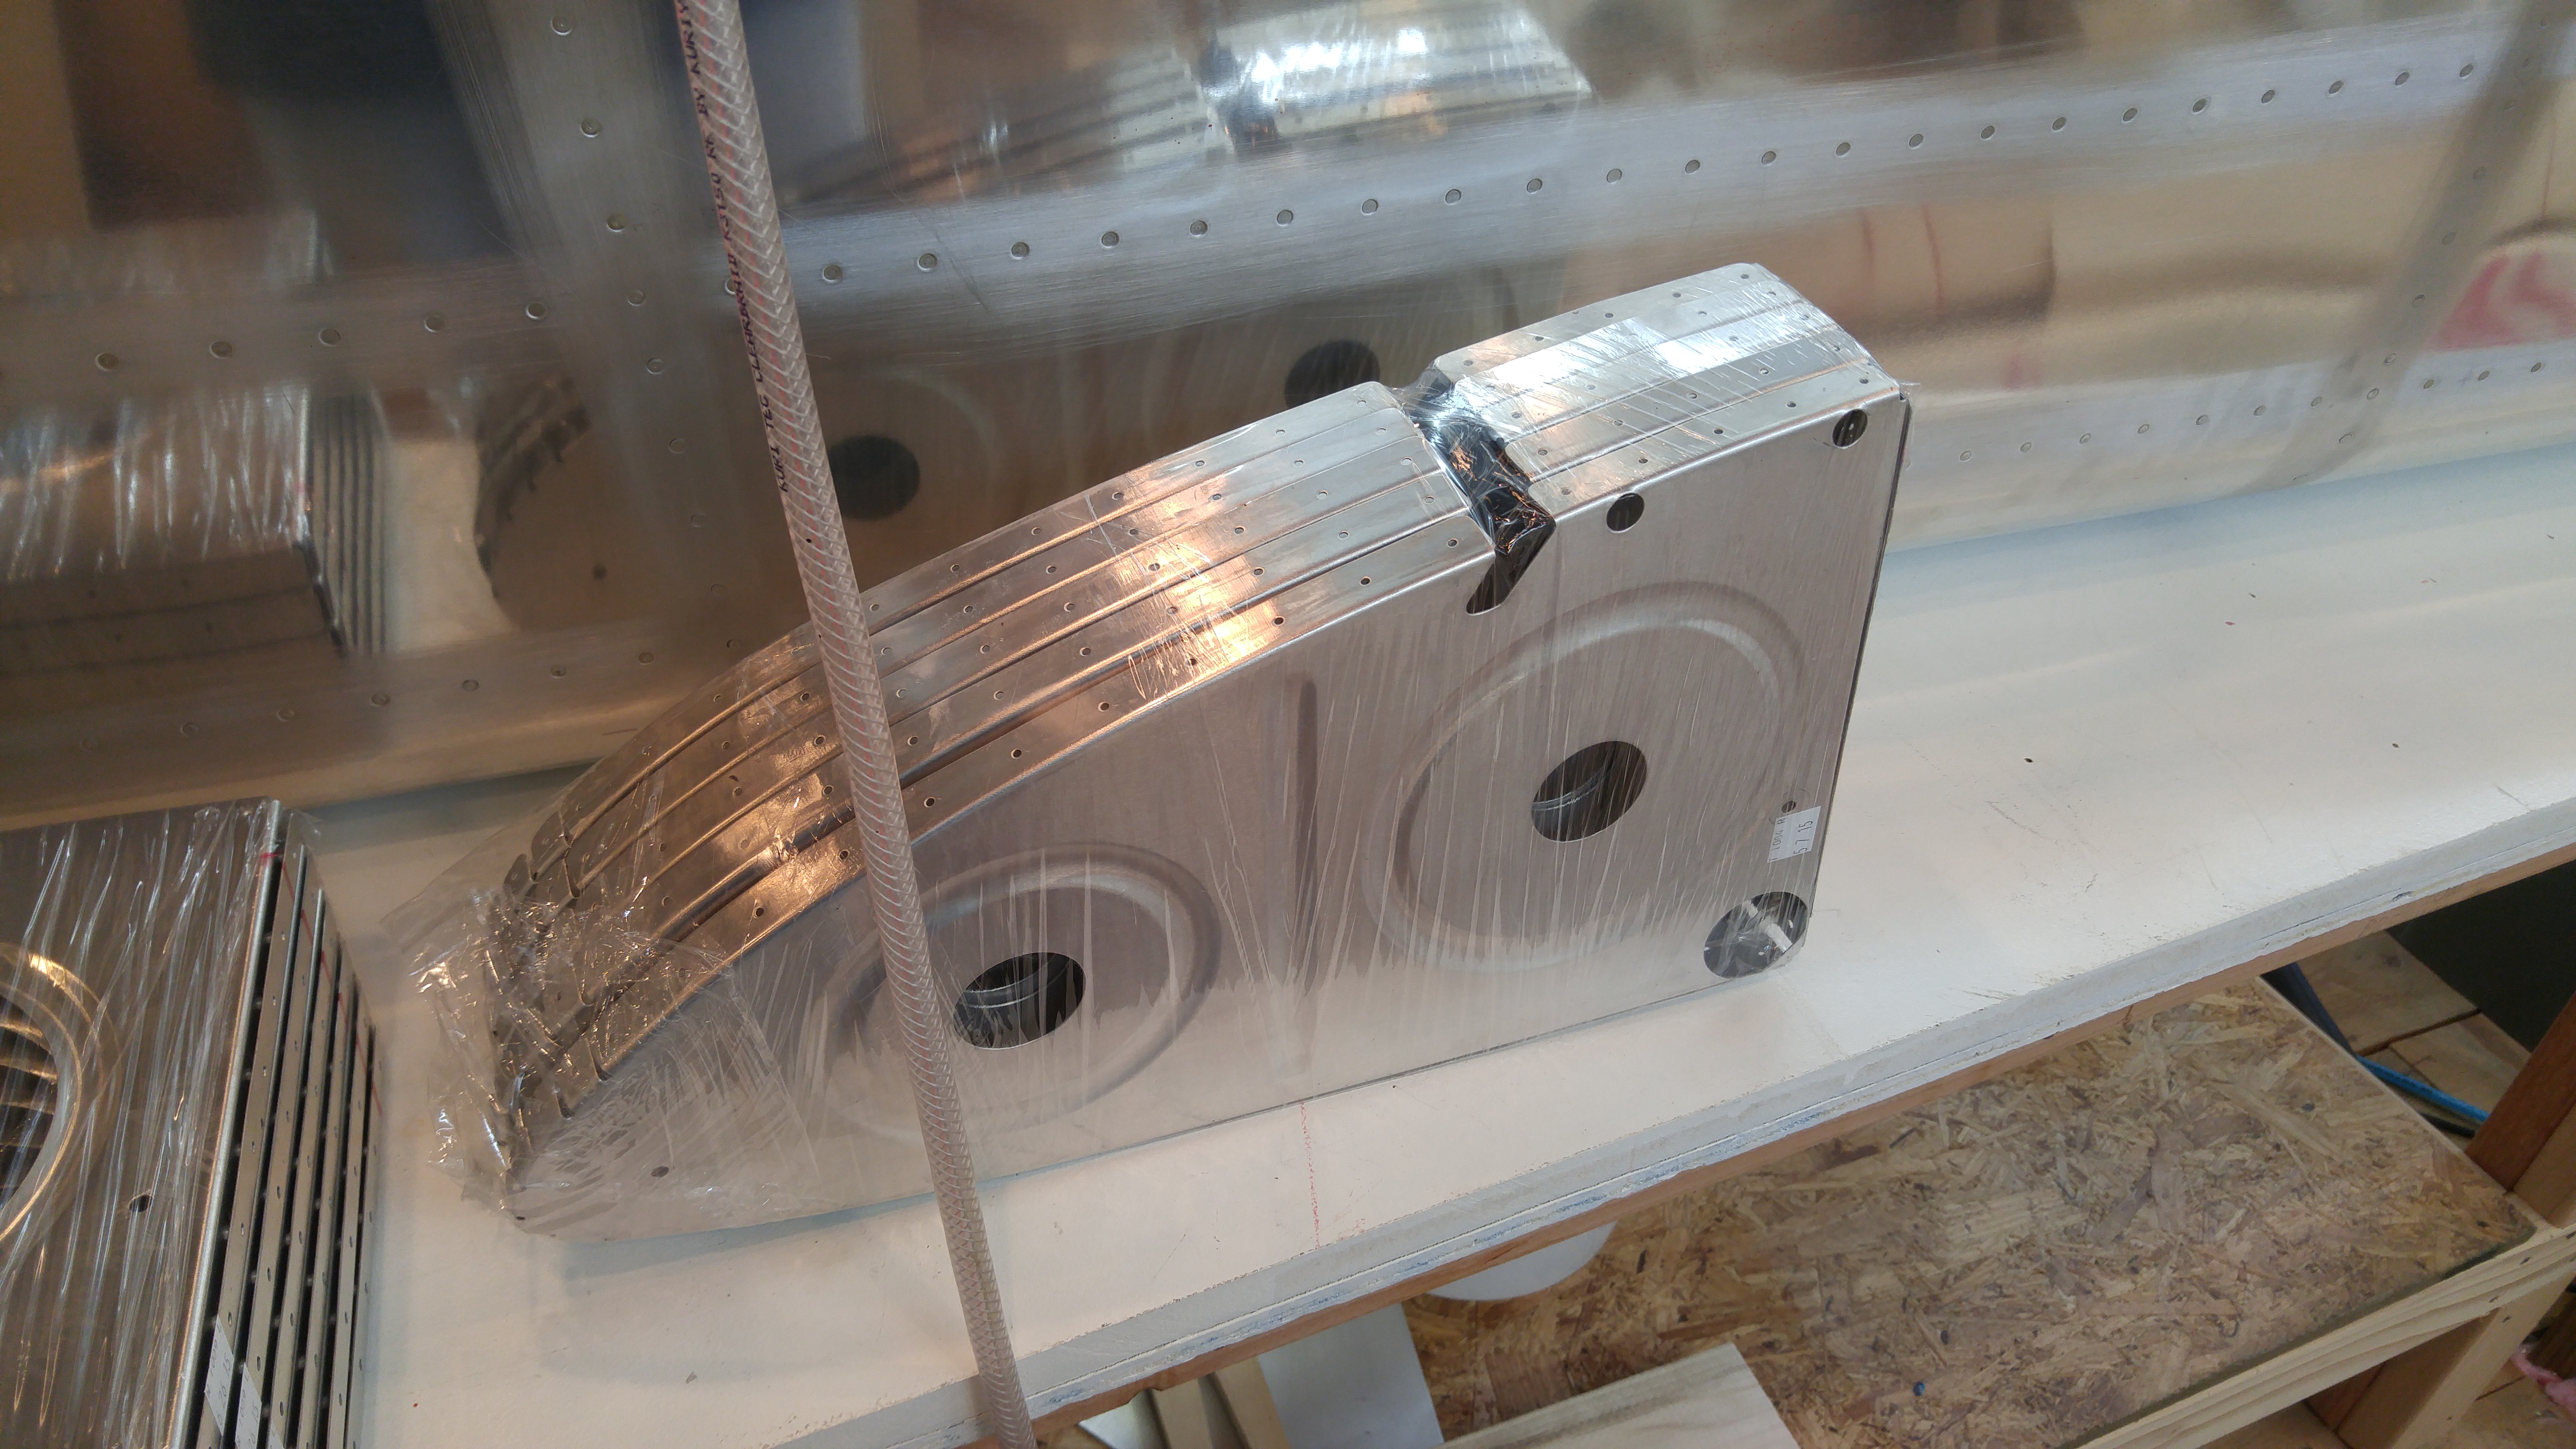
Oh, Hey! More Ribs!
Guess what?
You guessed it.
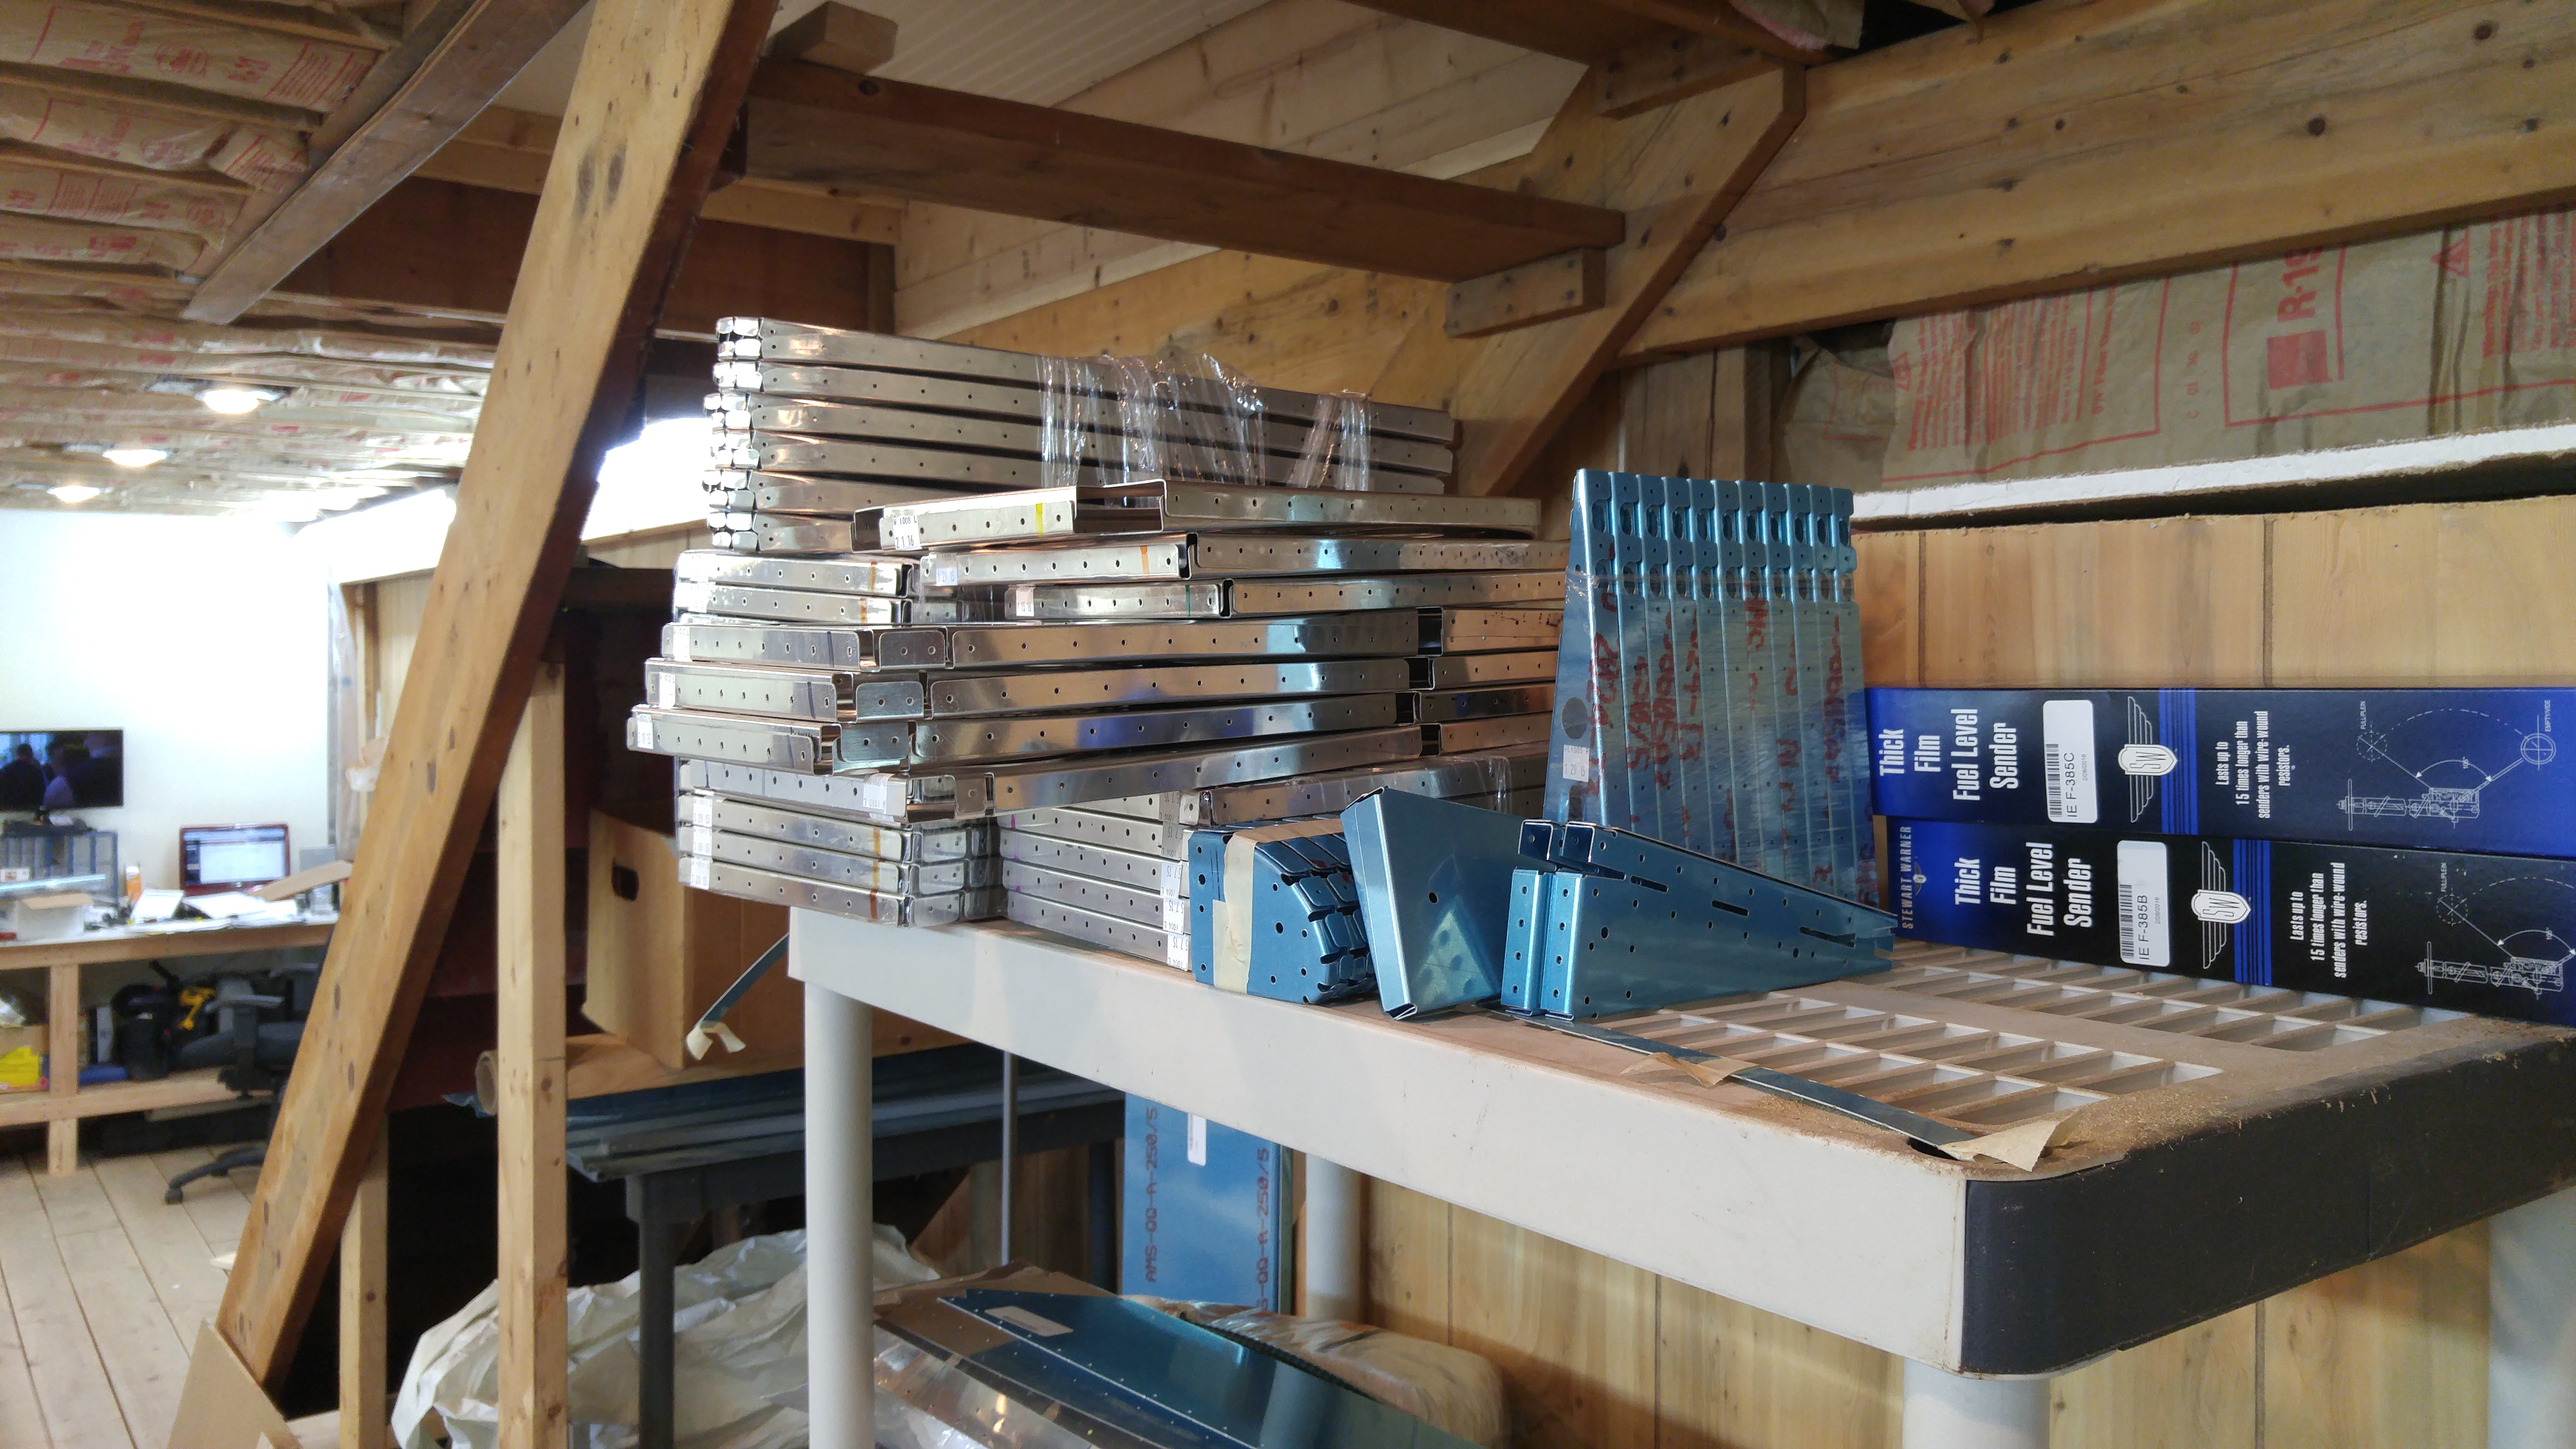
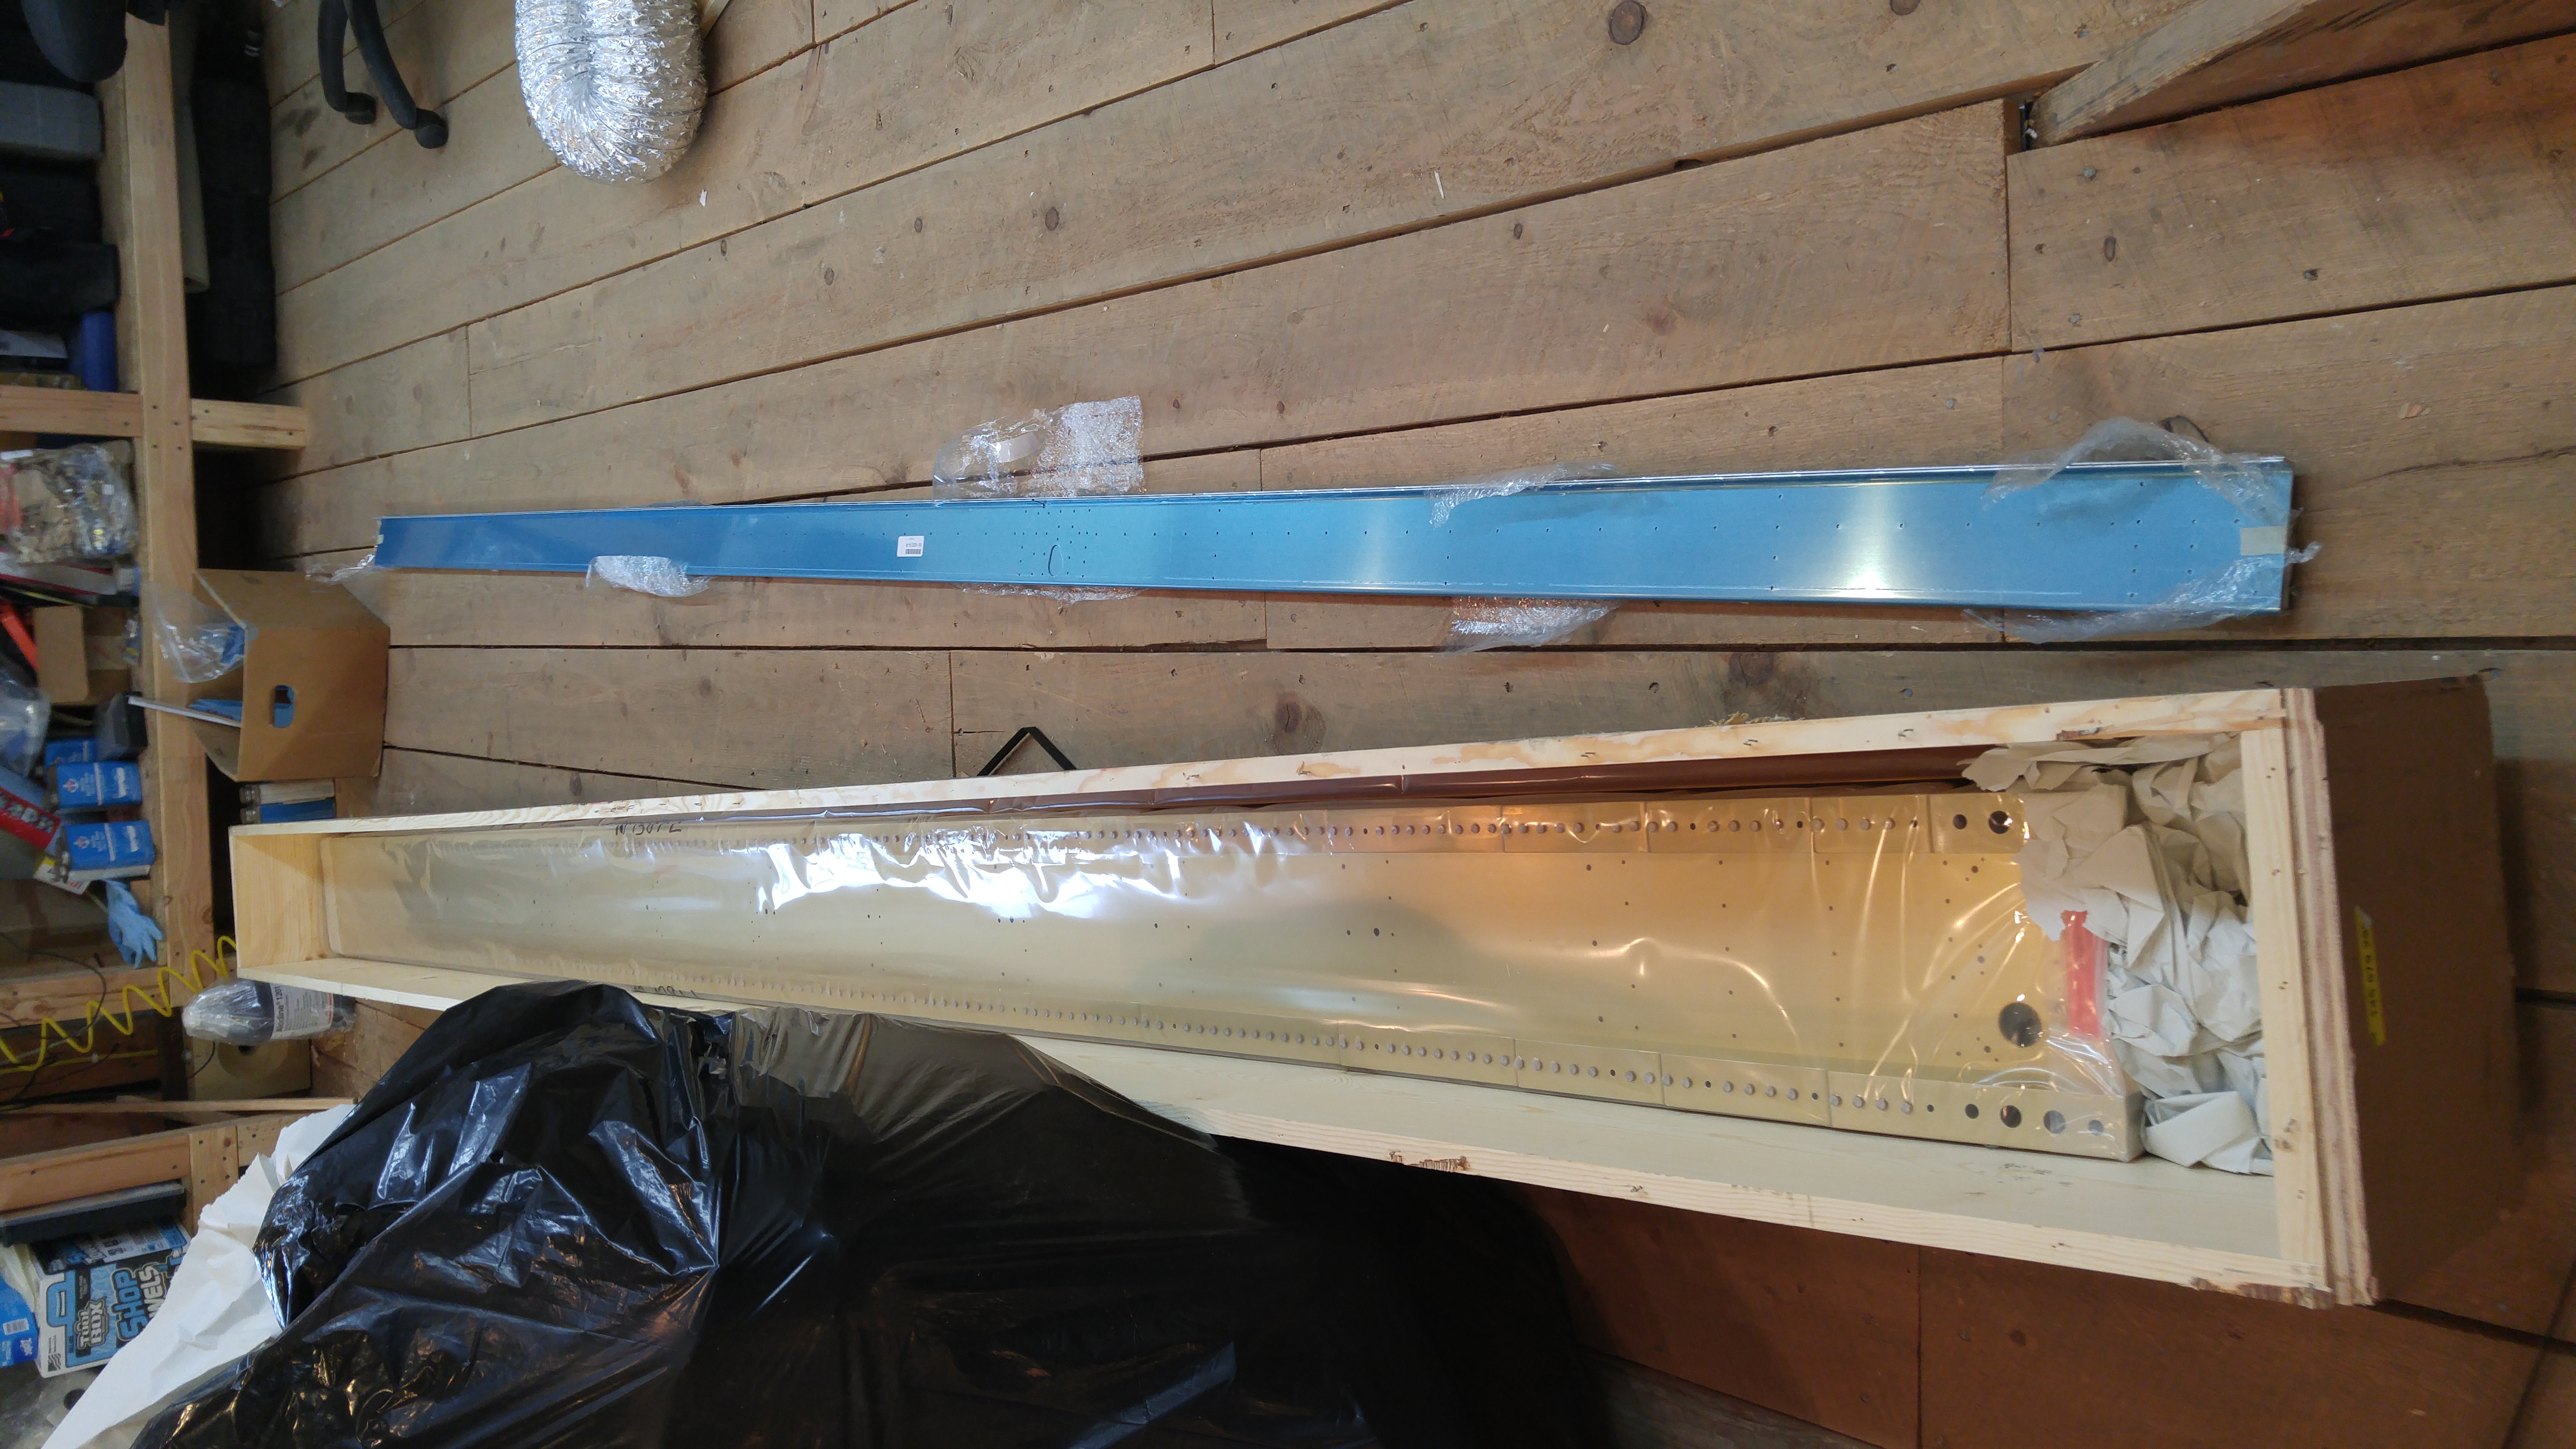
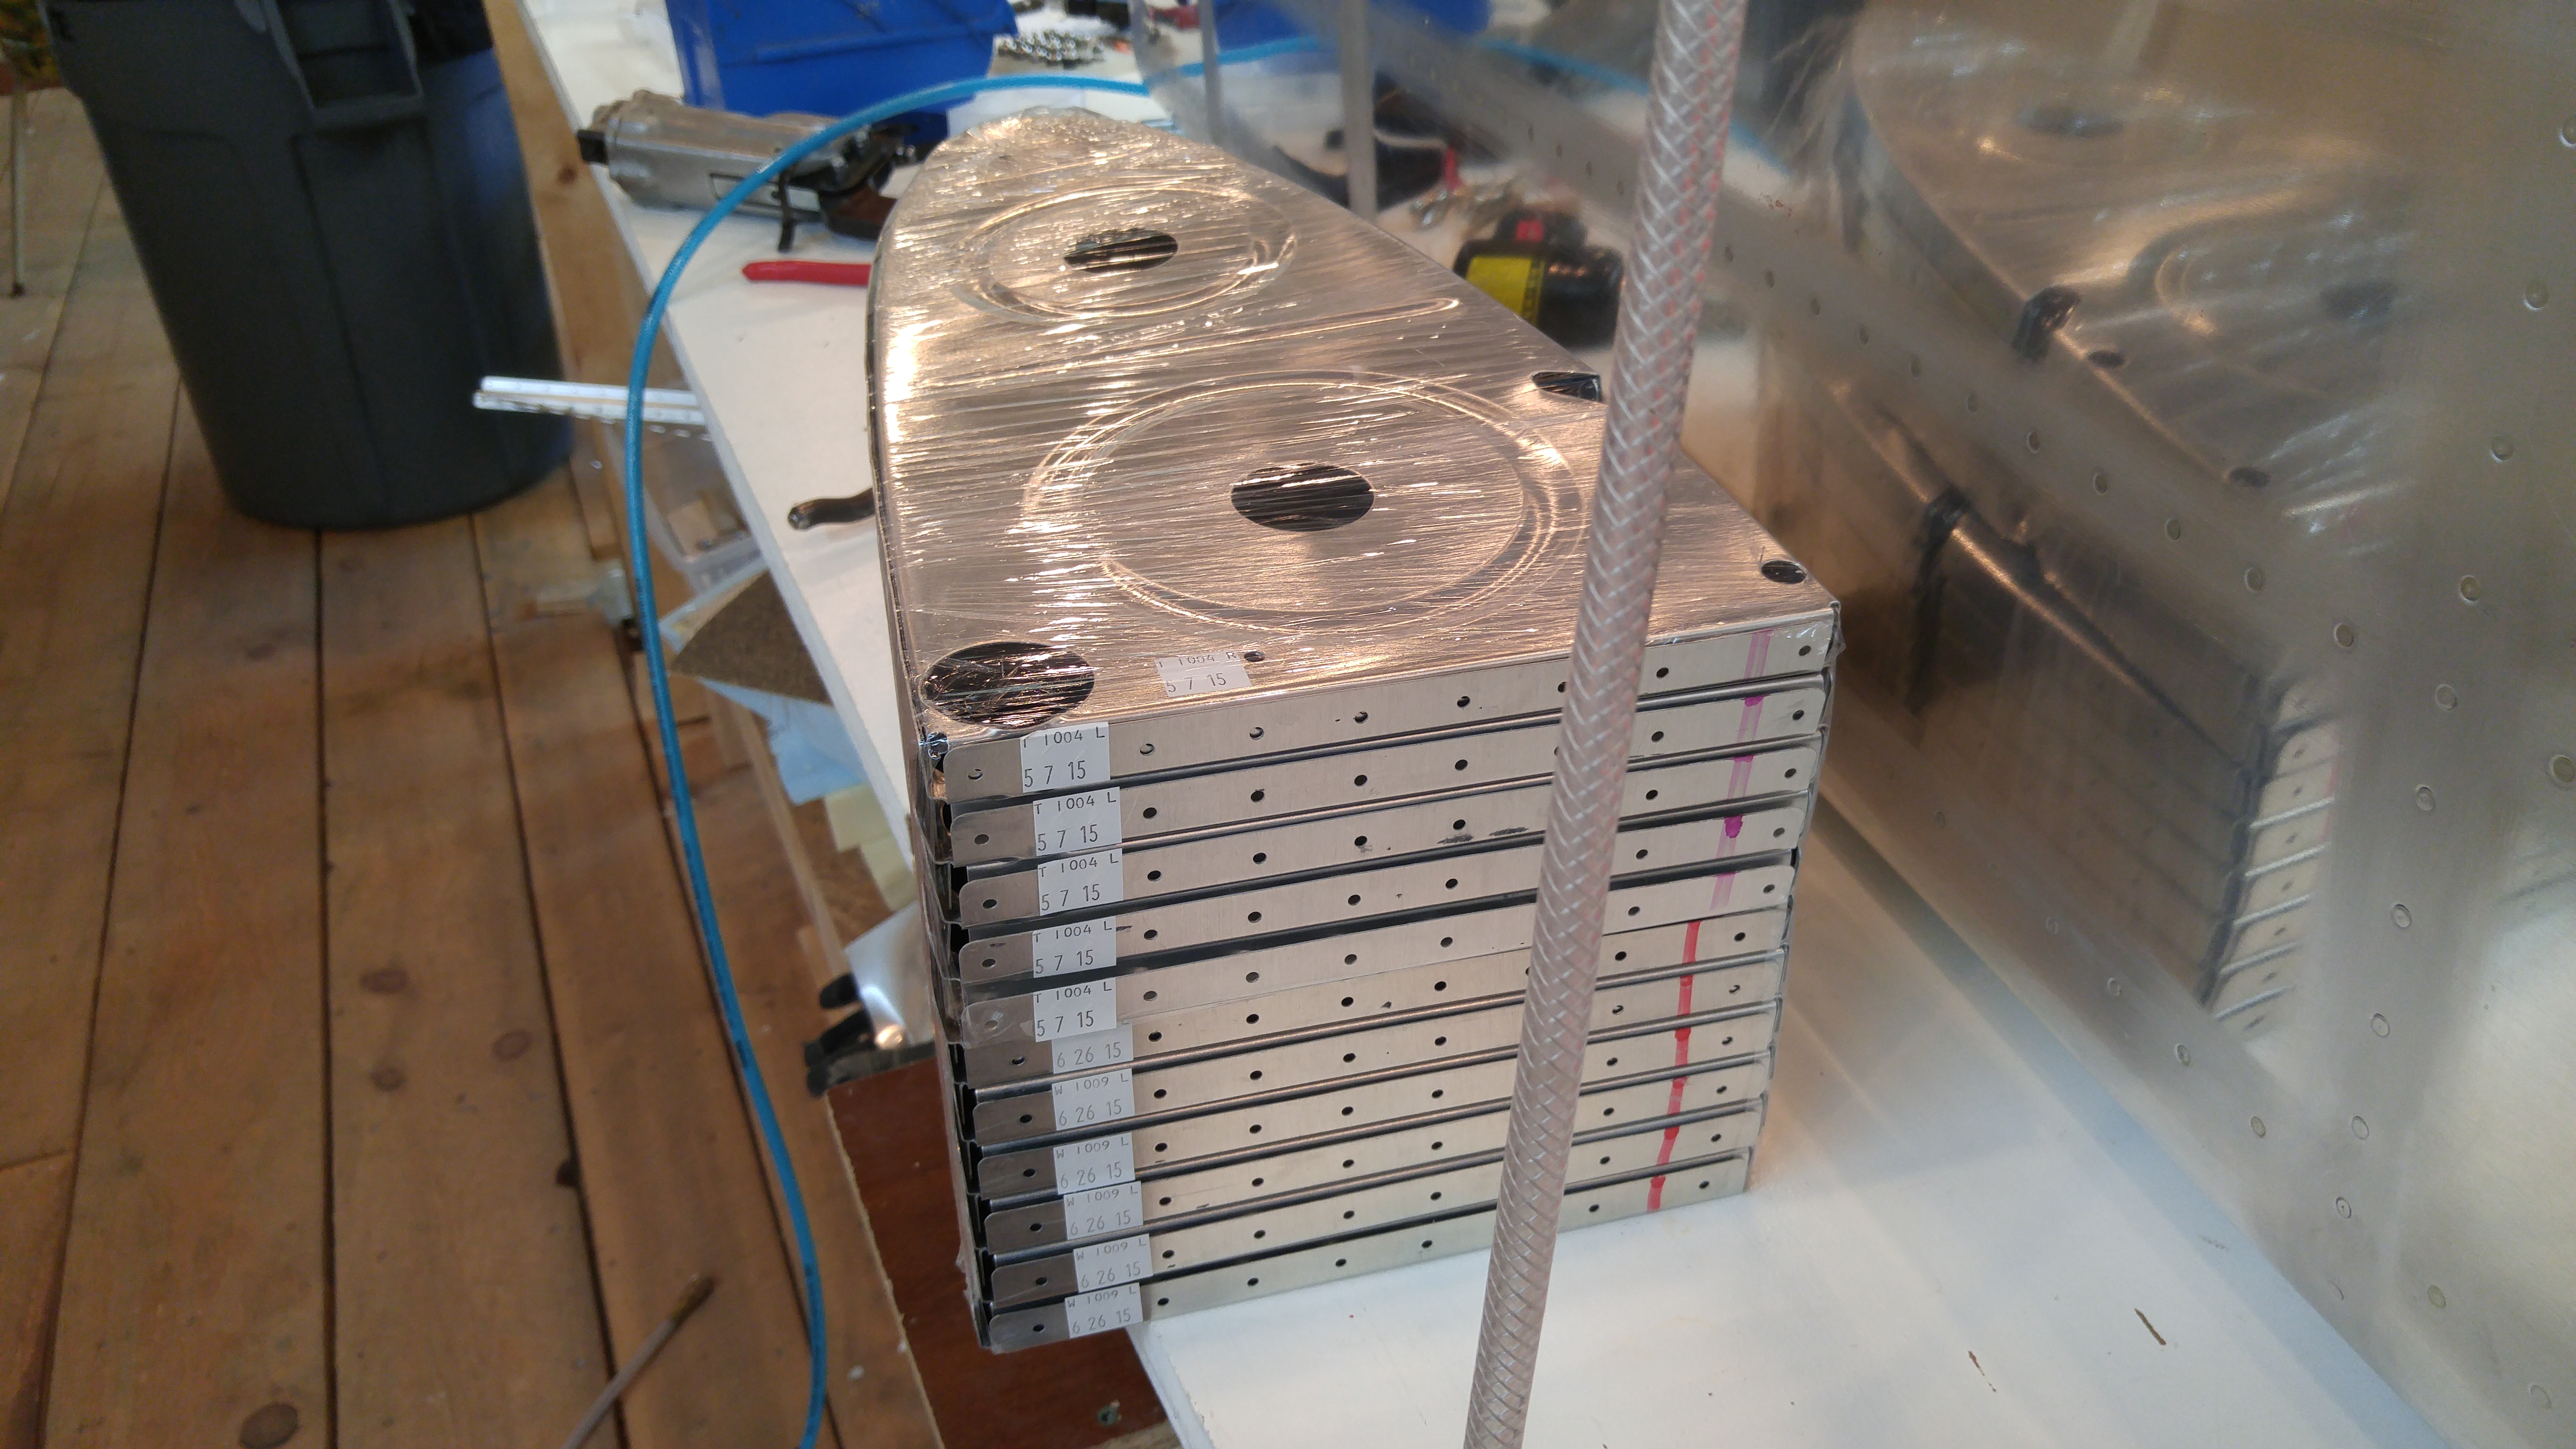
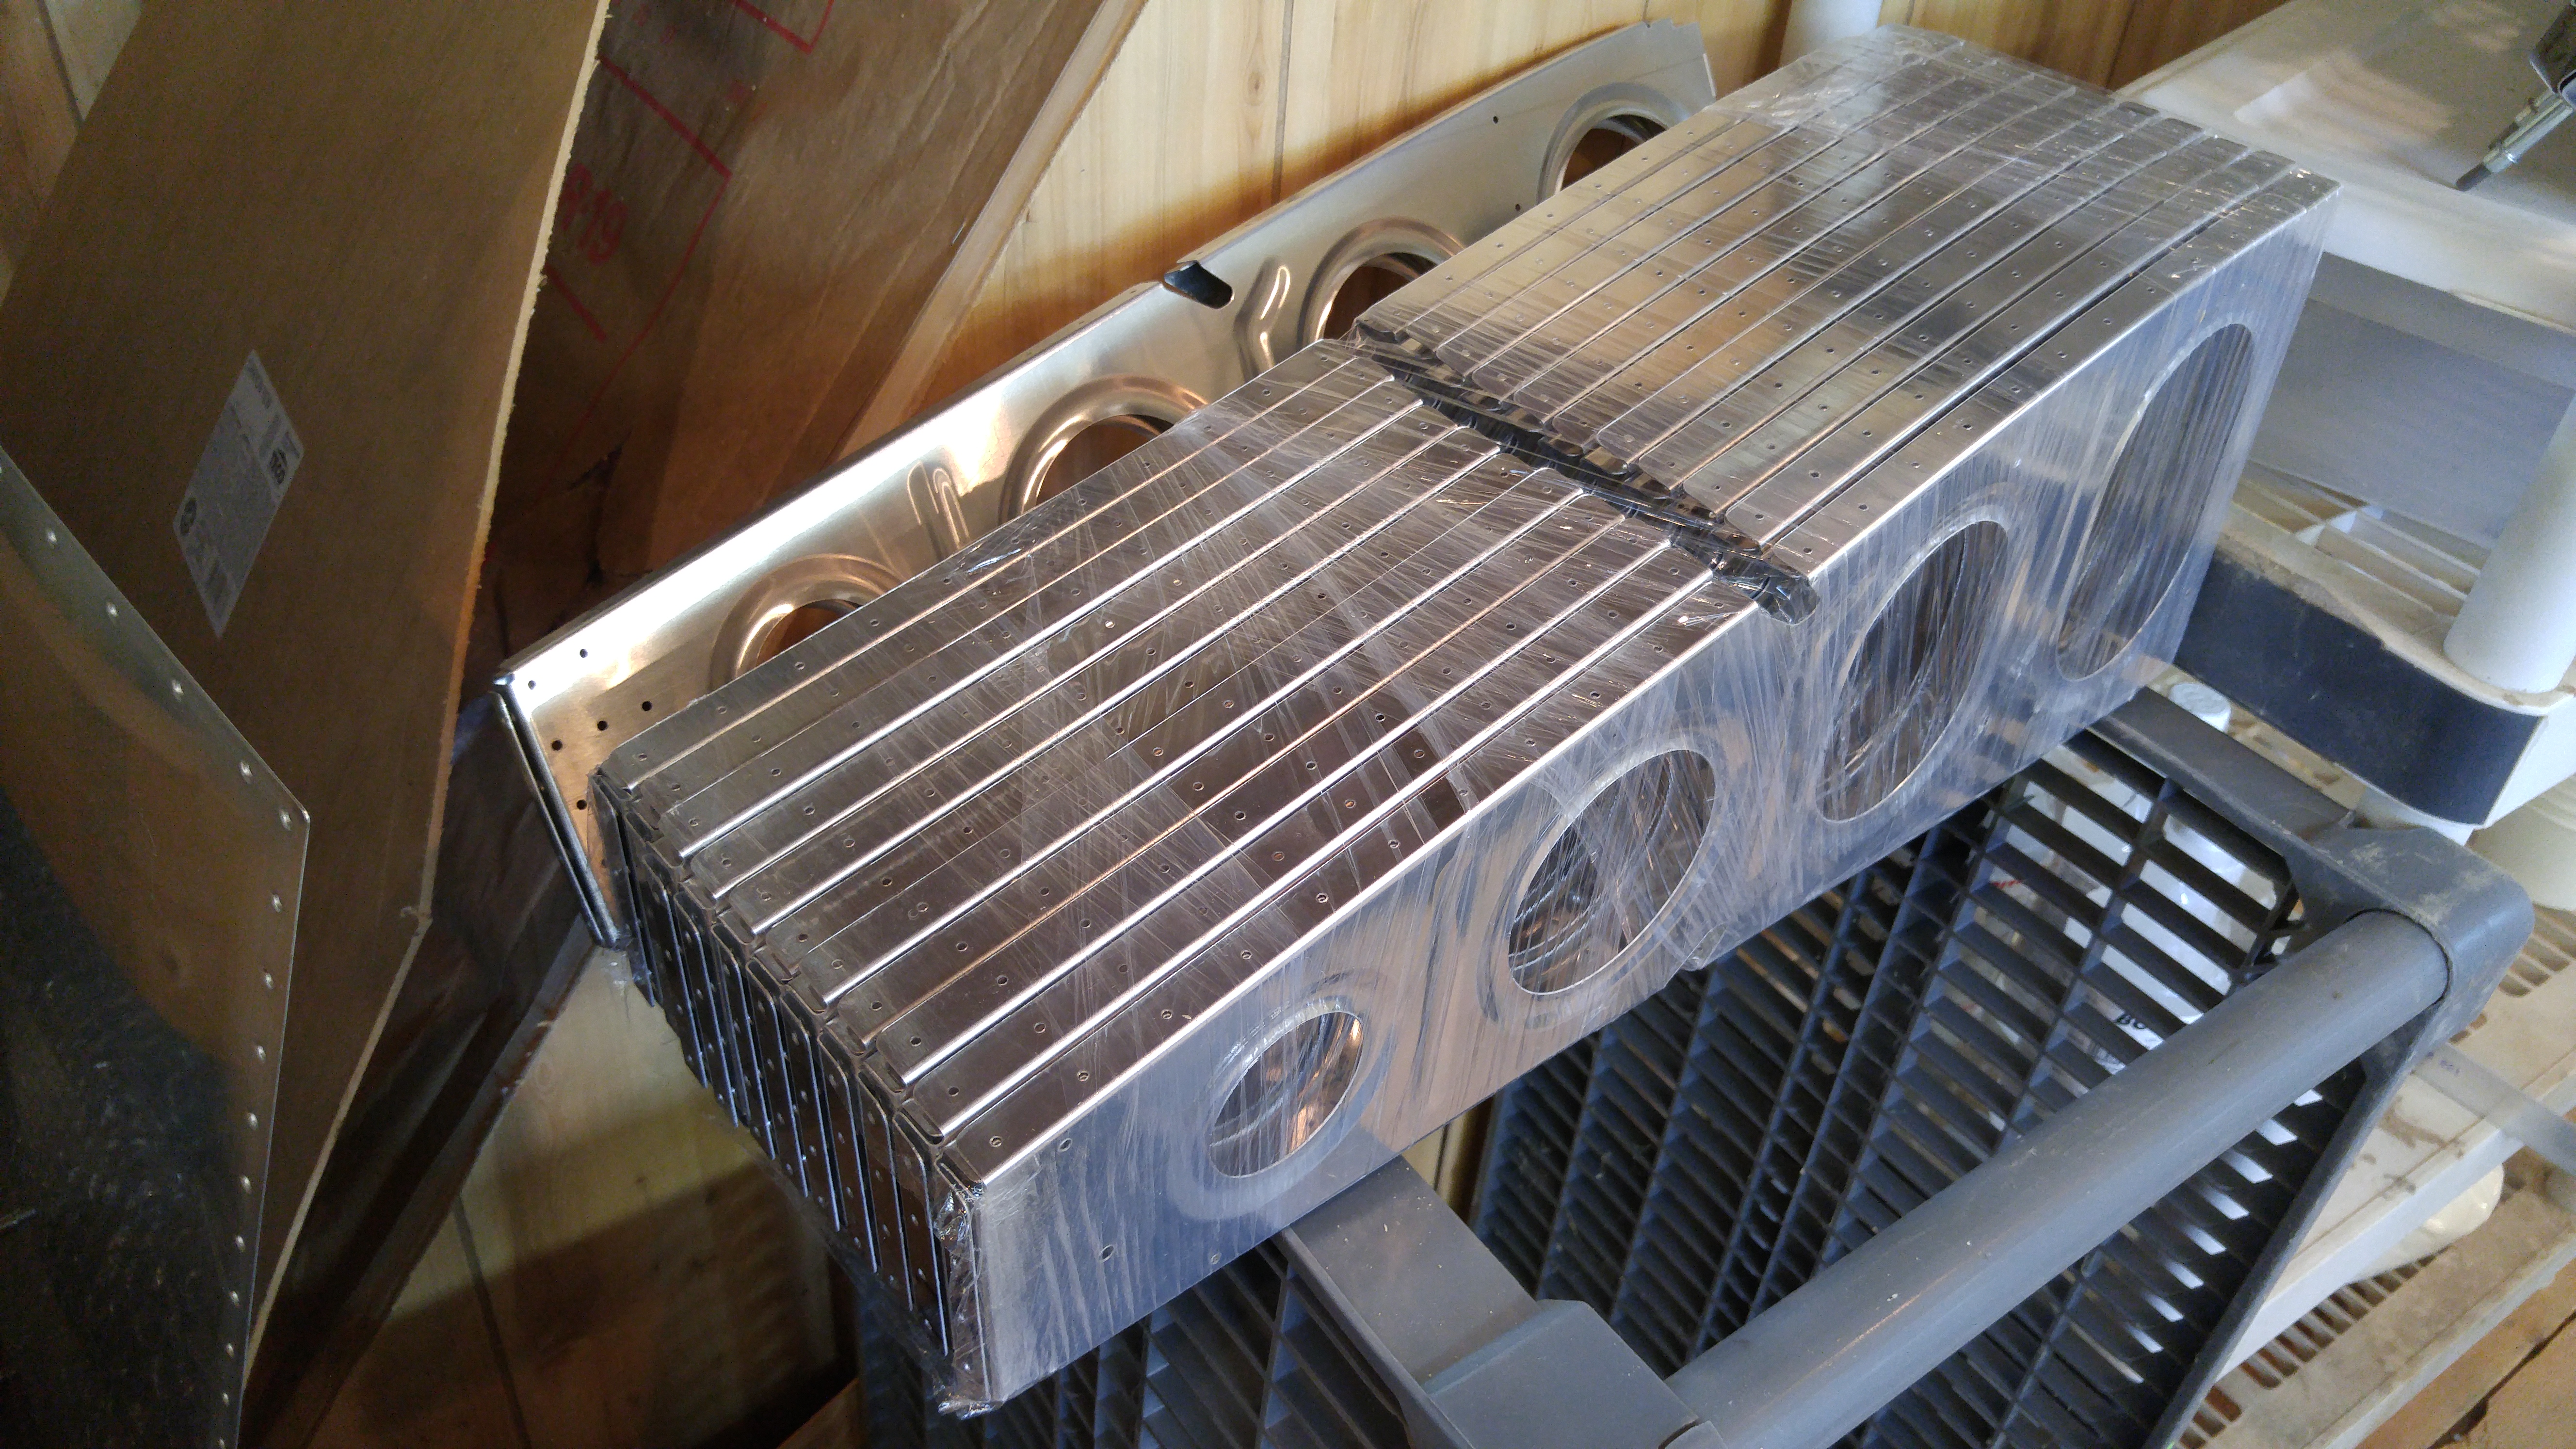
Spars
Skins
Wing Kit Shipped!
I got word today that the wing kit has shipped from Van’s Aircraft. Things are getting real. The kit wasn’t supposed to ship until next week sometime, but evidently they got it crated up in advance of the estimated date. I’ll call ABF for an update on ETA probably on Monday.
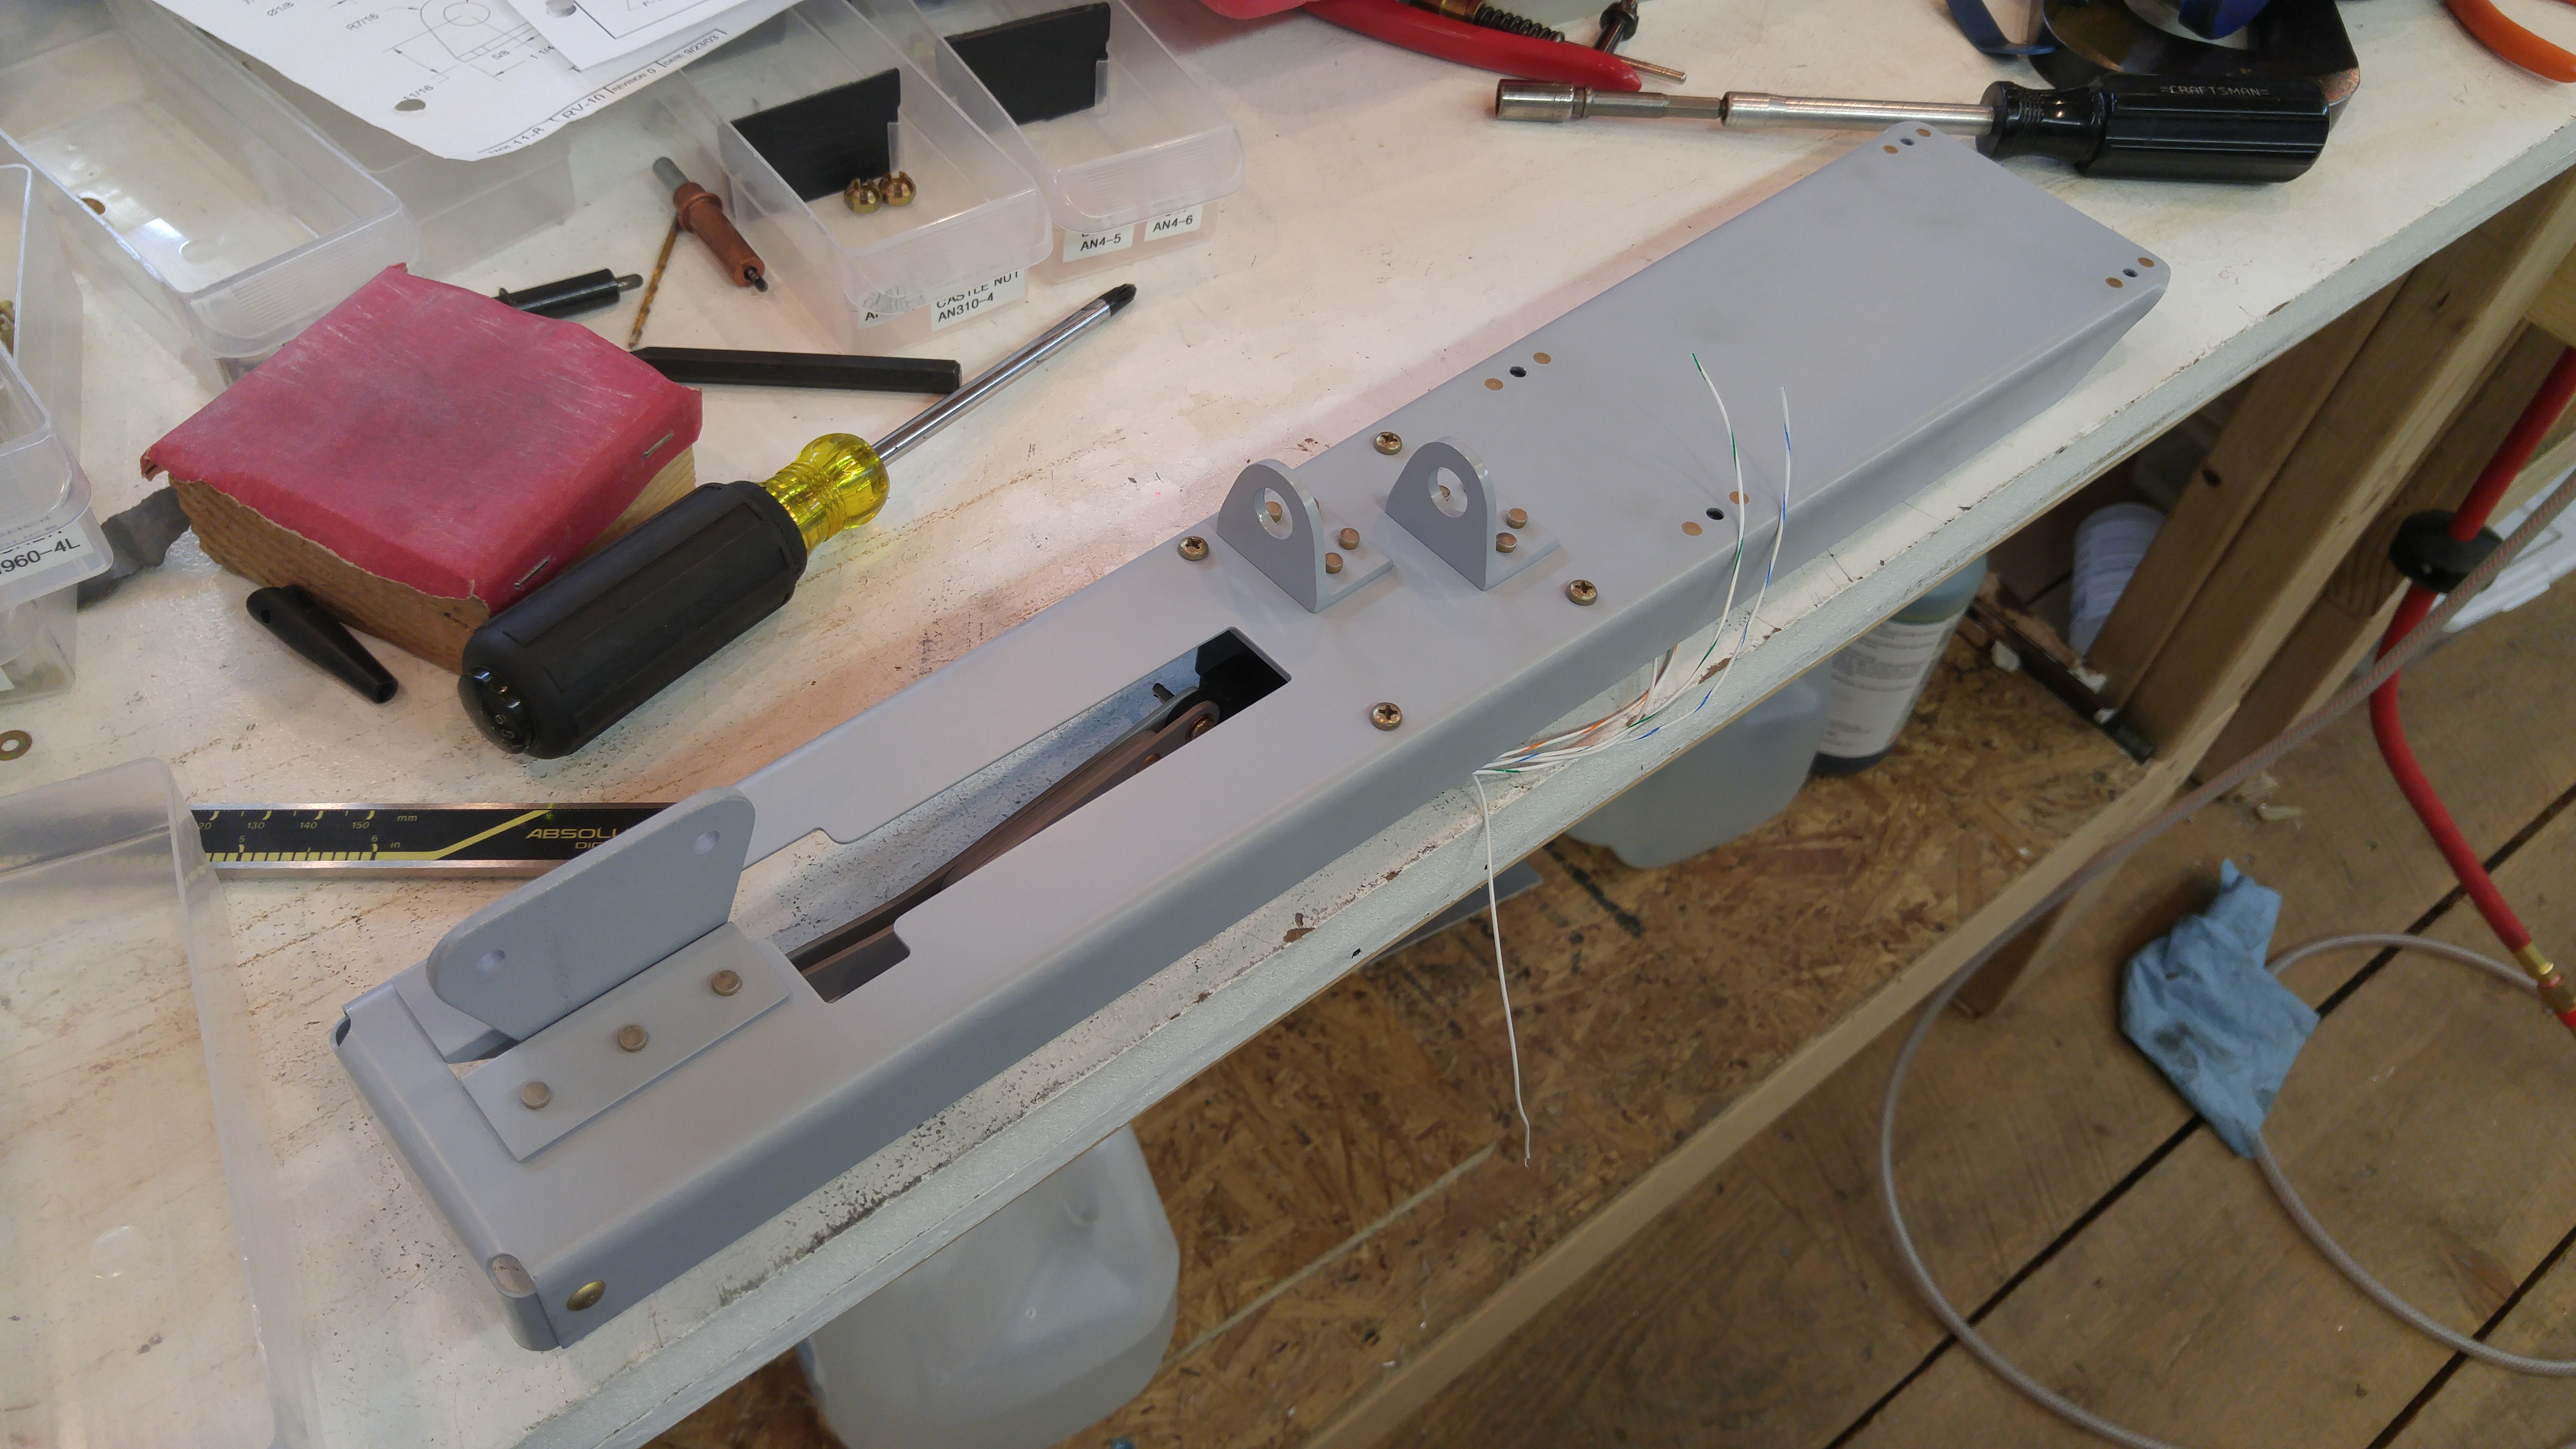
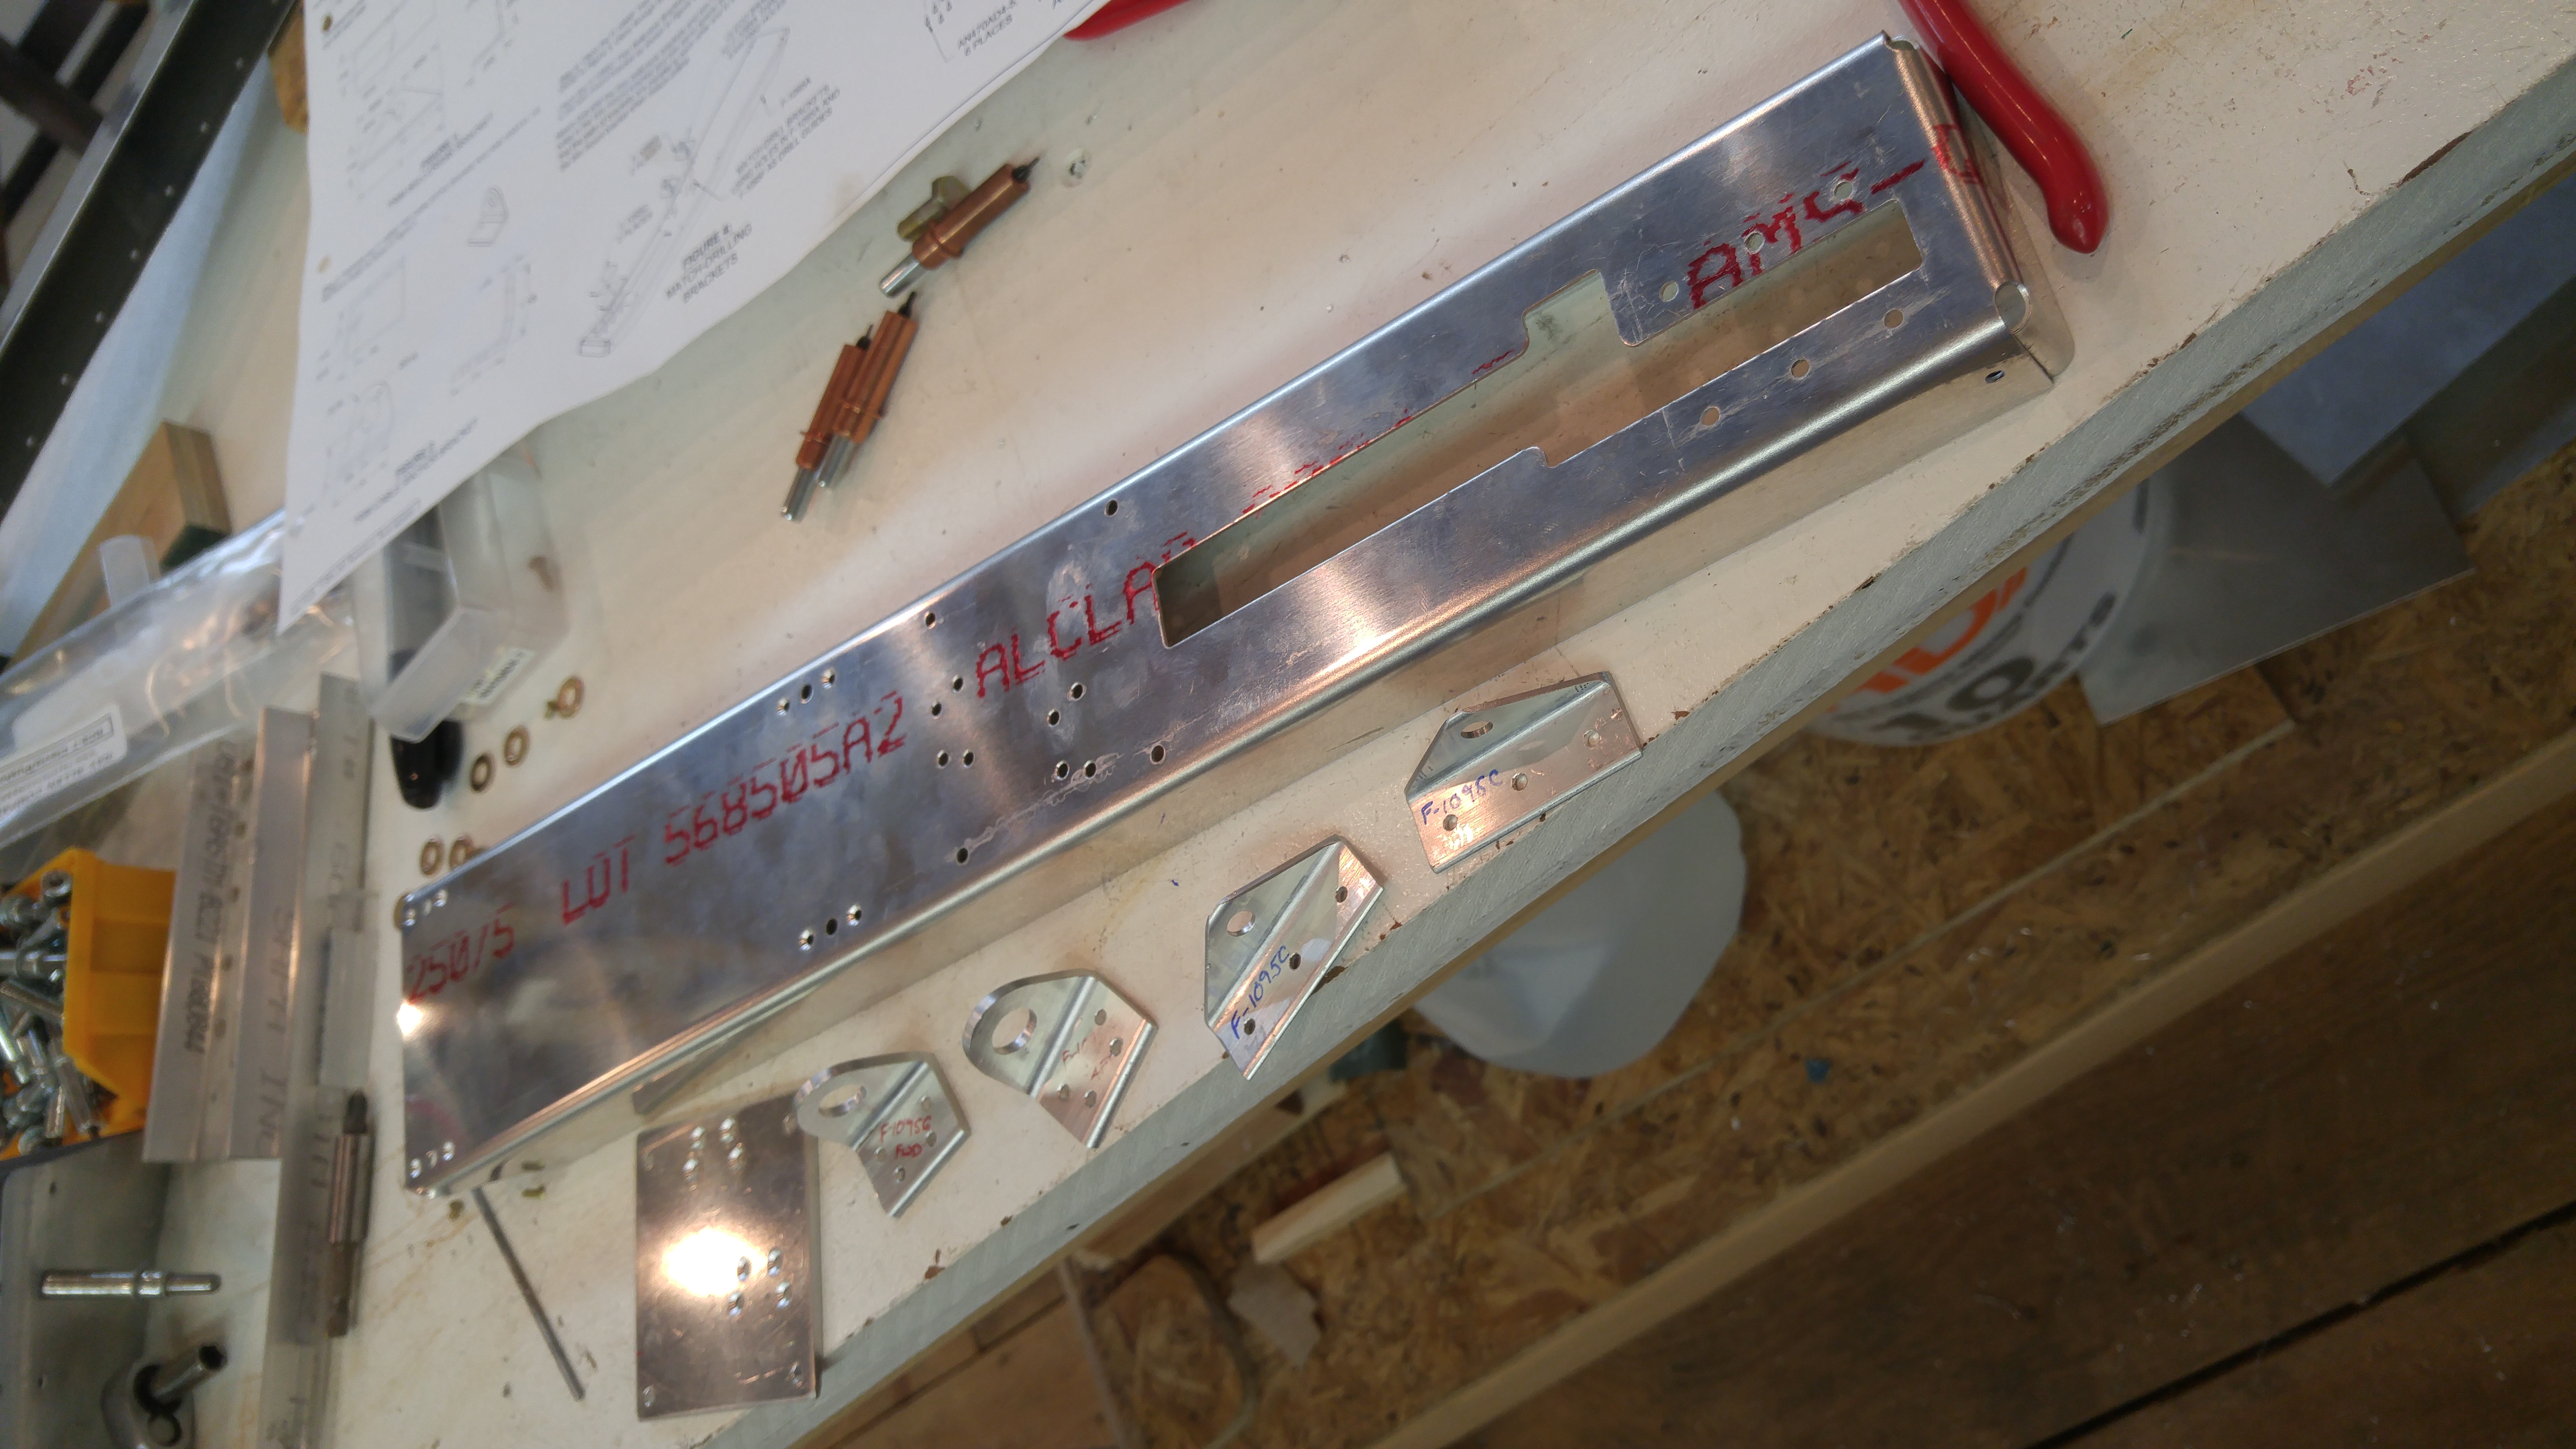
Elevator Trim Servo Bracket Assembly
This evening I took the primed parts for the elevator trim servo system and assembled them. All rivets were squeezed using the longeron die to get around the tall flanges on the bracket itself. Time this evening: 2.5 hrs.
The initial rivets
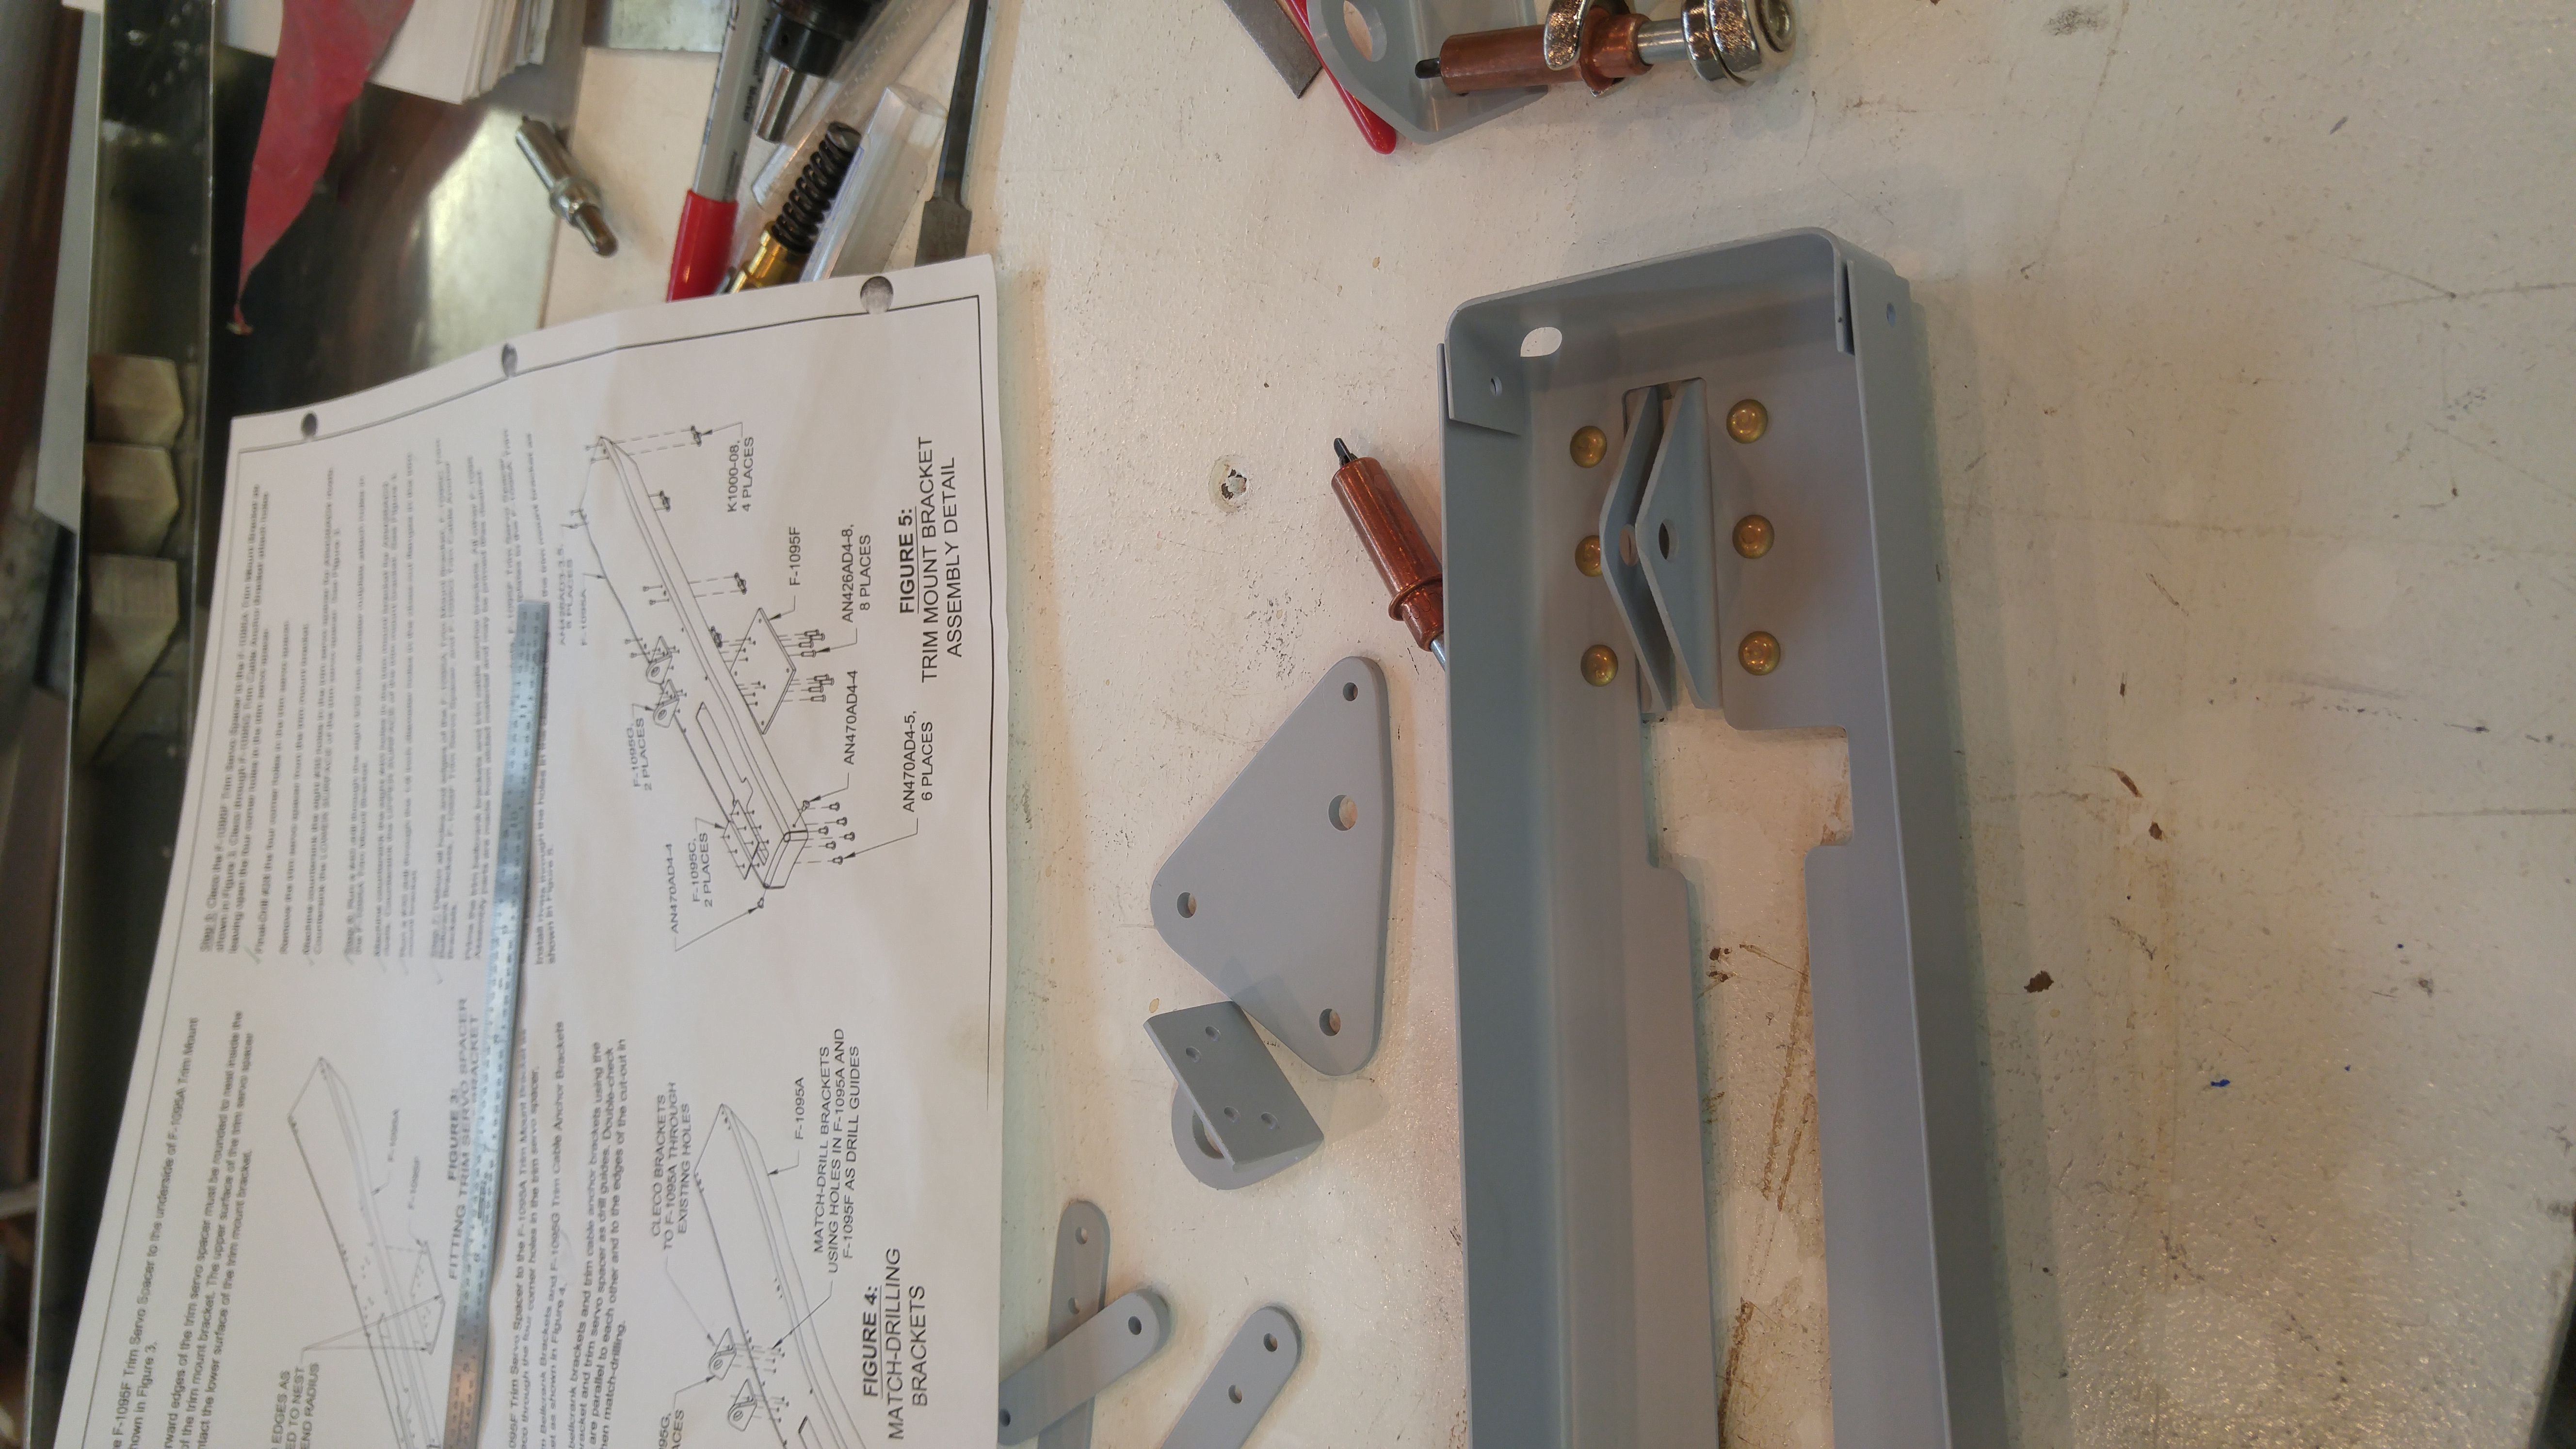
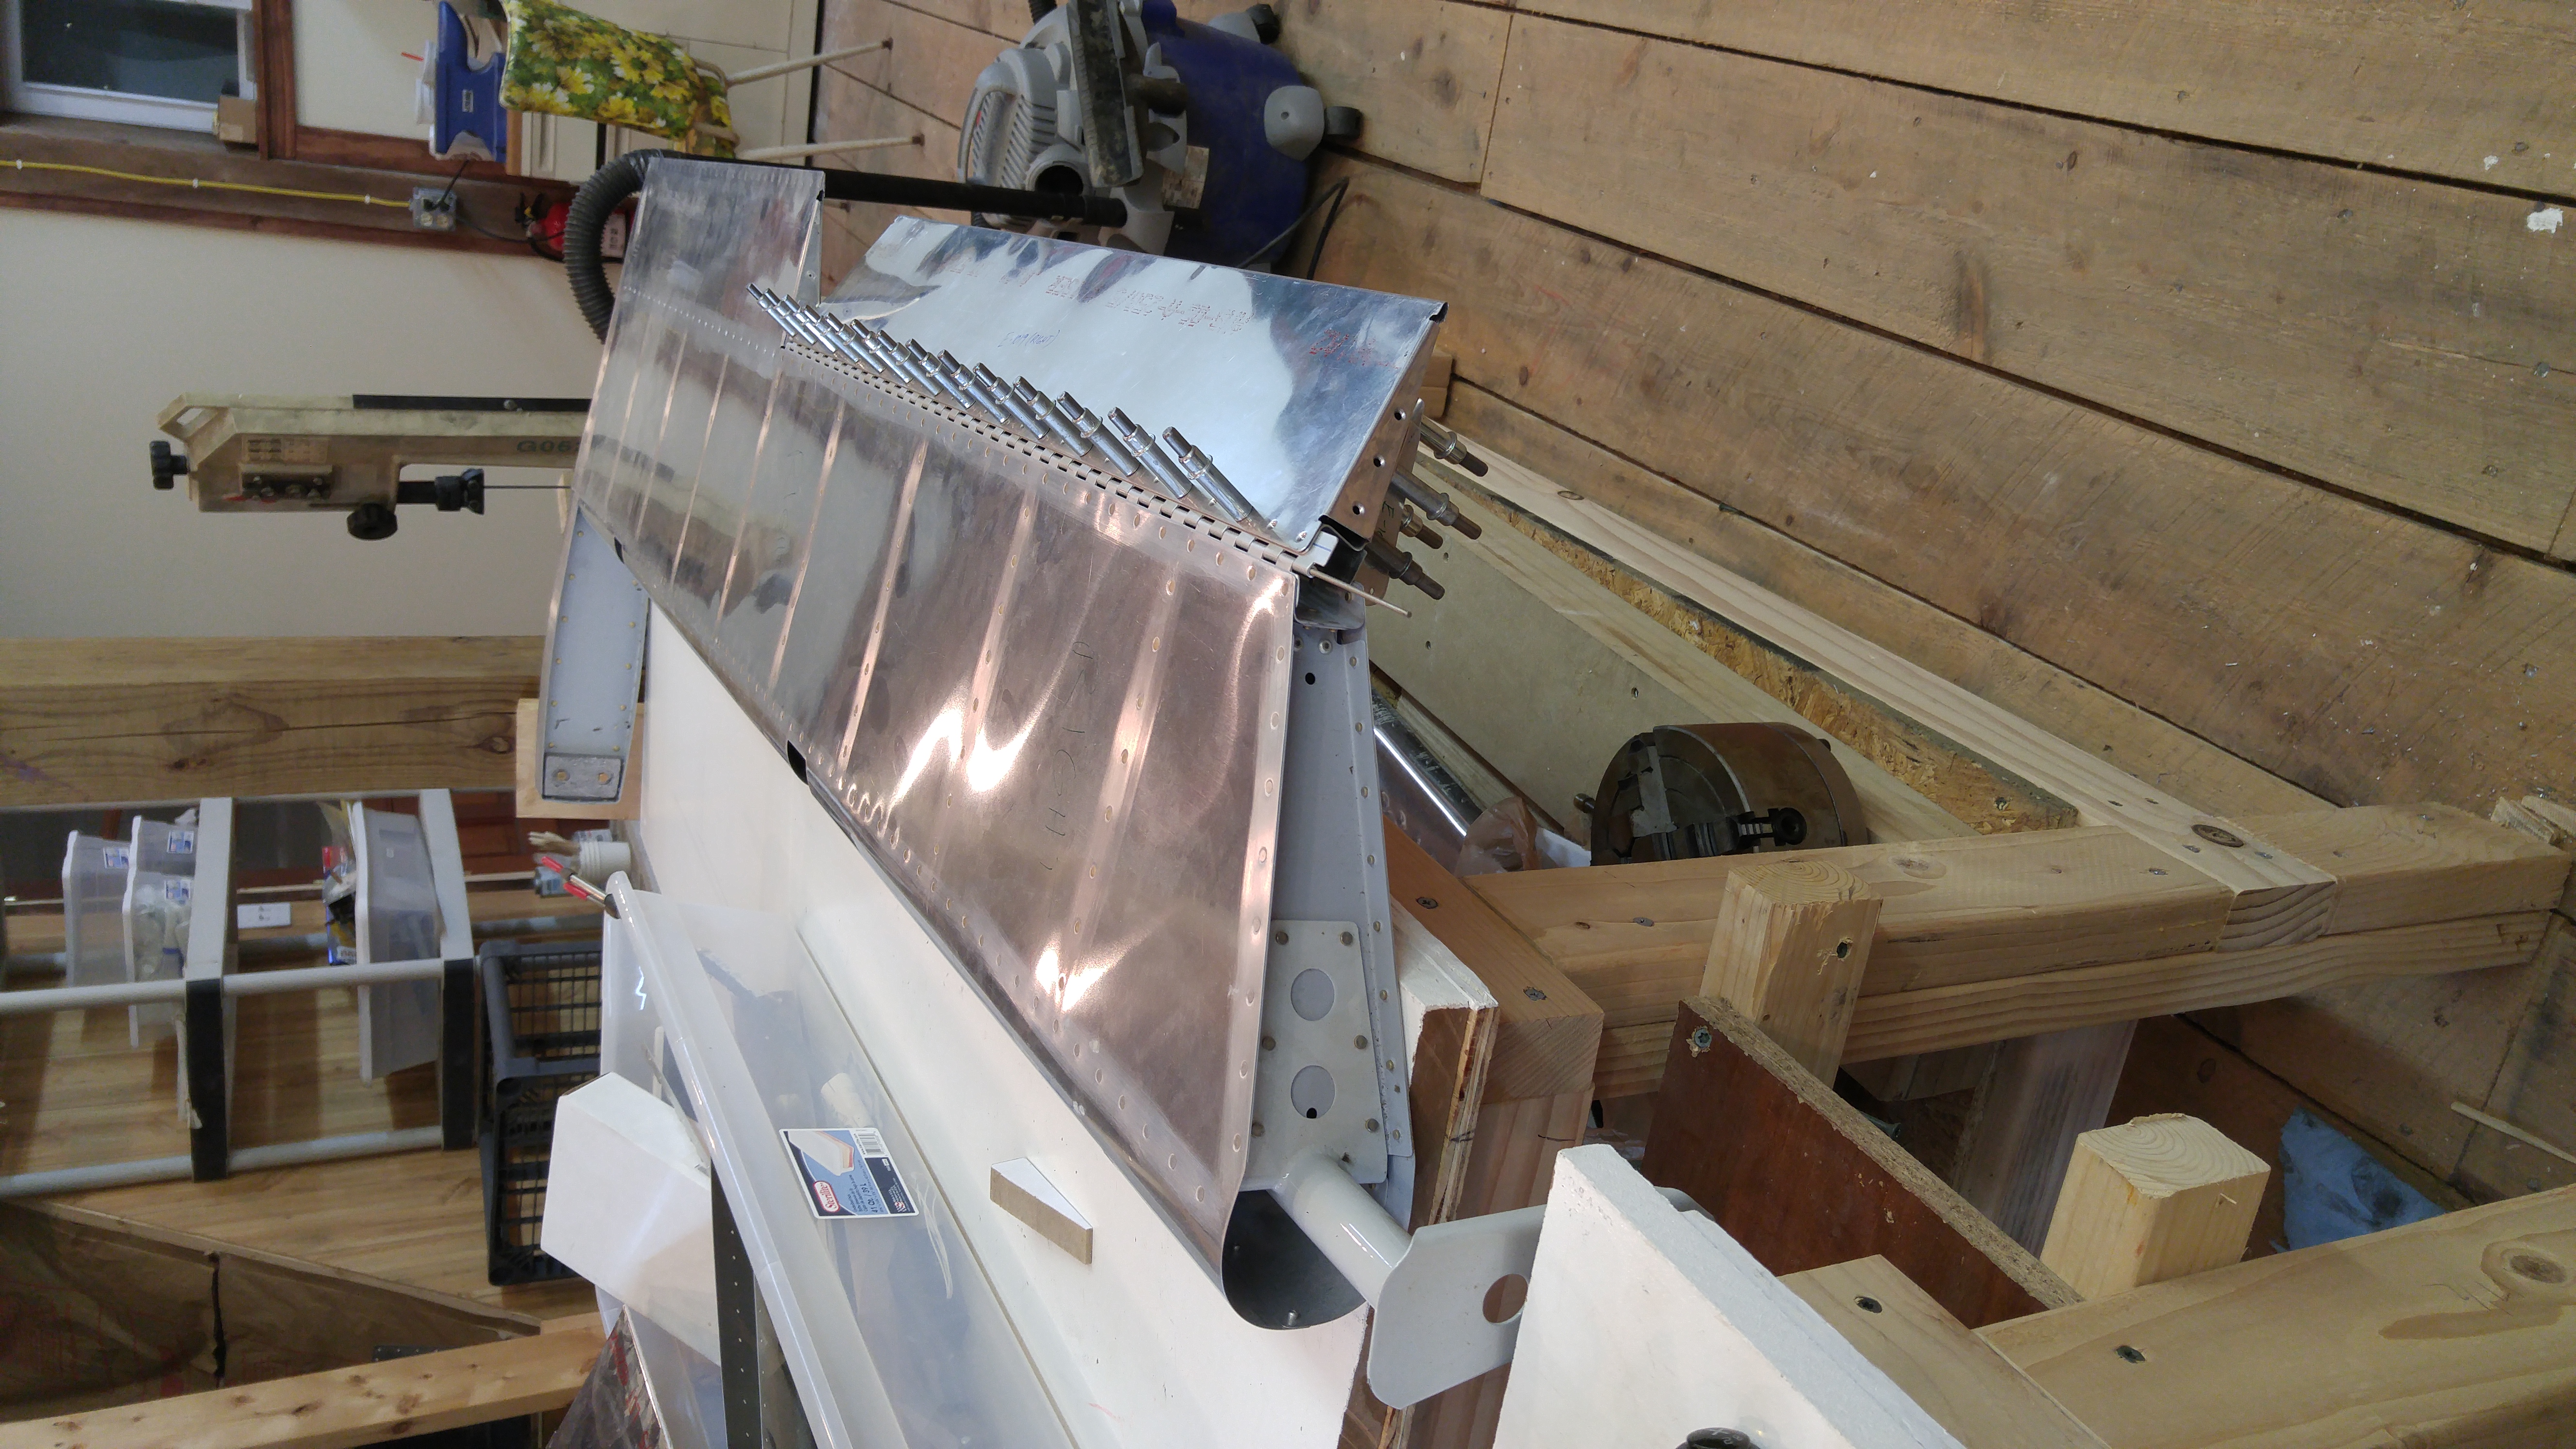
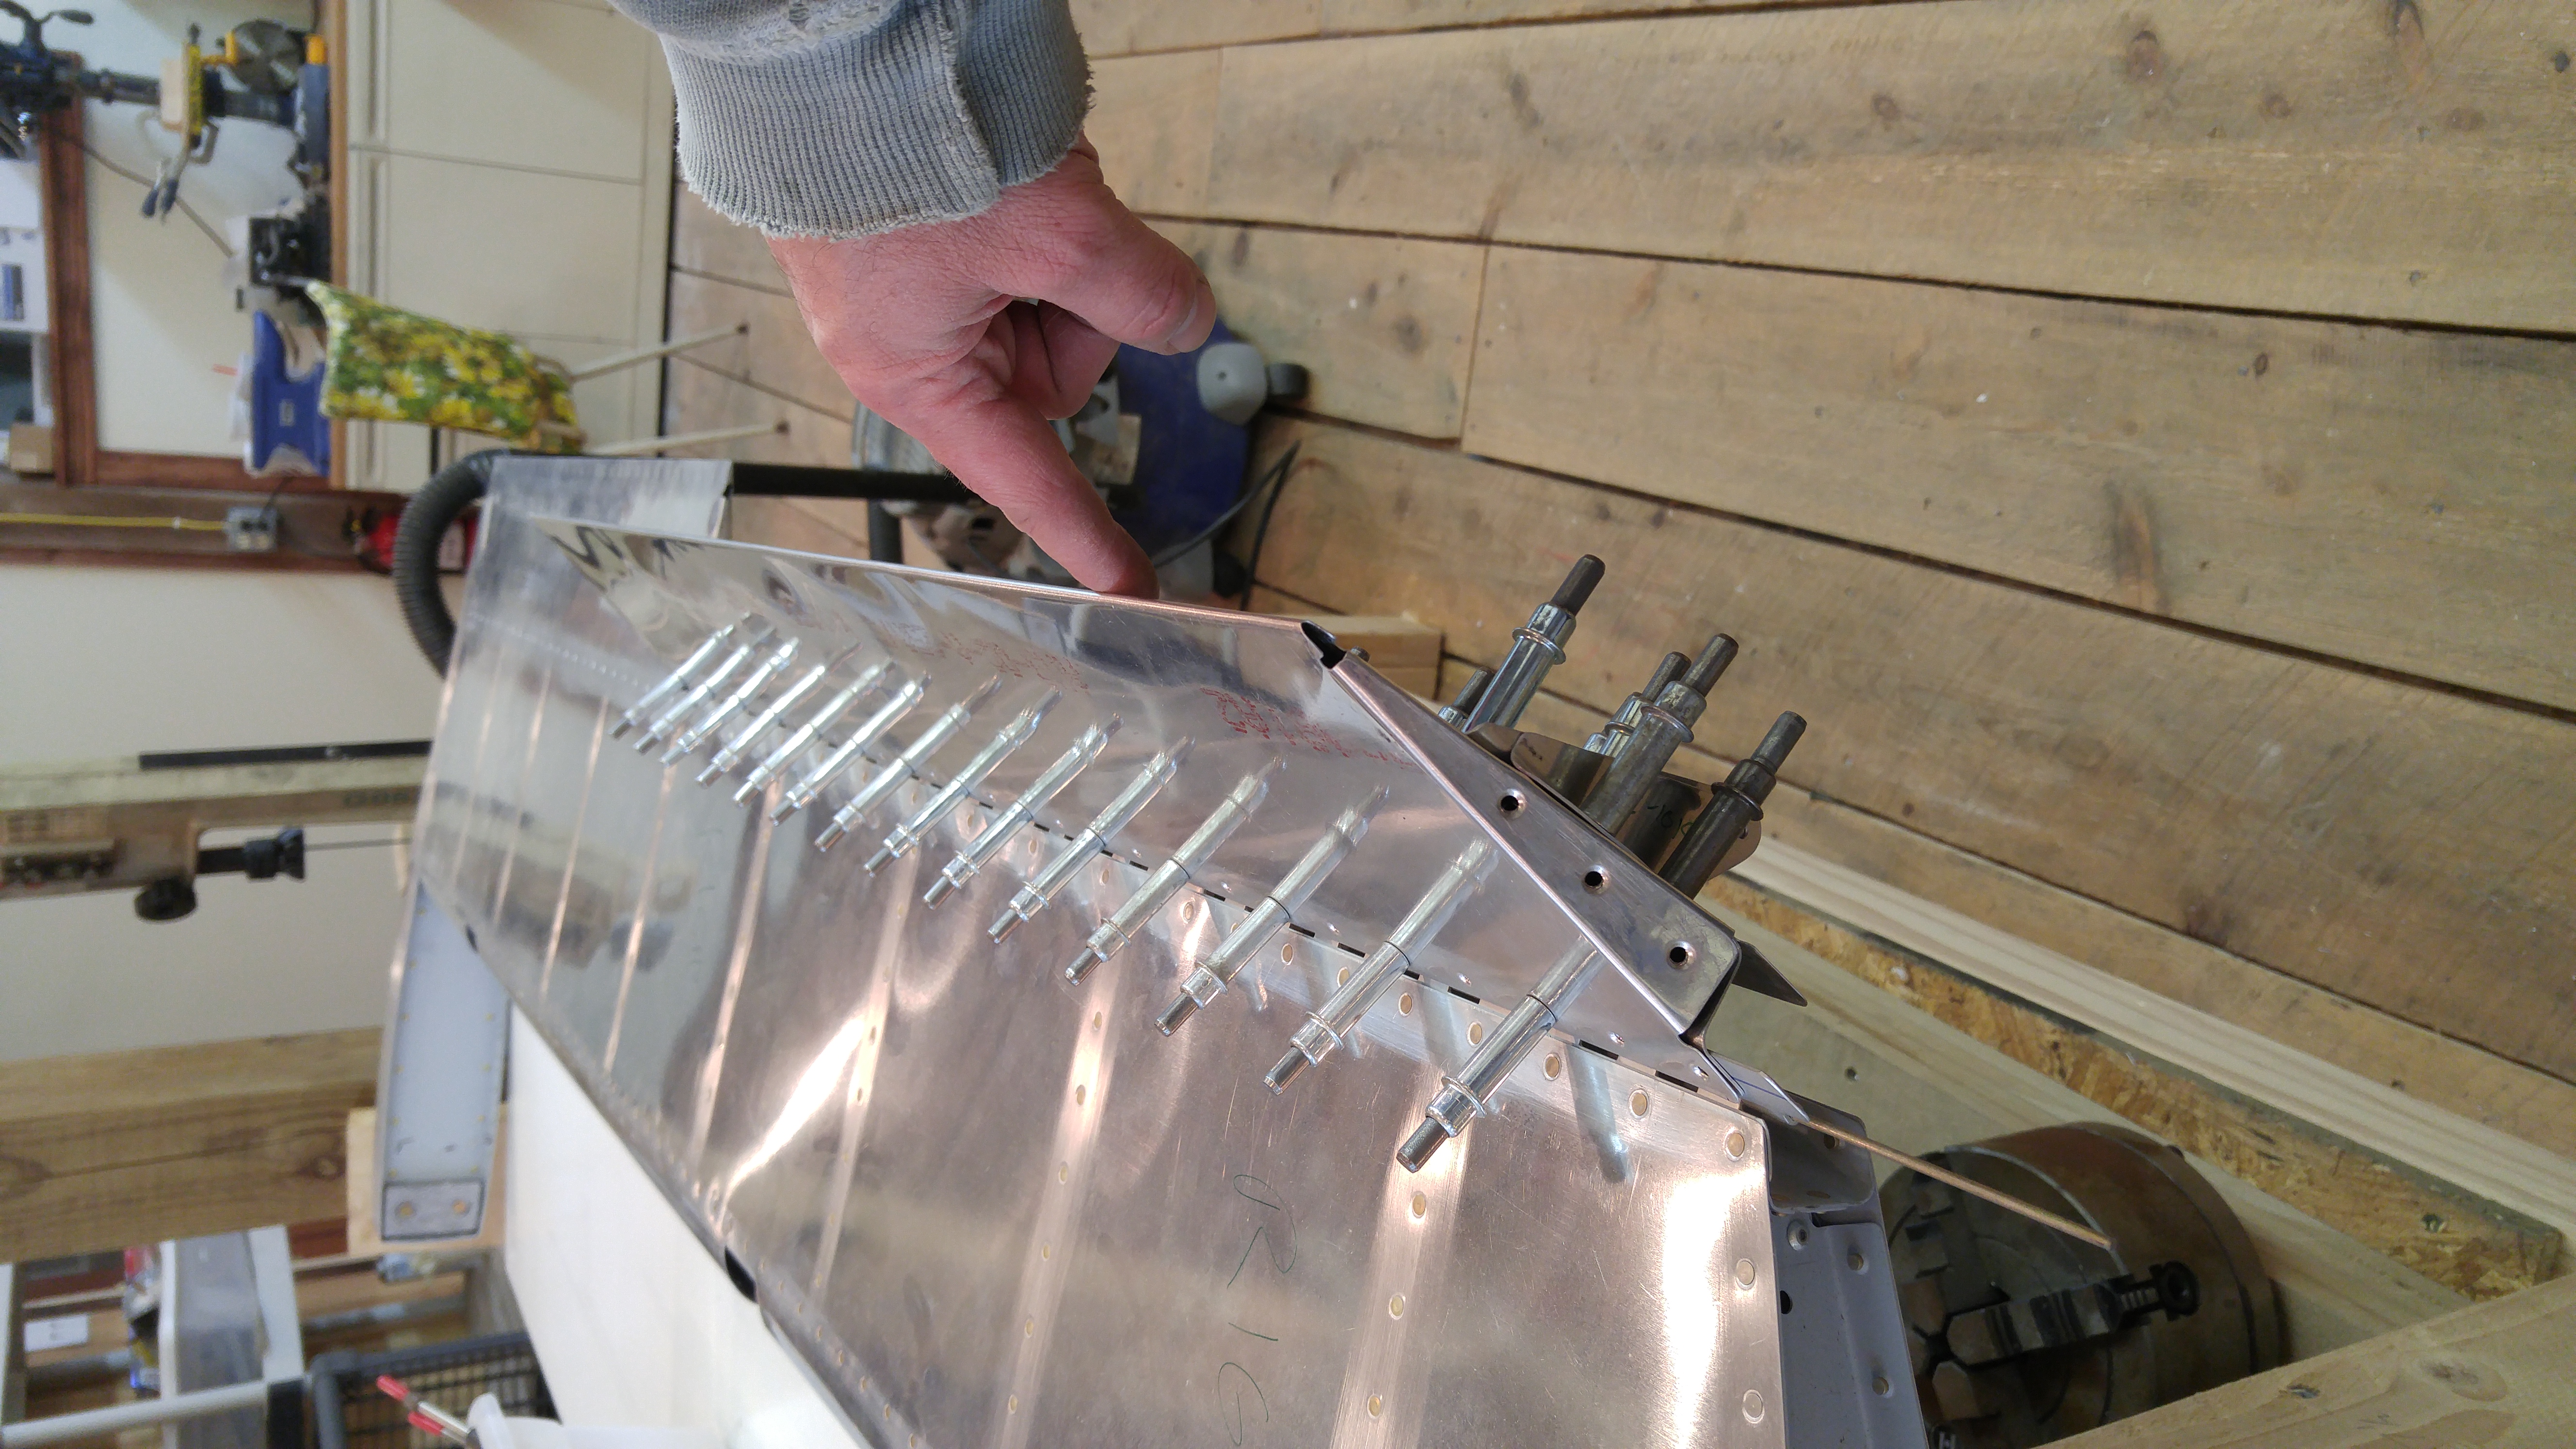
Push-Pull Rod brackets installed
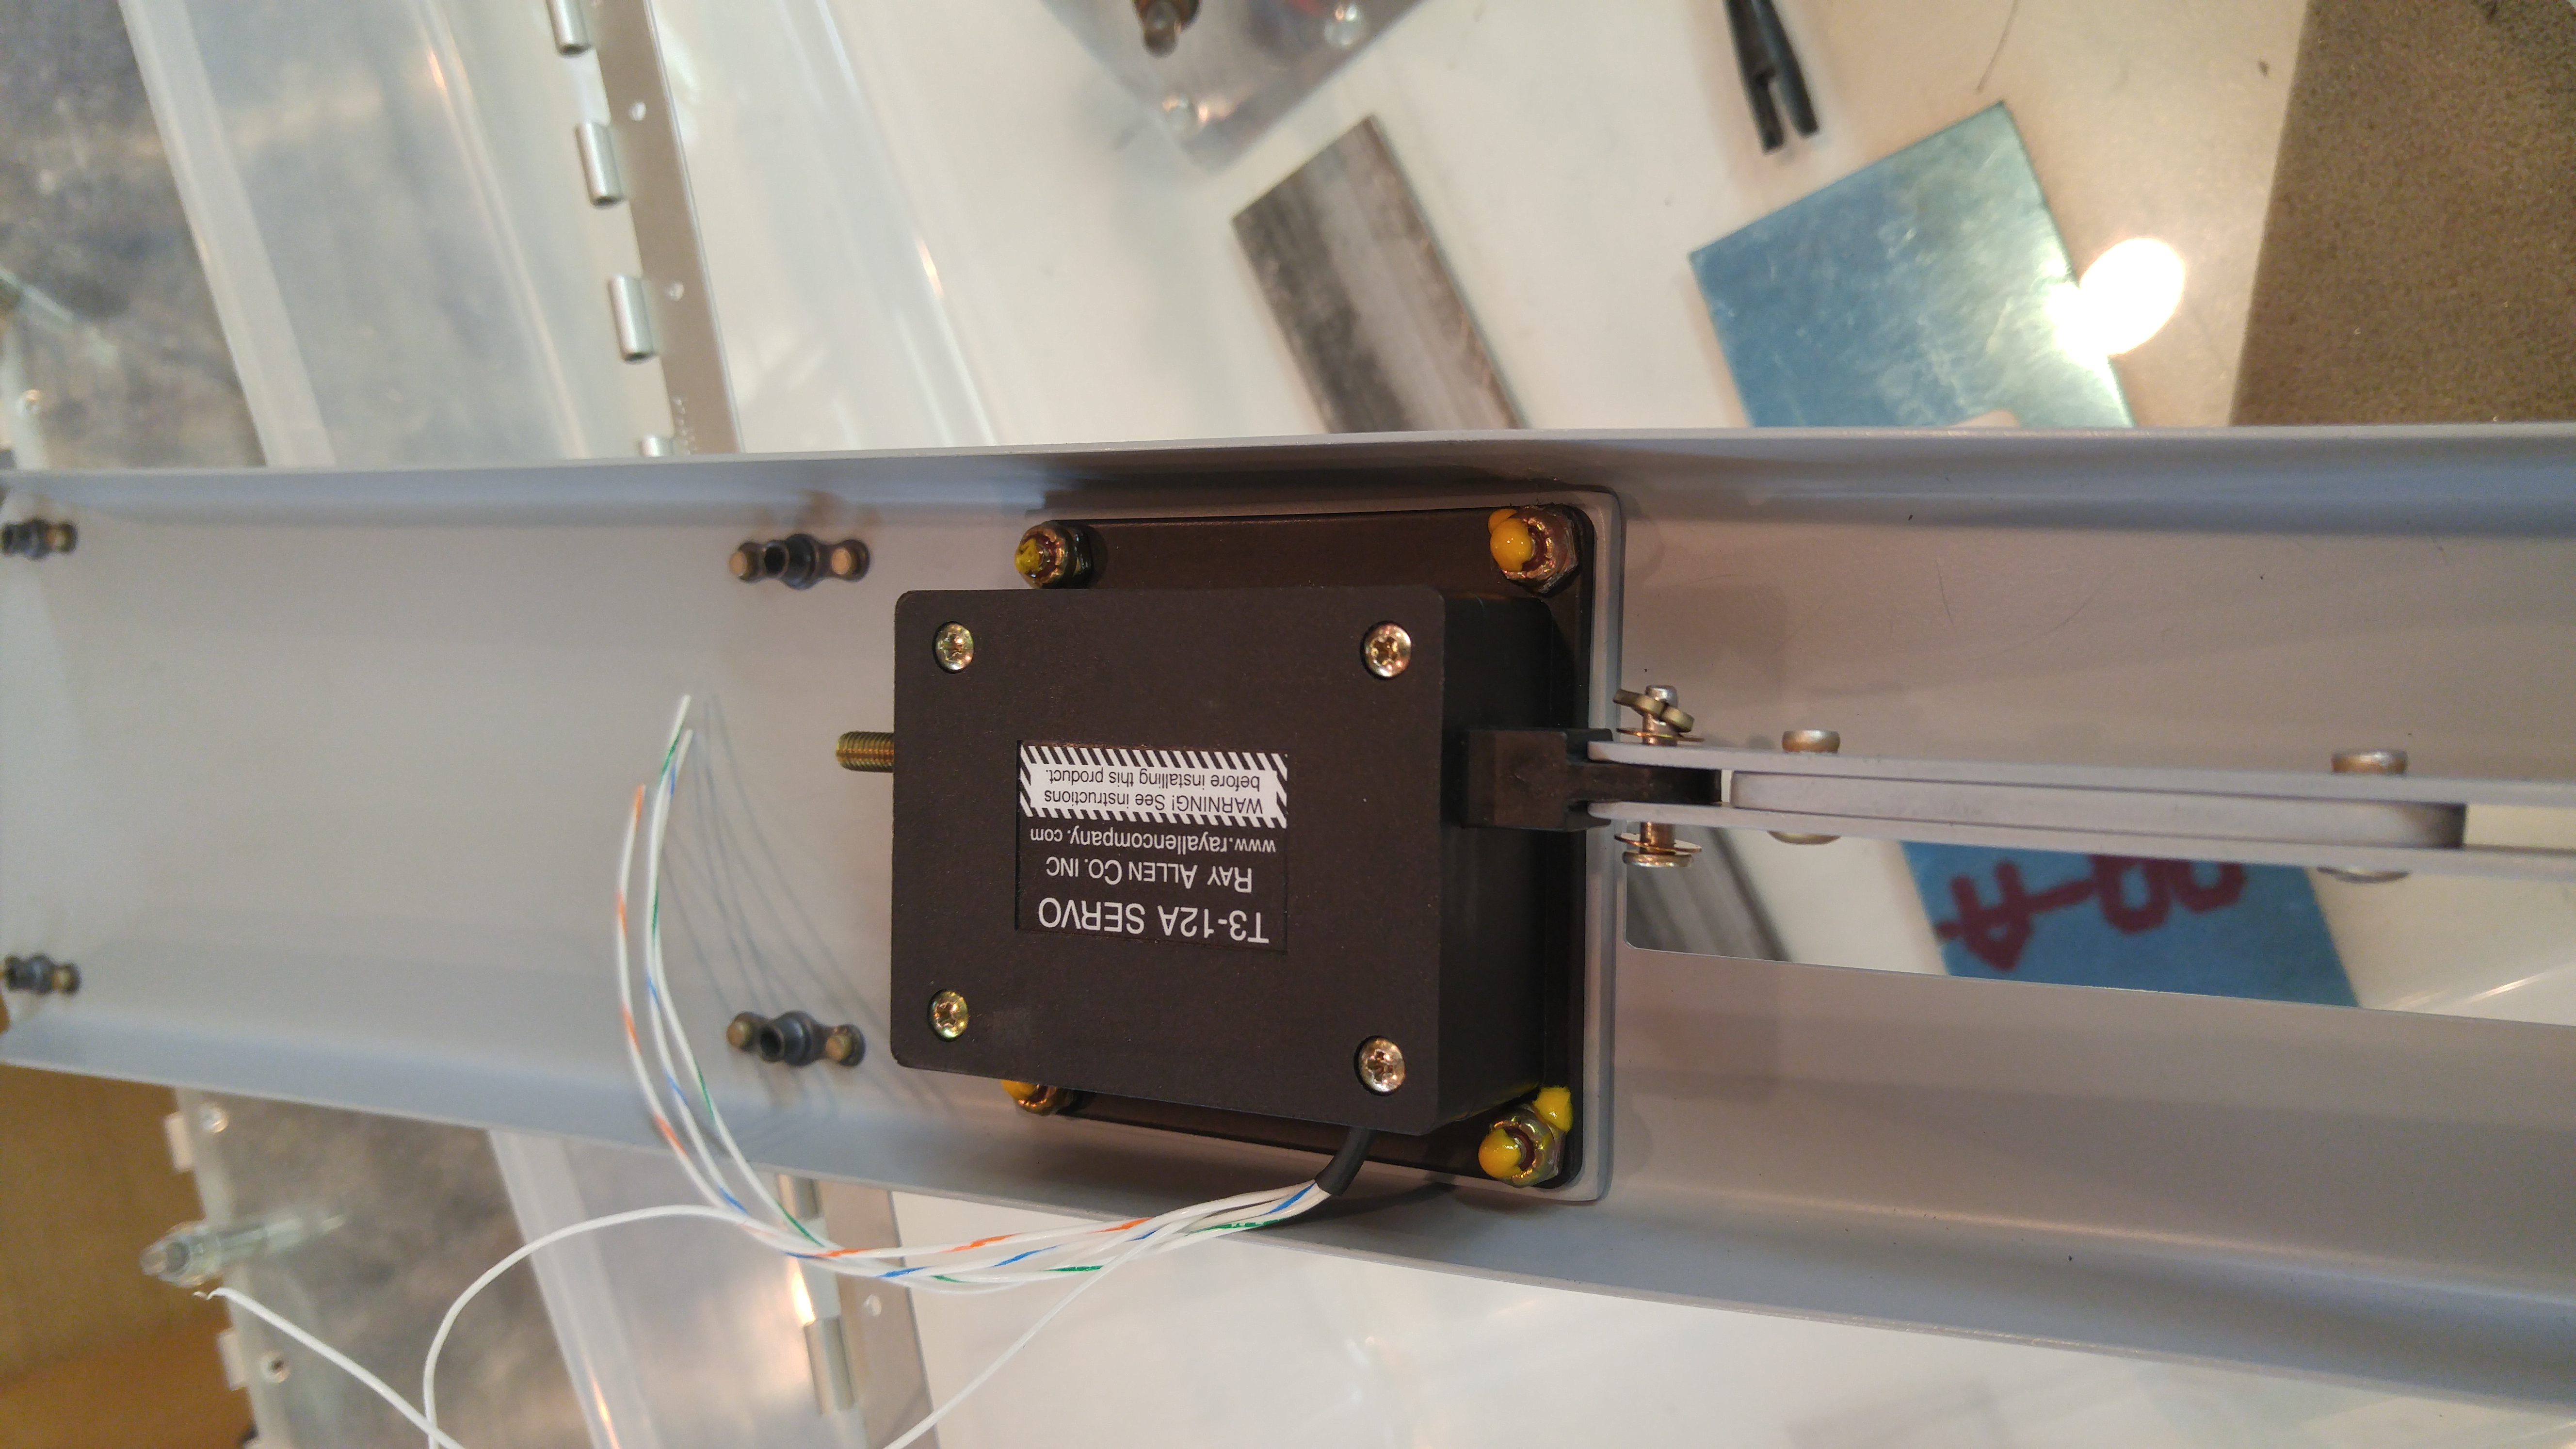
Servo and servo linkage installed
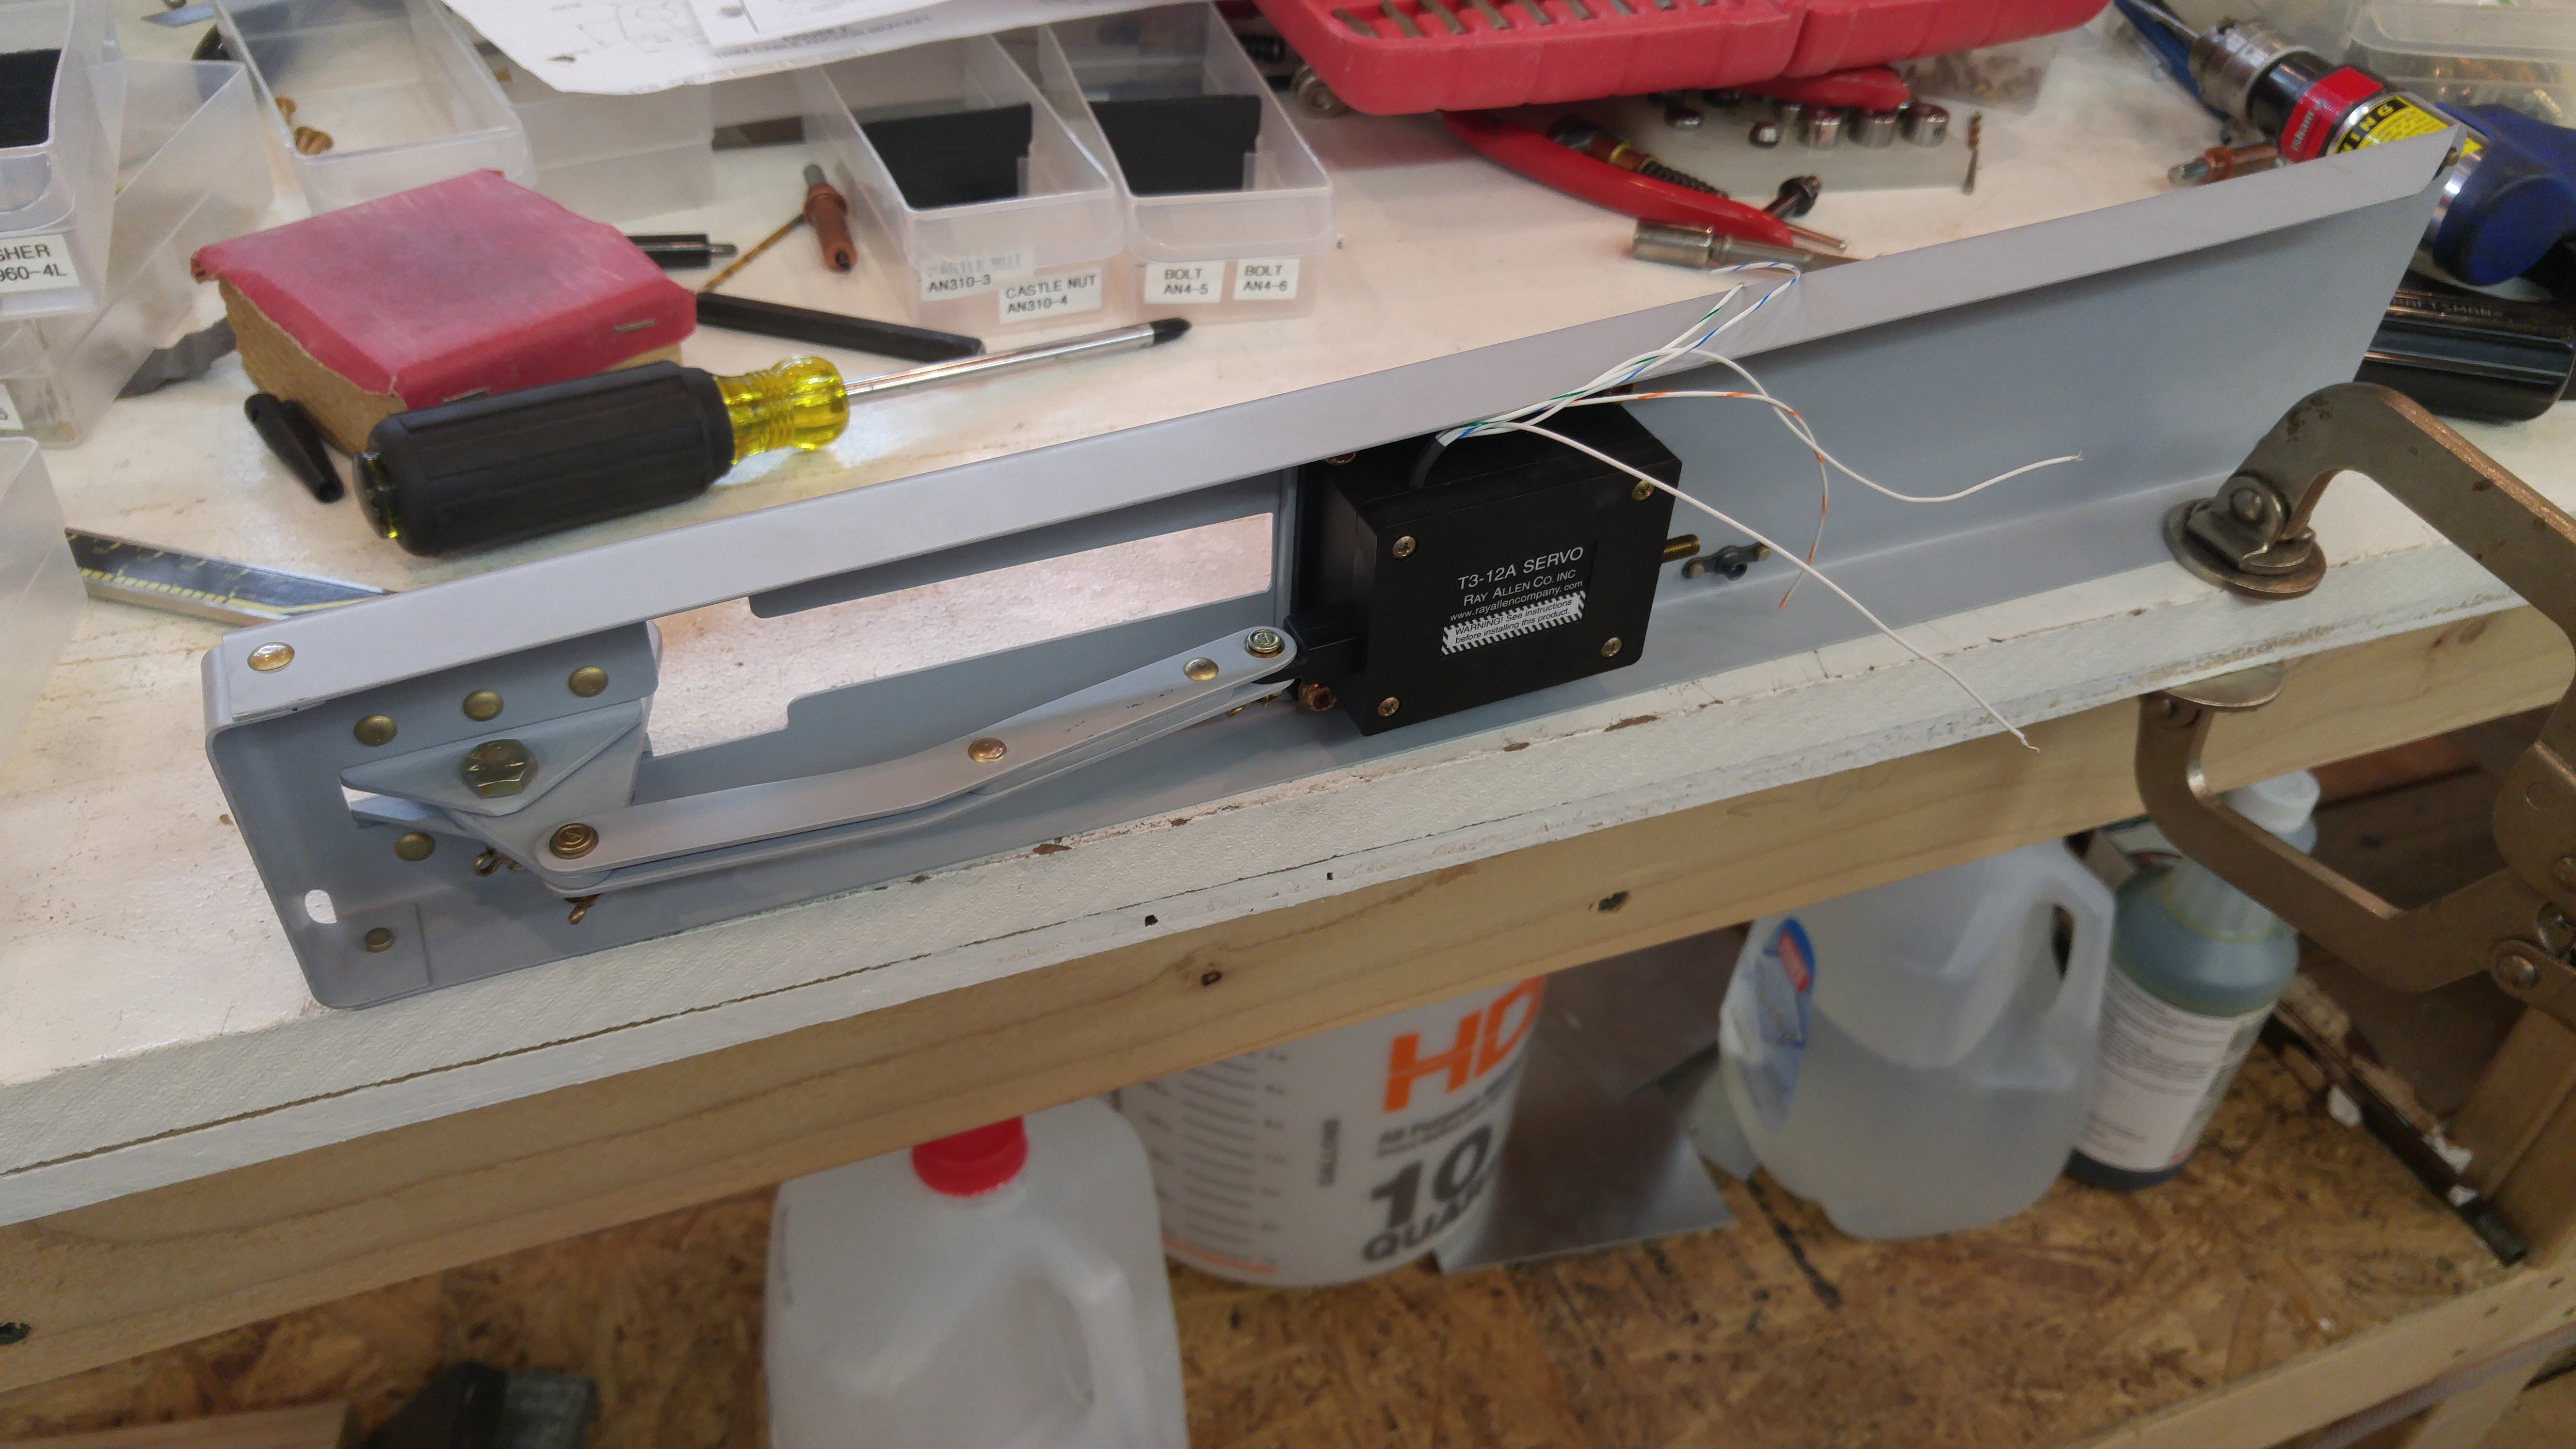
Torque Sealed the servo mounting nuts
Elevator Trim Parts Primed
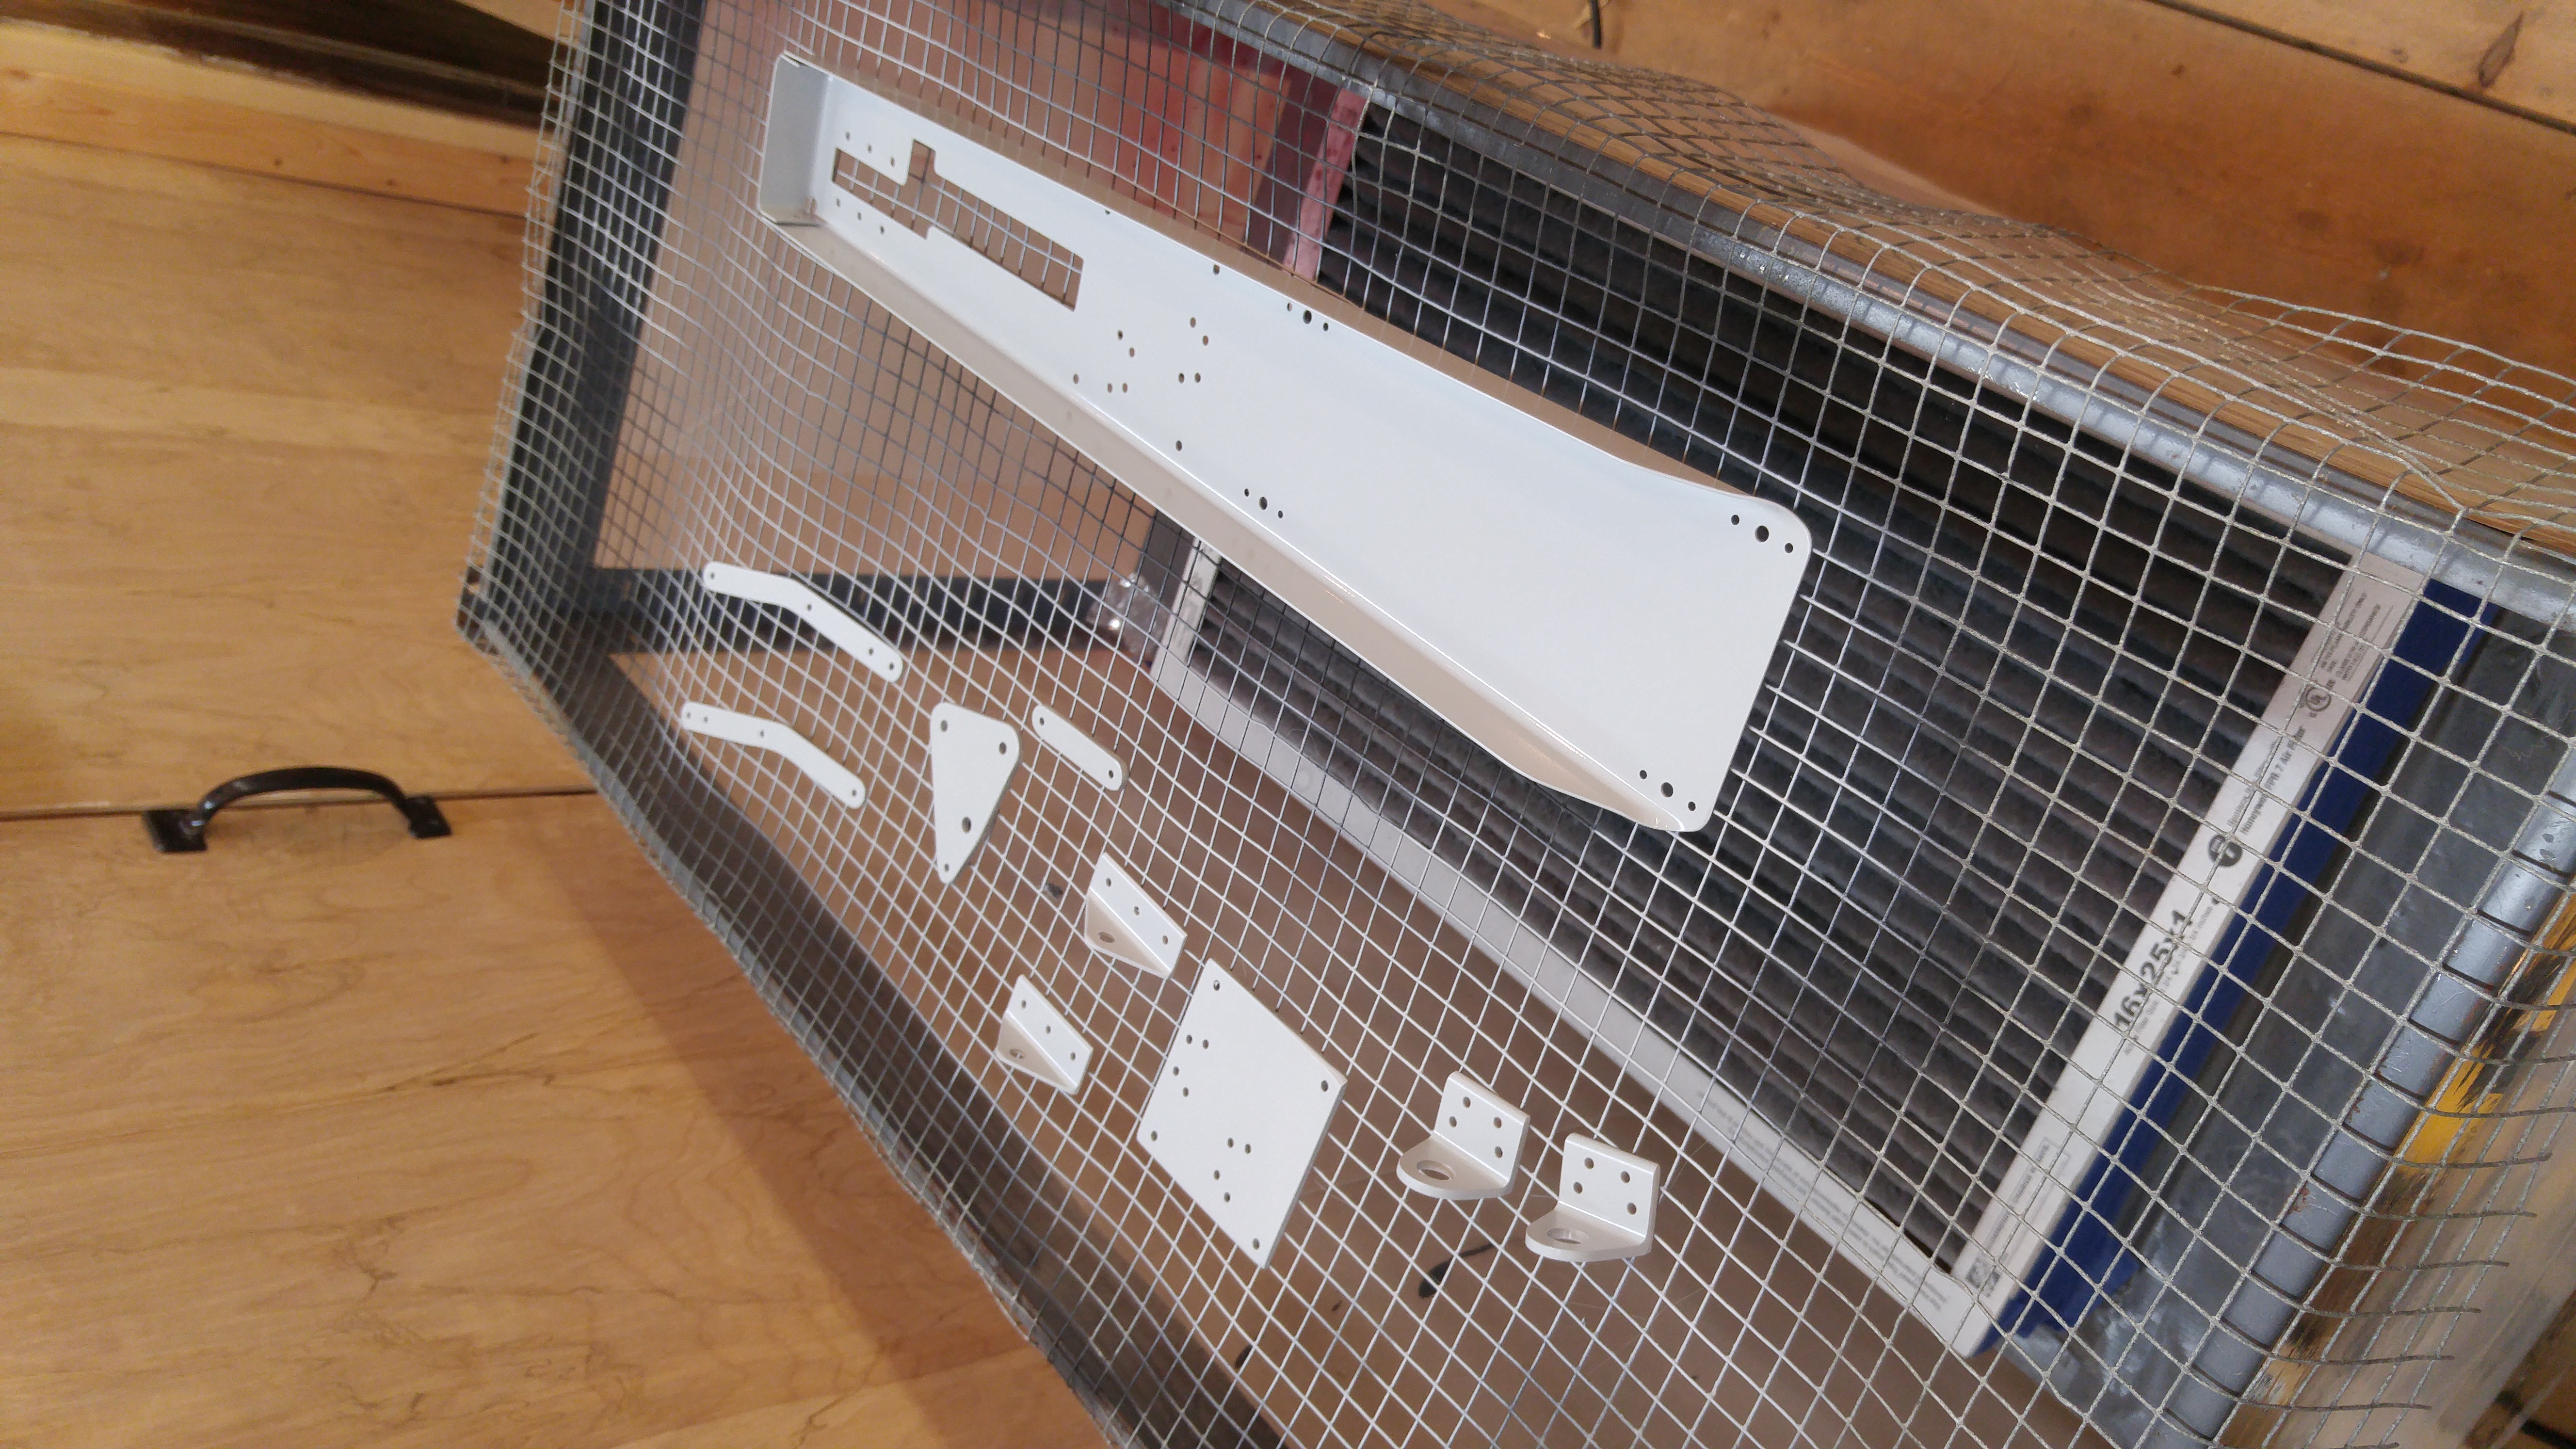
Elevator Trim System Work
The elevator trim bracket and related parts are nearly complete and almost ready for primer.
Test Fitting RH Trim Tab
I spent 1.5 hours on the RH trim tab the other day and test fitted it on the elevator. Now I have to re-do the LH trim tab spar and then I can prime and final assemble both.
Total time so far 23.5 hours.