Completed Riveting Tailcone Bottom Skin

This evening I completed riveting the tailcone bottom skin F-1078 to the side skins F1073-L&R. I used the back riveting technique that others have used with success. My stainless back riveting plate allows 11 rivets to be done simultaneously. I may make a longer back rivet plate if it becomes an issue.

Also riveted F-1055-L&R to the side skins.

I had two rivets that needed to be drilled out and replaced. One required an “oops” rivet.

Time today 3:03. Total time 19:30.

brief update

I’ve been spending time this summer getting the workshop ready to go so I don’t freeze my butt off working on the RV-10 in the winter.  Pics will follow once I’m substantially complete.

Also I have been working on finishing up the instrument rating.  Once I have that in my pocket and the workshop is ready to go, it should be full steam ahead on the RV-10 construction (I expect some interruption in productivity due to the expected release of Fallout 4 in November).

Left Elevator Trim Tab Construction

A time lapse video up to and including drilling and dimpling.  I had an issue at the end with the microstop countersink slipping and I am waiting on some “oops rivets” to arrive to finish it.  I’ll start on the right tab tonight.


[stream flv=x:/www.brunbergs.net/wp-content/uploads/2015/04/lefttrimtab1.240p.flv img=x:/www.brunbergs.net/wp-content/uploads/2015/04/TrimTabShot1-300×169.jpg mp4=x:/www.brunbergs.net/wp-content/uploads/2015/04/lefttrimtab1.mp4 embed=false share=false width=640 height=360 dock=true controlbar=over bandwidth=high autostart=false responsive=16:9 /]

Practice Project: Plans Binder

I figured I could use some practice with basic sheet metal techniques.  While I took the EAA RV Assembly SportAir Workshop back in January (Thanks to all the folks at EAA and KFDK who made that happen!) and completed the Van’s airfoil practice kit, I still have a ways to go until I feel my driven rivets are good enough to fly.  So, I figured I’d do a little work.

At the same time, I was looking for a proper 11×17″ binder to protect my plans, but when I looked at the prices at Staples and other office supply shops (including Amazon) I figured I could do better for less (the cost of a simple binder at Staples is ridiculous–well over $40 for a thin binder, and better ones get up near $70-80 each!).

wpid-20150419_154331.jpg

So I figured I’d combine the two needs into one.  I ended up with a sturdy, handmade binder made of 3003 aluminum sheet (0.040″).  I obtained the aluminum sheet from Metal Supermarkets, which conveniently has a retail location a short drive from my office.  The piano hinges were sourced at Home Depot, and the D-ring was cannibalized from an inexpensive 8-1/2 x 11″ binder.  Total cost, approximately $40, but I got some valuable practice at riveting, drilling, countersinking, dimpling, and deburring.

wpid-20150419_154356.jpg

I didn’t use the pre-drilled holes in the Home Depot hinges because they were simply too large for the rivets I wanted to use and larger rivets would have been a waste here.  You can see variability in the degree of the shop head development because I was experimenting with different settings on the rivet gun.  I decided not to re-do them simply to remind myself of the significant differences.

wpid-20150419_154343.jpg


I back riveted the hinges to the spine and covers using a large stainless steel plate I happened to have lying around.  I may polish the plate to get a better finish but this was acceptable for the purpose here.

Shiny!

A bonus to this binder is it is rigid enough to stand up and hold the plans properly without deforming the binder.  I may add a clasp and a handle in the future, as well as possibly some holes for hanging hooks if I find that may be useful.

wpid-20150419_154302.jpg

Empennage Parts

As noted before, I purchased a partially complete empennage from a fine upstanding denizen of Van’s Airforce.  After driving out to Illinois and carefully packing it in a U-Haul trailer with Larry’s help, it is now in its new home in PA.

The elevators and rudder:wpid-20150315_125848.jpg

The vertical stabilizer:wpid-20150315_125858.jpg

The tail cone:wpid-20150315_125309.jpg

And the horizontal stabilizer:wpid-20150315_132319.jpg

Barnstorming

wpid-20150328_120552.jpg

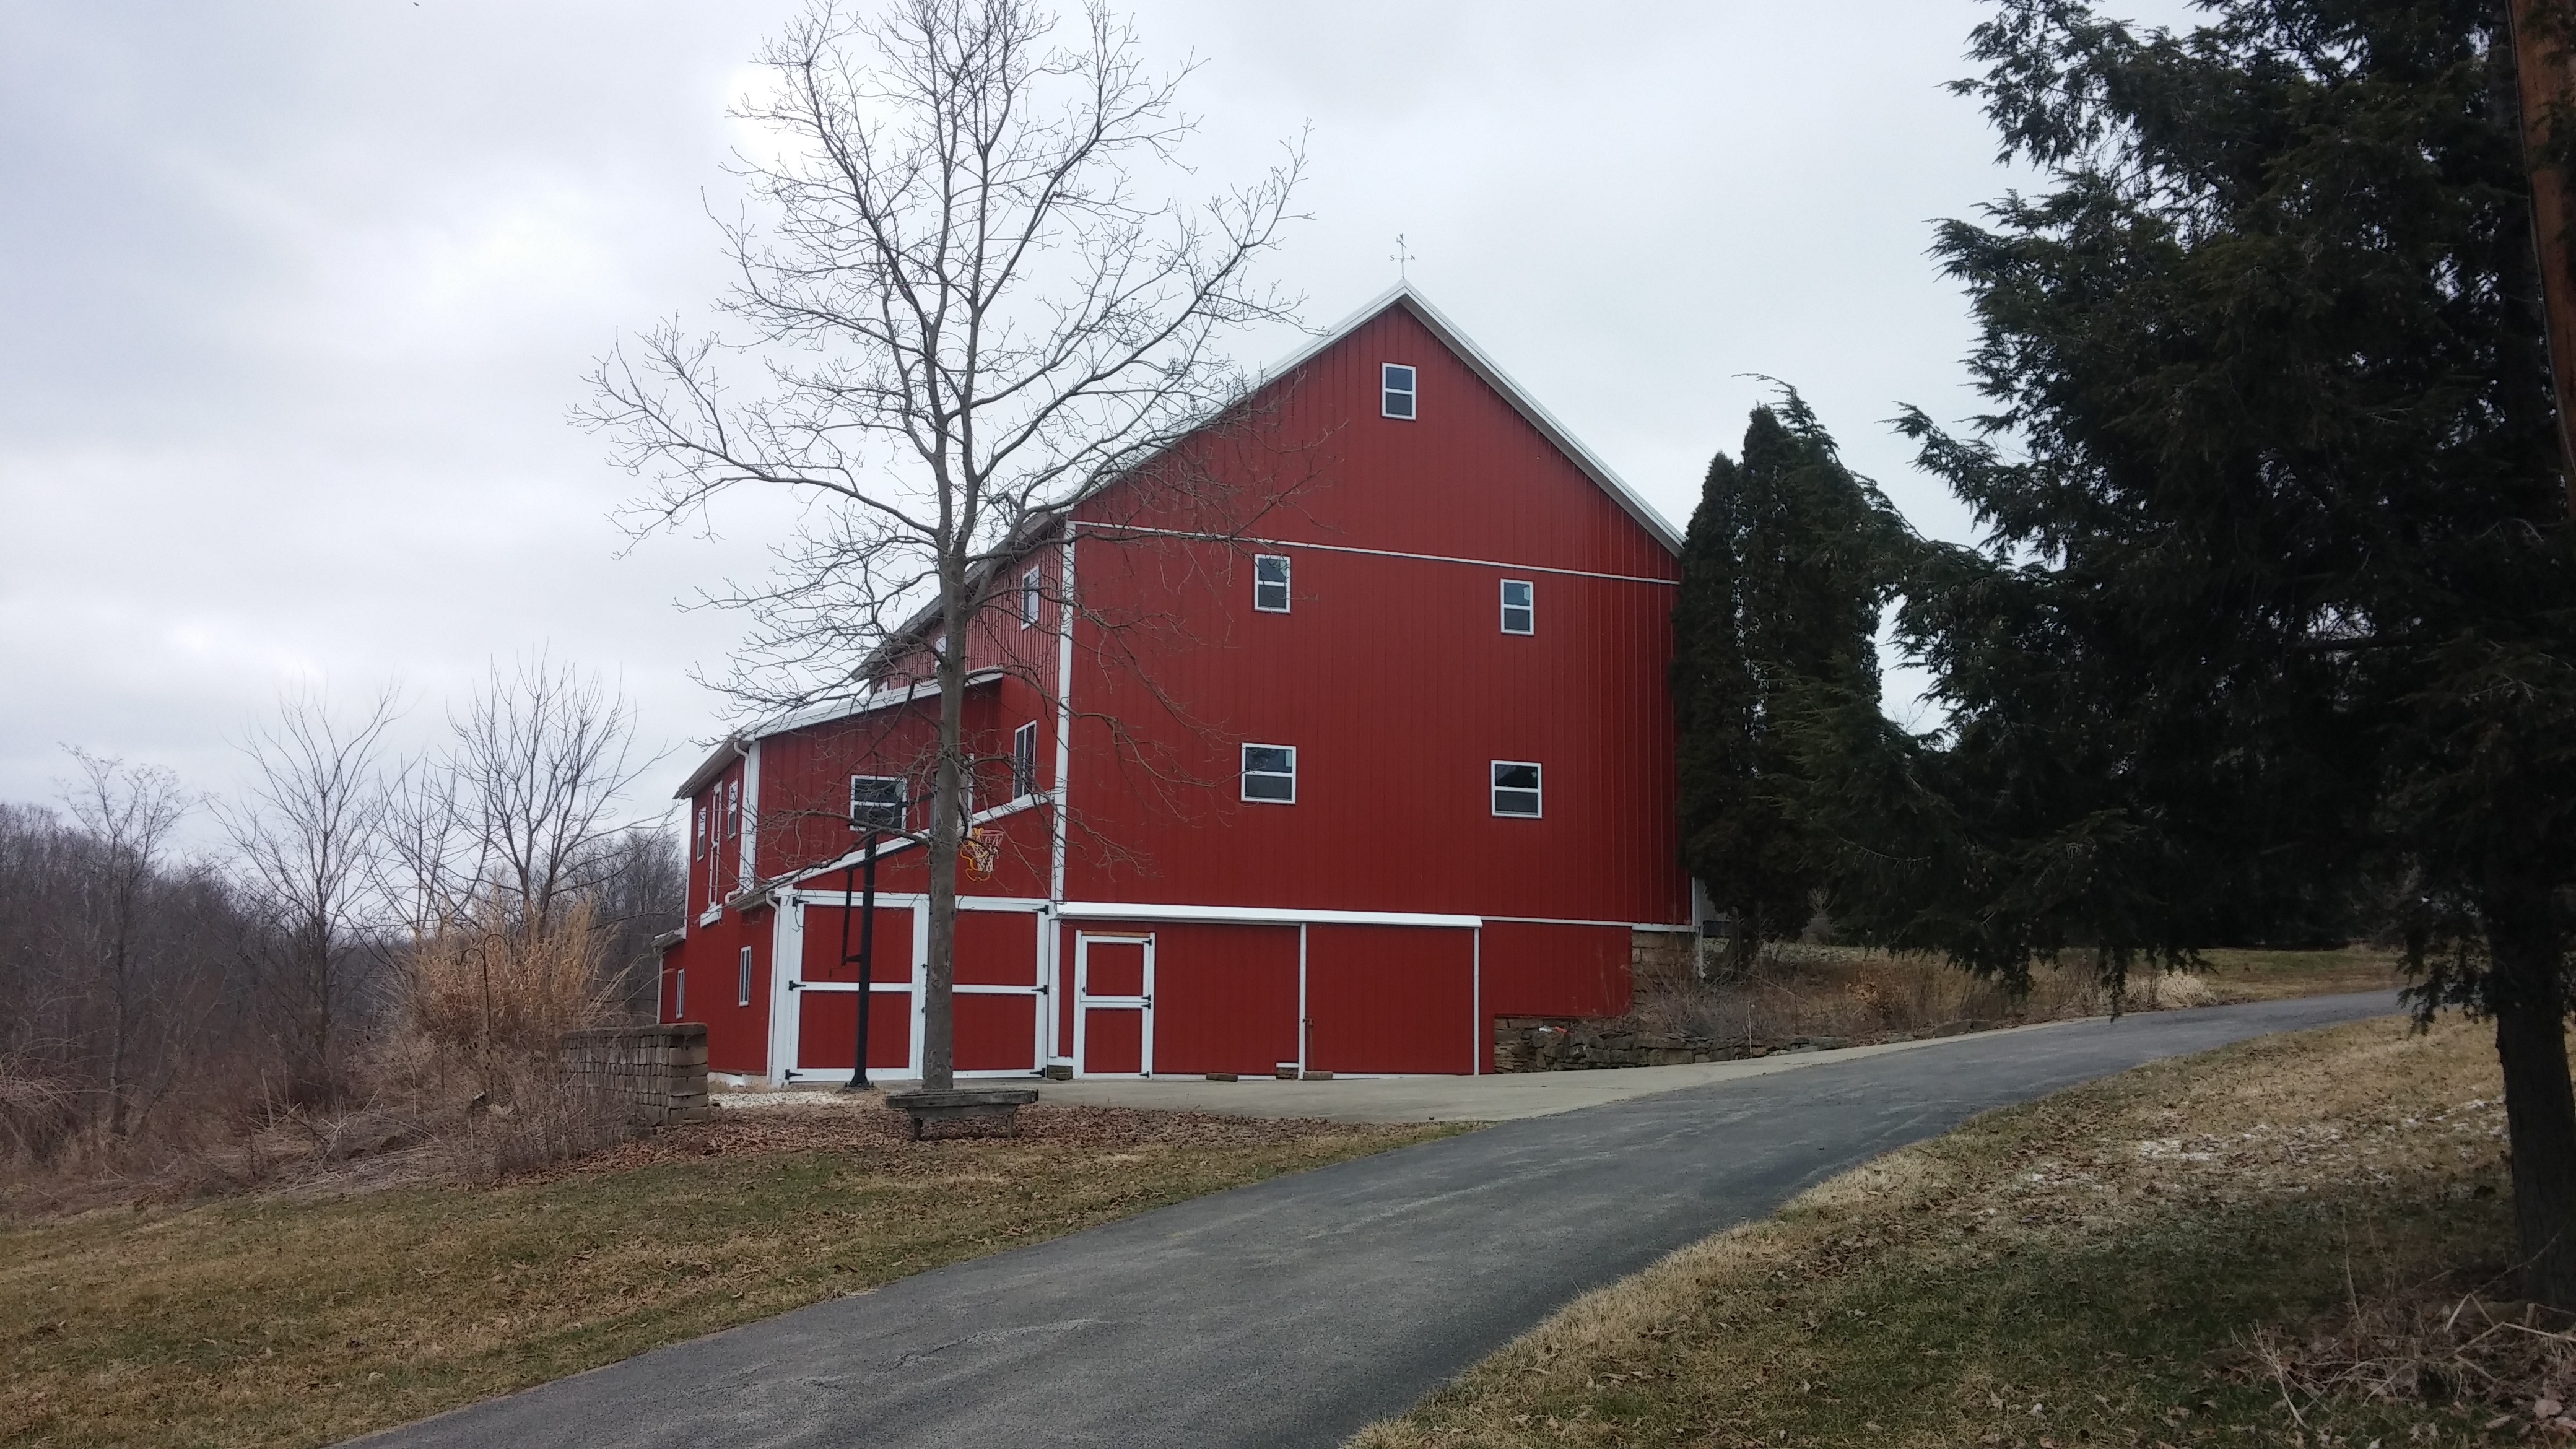
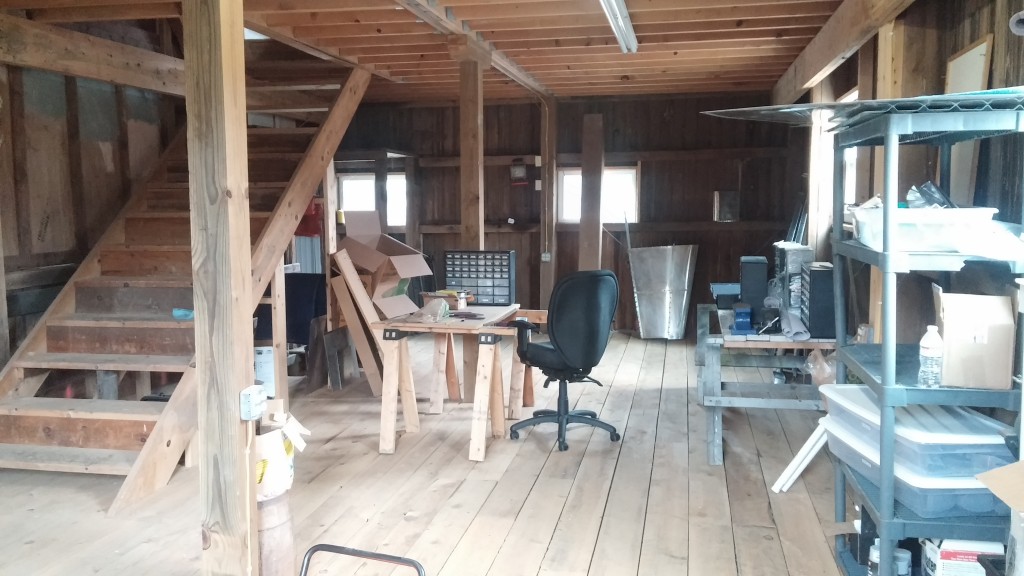
So, the barn is big.  Maybe *too* big.  Why would I say that?  Well, there are almost too many ways here to set up a workshop, so many that I have fallen victim to some “analysis paralysis.”  There are two full size floors, a 1/3 size loft, and an “annex” with a large concrete floor and a second “office” above.   The barn footprint is about 36′ x 45′ inside overall.  On the main (2nd) floor, there is a wide open space that is ideal for pulling vehicles in and working on them.  On one side, there is a 36′ x 17′ room under the loft that might be just right for the airplane workshop.

wpid-20150328_121056.jpg
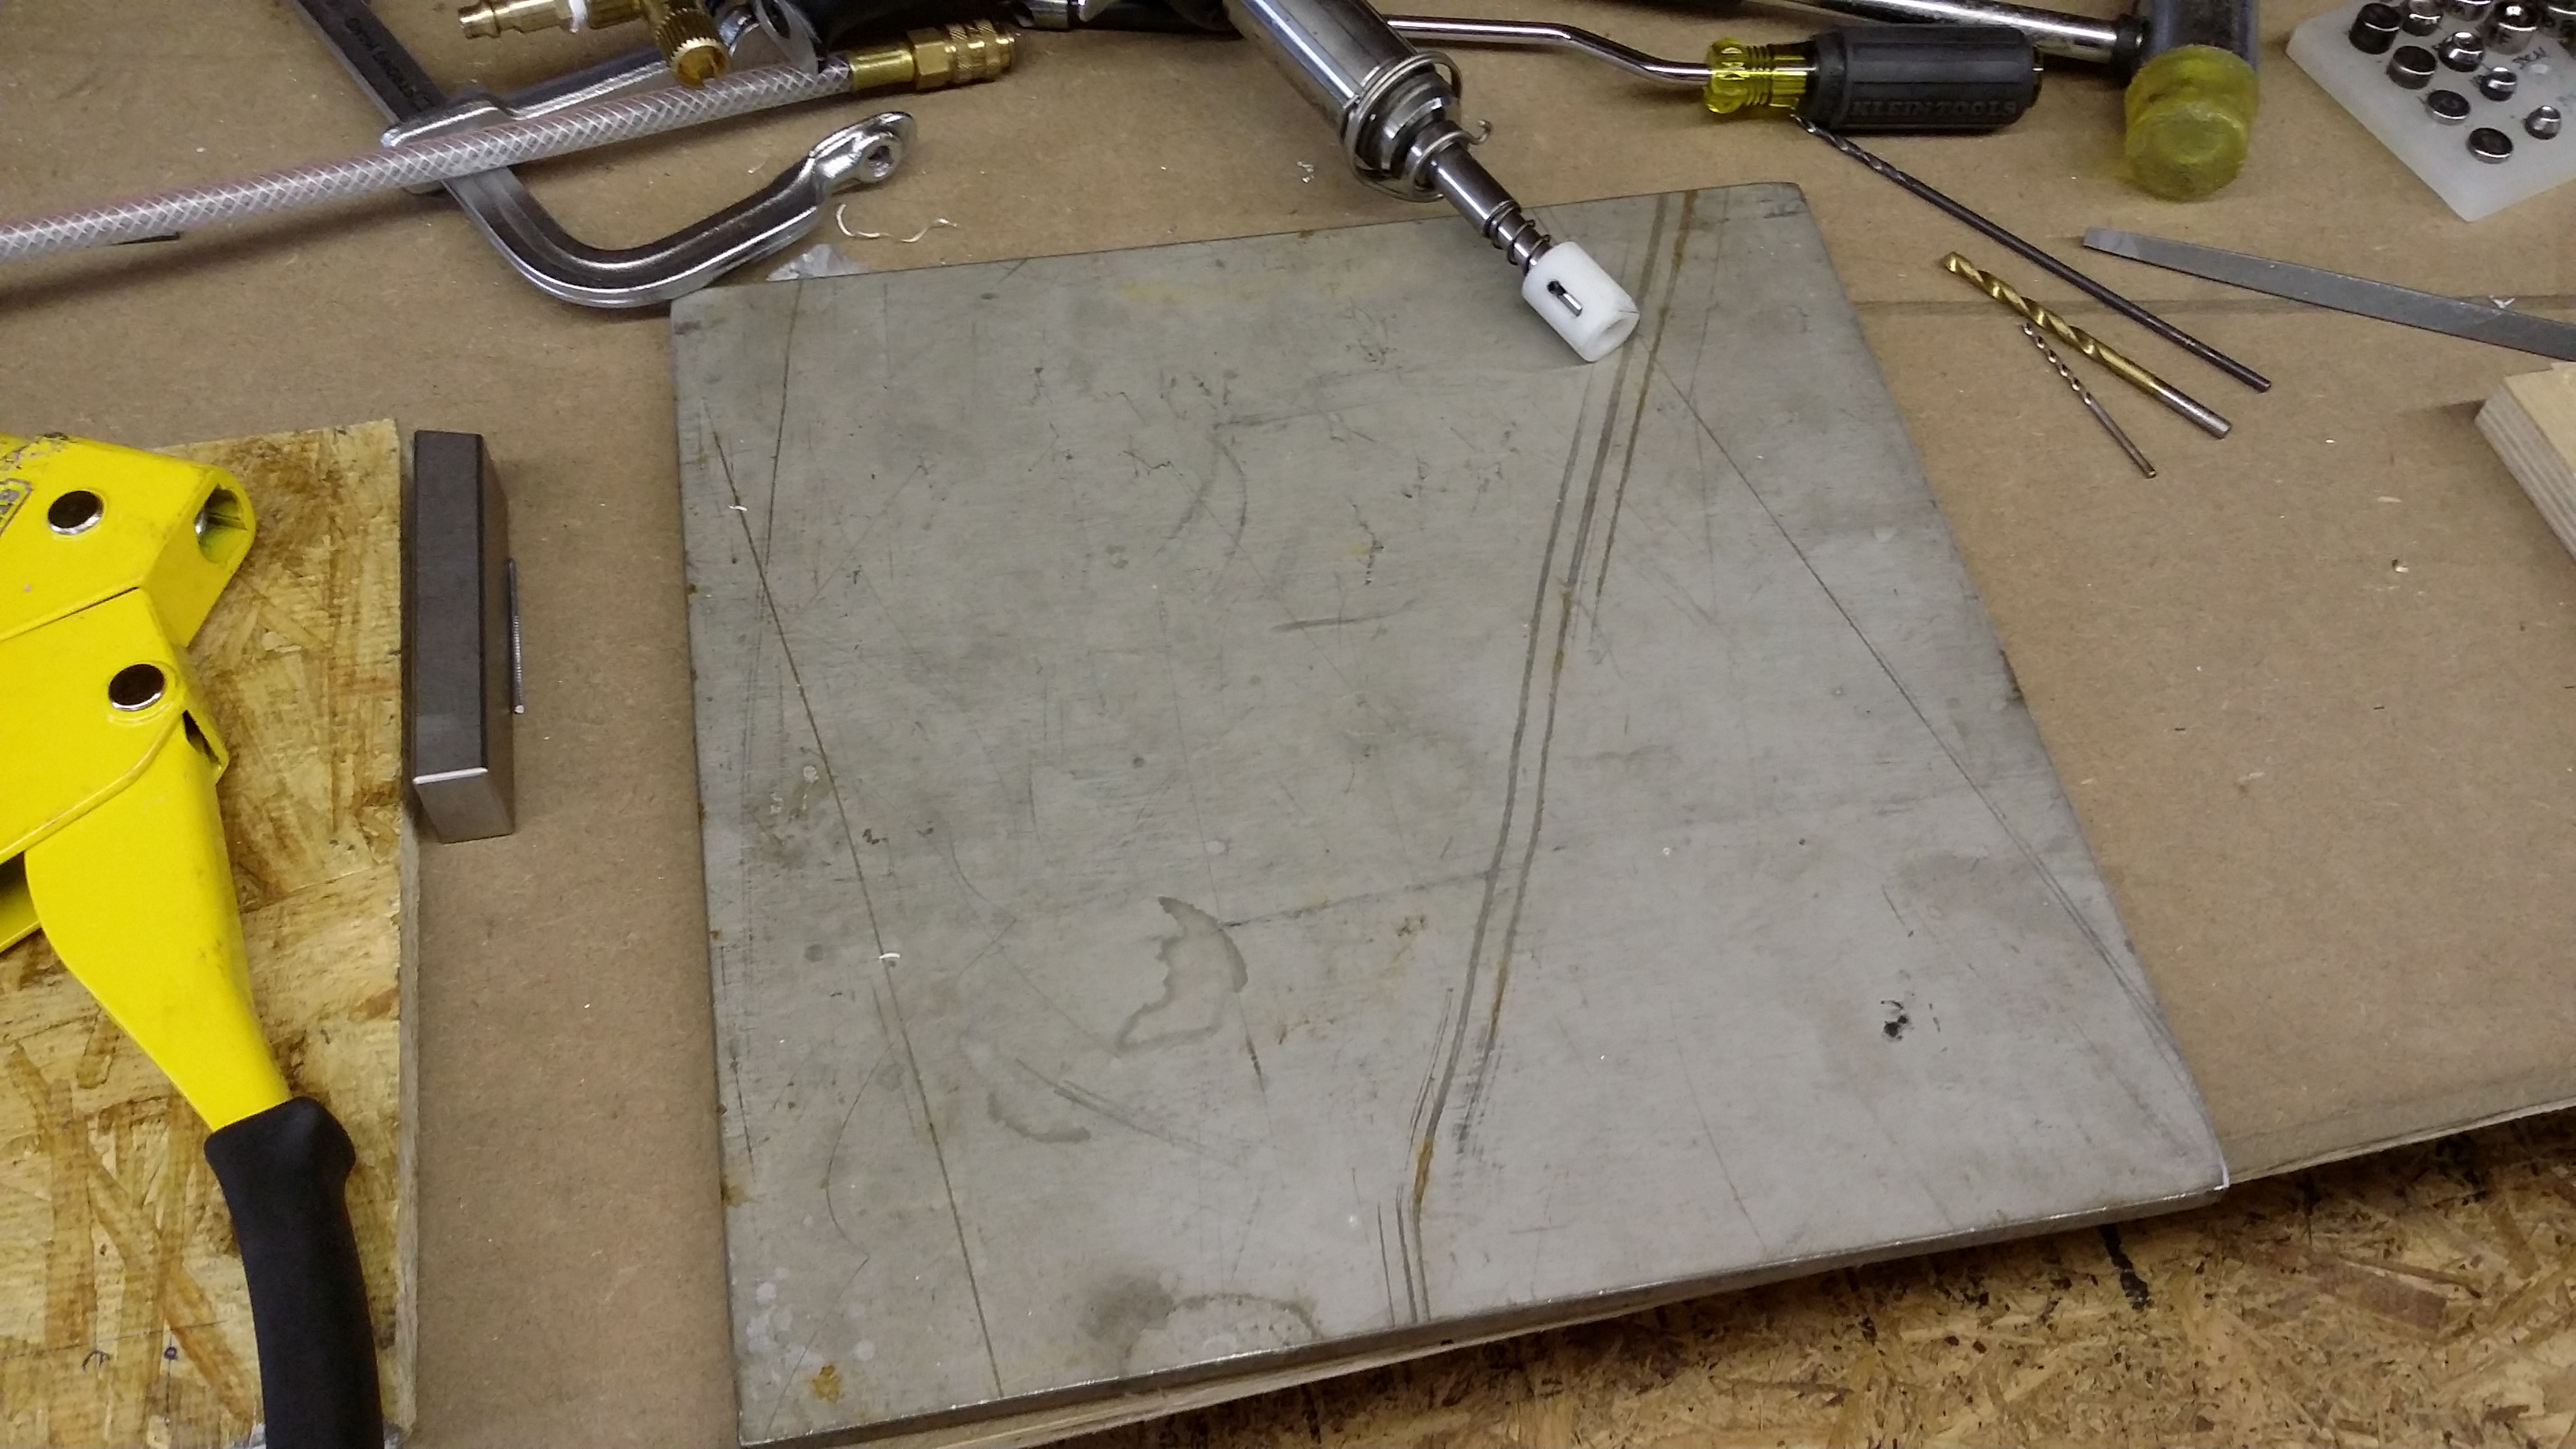
There should be plenty of space here even to build a fuselage once I straighten out the workbench and shelf situation.

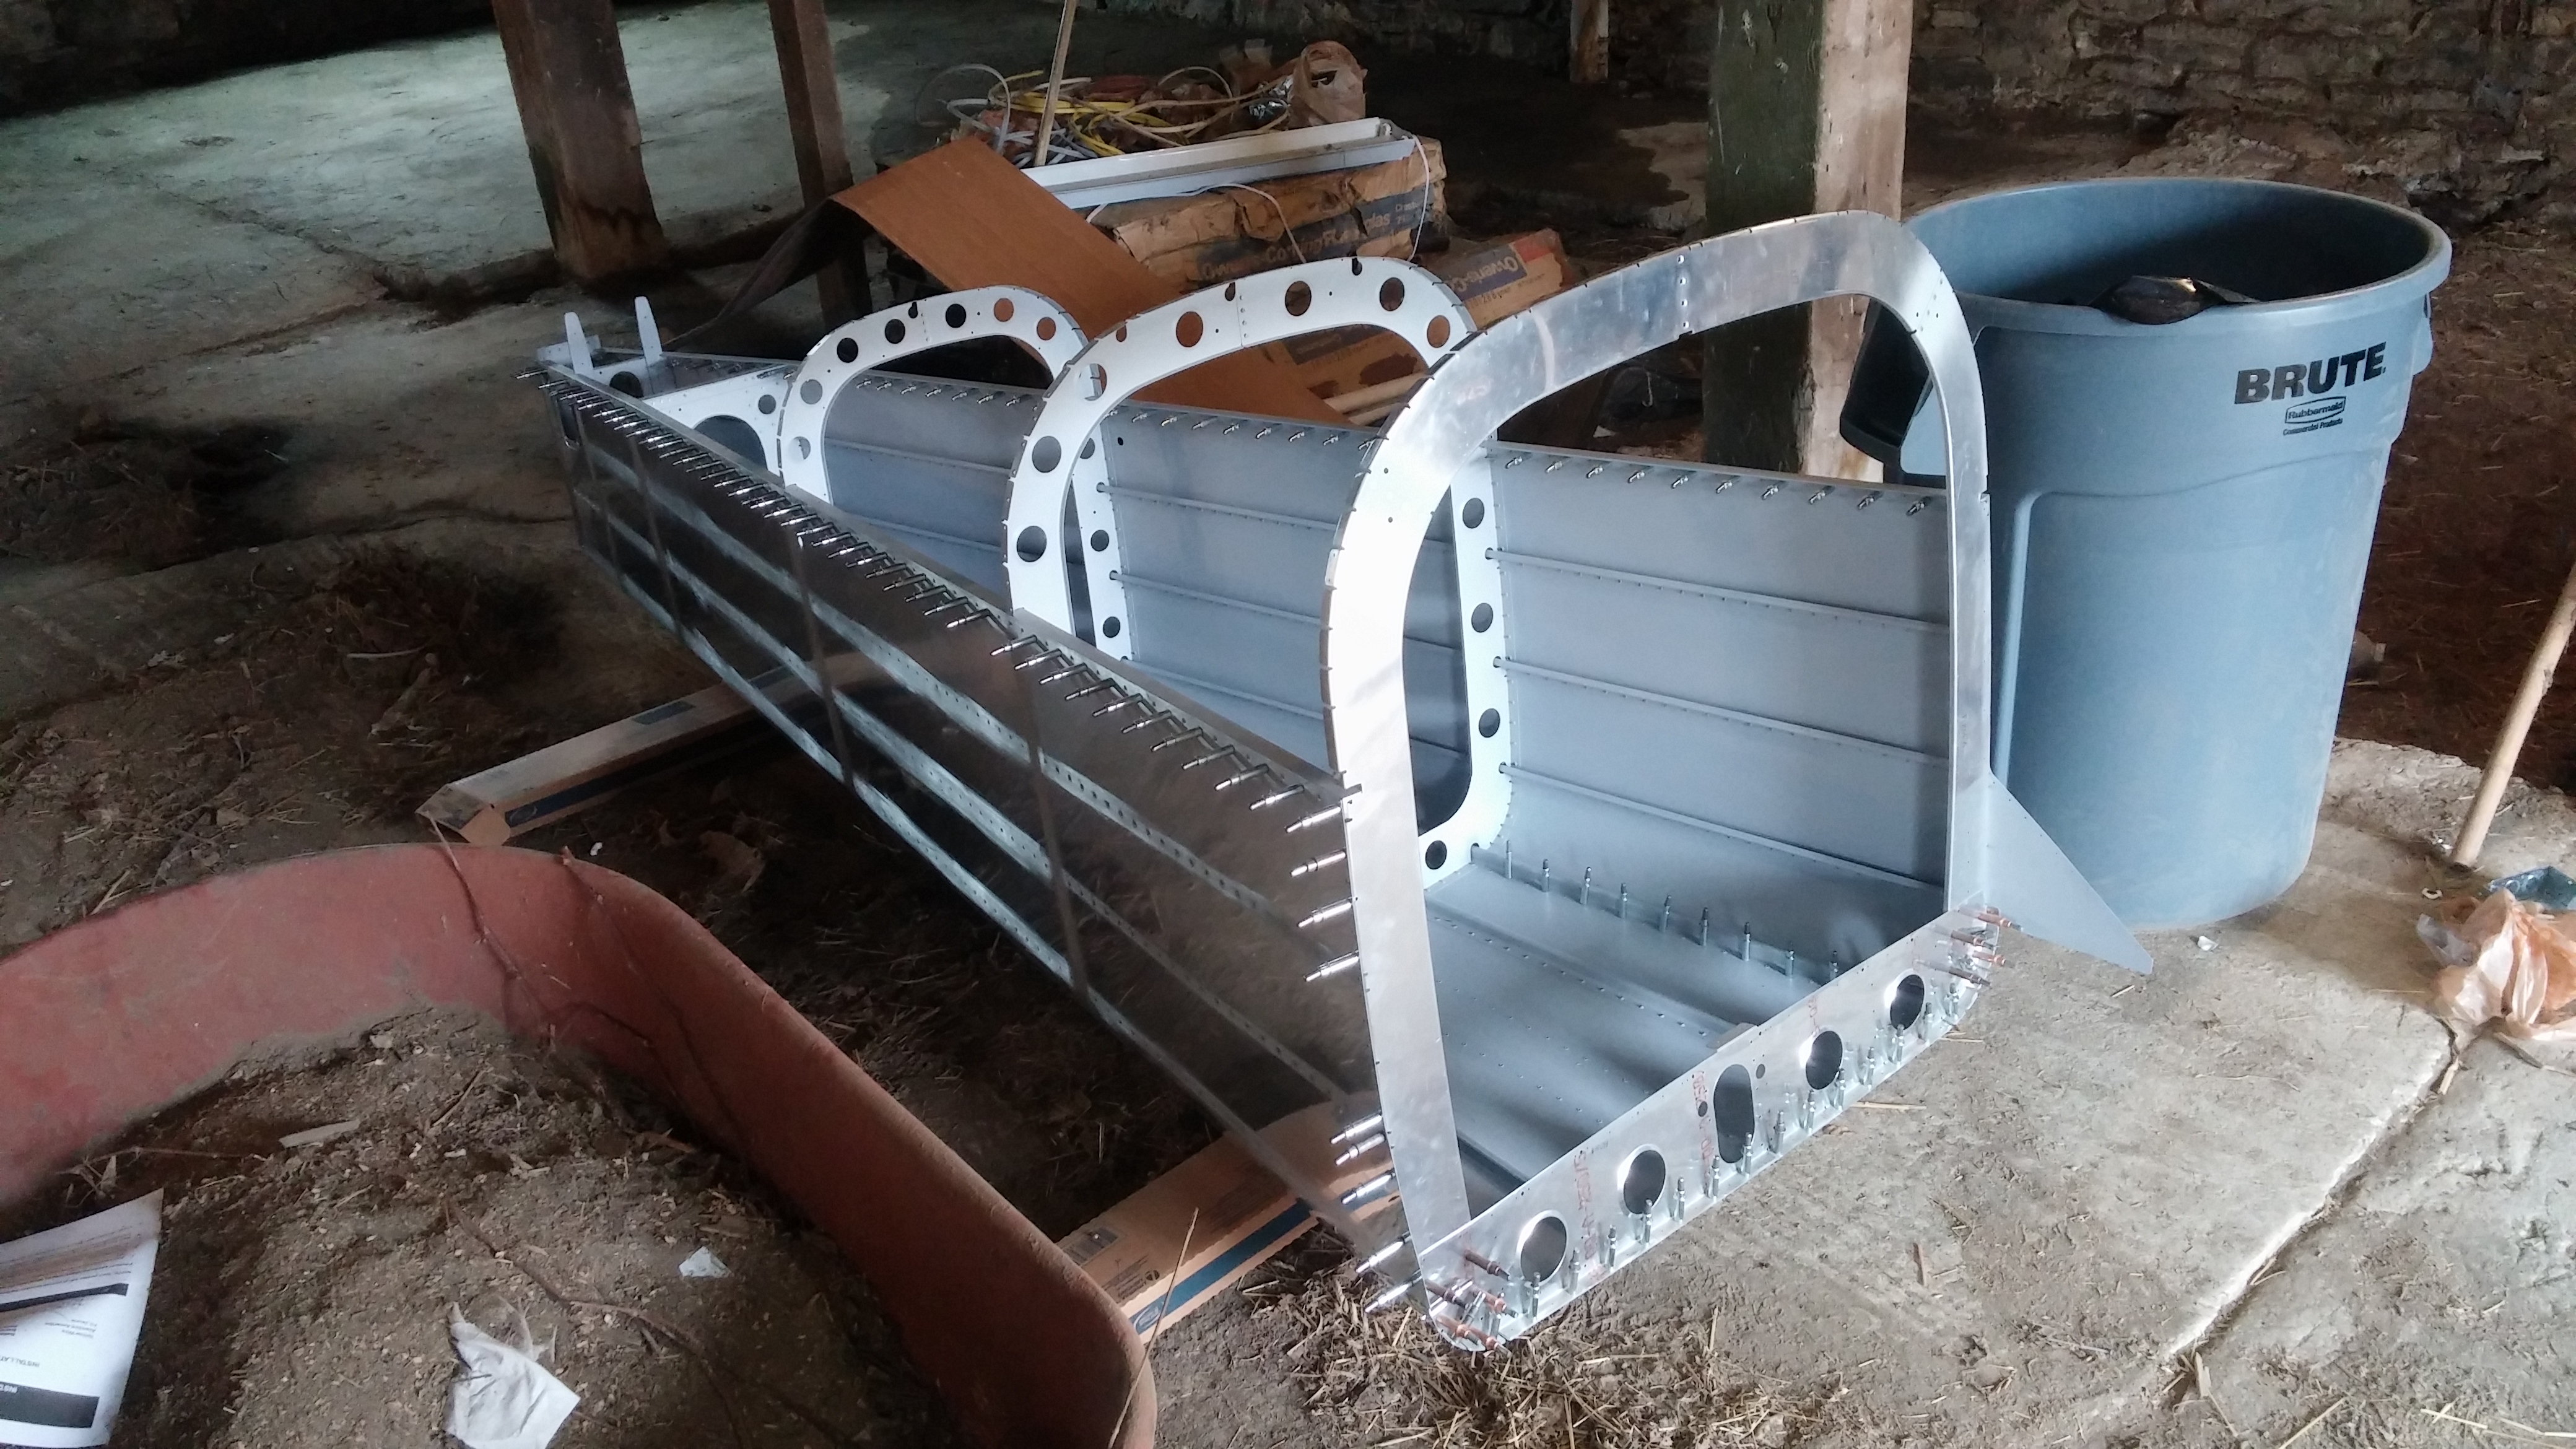
The problem is, once I build a fuselage in here, how do I get it out?  There is a partially completed doorway that could be used, but *what are the dimensions of a completed fuselage less the landing gear*?

wpid-20150328_121042.jpg

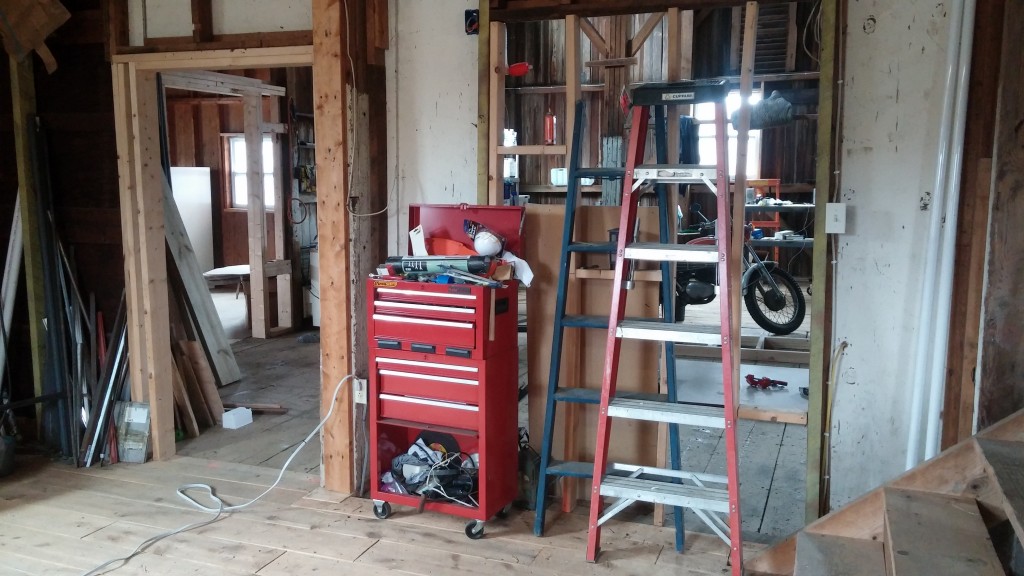
Currently my thought is to build the wings in this side room, and probably the fuselage, but once the gear goes on, if I don’t make provisions to knock this wall out later, I’ll have to move construction out into the larger main area.

wpid-20150328_120835.jpg
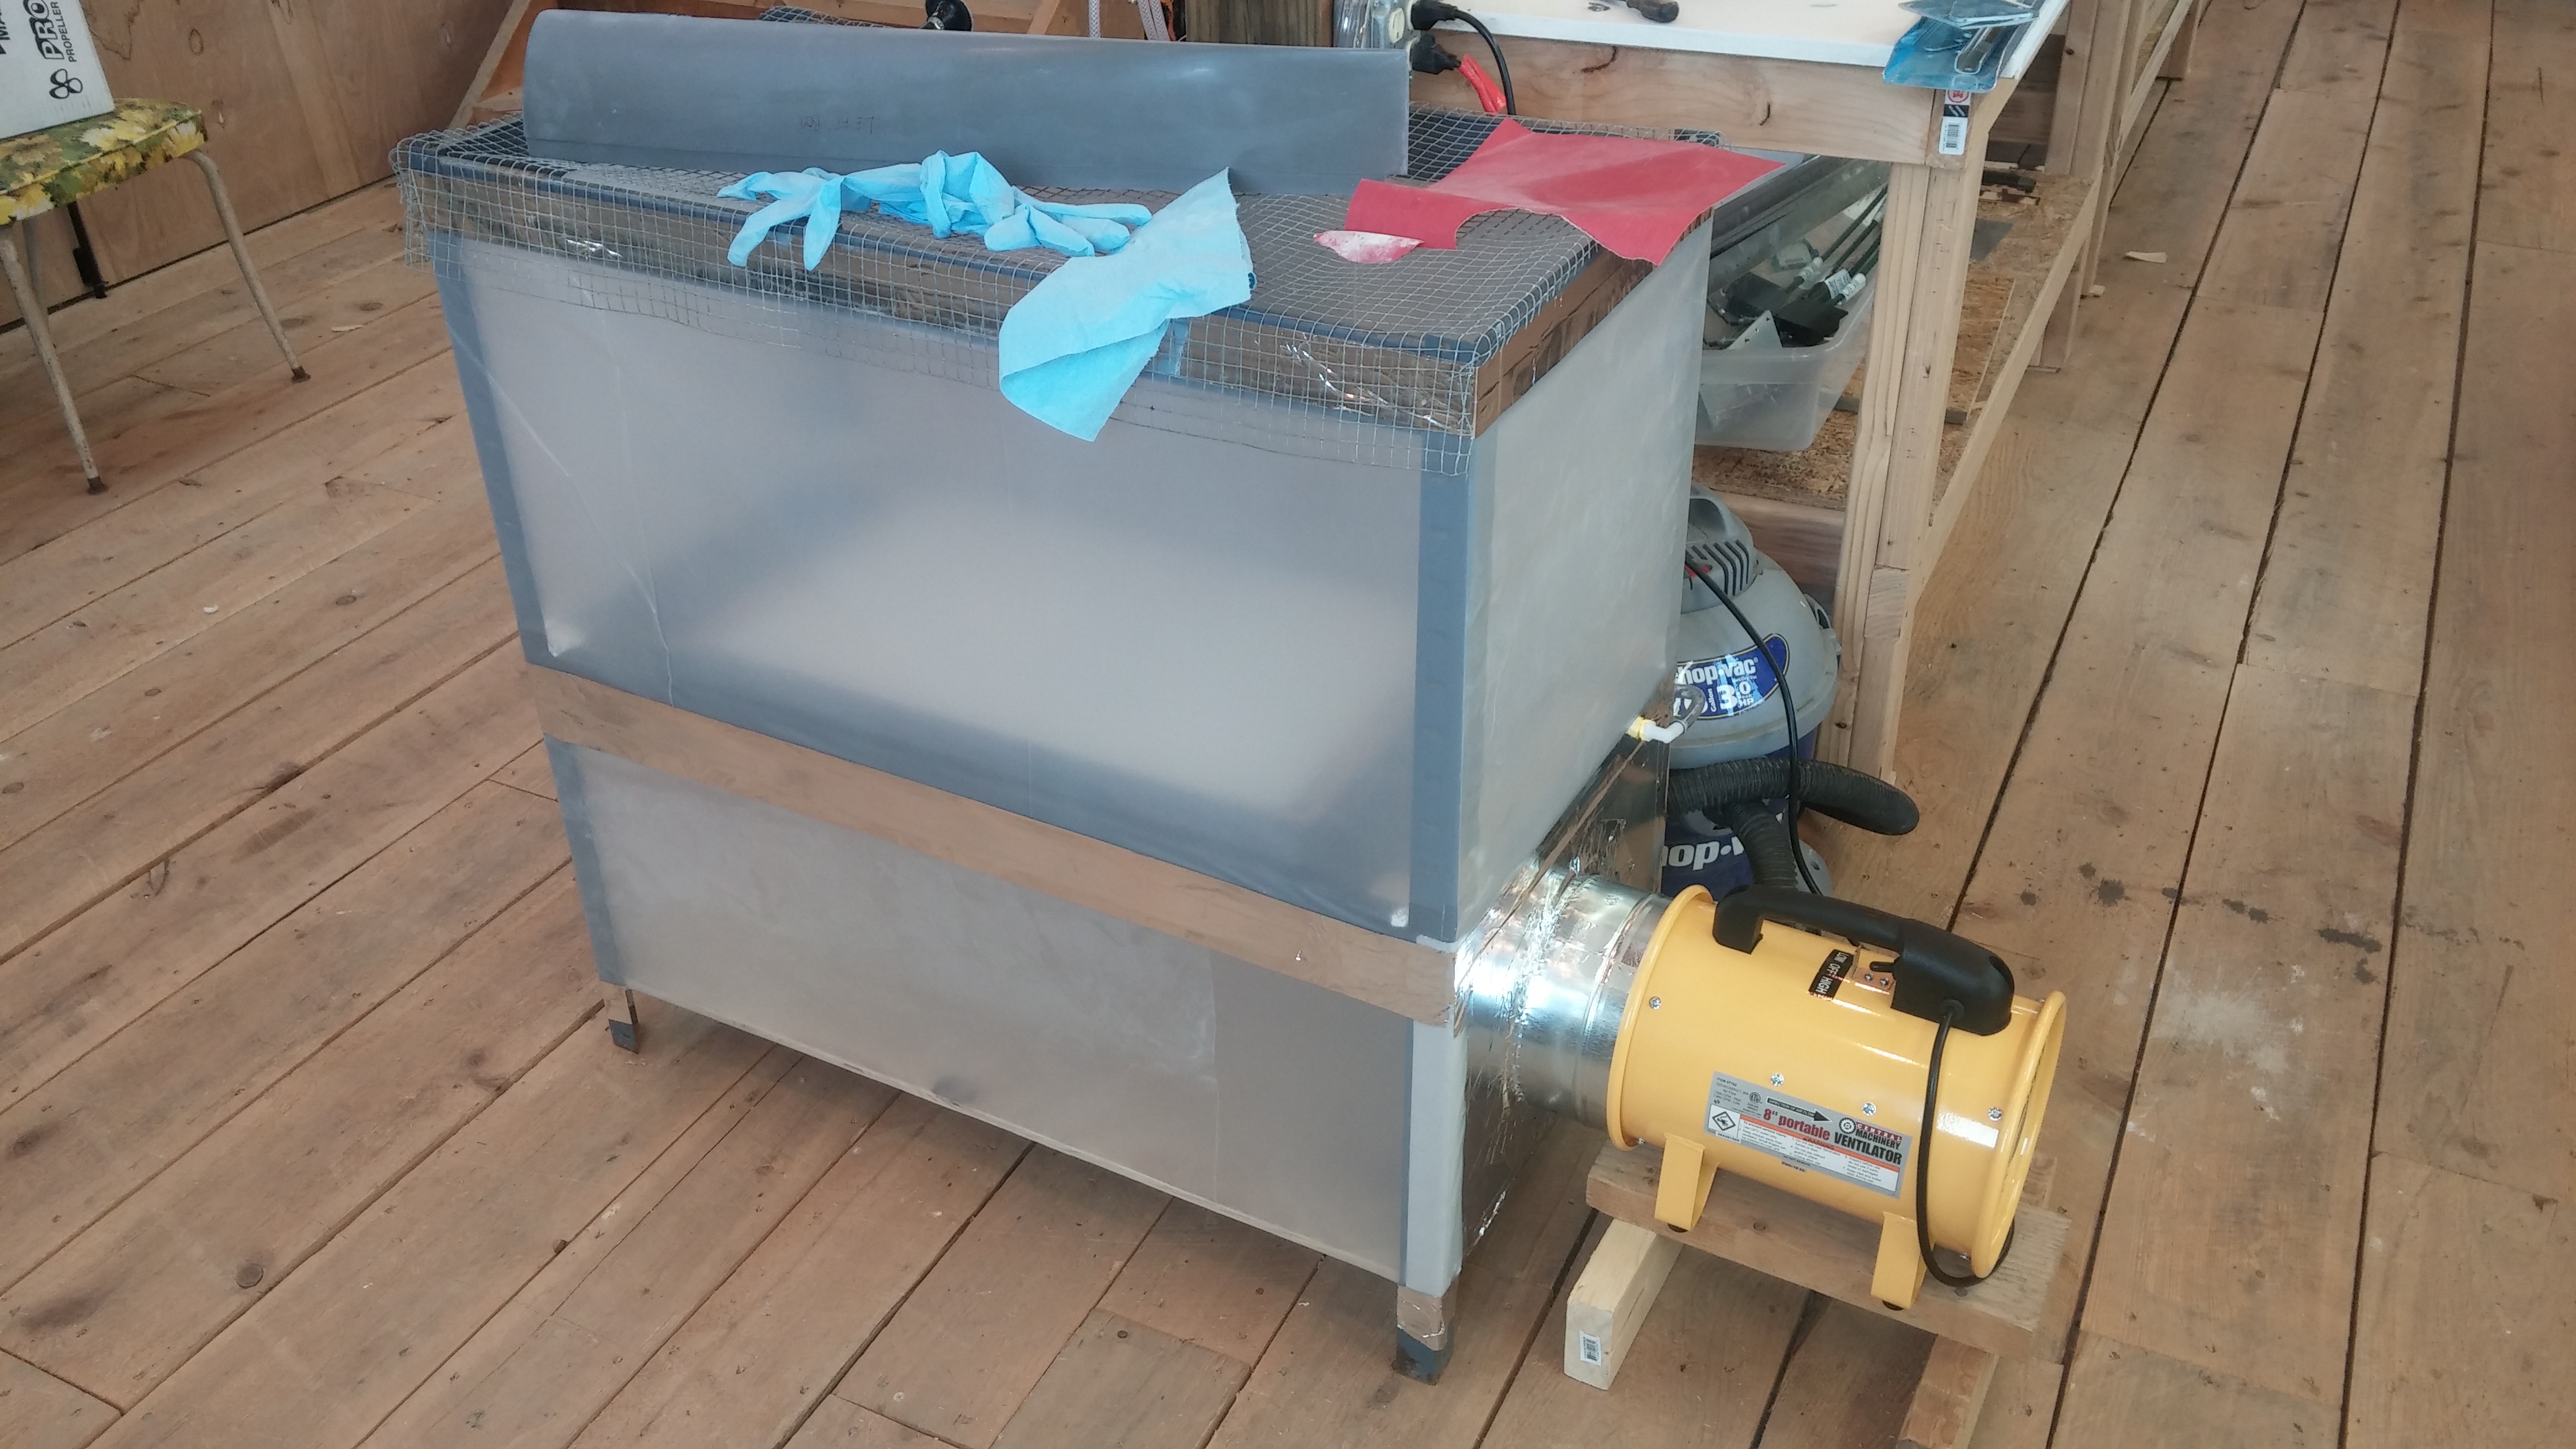
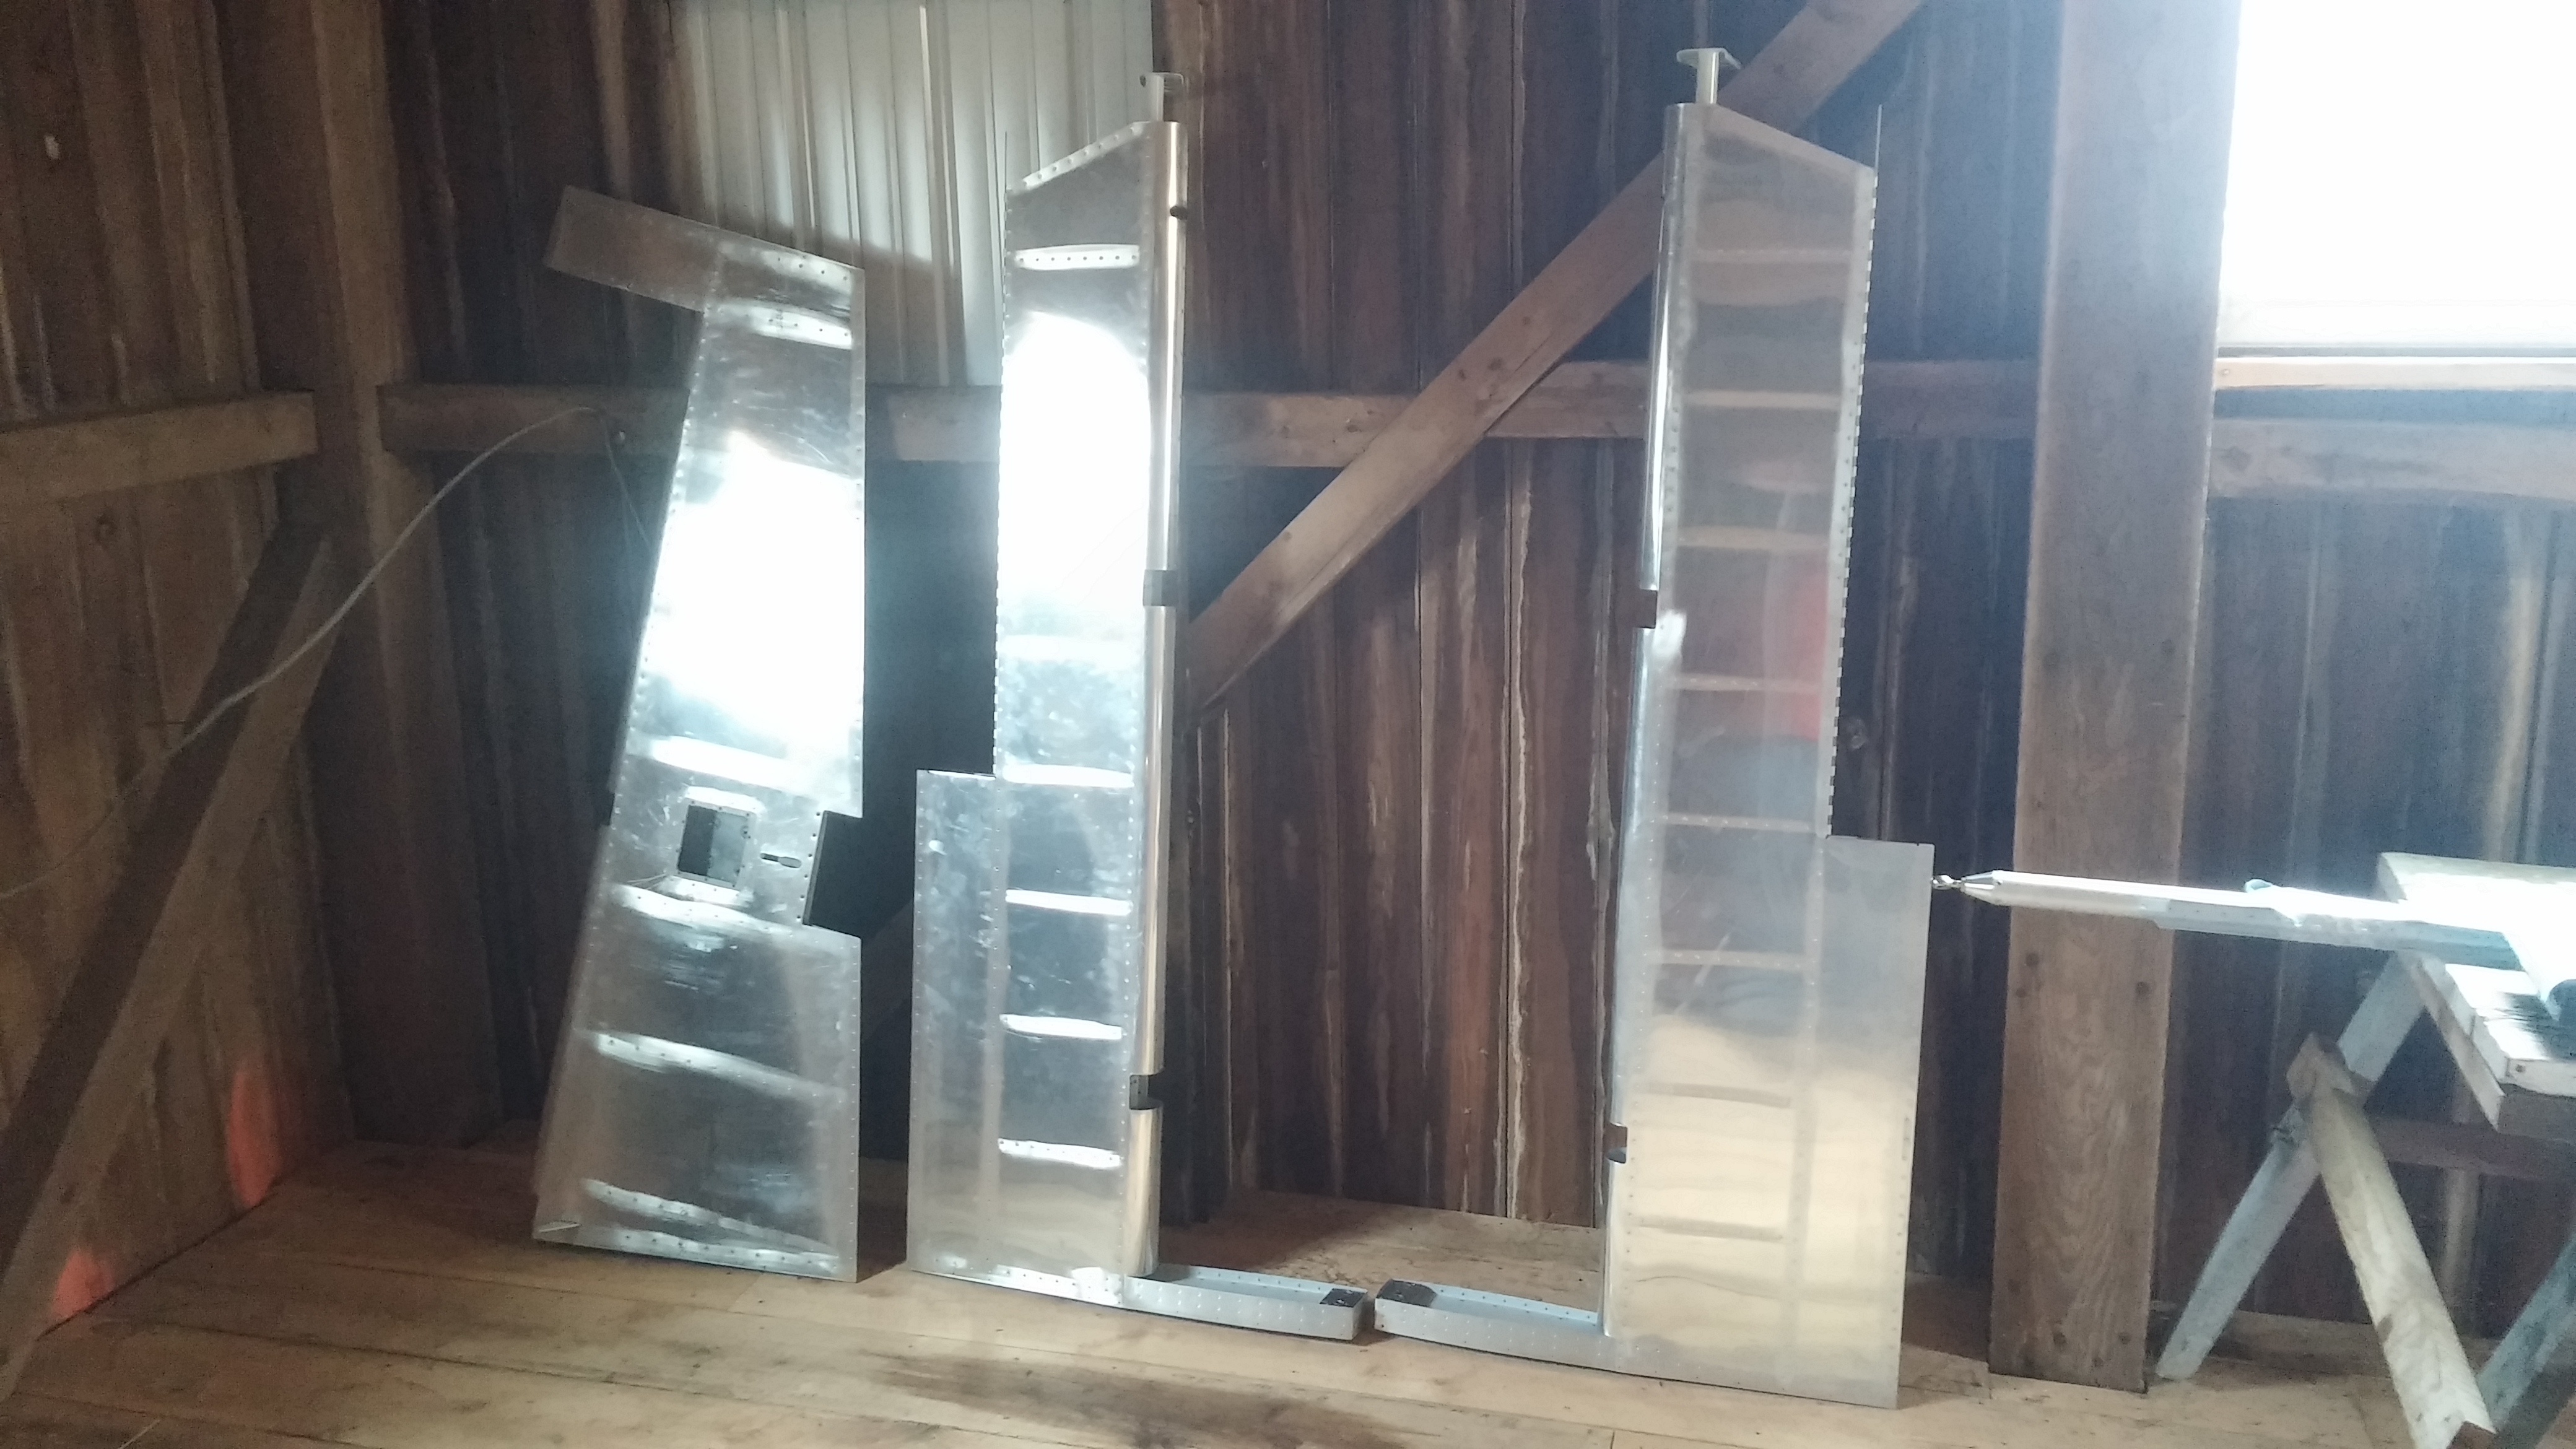
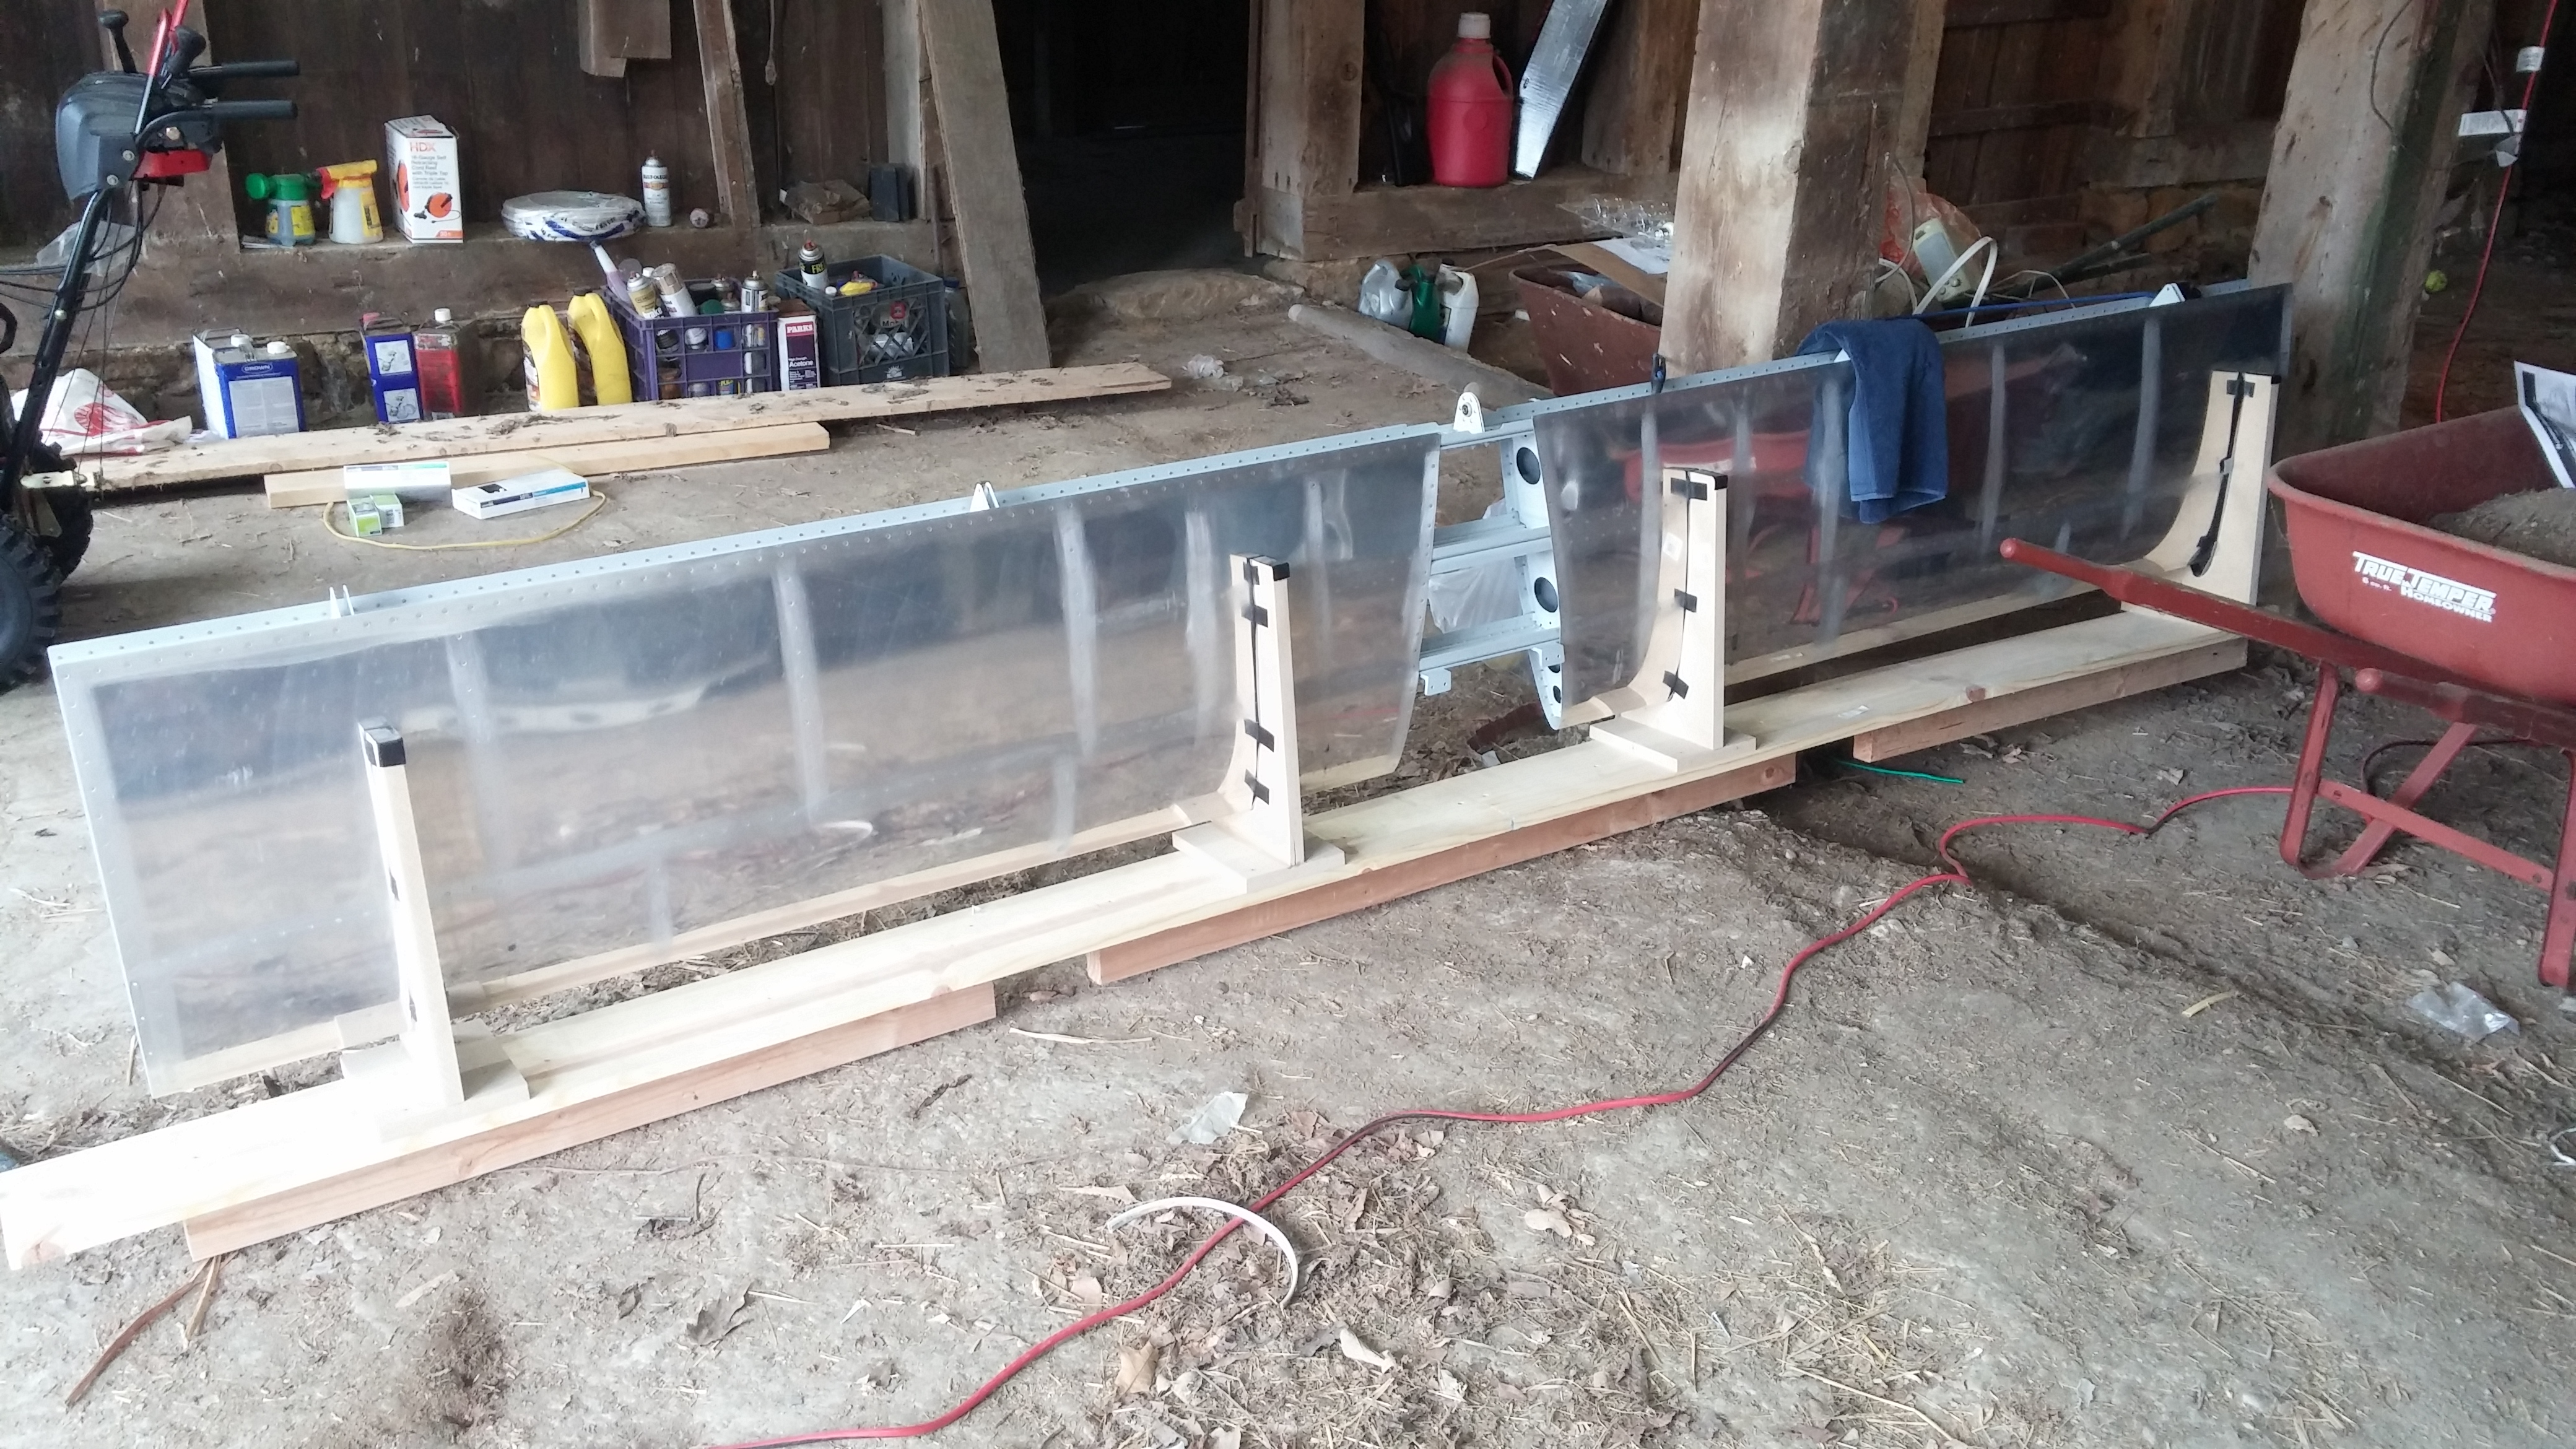
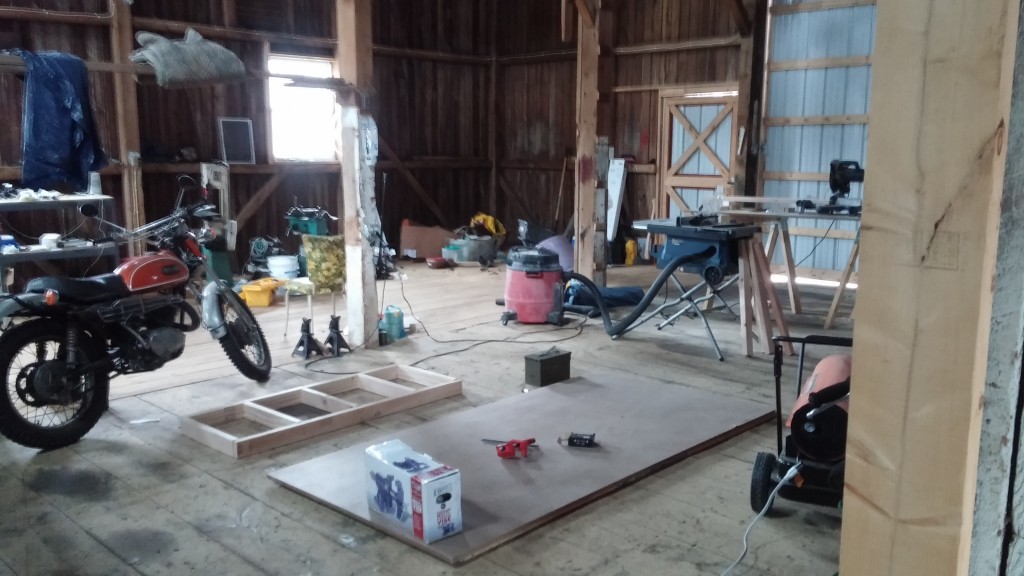
This space is huge, and would be perfect for building a plane except for one thing:  it is simply too large to heat.  The roof peak is approximately 20 feet up from this level, and there is no way I’m going to build a permanent ceiling in here (the aesthetics of the barn are just too cool to ruin with a flat ceiling, plus it would ruin the view from the loft).  You can see one frame of an EAA workbench under construction near the bike.

wpid-20150328_120856.jpg

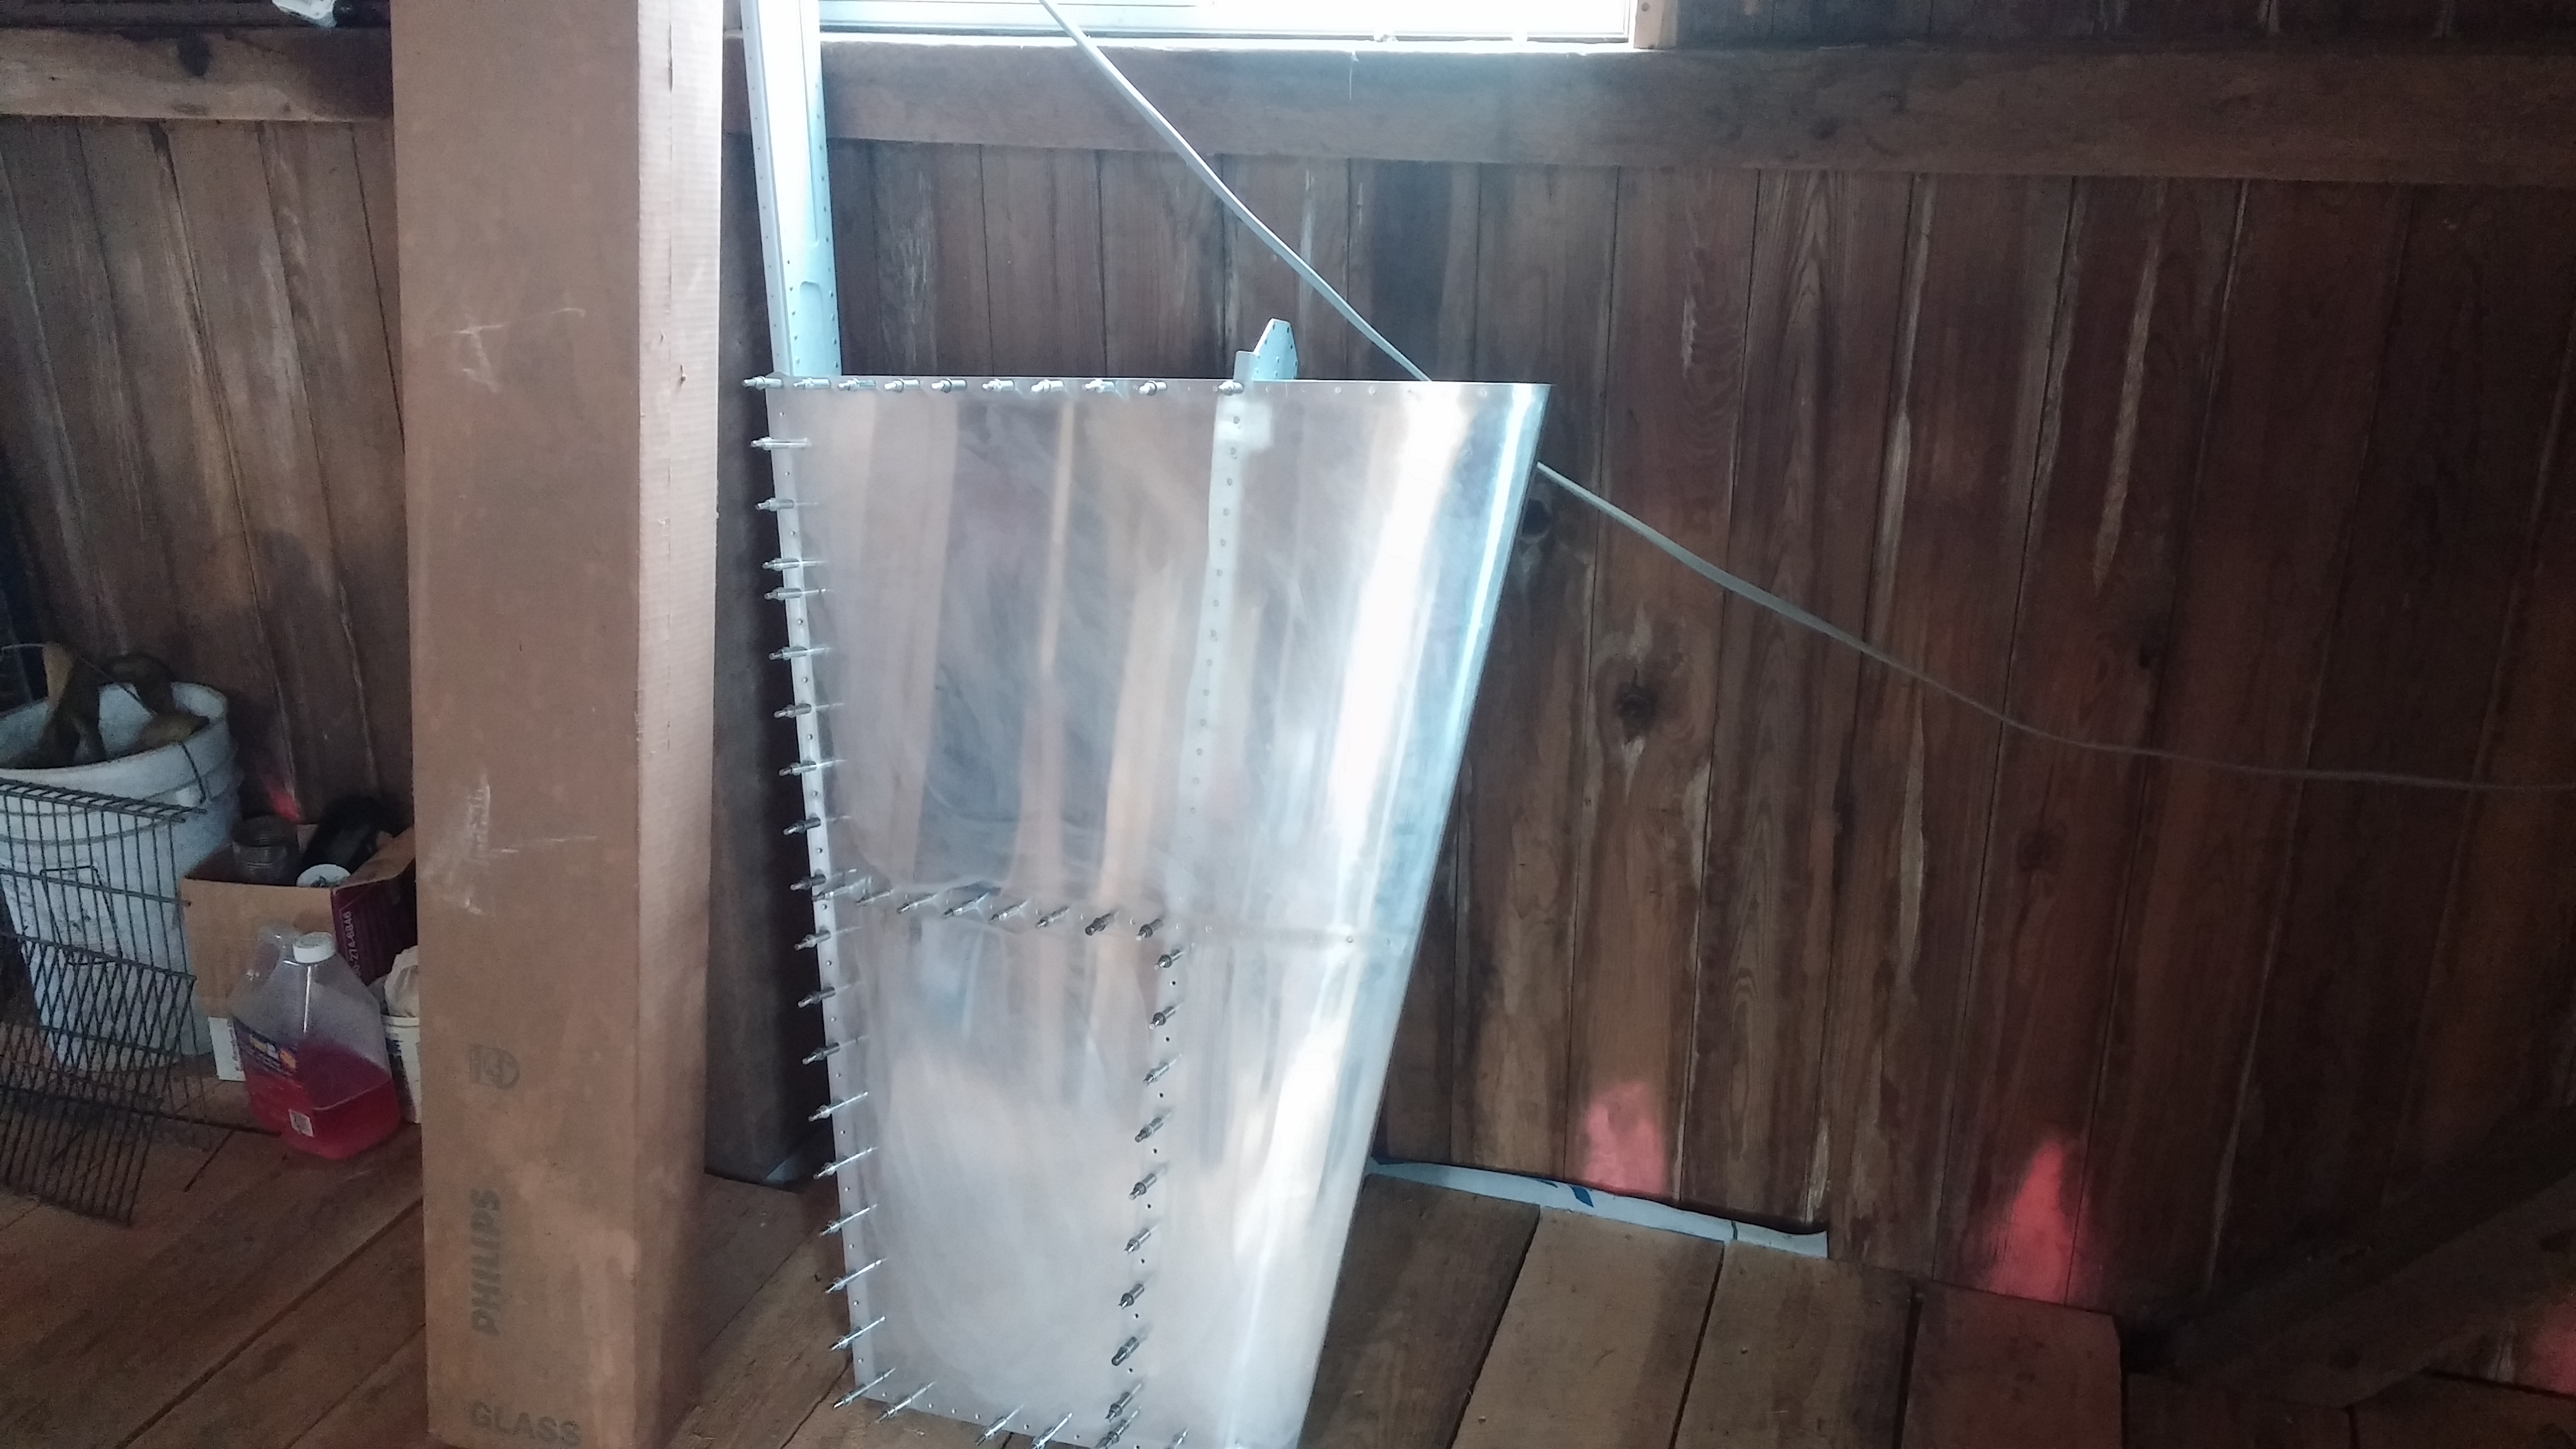
Once the empennage attach happens, the plane may be too long to navigate around the posts in the workshop room.  At that point, it may be necessary to build a false ceiling in the main room out of 2x4s and plastic sheeting just to keep the heat in.  Alternatively, I could try to time the project such that everything post-empennage attach is done in warm weather, but I think that would not go well.  Best laid plan(e)s, and all.

Tools

Coincidentally with finding a great deal on an empennage kit, someone posted a PlaneTools RV tool kit on Van’s Airforce at a decent discount with some great add-ons.  Sign me up!

So now, I have:  One partially complete empennage kit, a set of tools in the mail, and a workshop in deperate need of workbenches and shelves.  The only problem:  it is REALLY cold out right now, and I know the barn (more on the barn workshop later) is bound to be quite uncomfortable.  That means that before next fall, I need to get the workshop area properly enclosed and insulated, with some means of heating.