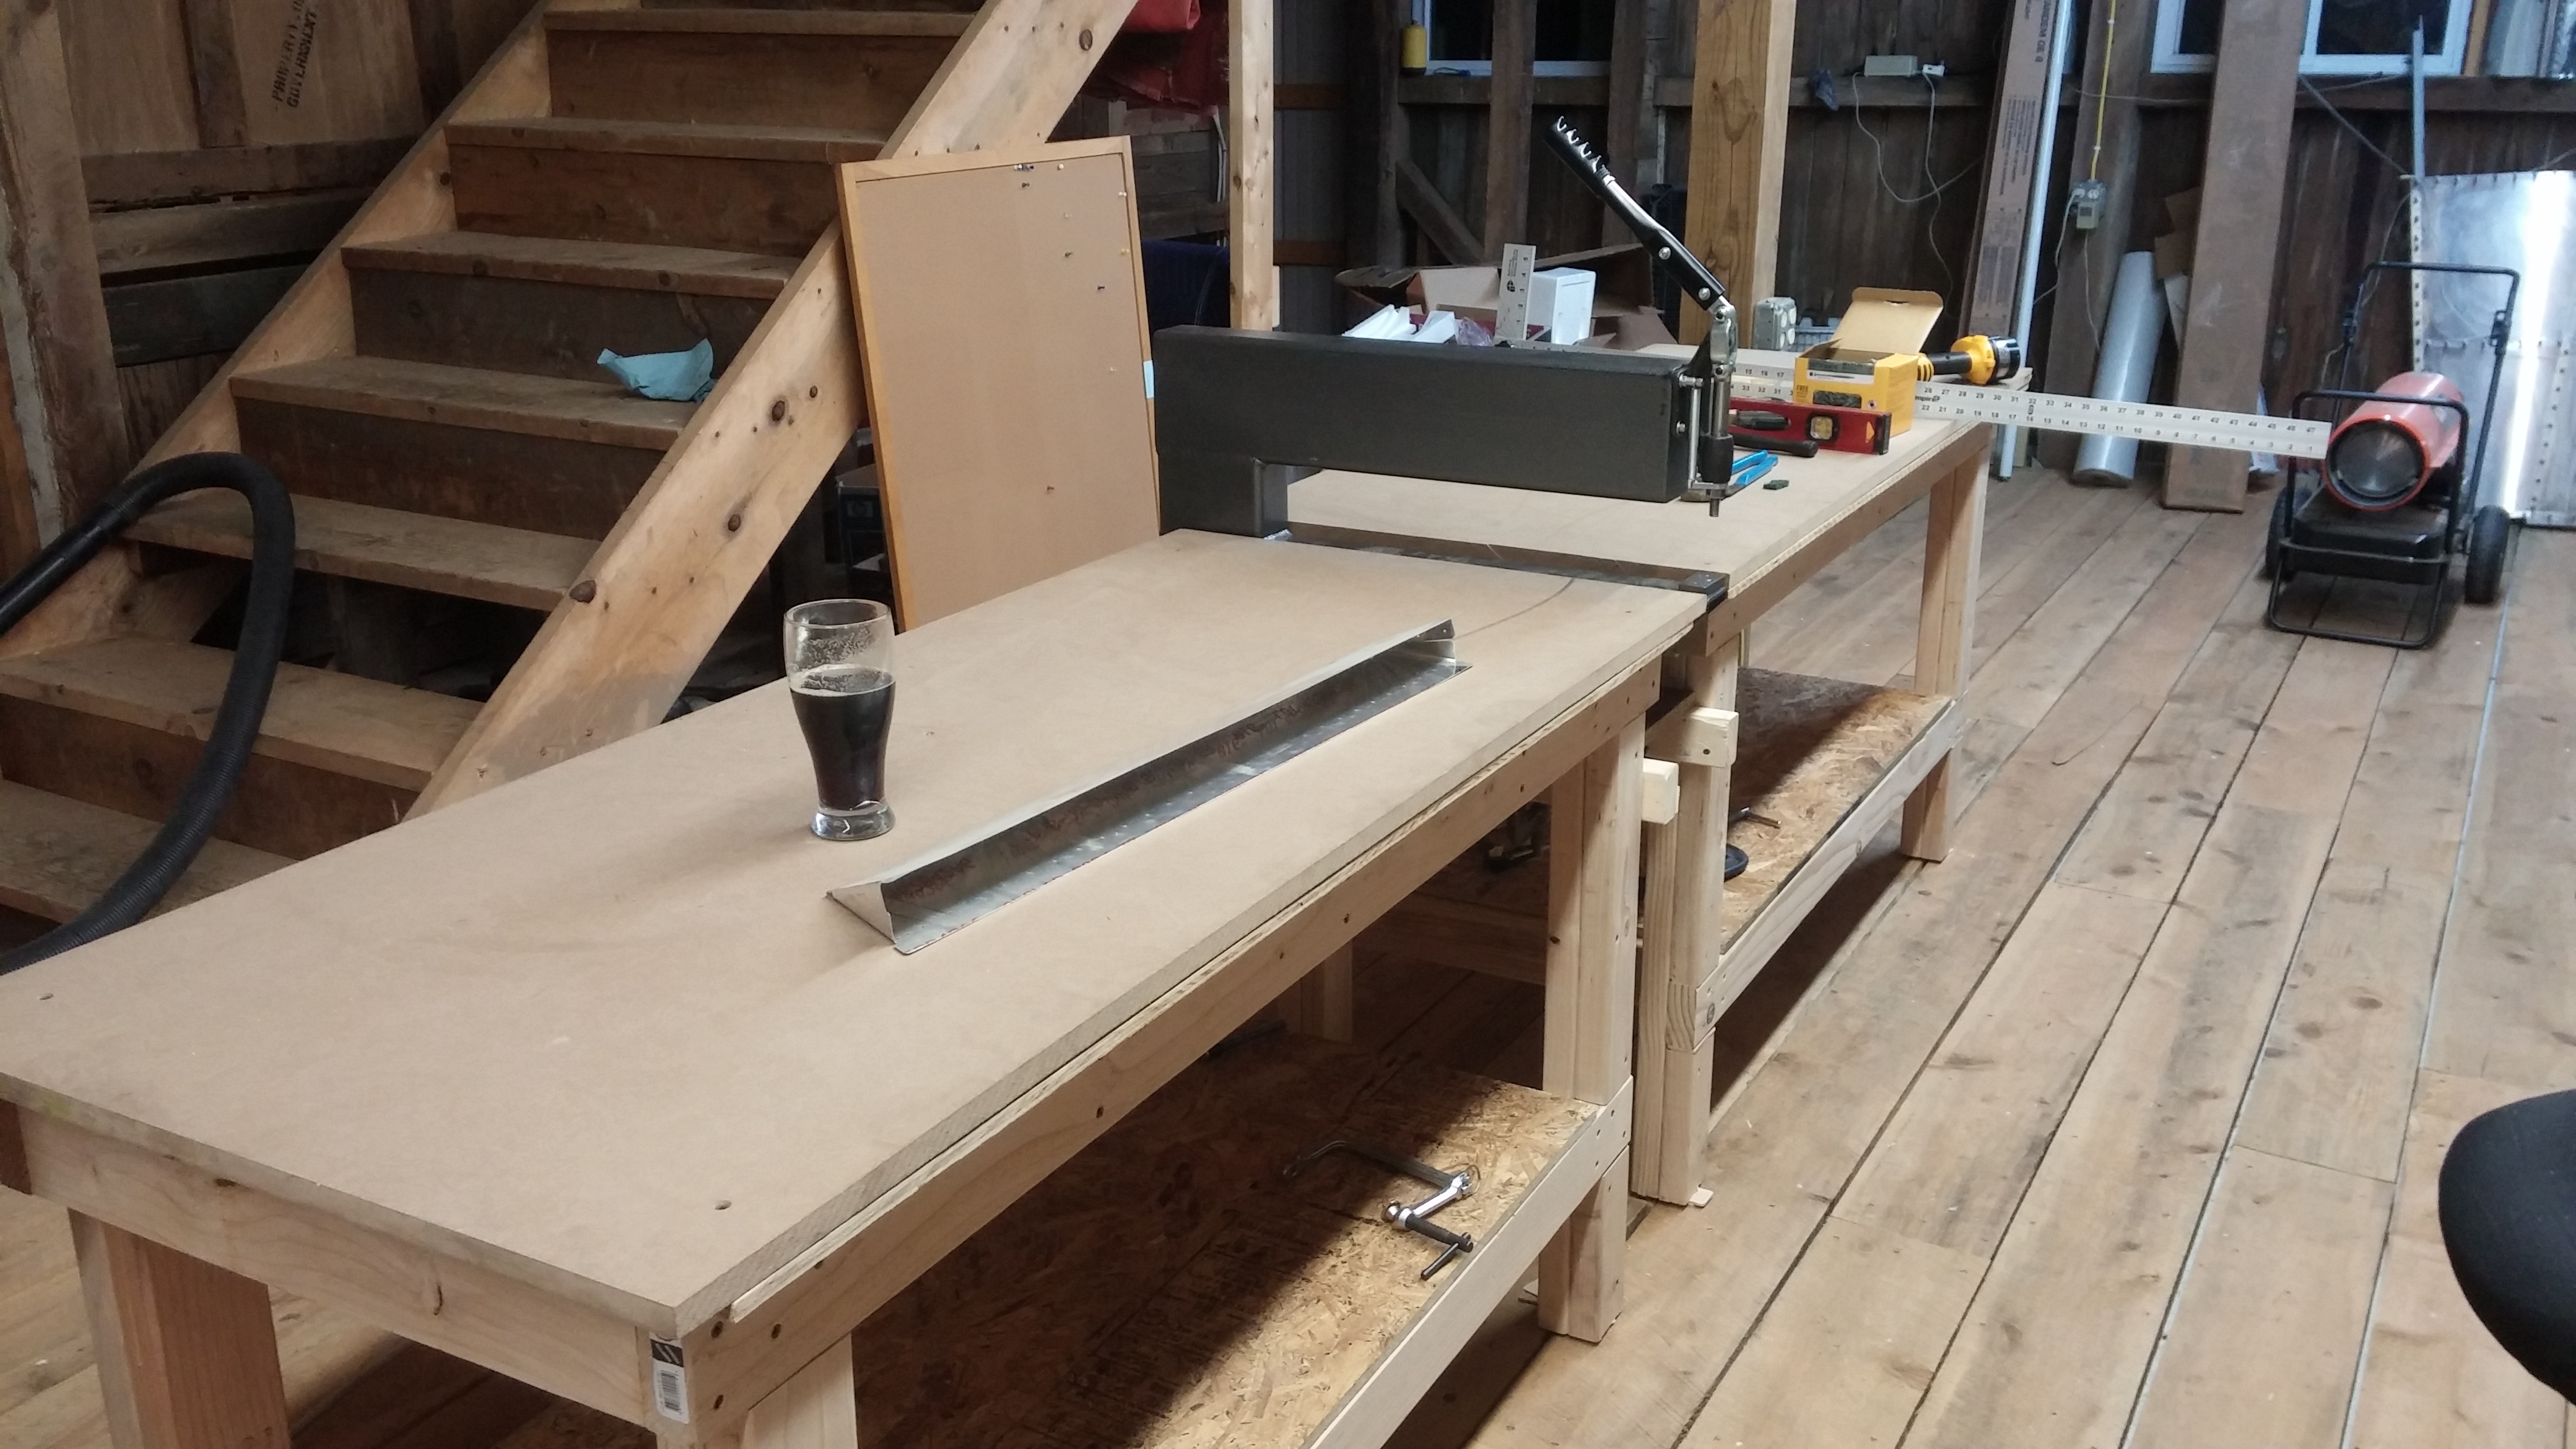
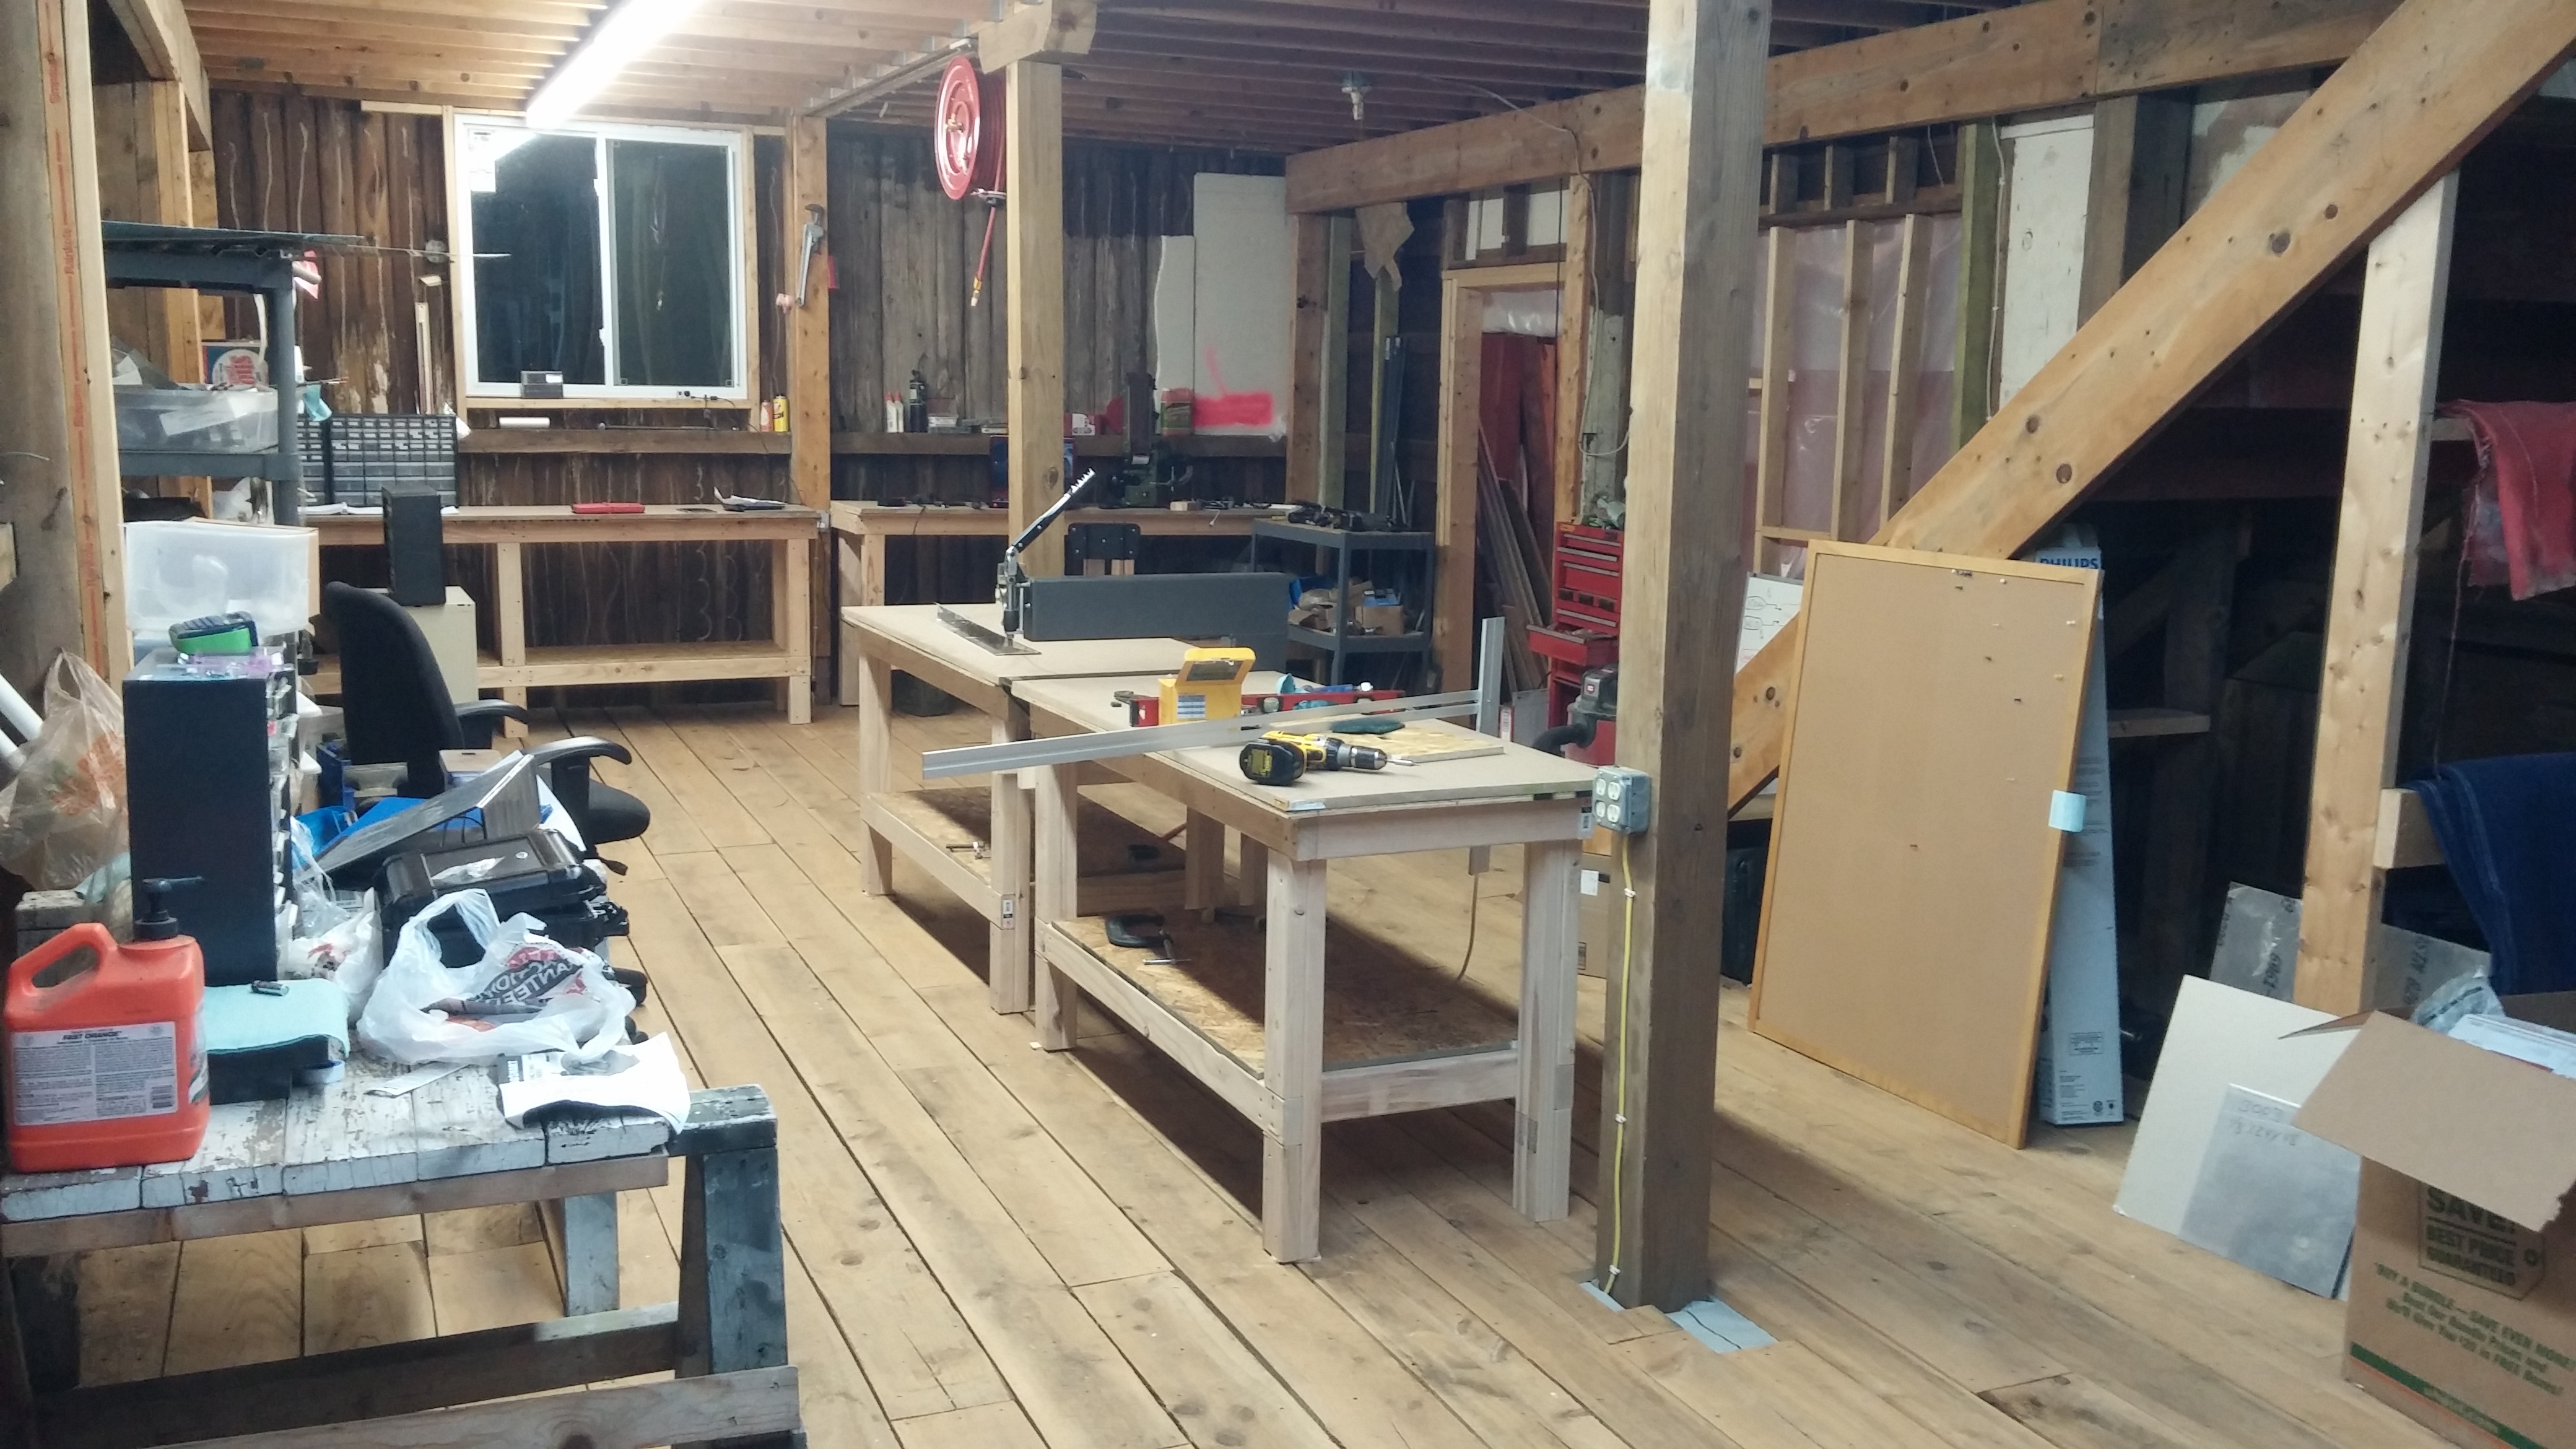
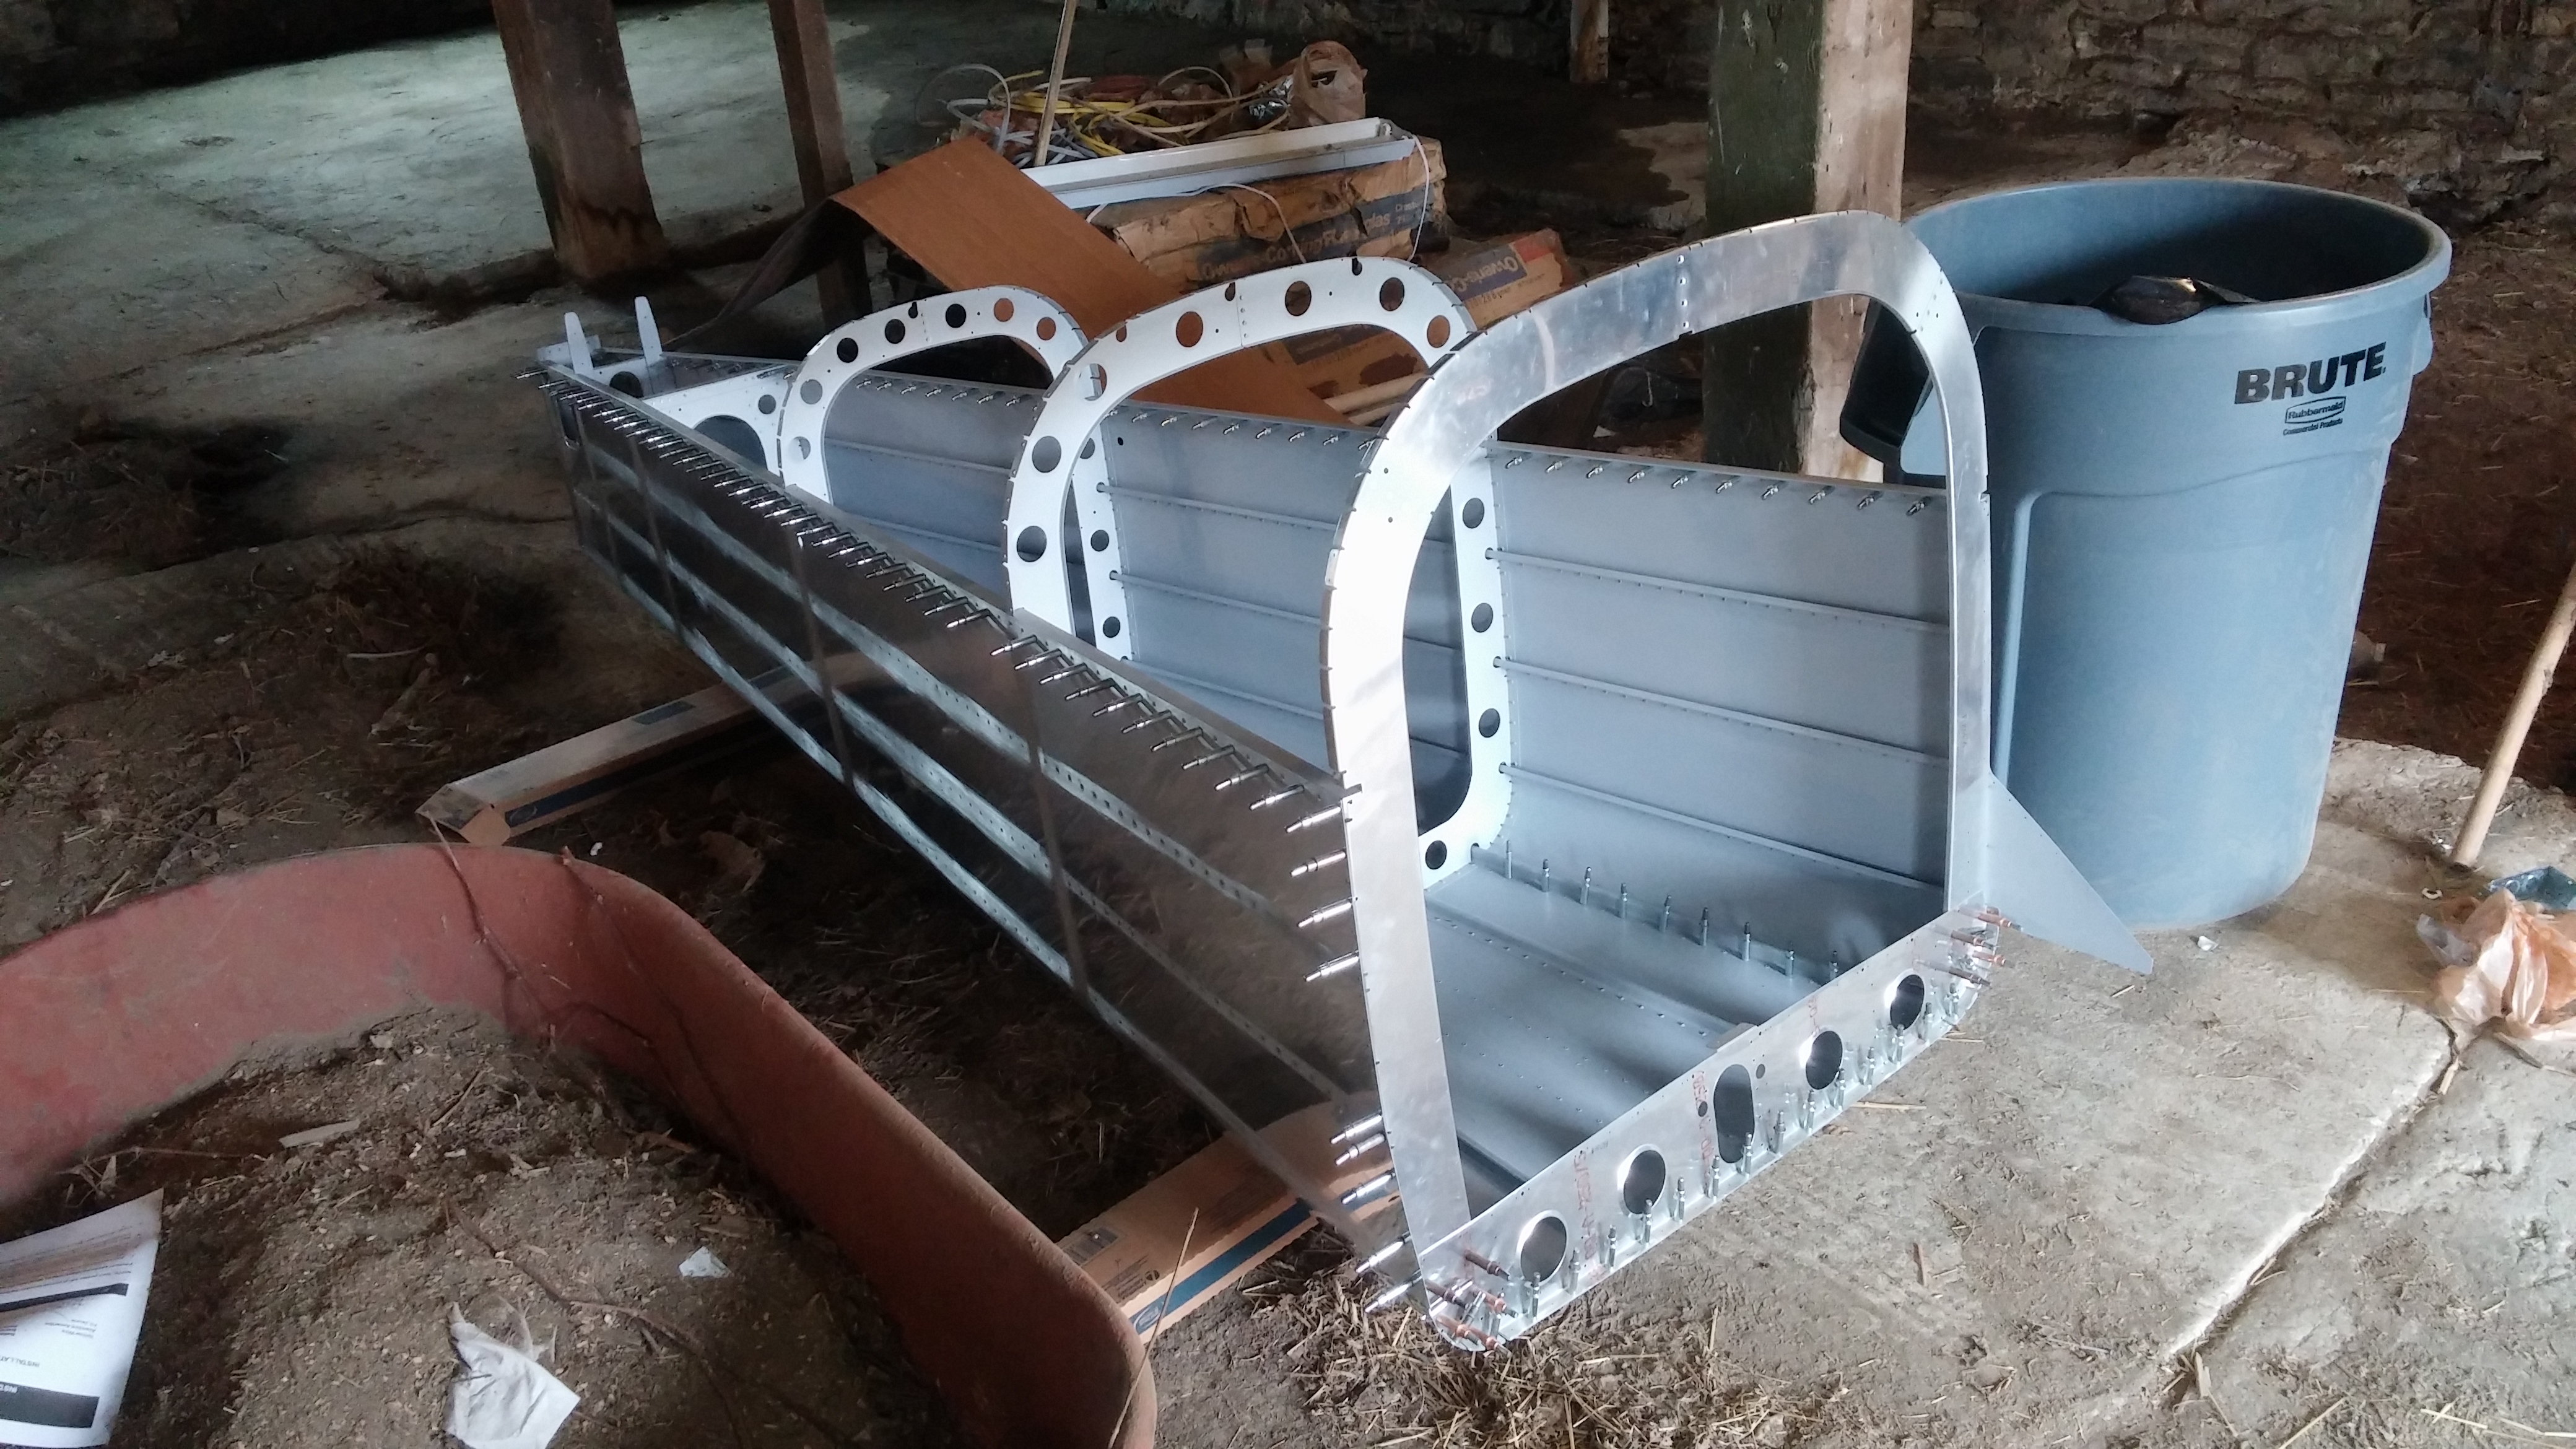
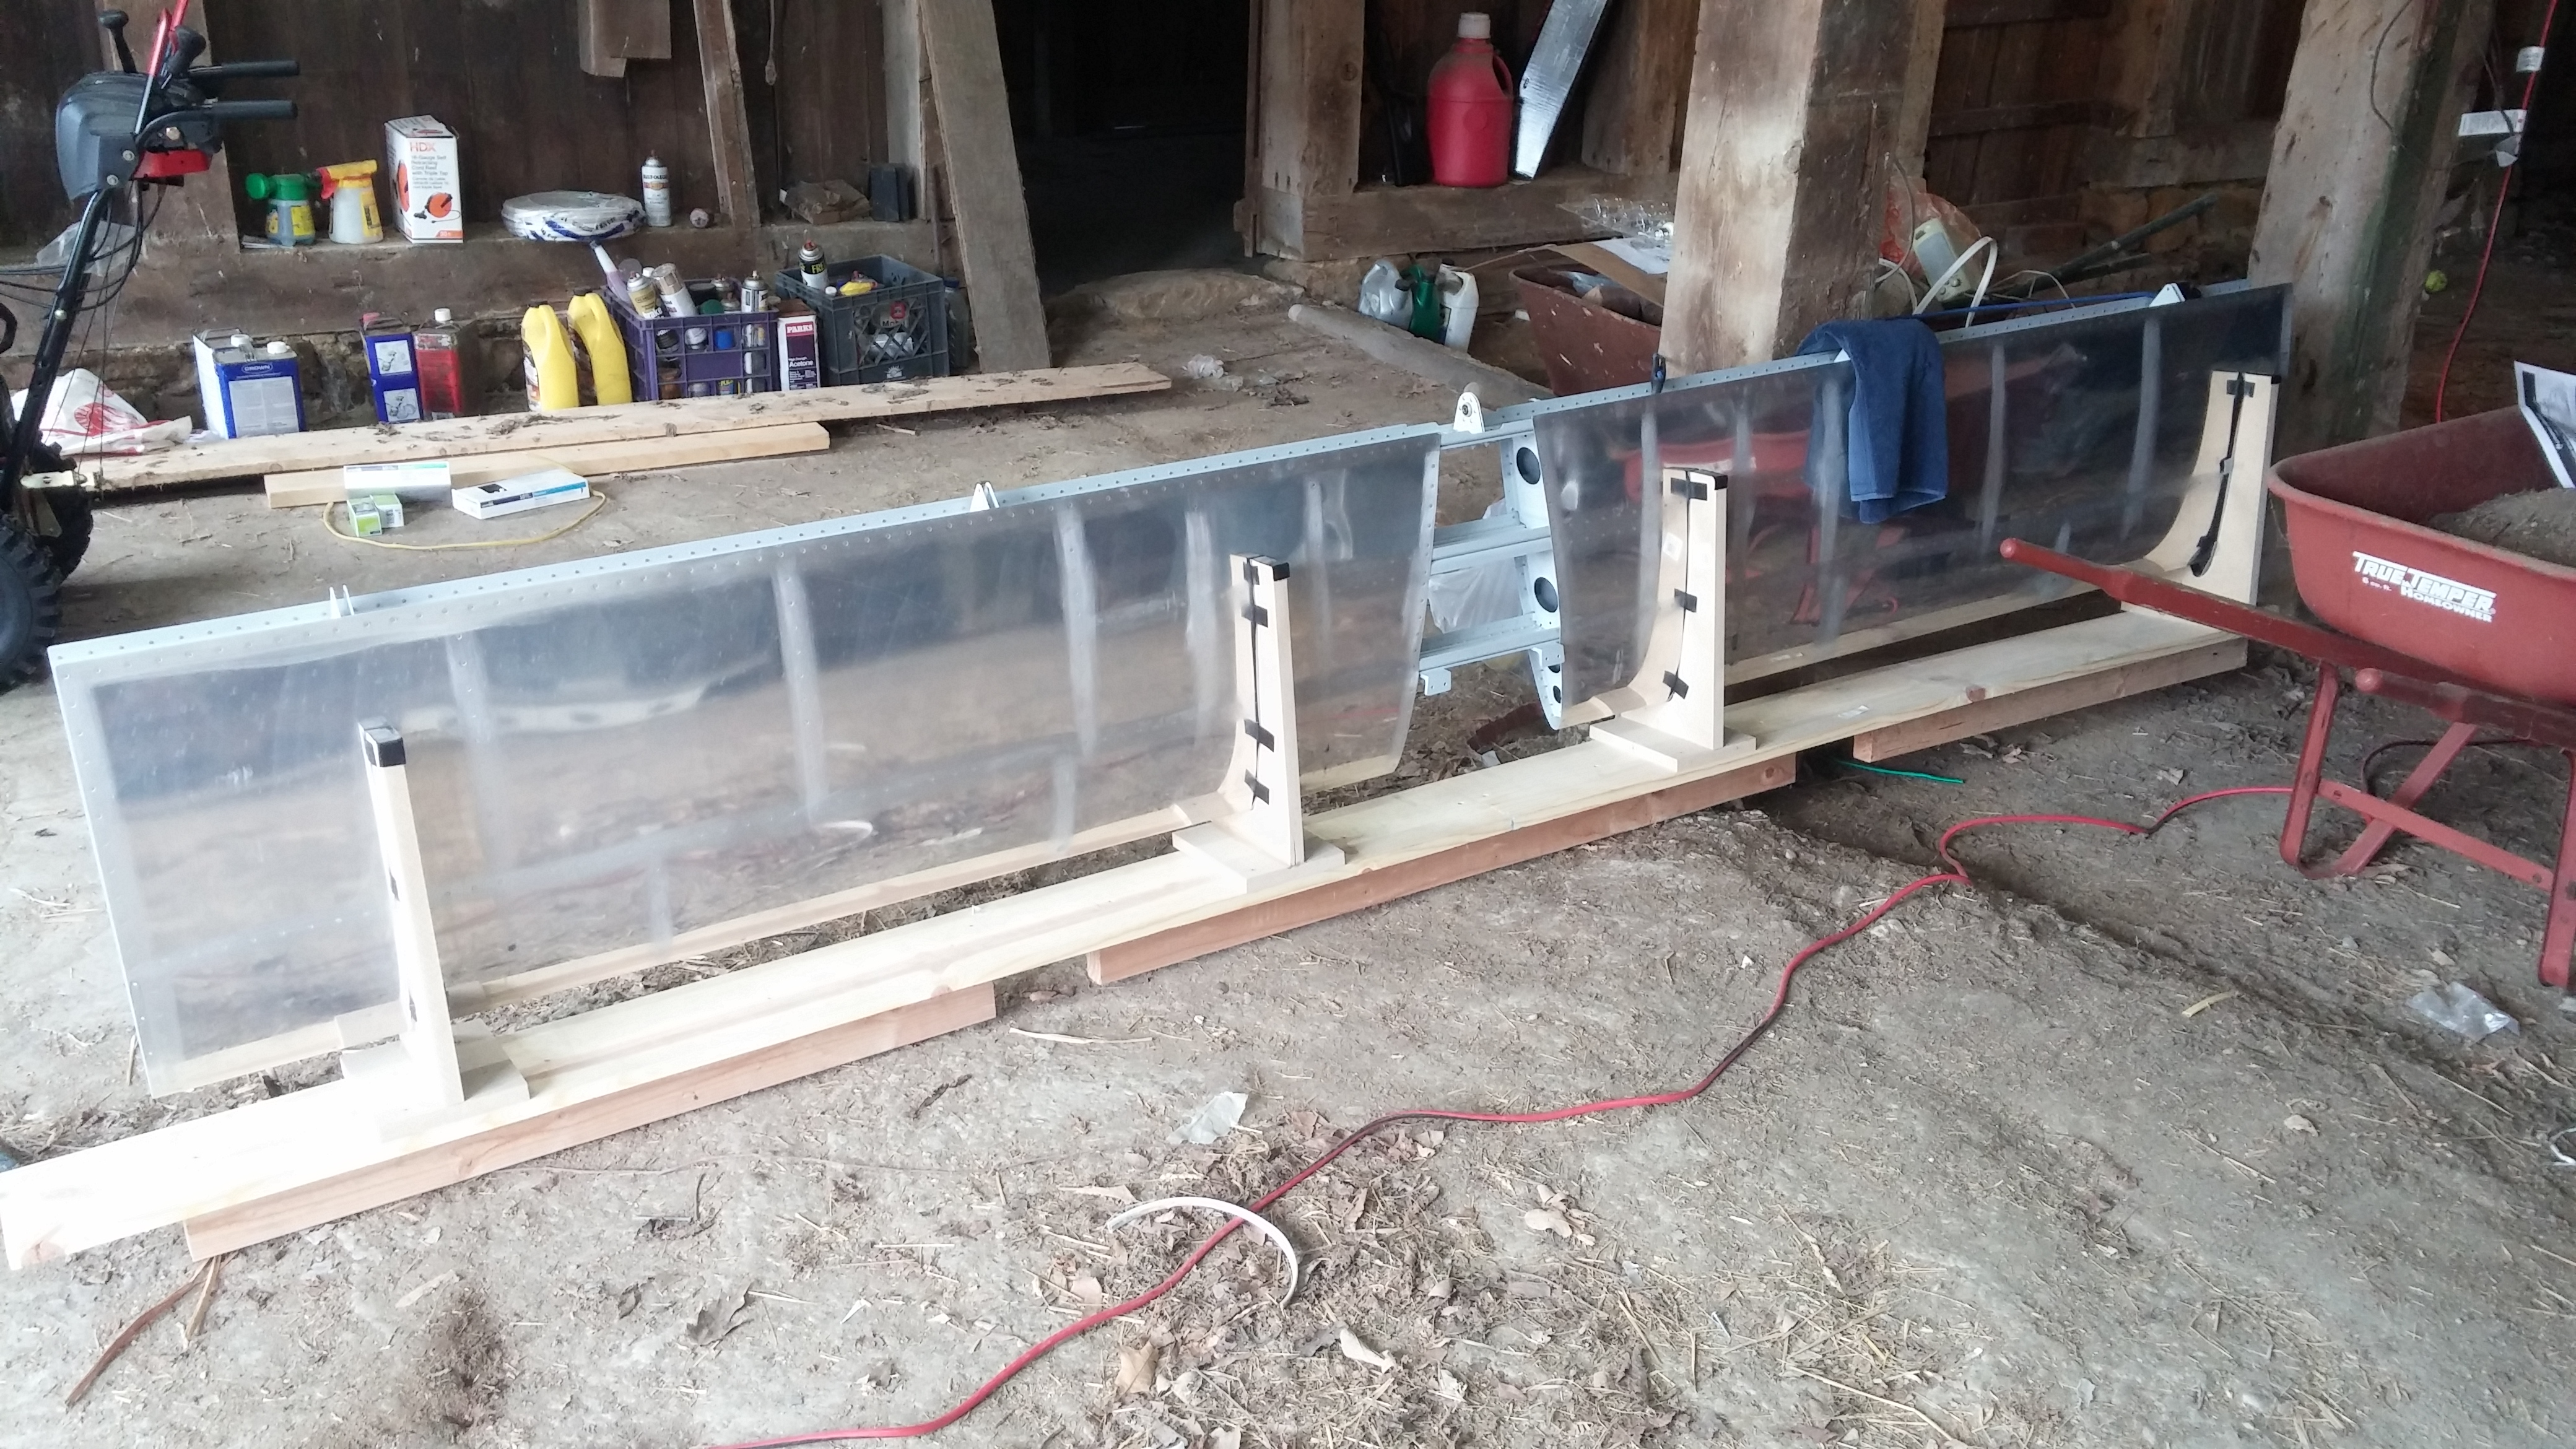
I figured I could use some practice with basic sheet metal techniques. While I took the EAA RV Assembly SportAir Workshop back in January (Thanks to all the folks at EAA and KFDK who made that happen!) and completed the Van’s airfoil practice kit, I still have a ways to go until I feel my driven rivets are good enough to fly. So, I figured I’d do a little work.
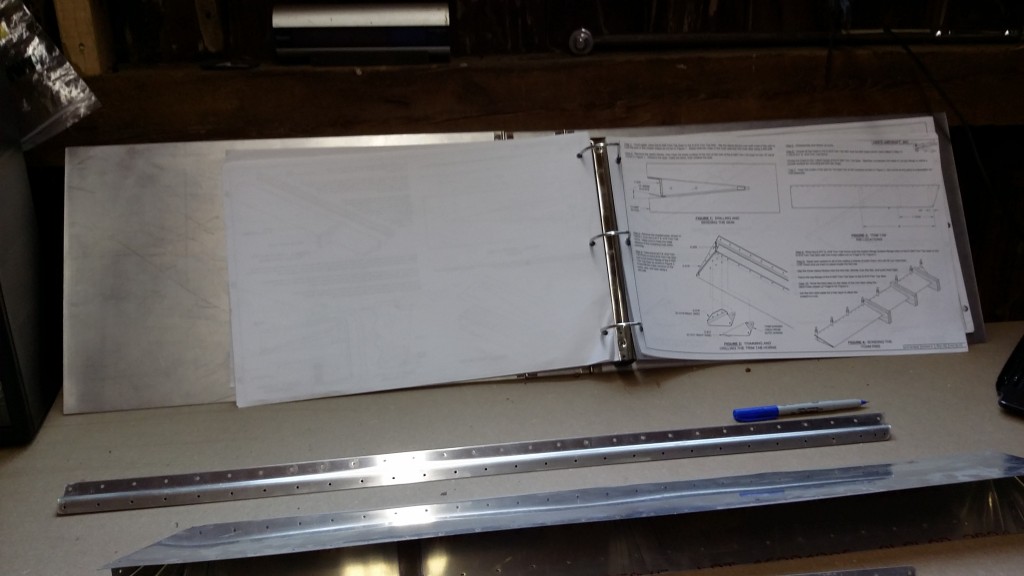
At the same time, I was looking for a proper 11×17″ binder to protect my plans, but when I looked at the prices at Staples and other office supply shops (including Amazon) I figured I could do better for less (the cost of a simple binder at Staples is ridiculous–well over $40 for a thin binder, and better ones get up near $70-80 each!).
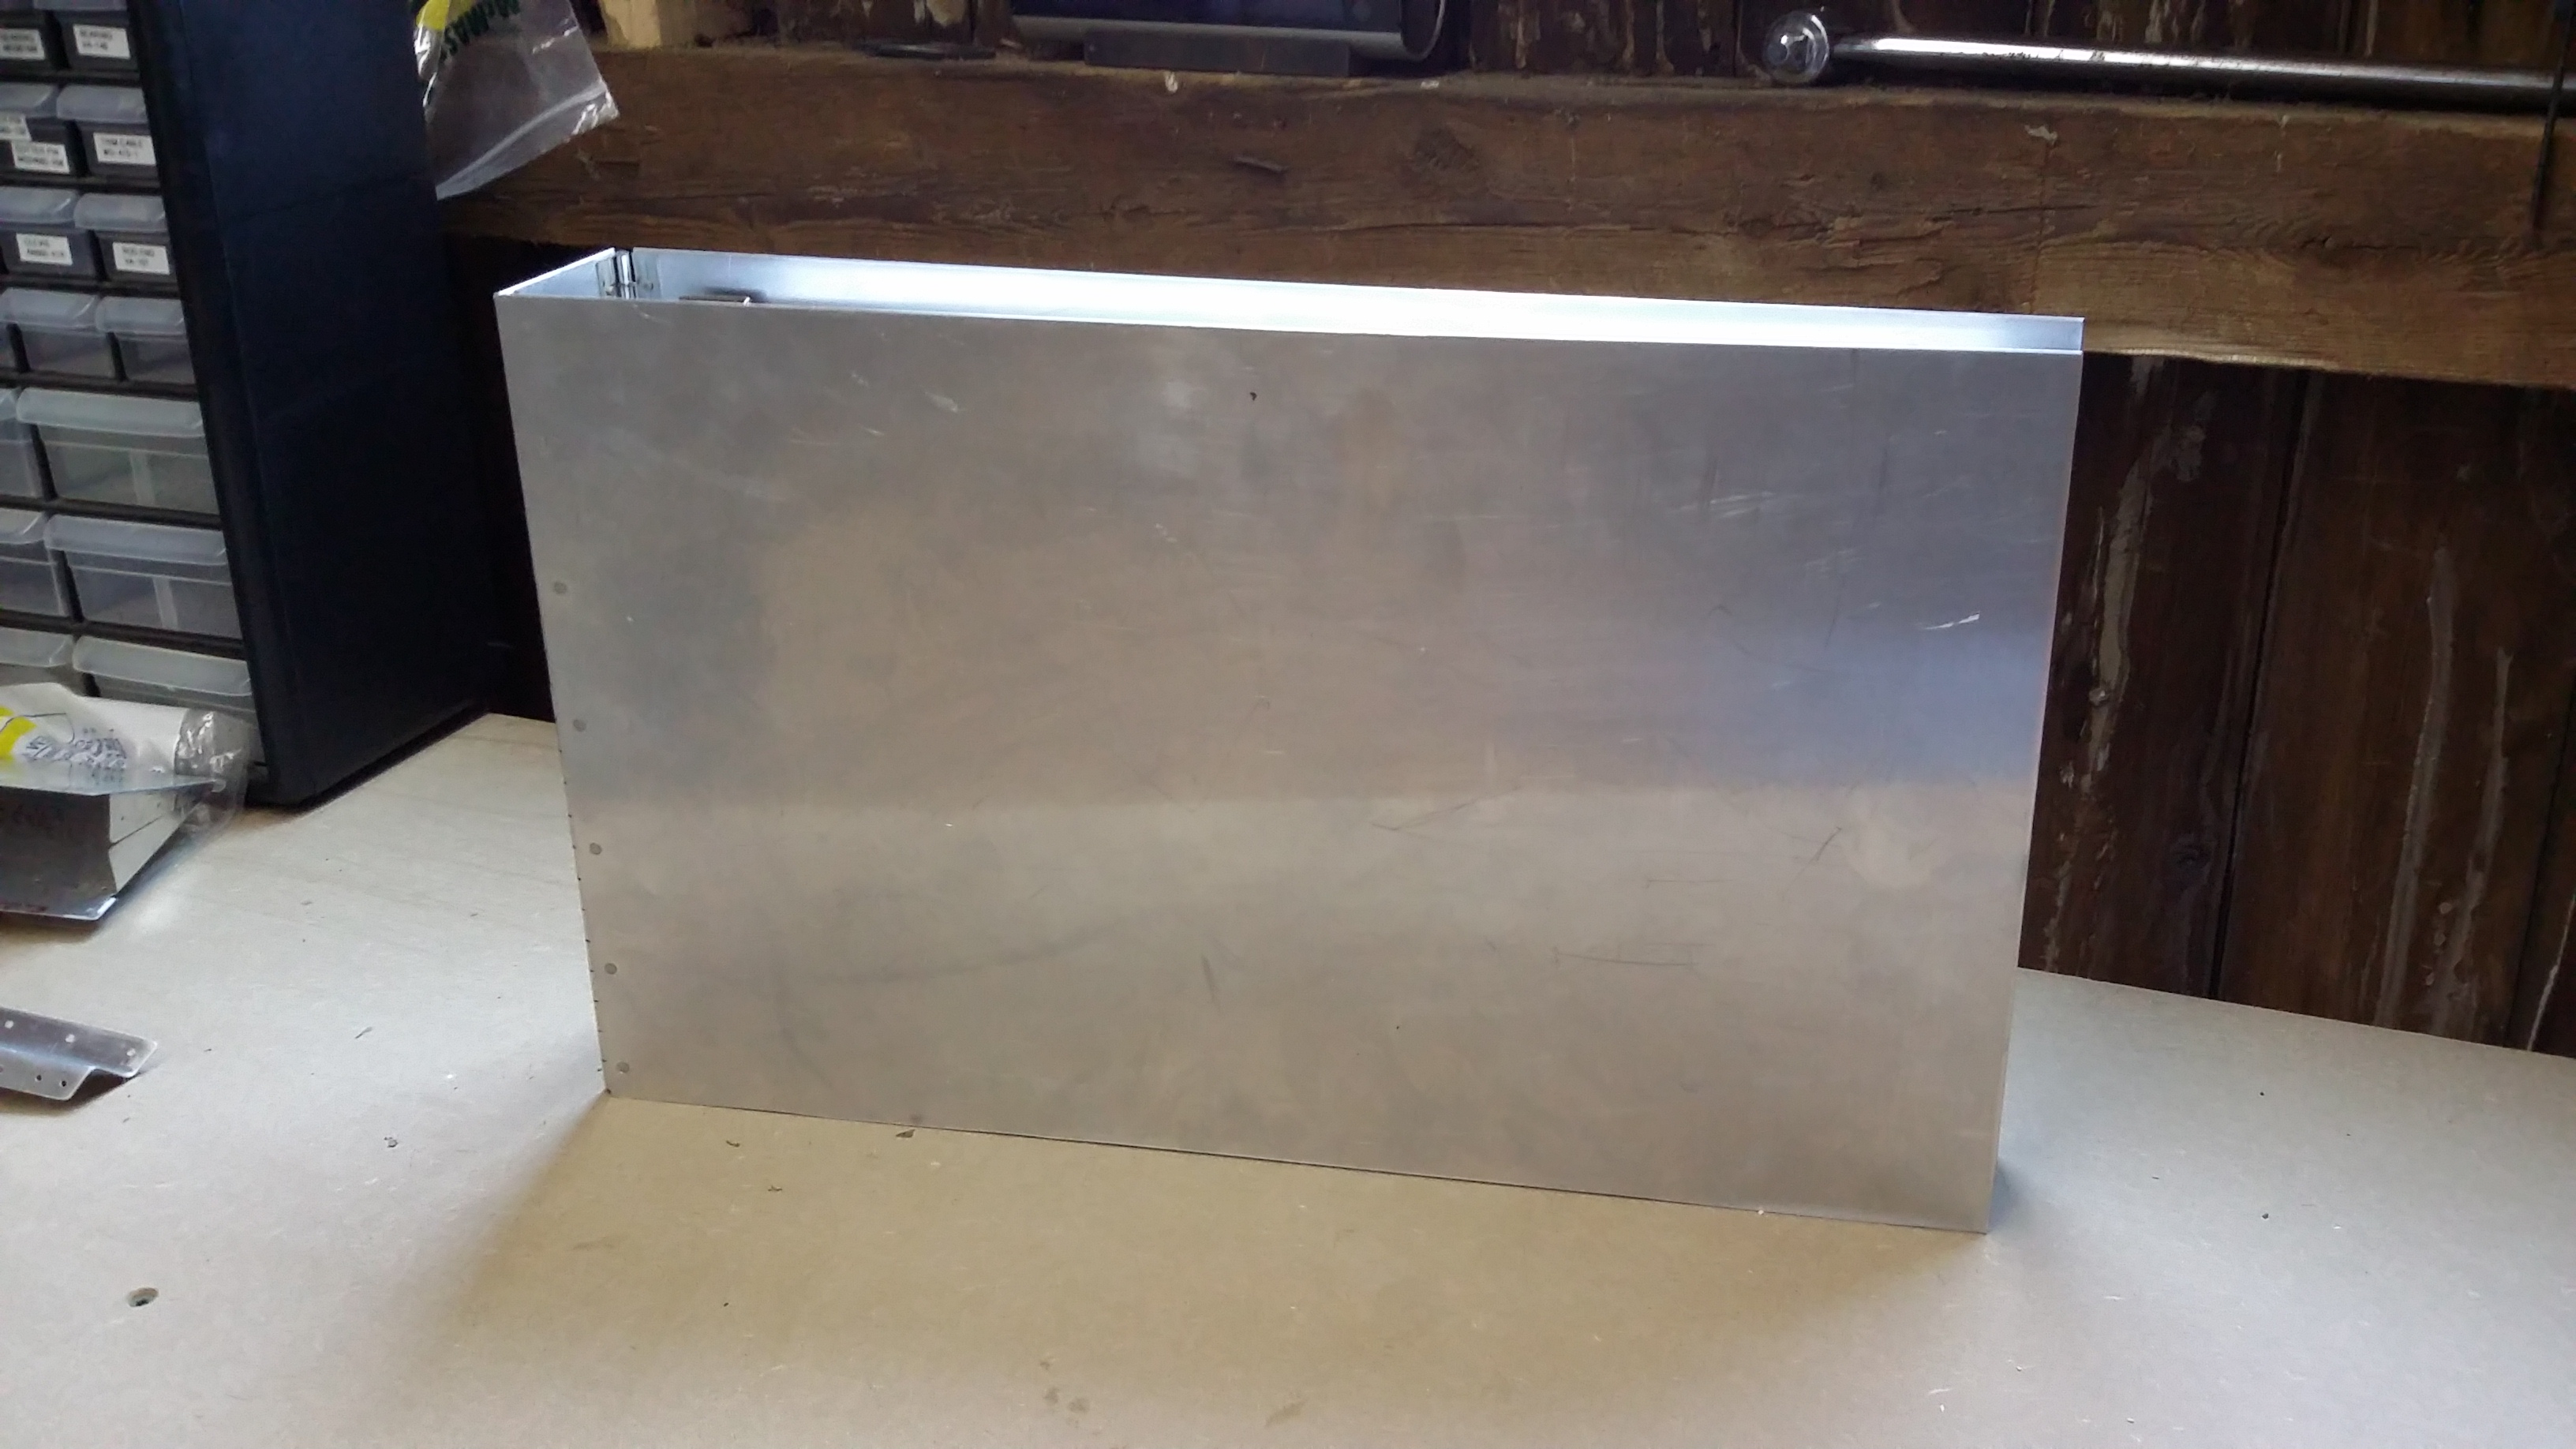
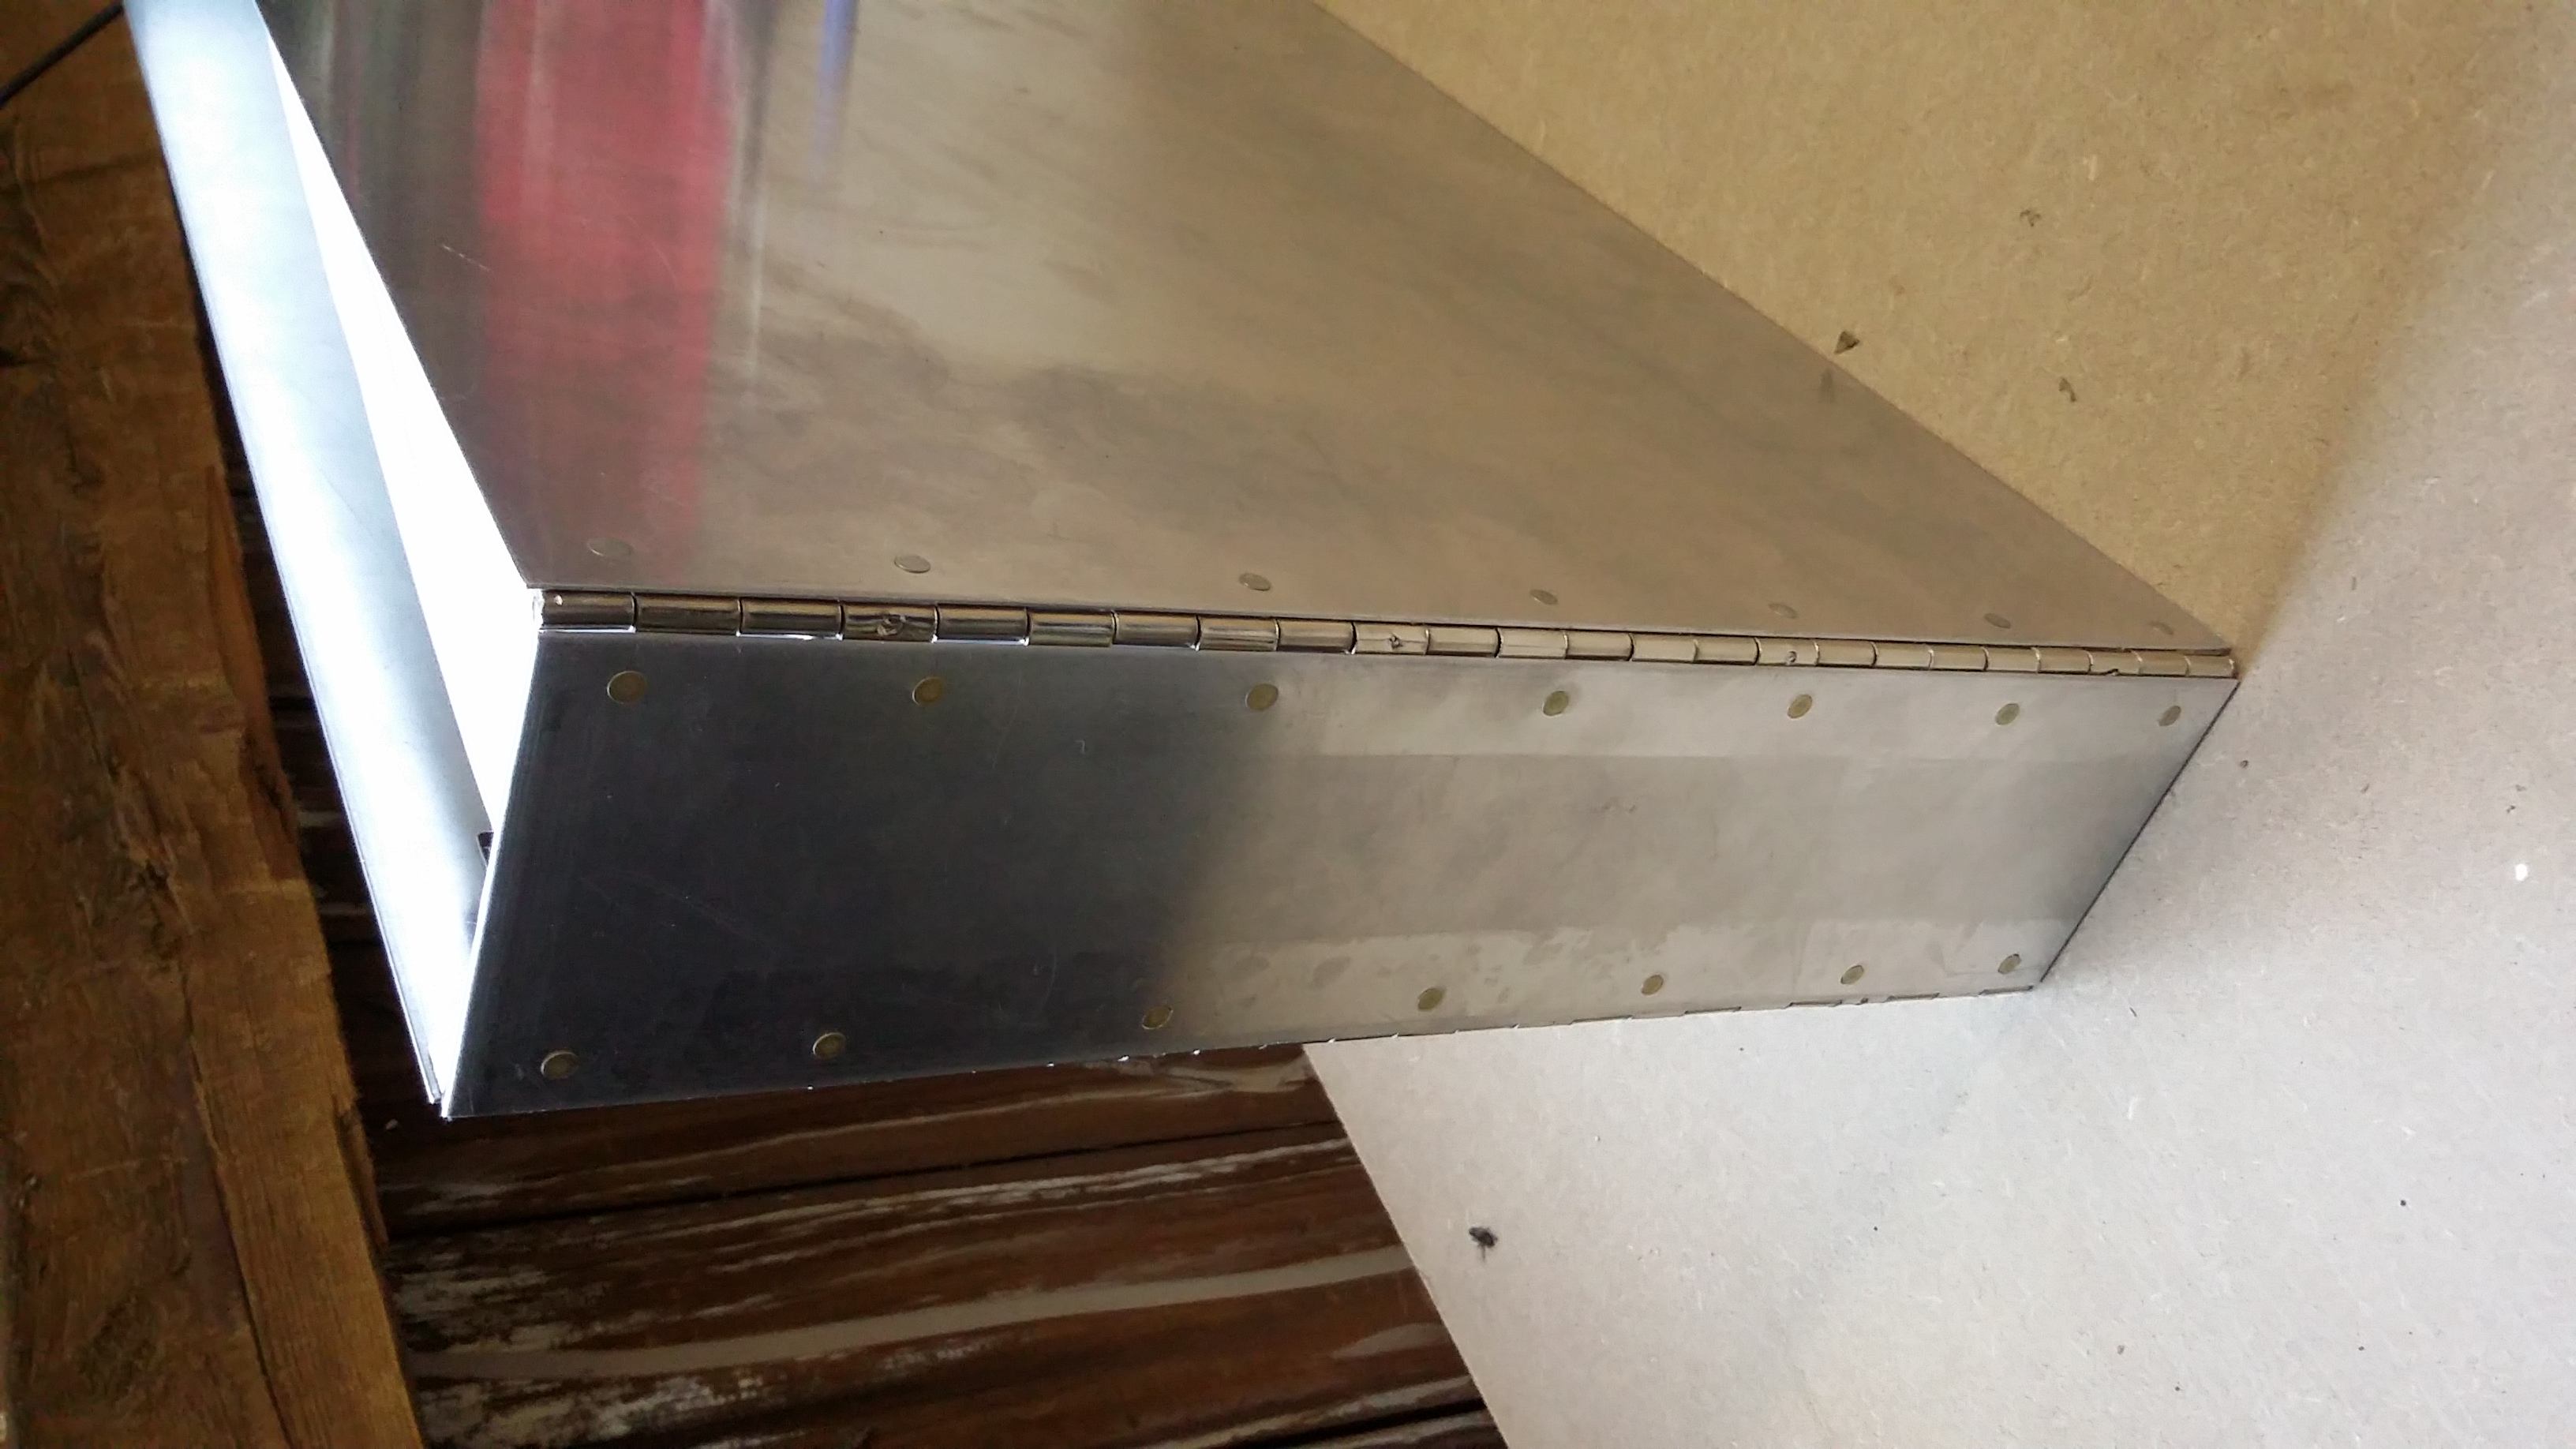
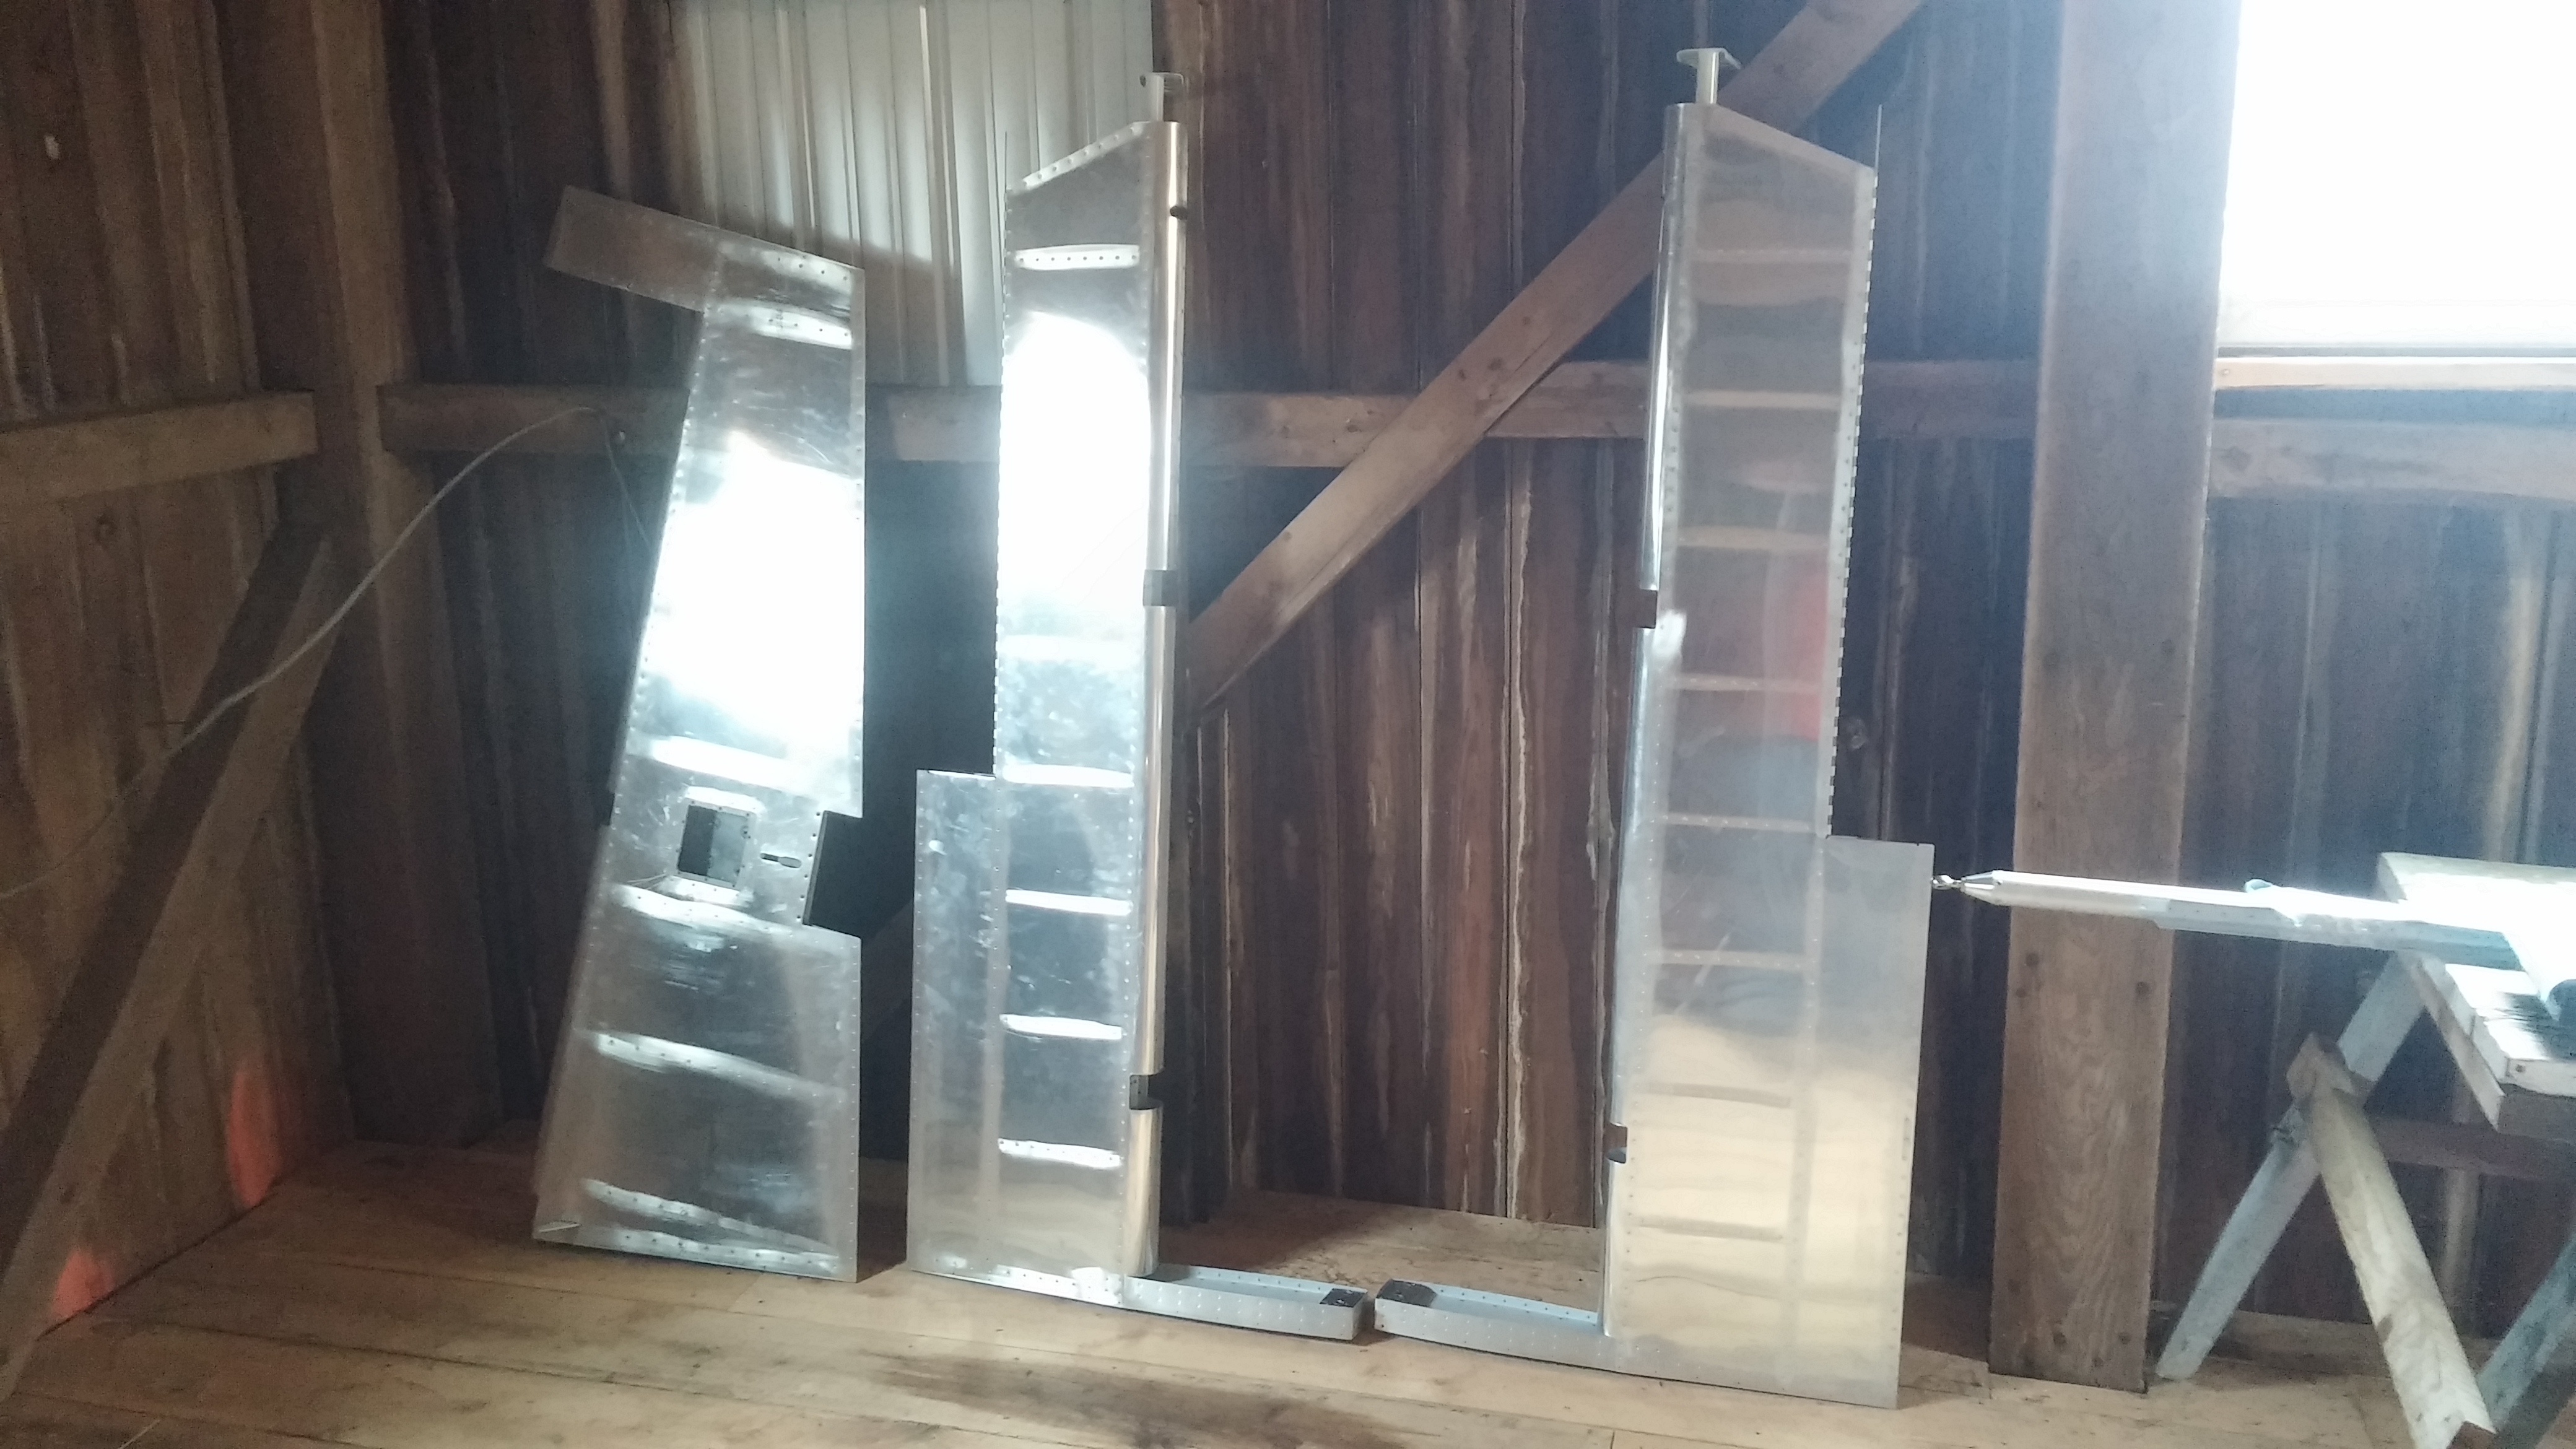
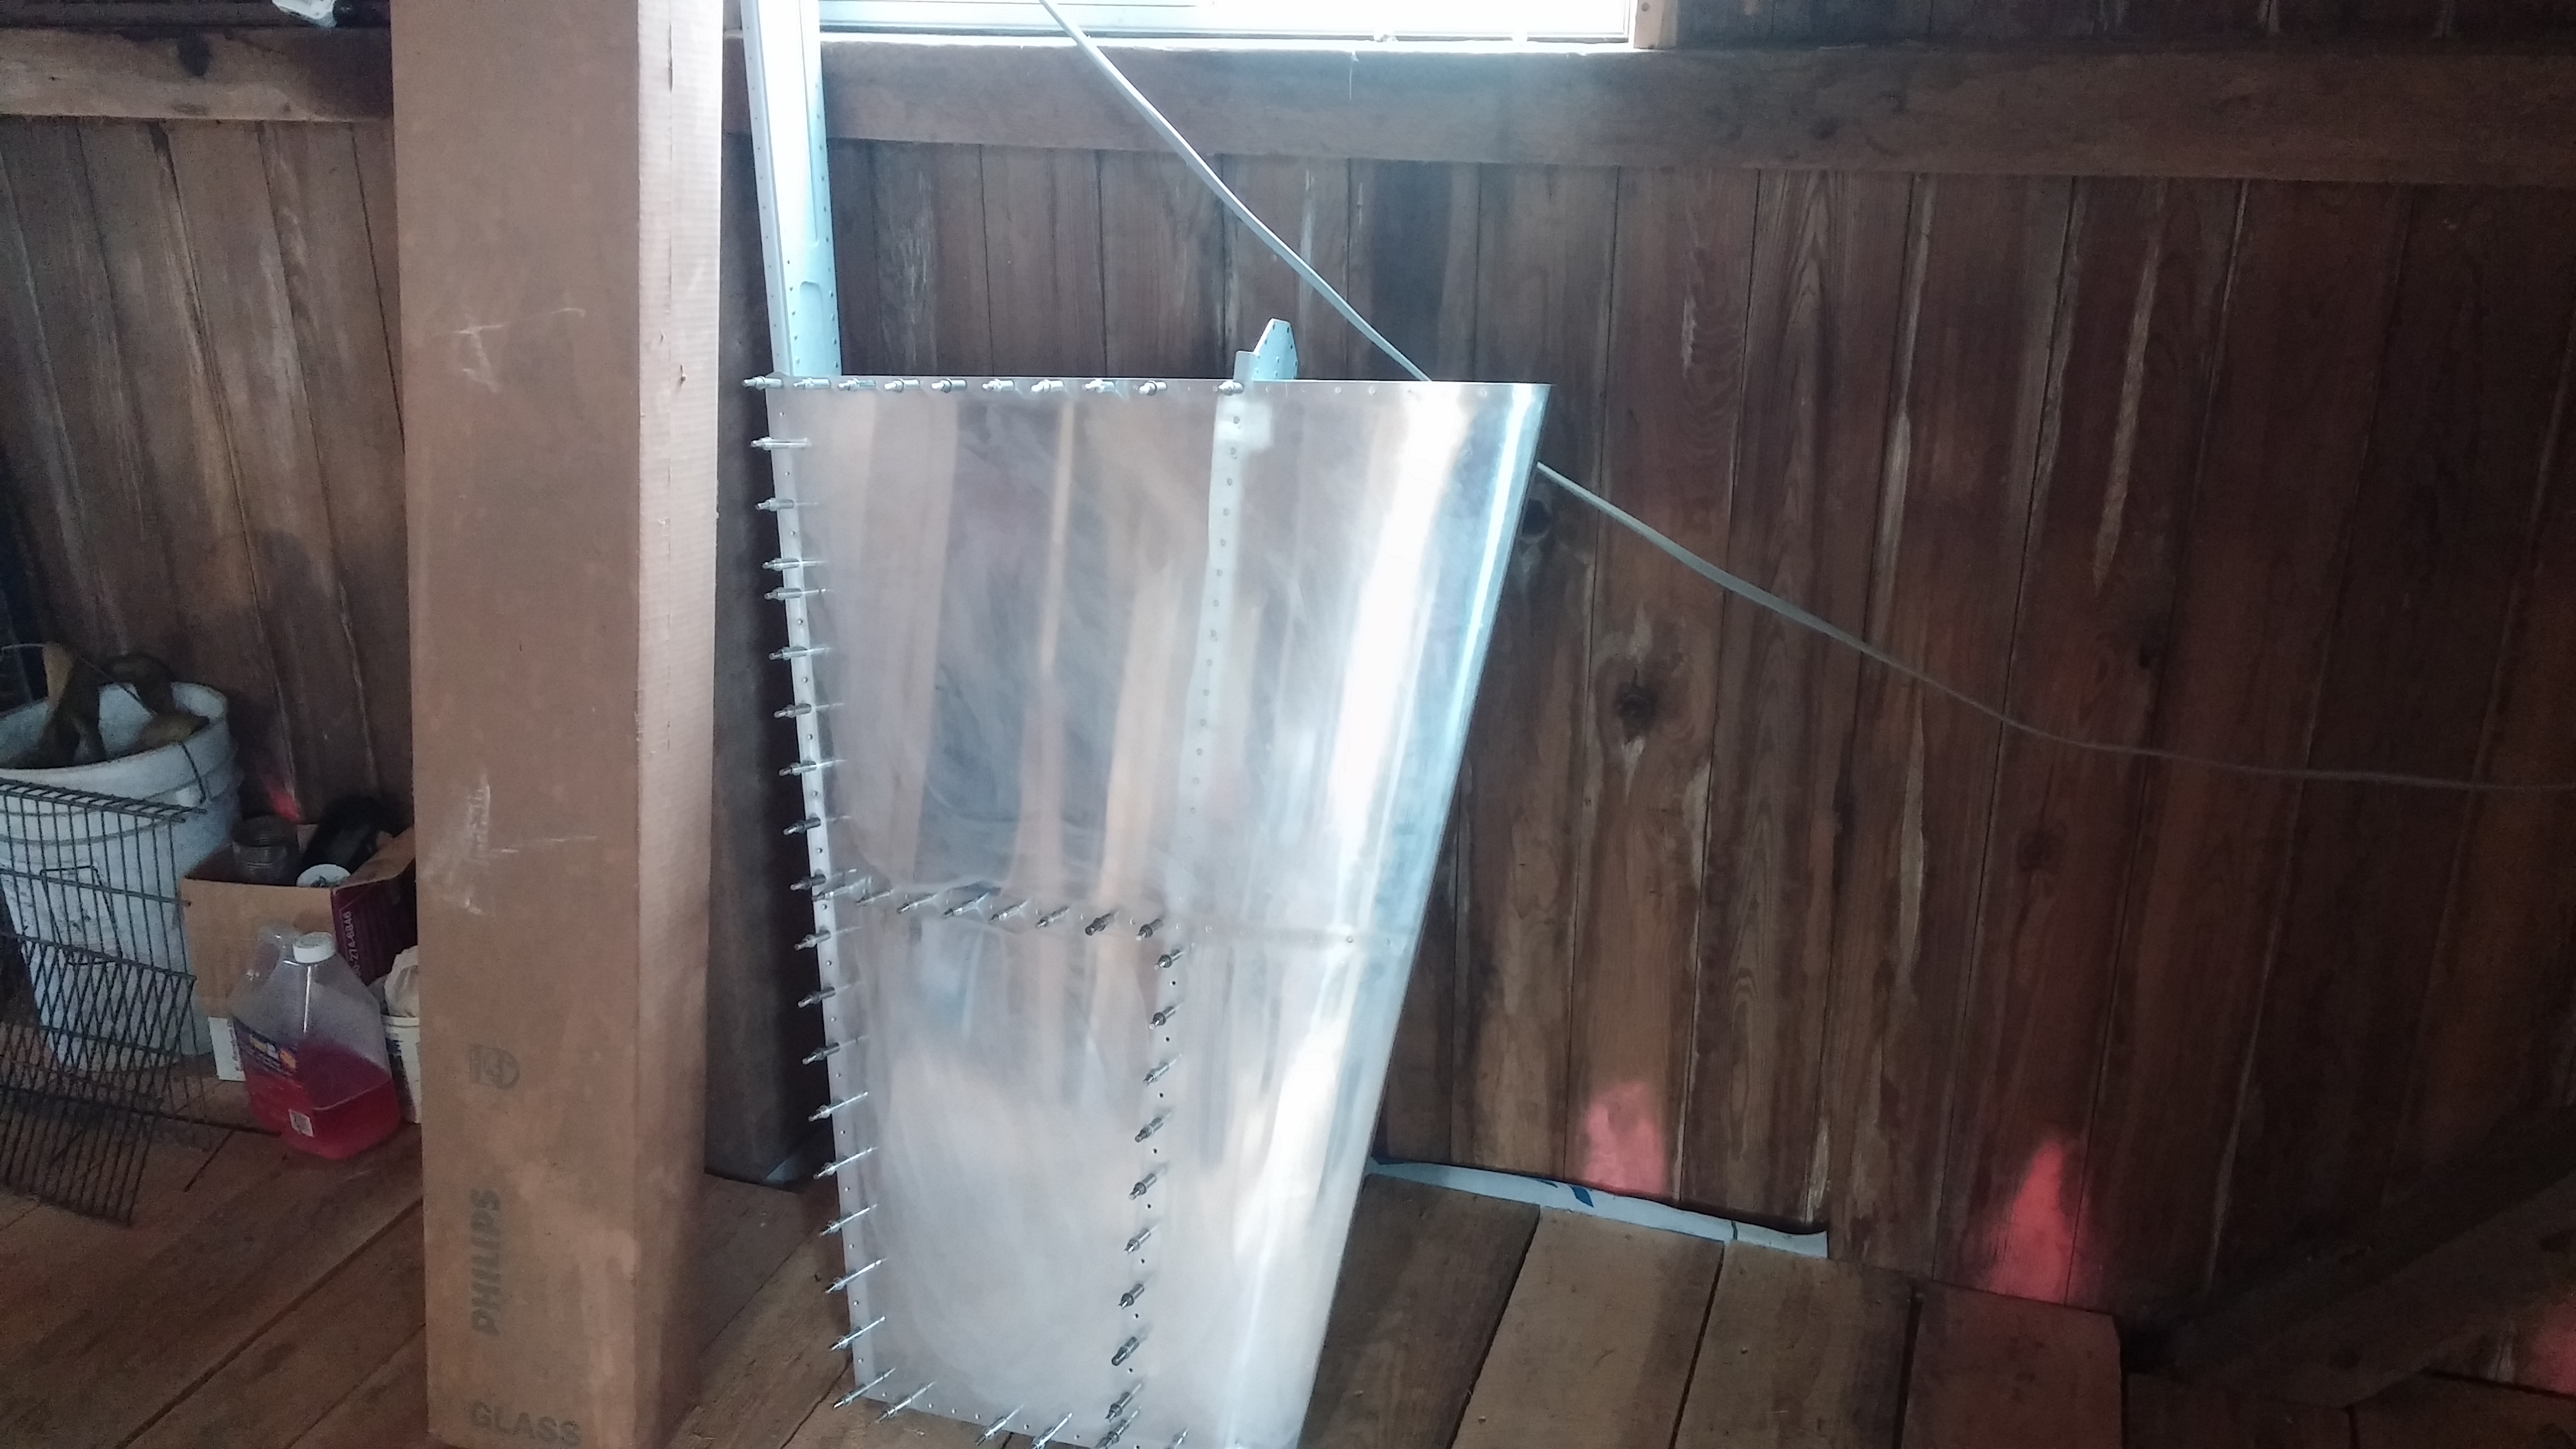
So I figured I’d combine the two needs into one. I ended up with a sturdy, handmade binder made of 3003 aluminum sheet (0.040″). I obtained the aluminum sheet from Metal Supermarkets, which conveniently has a retail location a short drive from my office. The piano hinges were sourced at Home Depot, and the D-ring was cannibalized from an inexpensive 8-1/2 x 11″ binder. Total cost, approximately $40, but I got some valuable practice at riveting, drilling, countersinking, dimpling, and deburring.
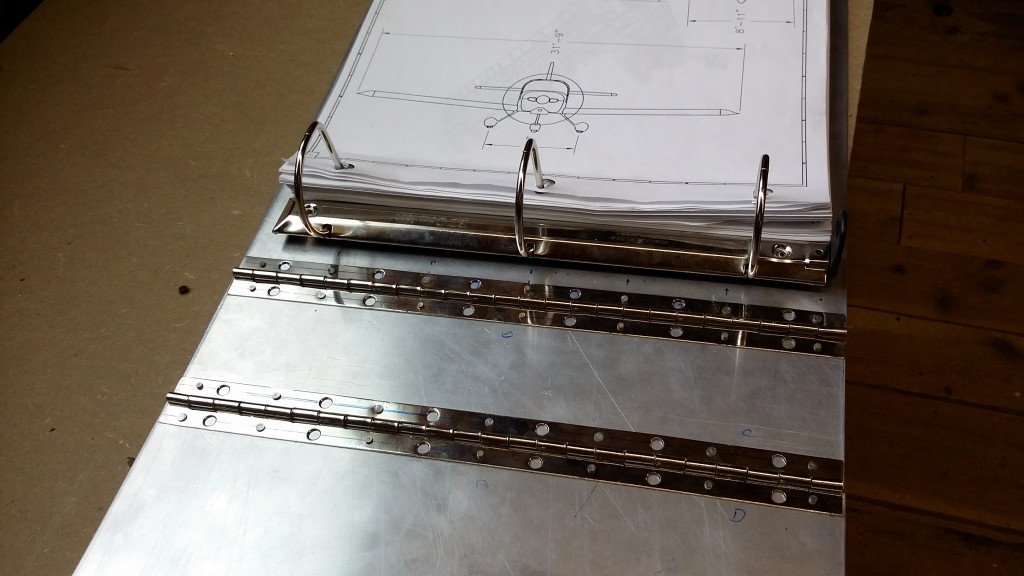
I didn’t use the pre-drilled holes in the Home Depot hinges because they were simply too large for the rivets I wanted to use and larger rivets would have been a waste here. You can see variability in the degree of the shop head development because I was experimenting with different settings on the rivet gun. I decided not to re-do them simply to remind myself of the significant differences.

I back riveted the hinges to the spine and covers using a large stainless steel plate I happened to have lying around. I may polish the plate to get a better finish but this was acceptable for the purpose here.

A bonus to this binder is it is rigid enough to stand up and hold the plans properly without deforming the binder. I may add a clasp and a handle in the future, as well as possibly some holes for hanging hooks if I find that may be useful.